zappzy Support Center > Getting started > How to approve posts-if approval is required (zappzy Business only)

Video or step-by-step guide with screenshots. Your choice. We keep it easy.
Step-by-step guide
The approval process works the same across all social media platforms. It doesn’t matter which platform you or your team want to post on — the steps are always the same.
In this example, we’ll use Facebook and a fictional team member named Jack Employee. Jack created a post for the Facebook Page of a fictional company owned by John Owner. Jack doesn’t have Can approve rights.
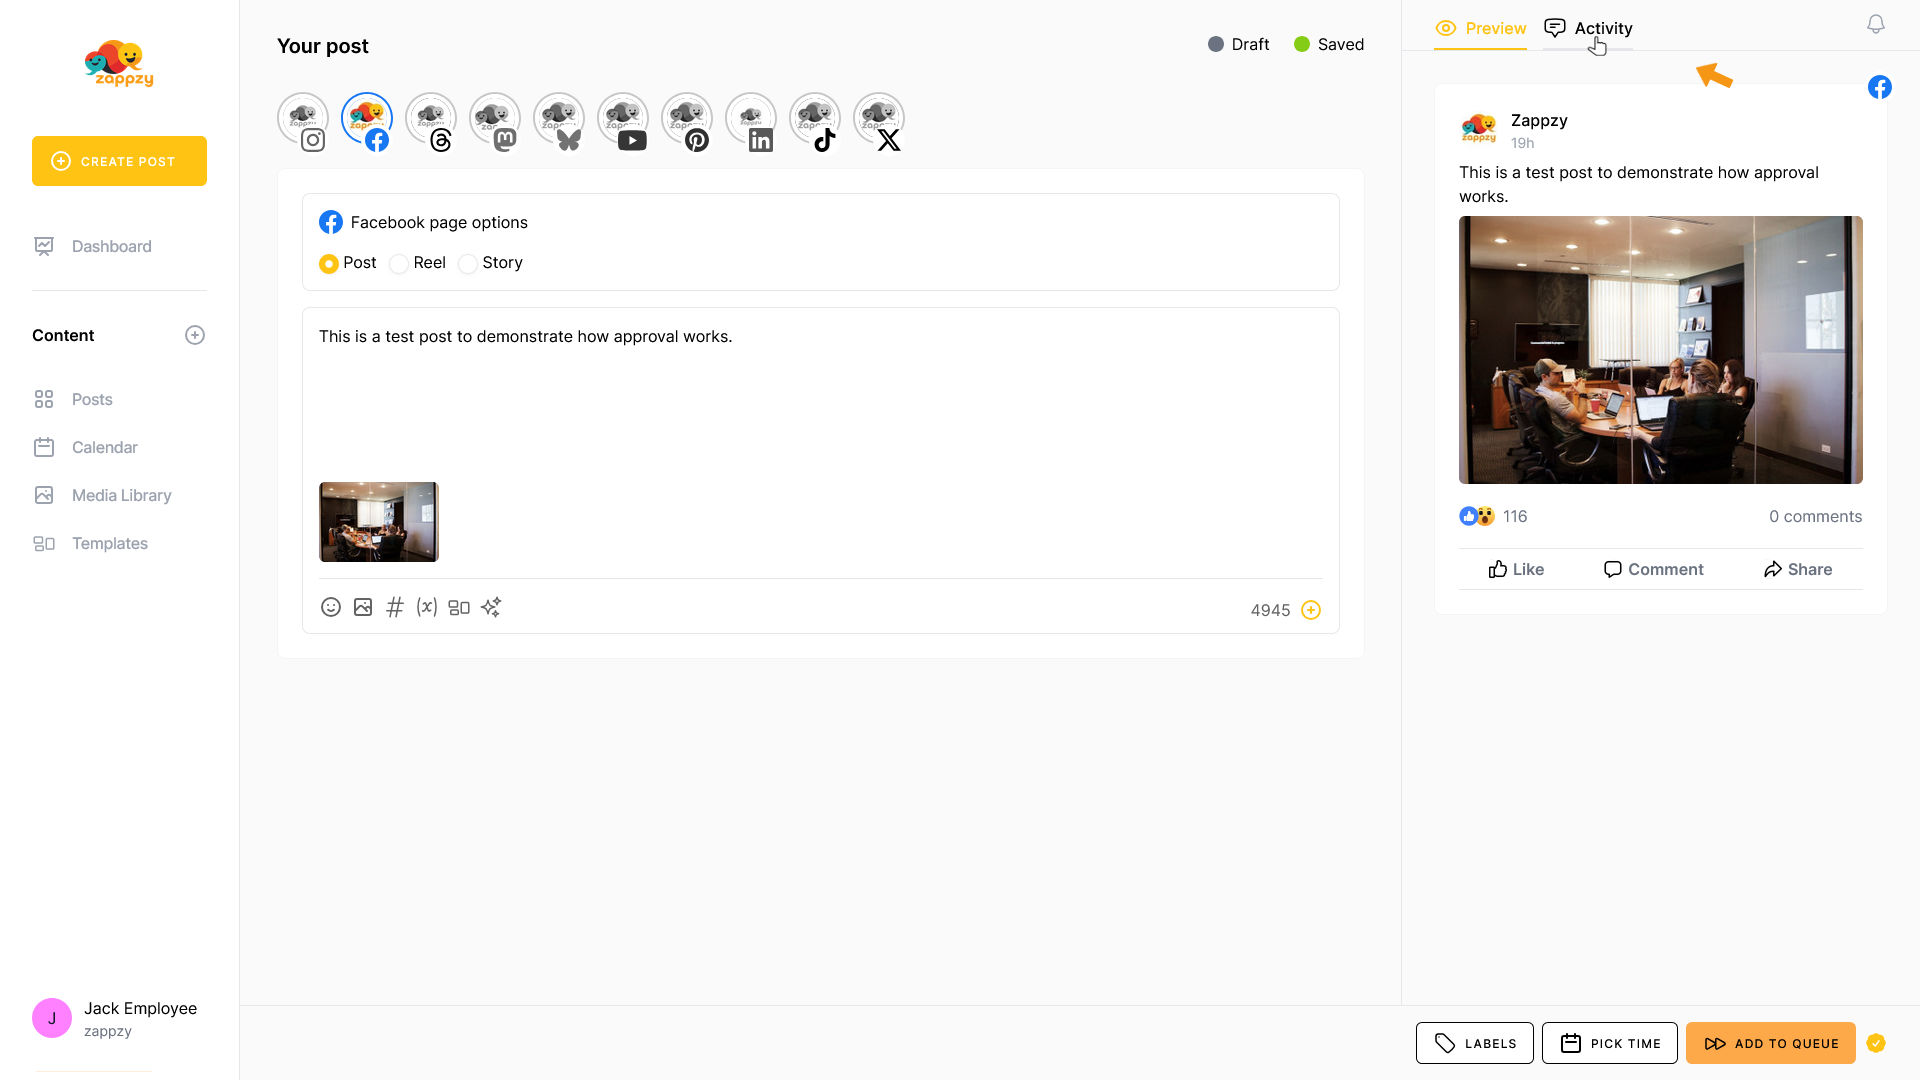
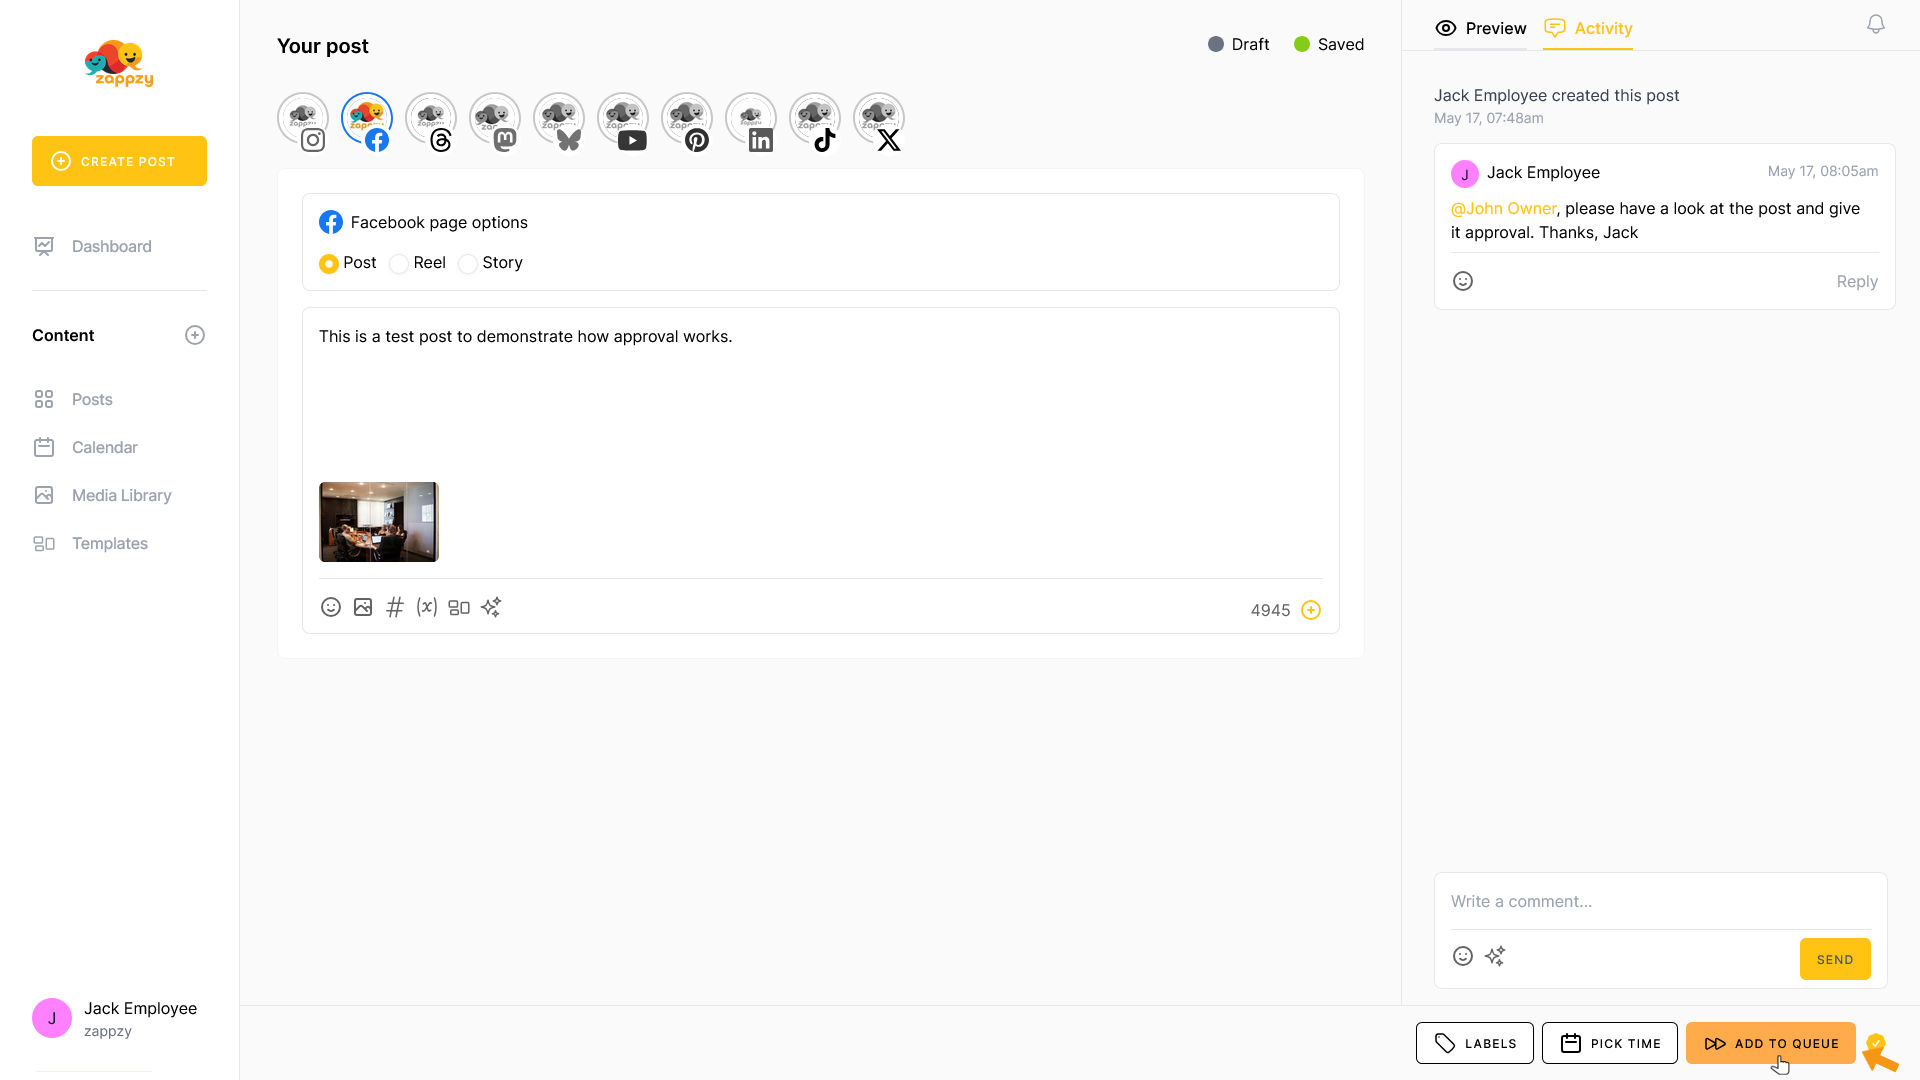
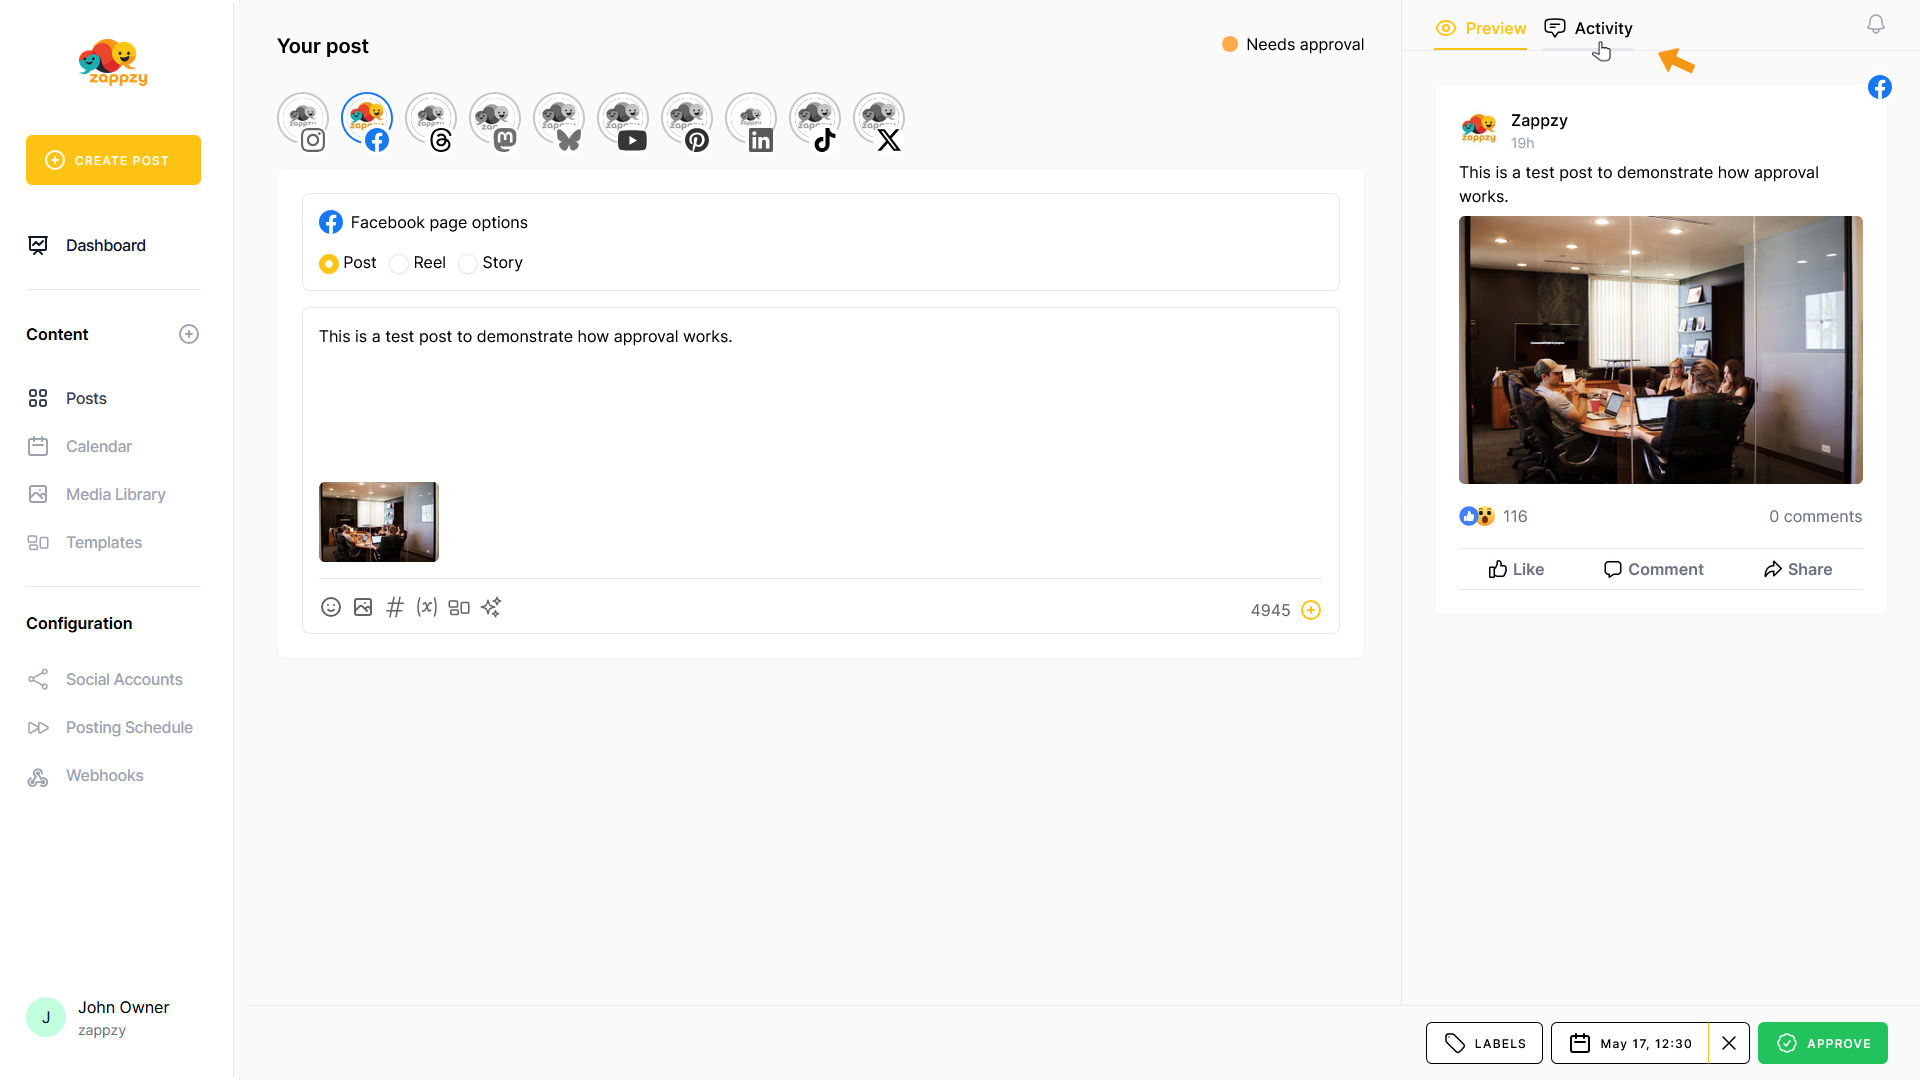
In the Your post overview on the main screen, Jack sees the post he created along with the selected image. A preview appears on the right side.

Jack knows the post should go live as soon as possible. He clicks Activity in the top-right corner, next to the Preview.
The view switches to the Activity panel.
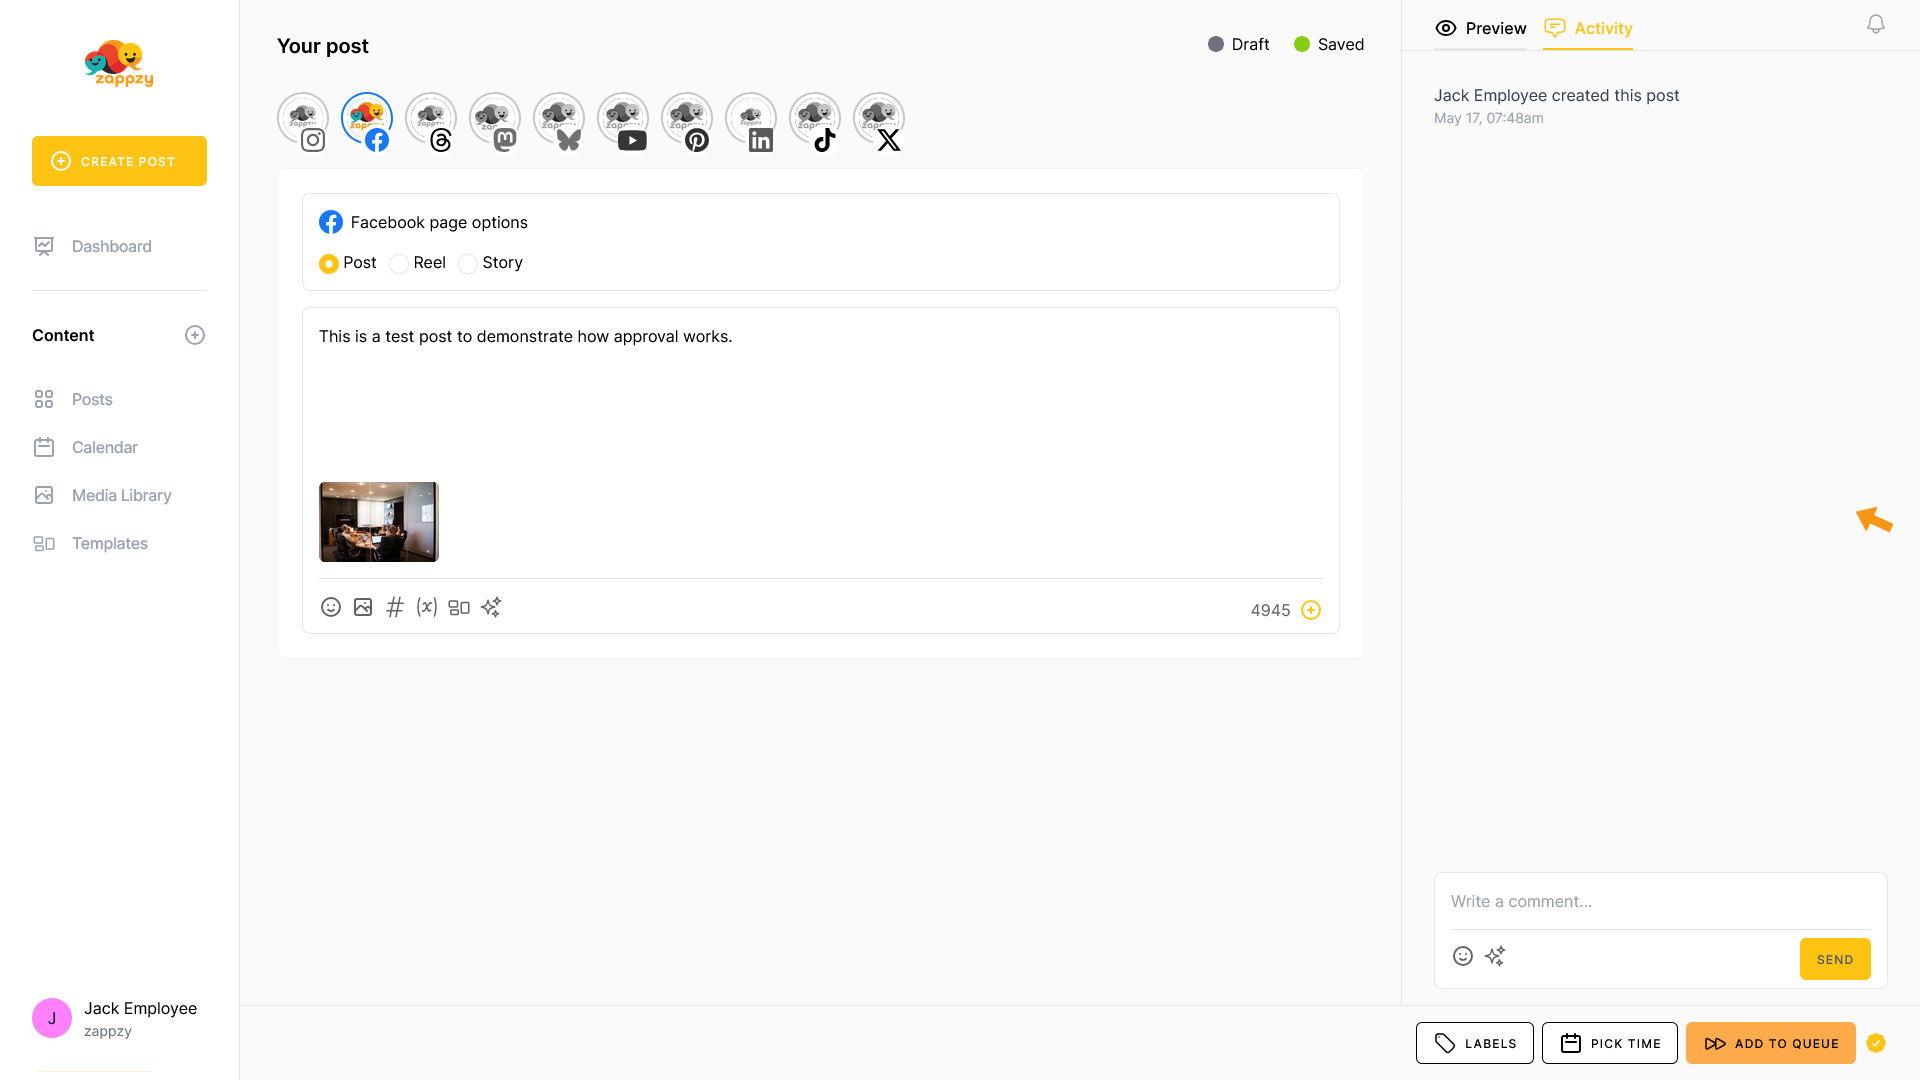
He lets John (the CEO) know that the post is ready and asks him to review and approve it if everything looks good.
Important: If you want workspace members to be notified about a message, always use @ and select the person you want to mention.
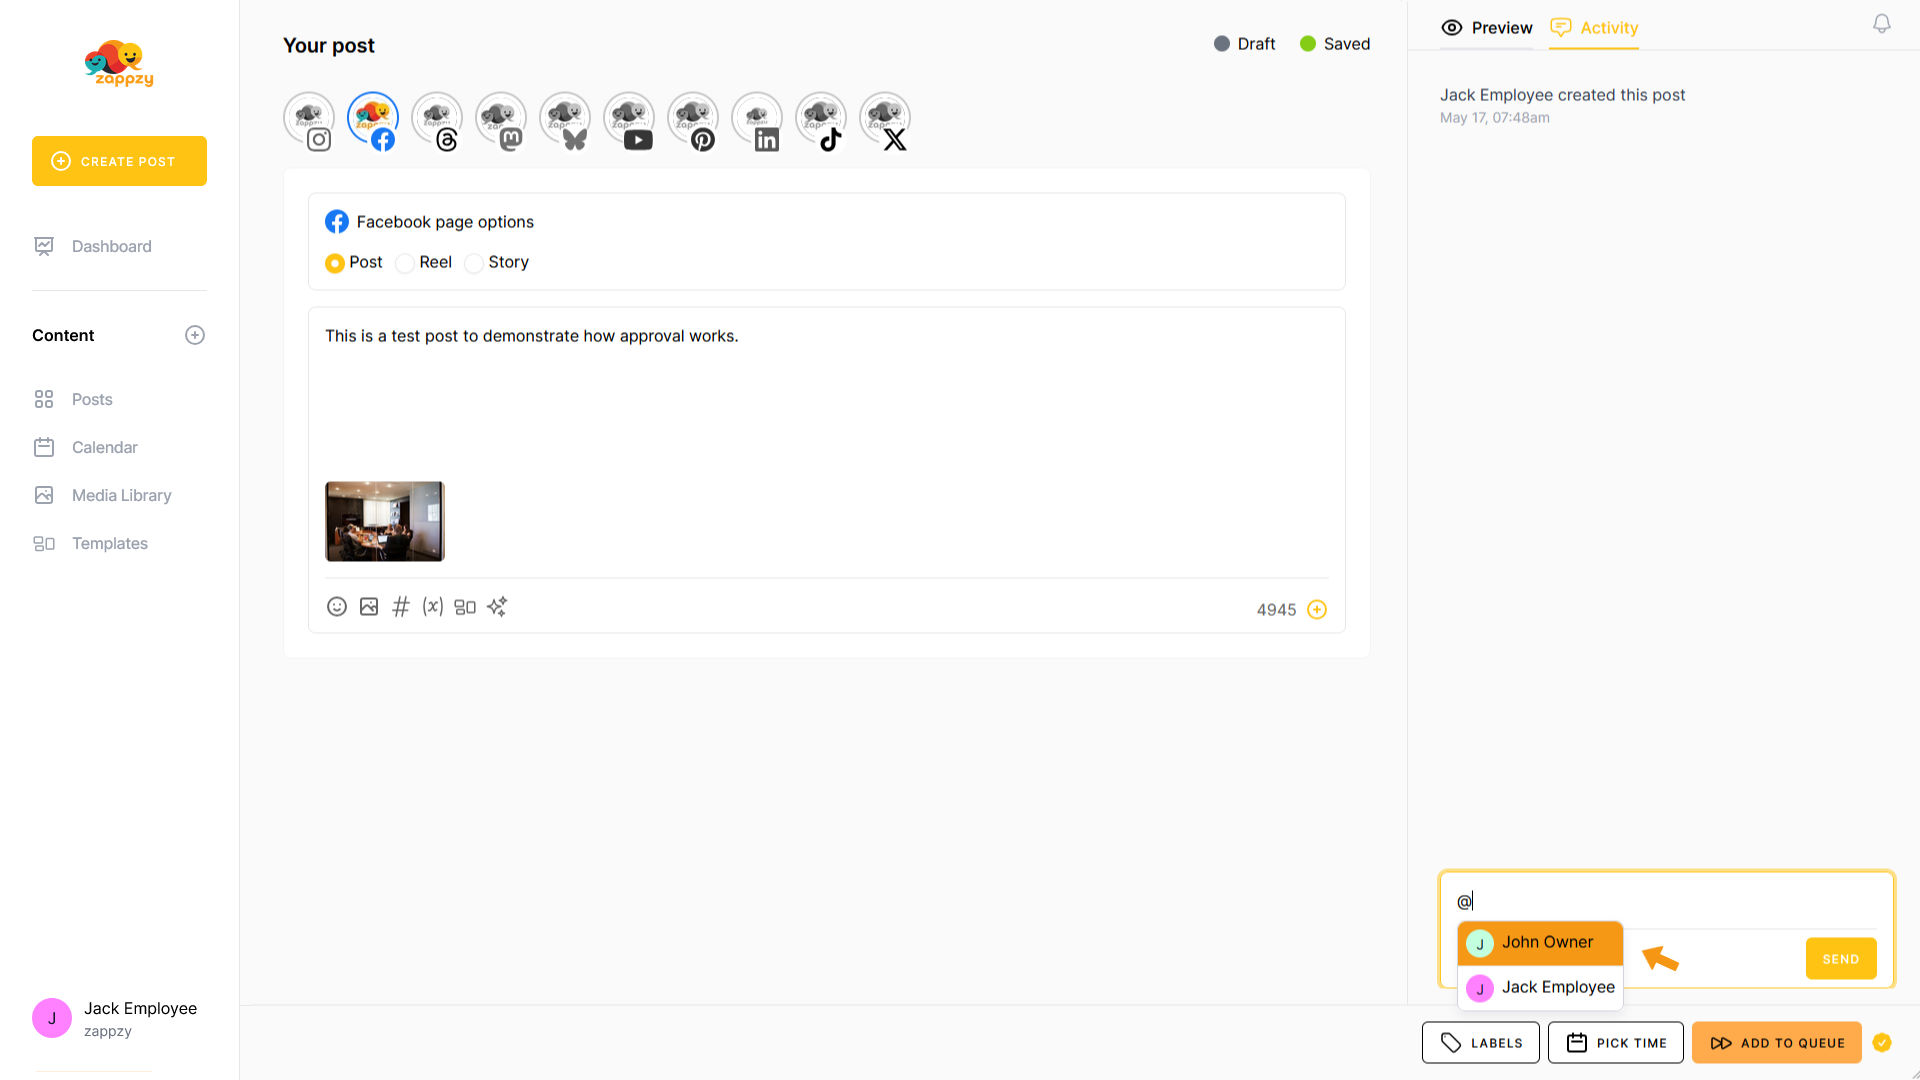
He writes the message by entering a comment in the Write a comment field at the bottom right, then clicks SEND.
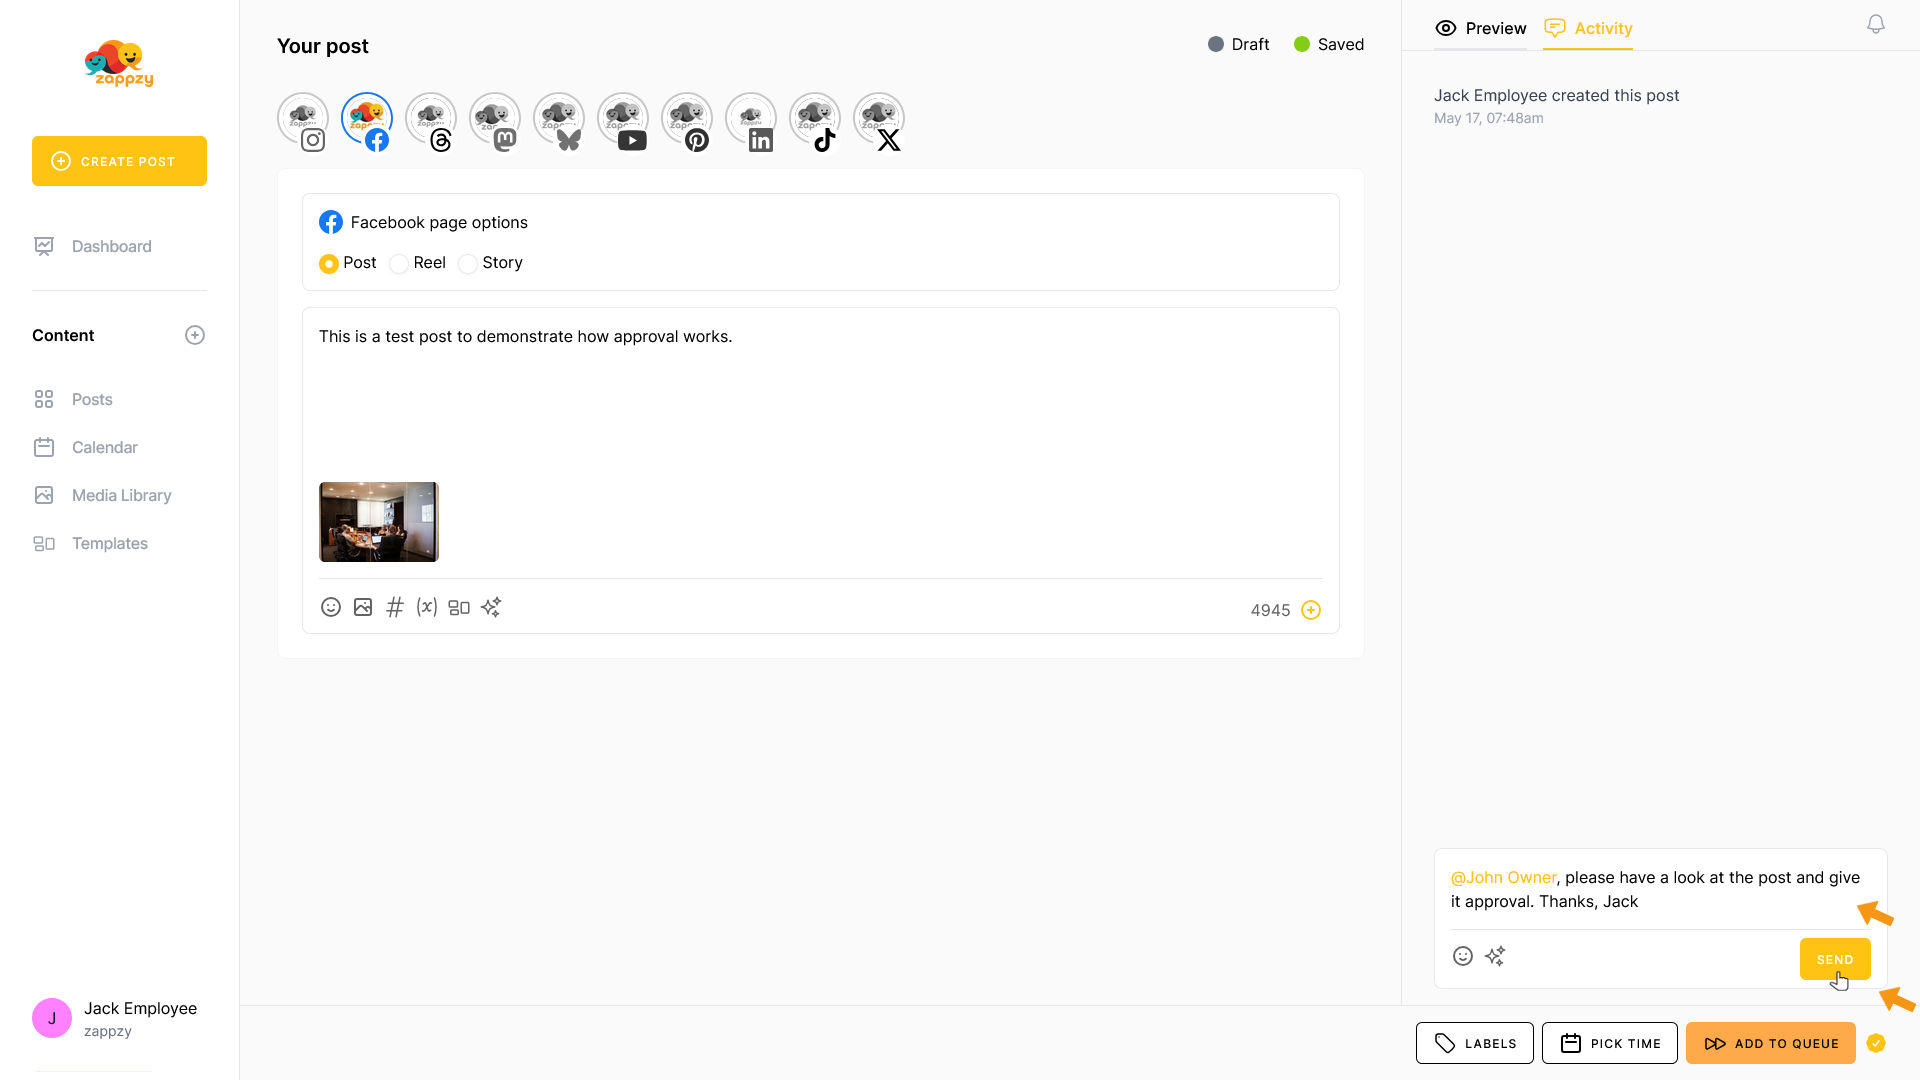
The message now appears in the Activity panel.

Since the post should go live as soon as possible, he clicks the ADD TO QUEUE button.
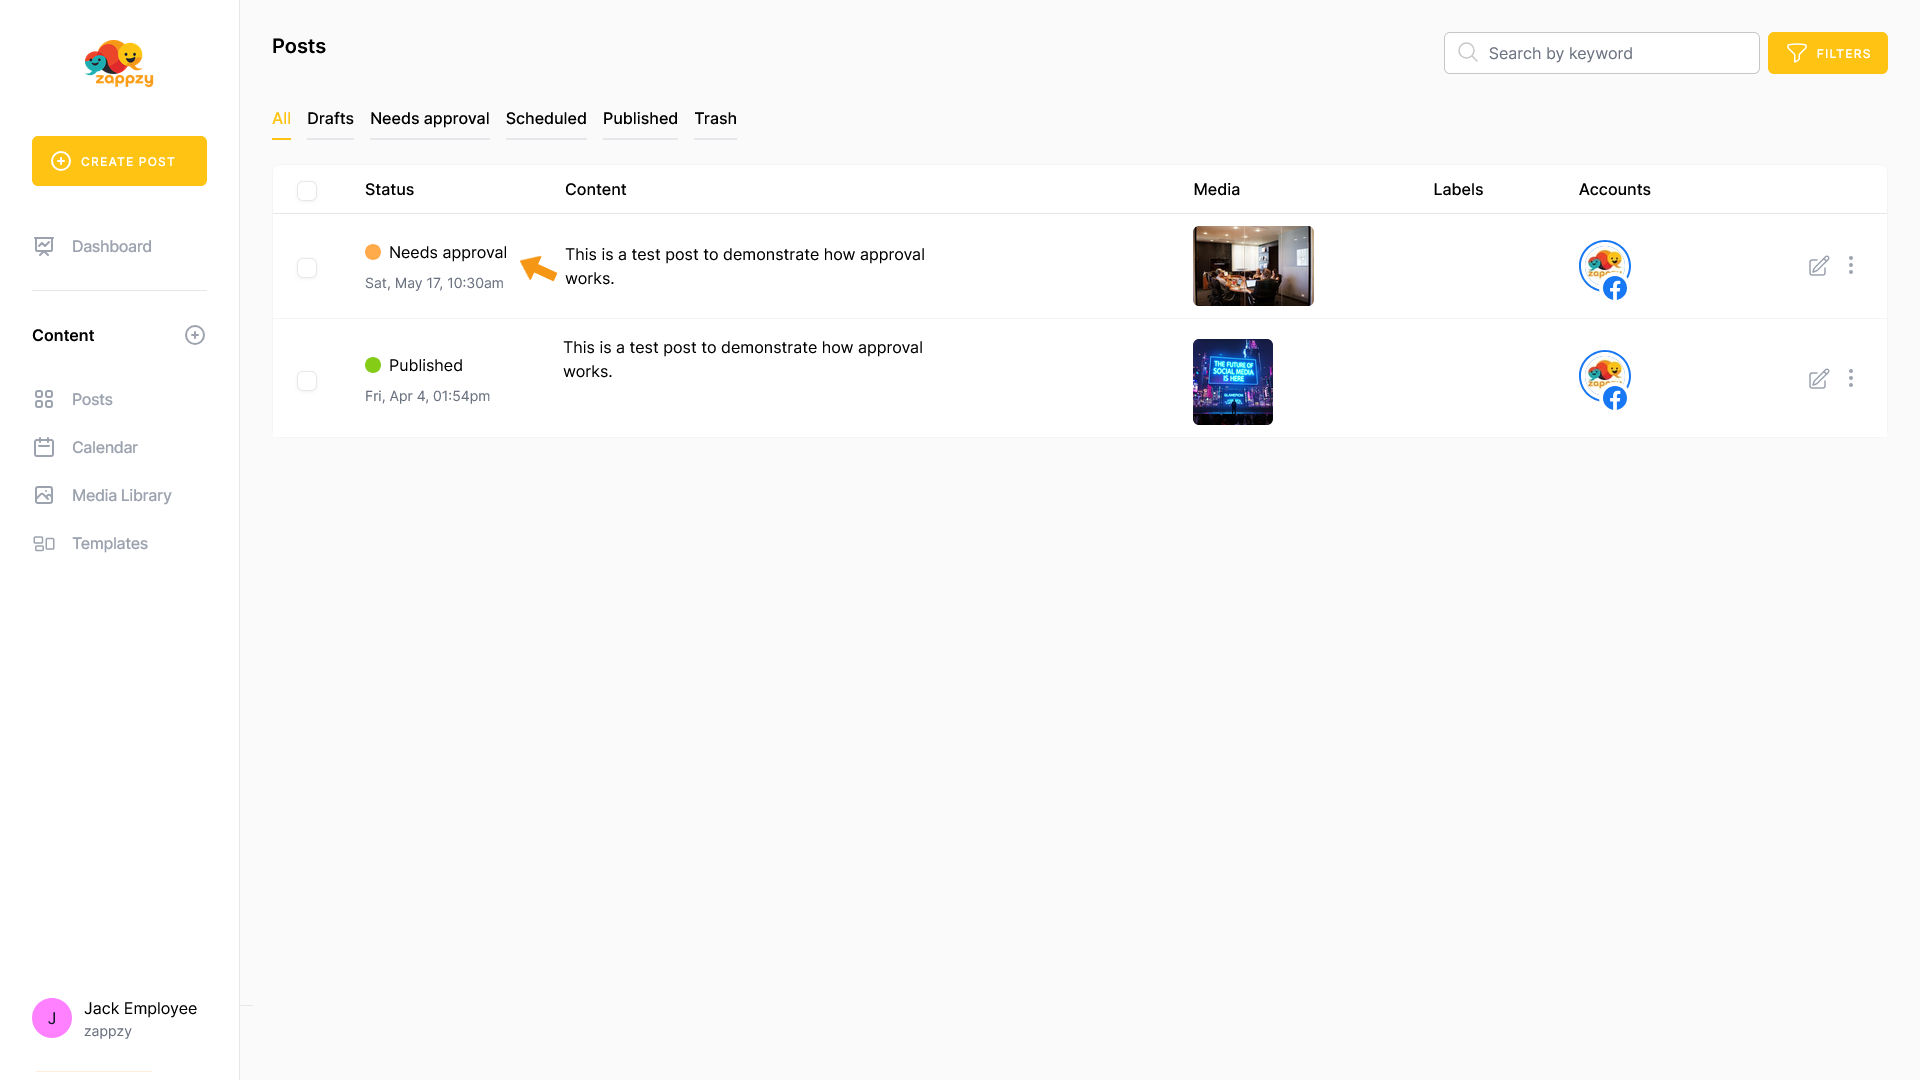
The view switches to the Posts overview. You’ll see that the post is ready, but the status shows Needs approval.
This means the post won’t be published until someone approves it.
Now let’s switch to John (the CEO).
He received an email from zappzy with Jack’s message.
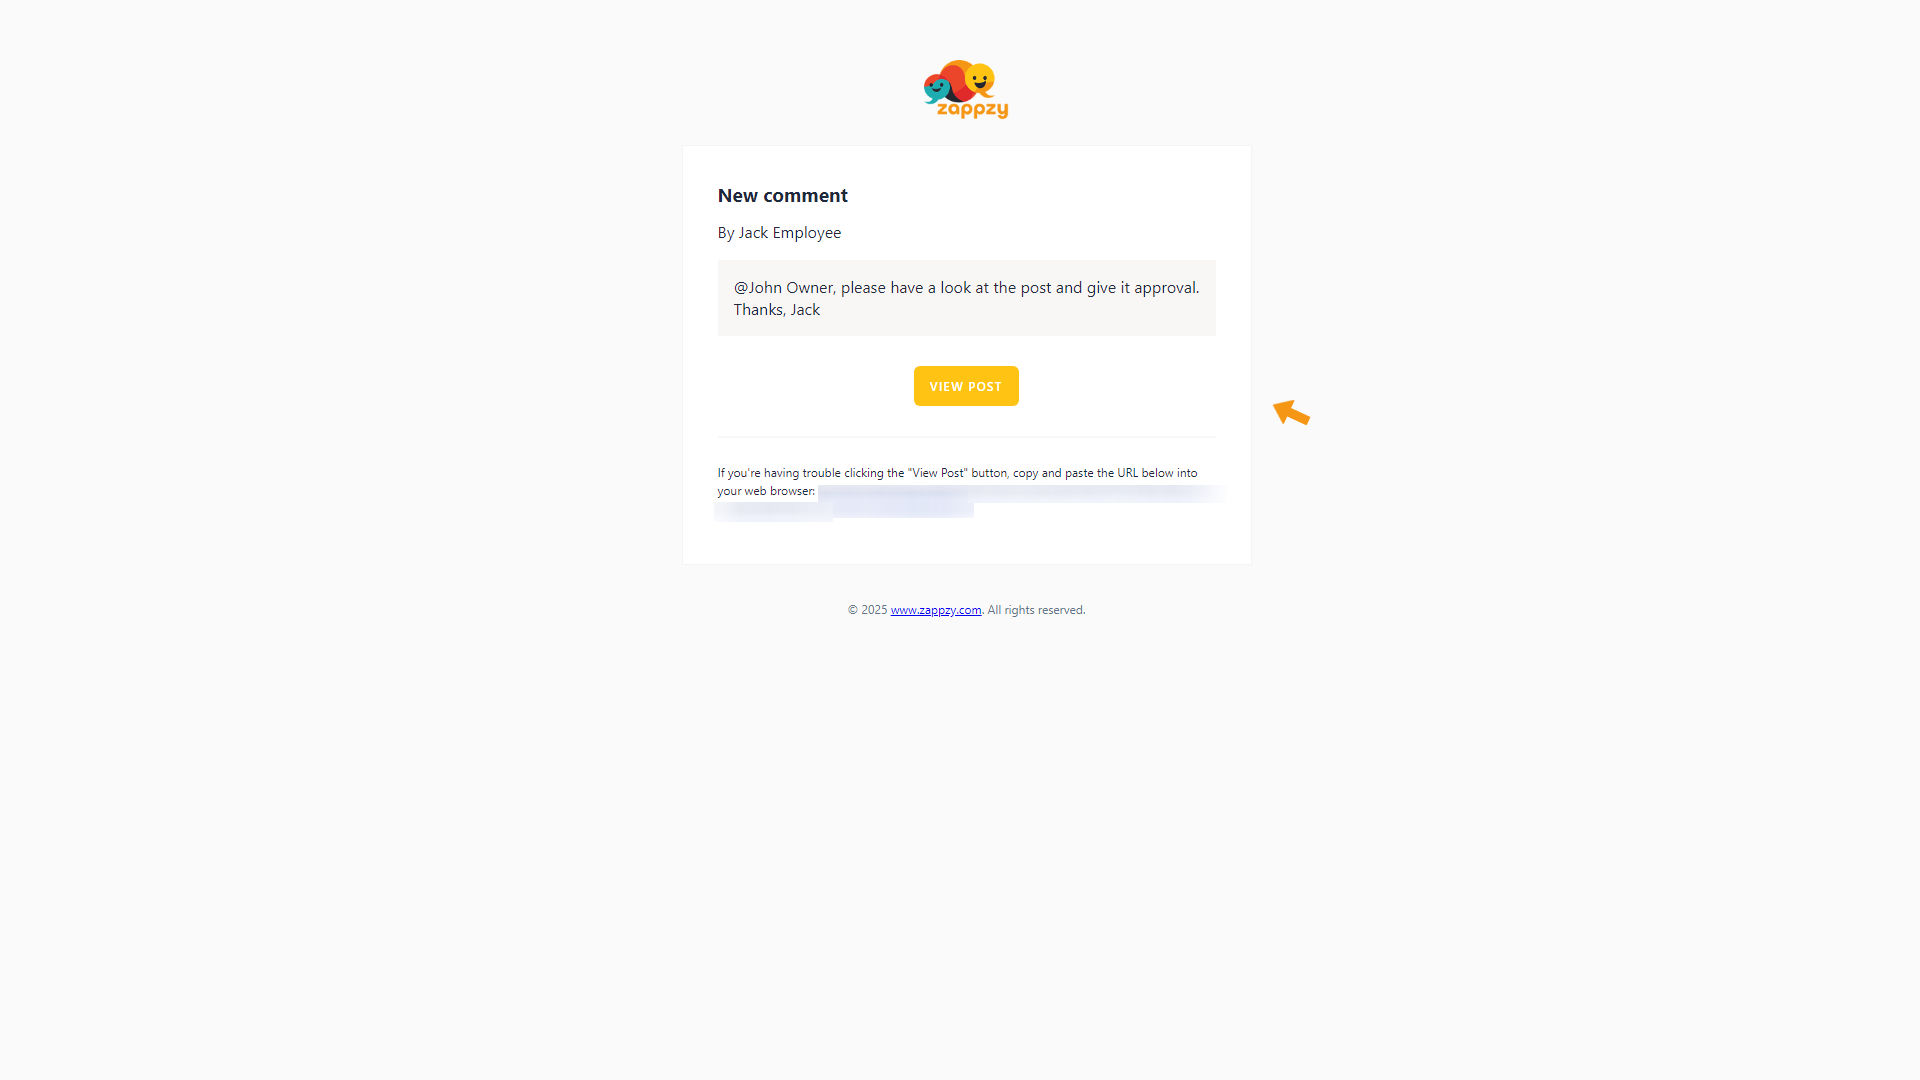
After logging in to zappzy, John clicks Posts in the left-hand menu.
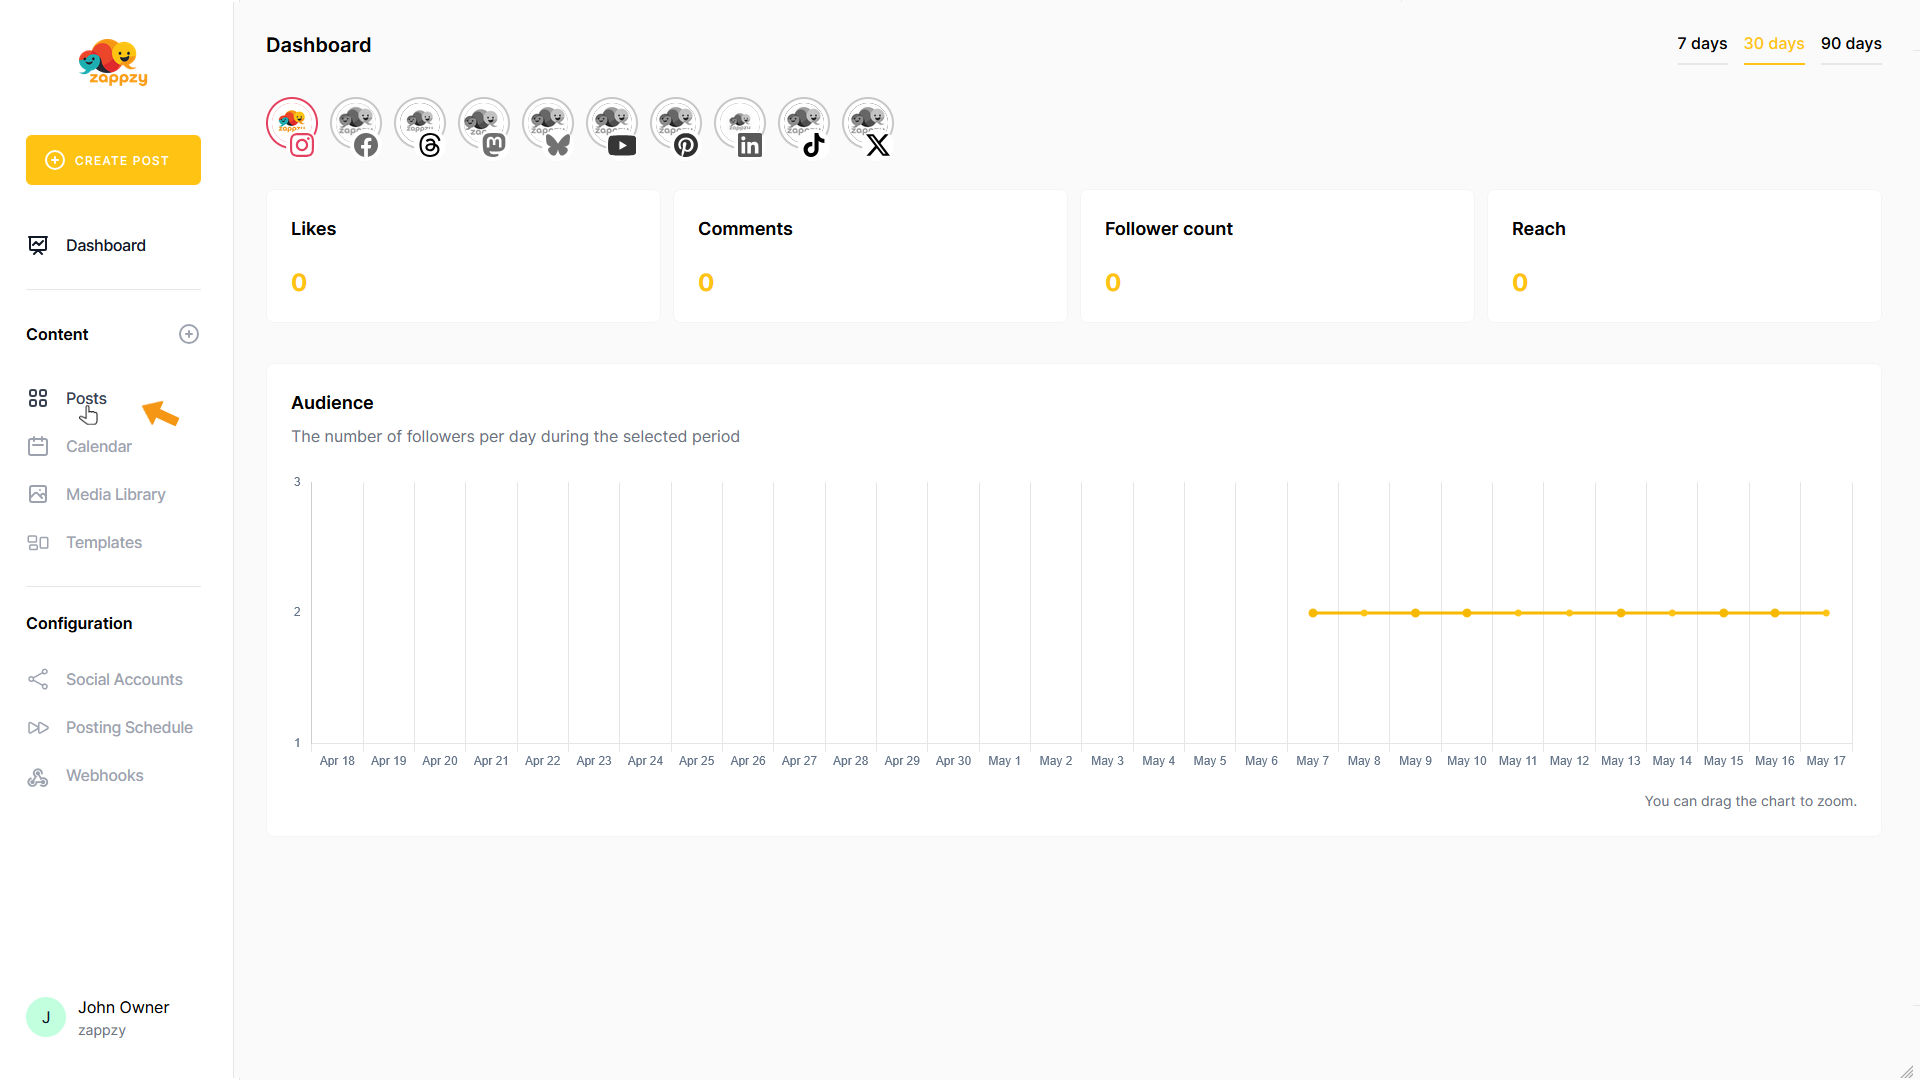
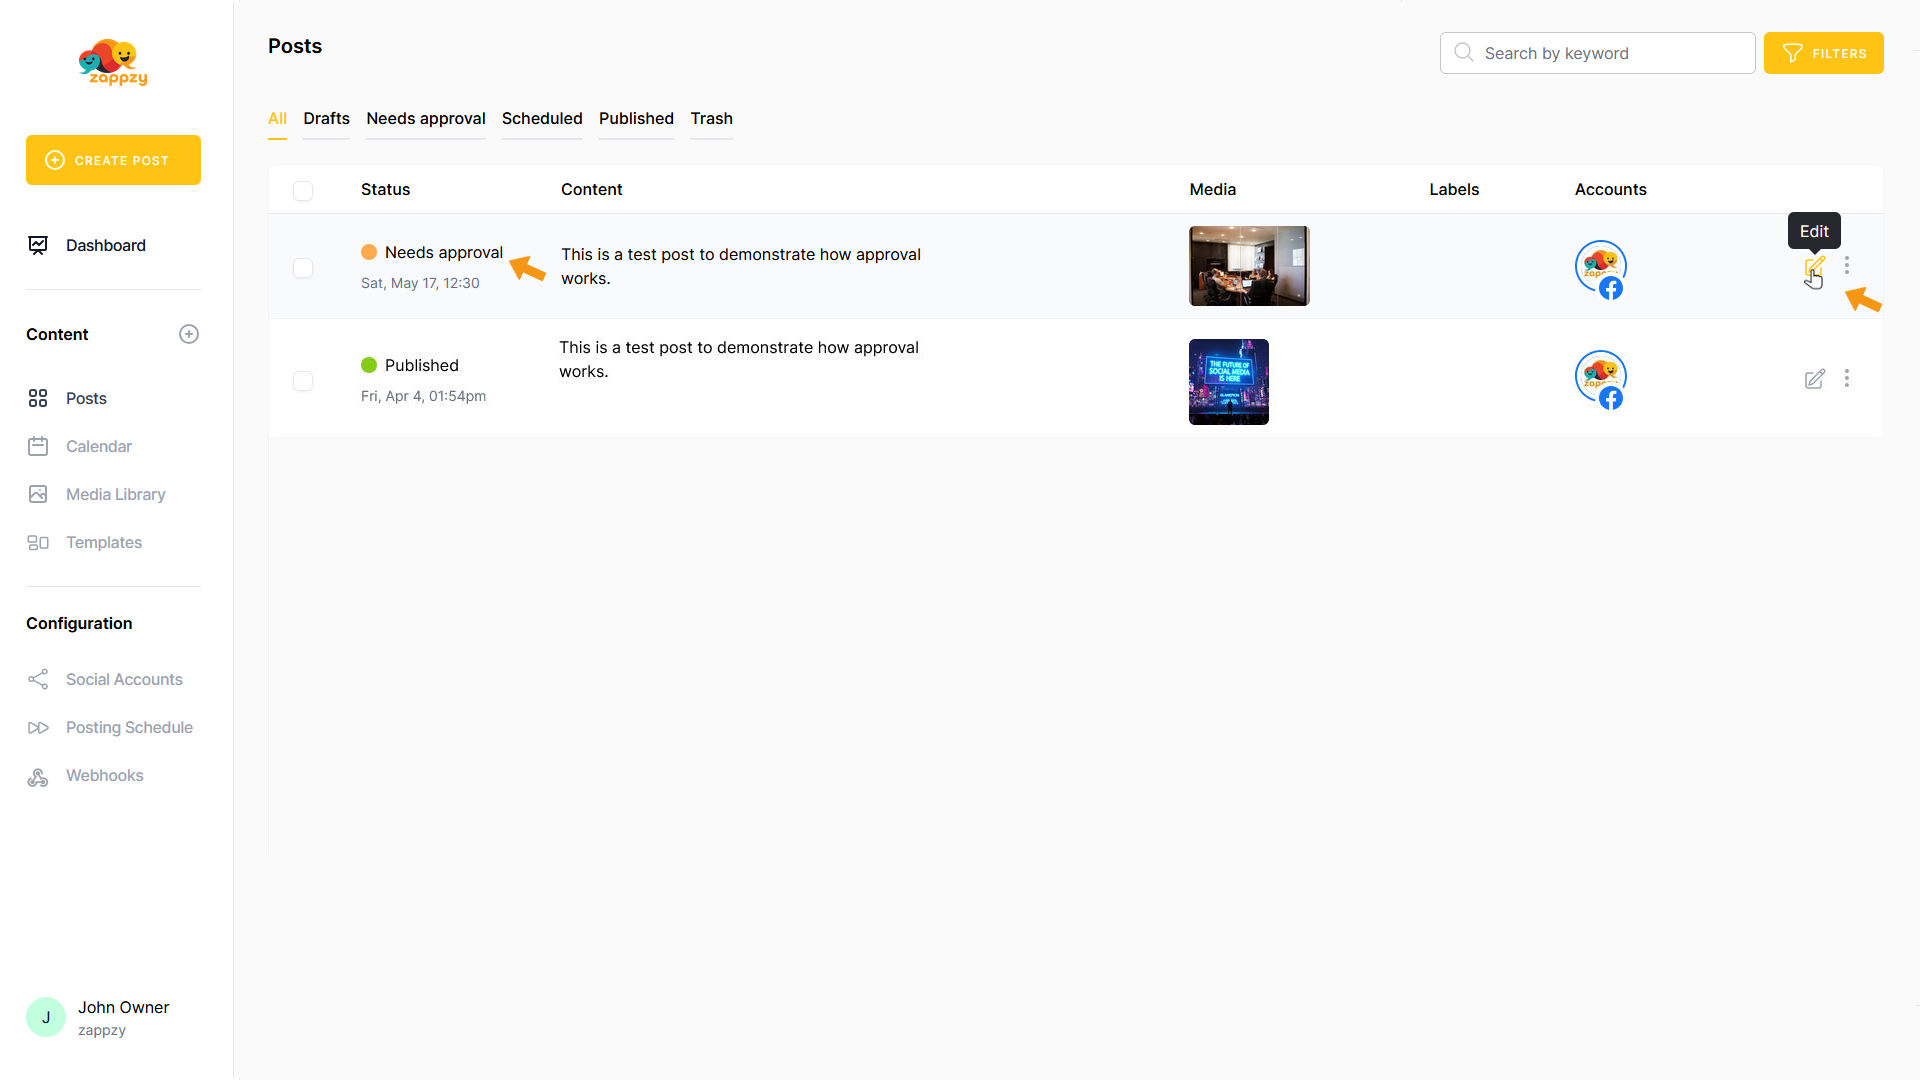
The Posts overview appears on the main screen.
John sees that a post needs approval. To open it, he clicks the paper-and-pencil icon on the far right of the post row.
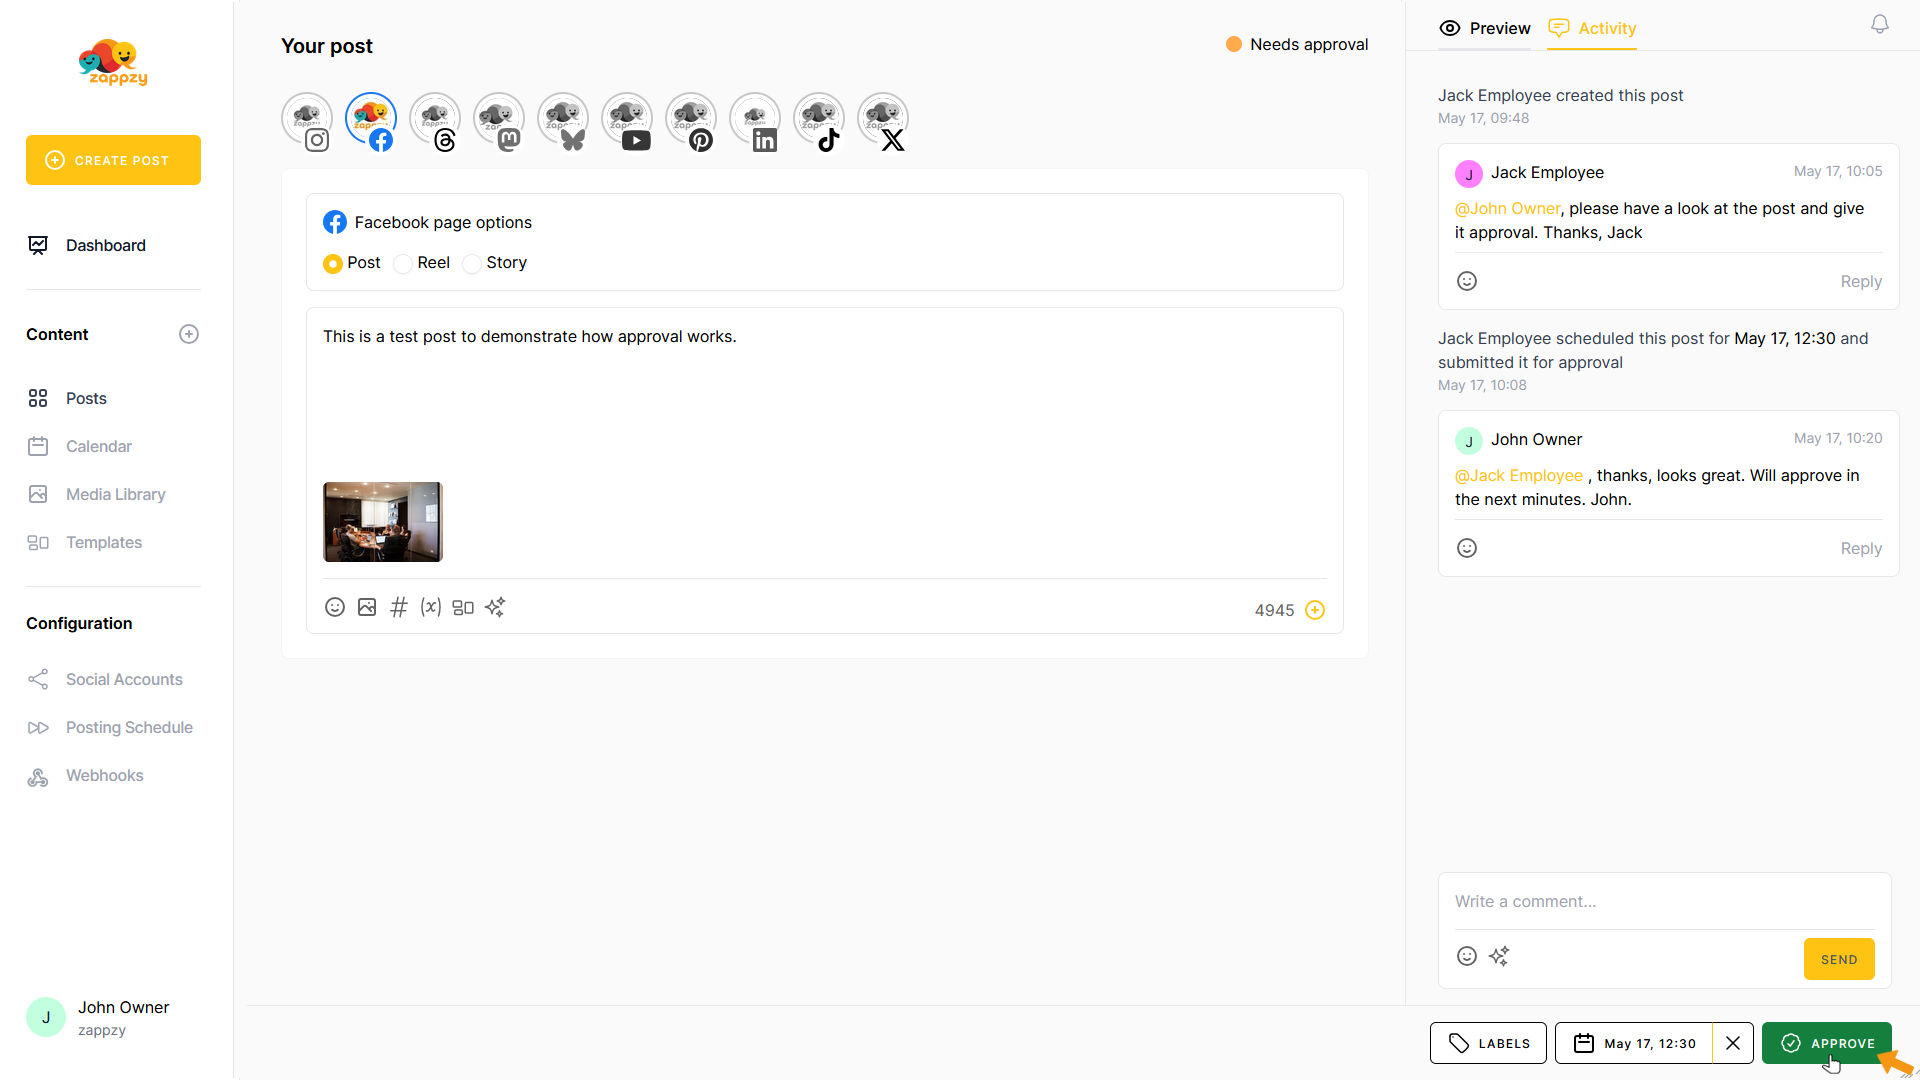
The Your post overview for that post opens. John clicks Activity to view the comment.
He sees Jack’s message. If needed, he can send changes back to Jack — just like we described earlier.
In this case, that’s not necessary. We’ll assume the post looks good and John is happy with it.
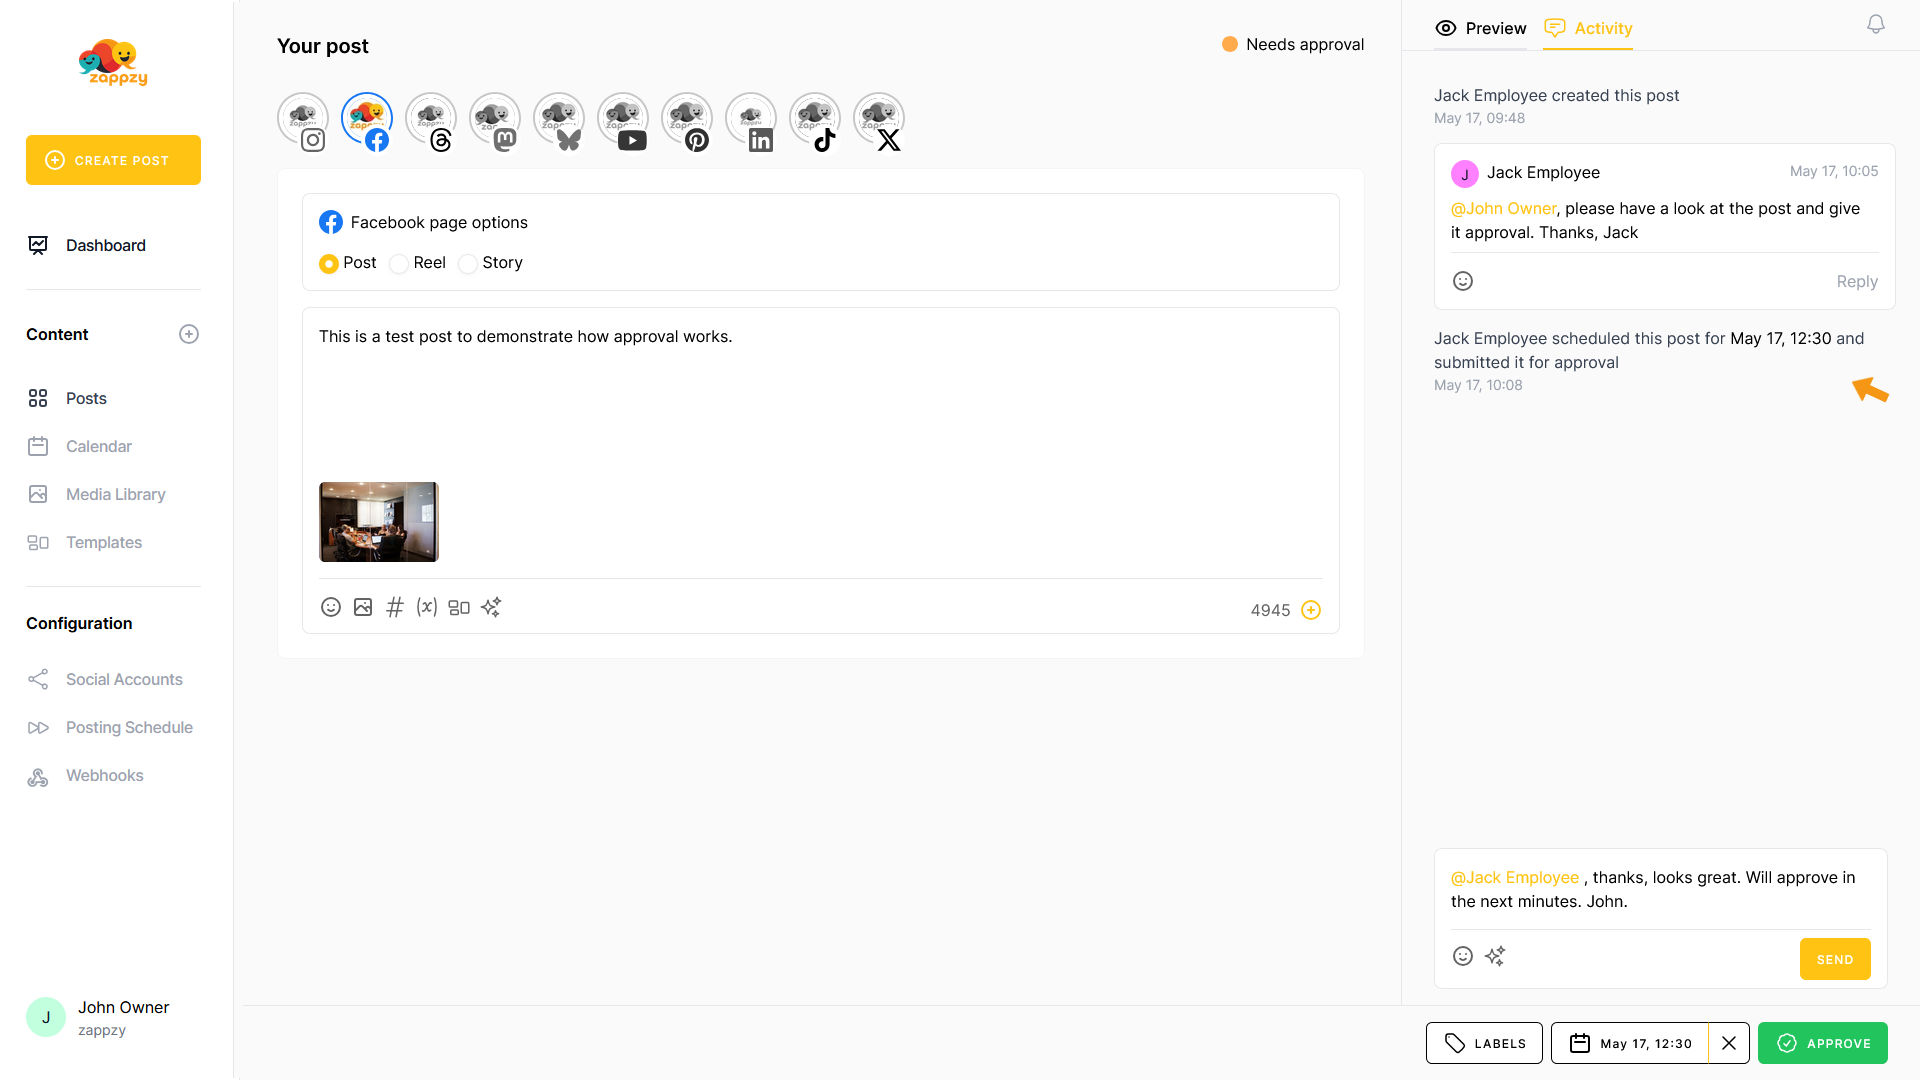
He writes a message to Jack letting him know he’s going to approve the post.
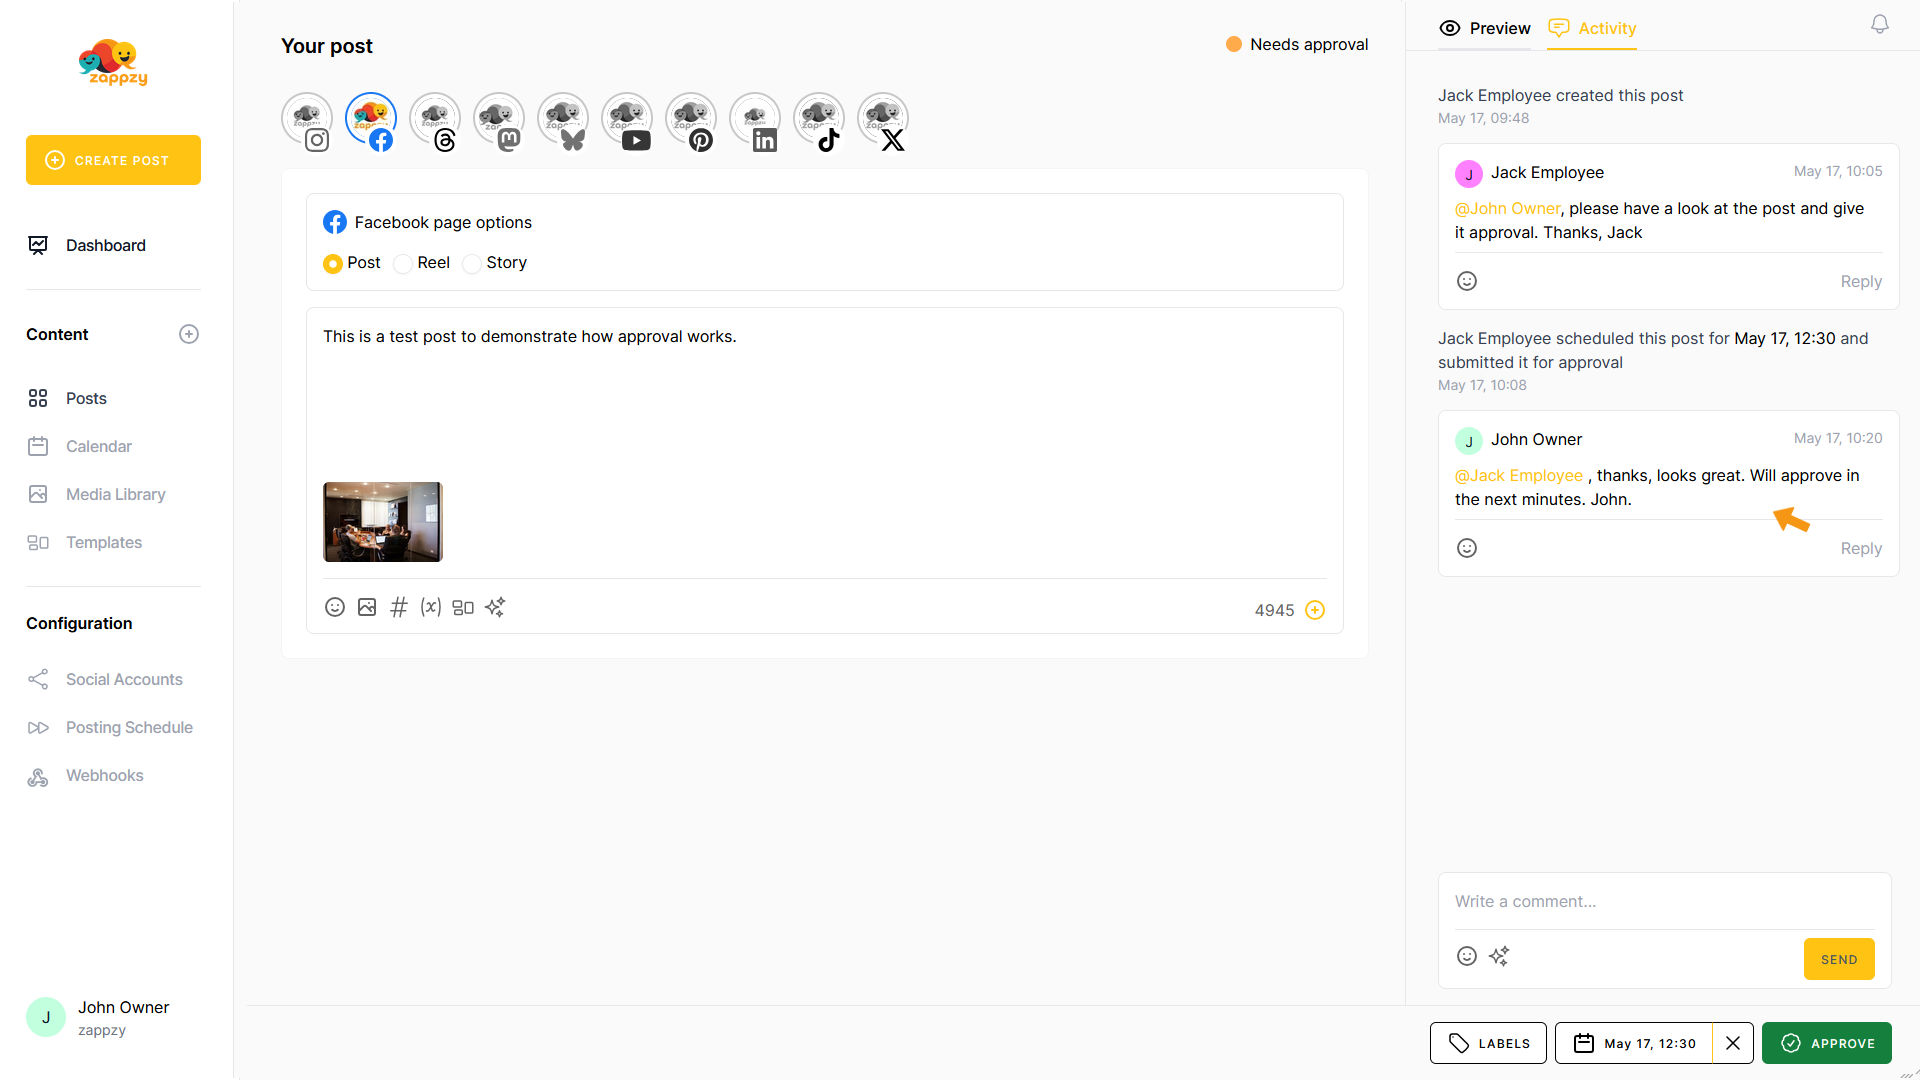
John then clicks APPROVE in the bottom right. The post is now prepared for publication.
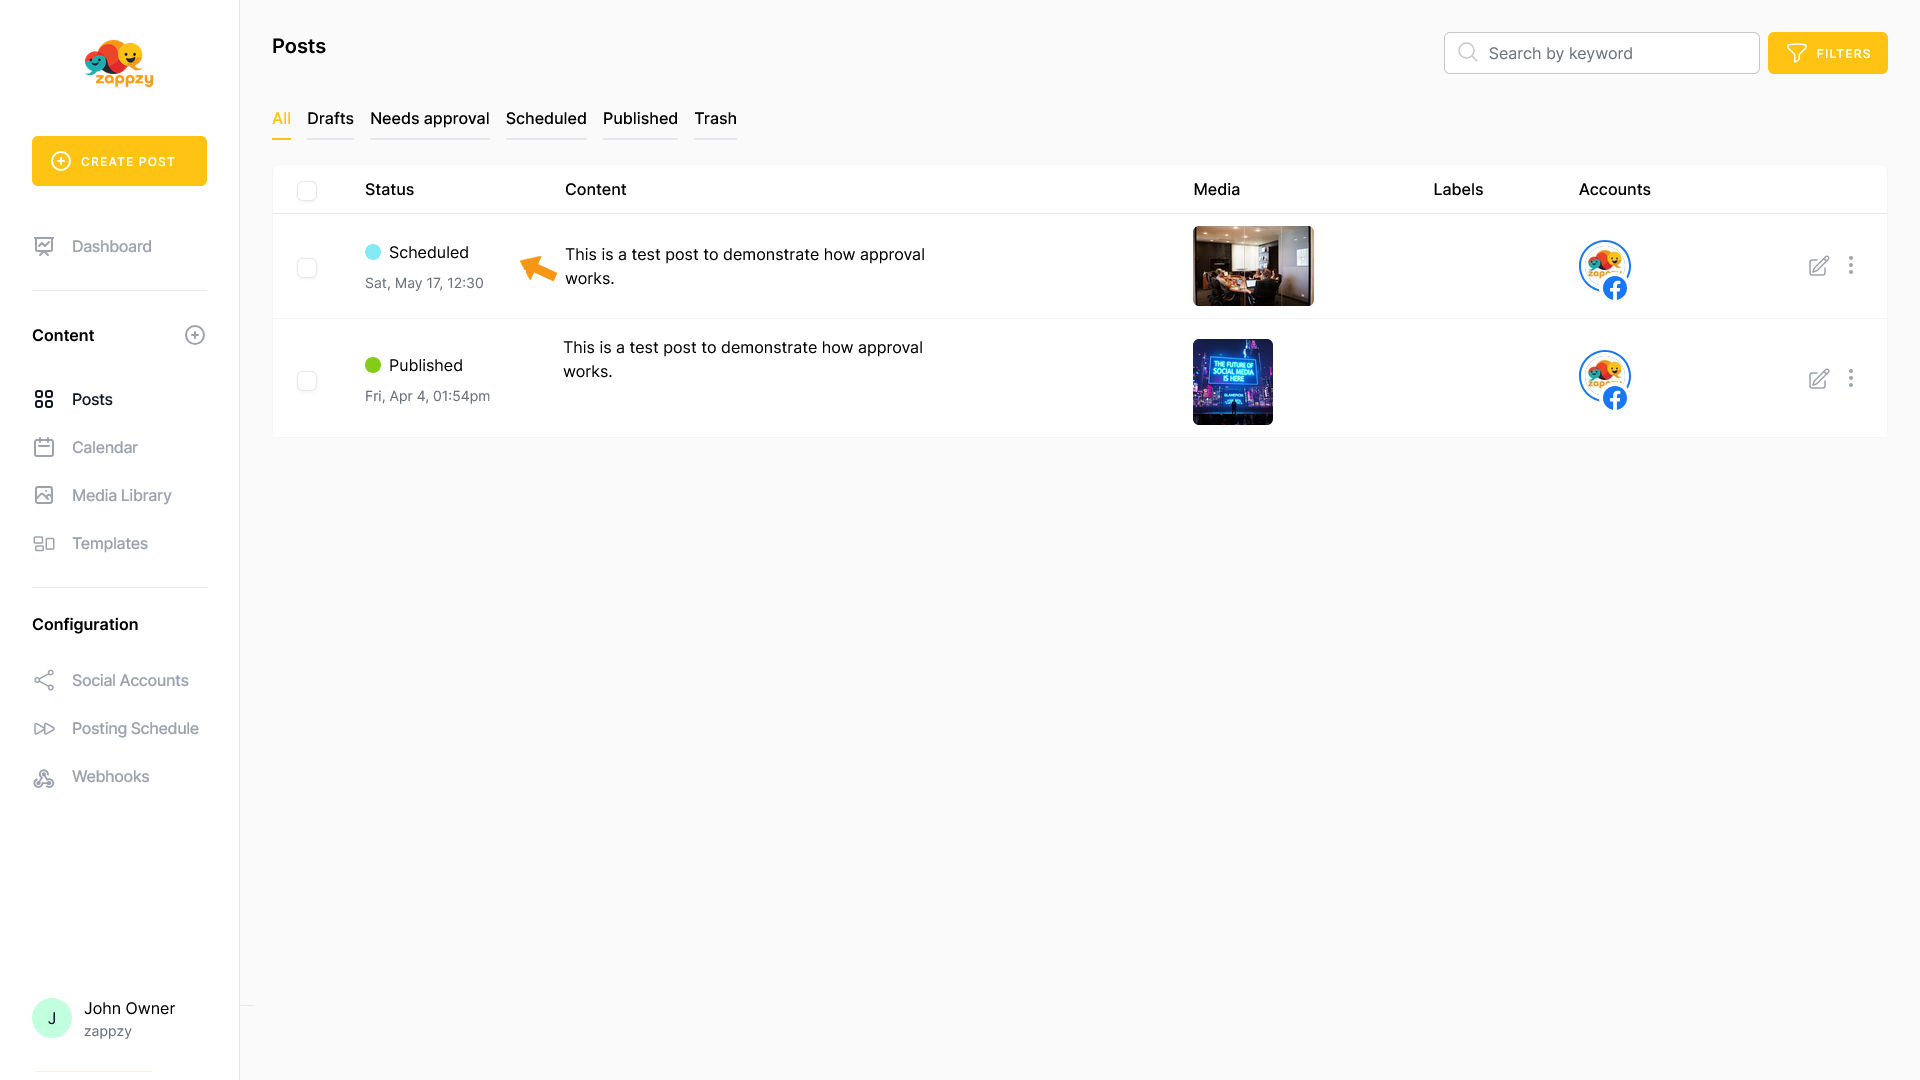
The view switches back to the Posts overview.
You’ll see that the post is now marked as Scheduled and is set to be published on Facebook shortly.
After a few seconds, the status changes to Published. The post is now live — in this case, on Facebook.
