zappzy Support Center > Content > Templates: Build your own templates to speed up posting

Video or step-by-step guide with screenshots. Your choice. Choose what fits you best.
Step-by-step guide
Why use Templates?
Tired of writing the same post structure over and over? Templates let you save your winning post formats so you can reuse them instantly.
For example: Your bakery's "Fresh Baked Friday" posts always get great engagement when you use the format: product photo + "Just out of the oven!" + today's special + "Stop by before we sell out!" Instead of recreating this structure every Friday, save it as a template. Next week, just pick your template, swap in the new product photo and special, and you're done in seconds instead of minutes.
Templates work great for recurring posts like weekly specials, new arrivals, customer spotlights, or any format that works well for your business and audience.
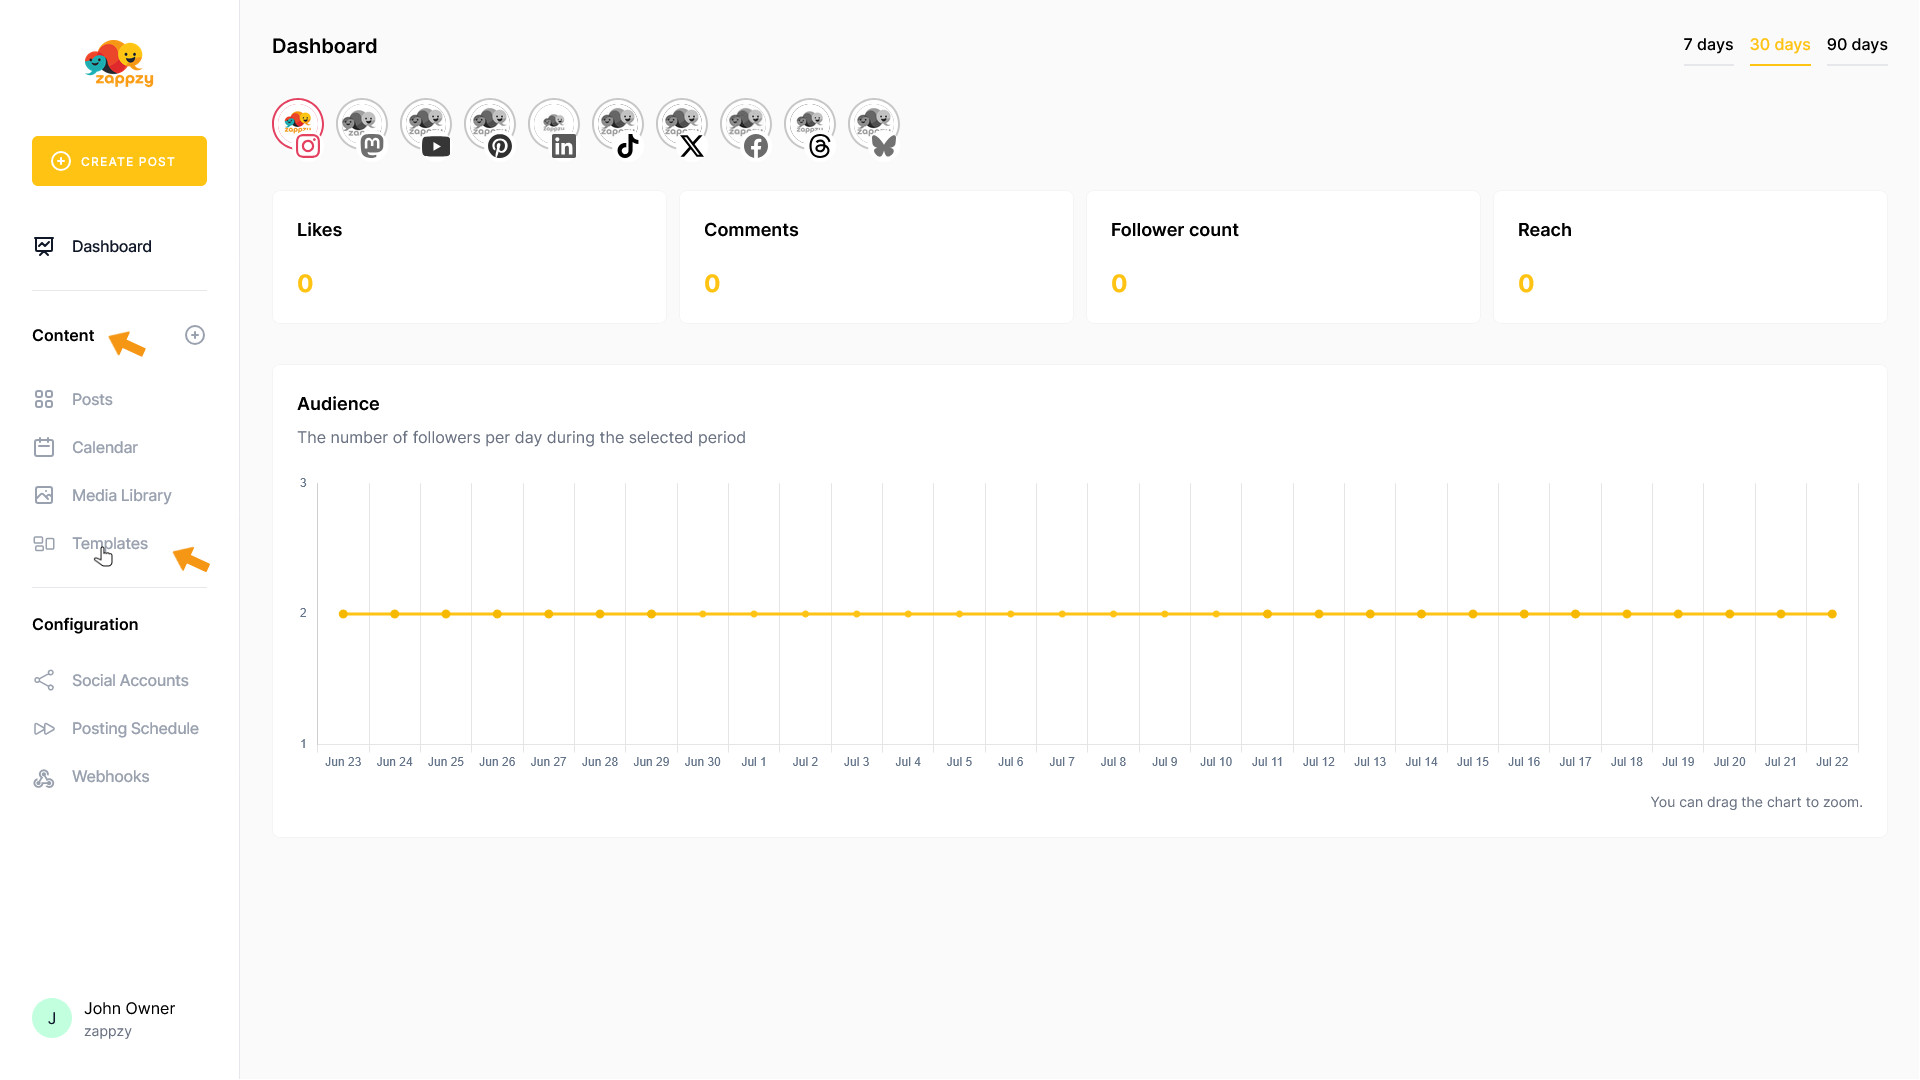
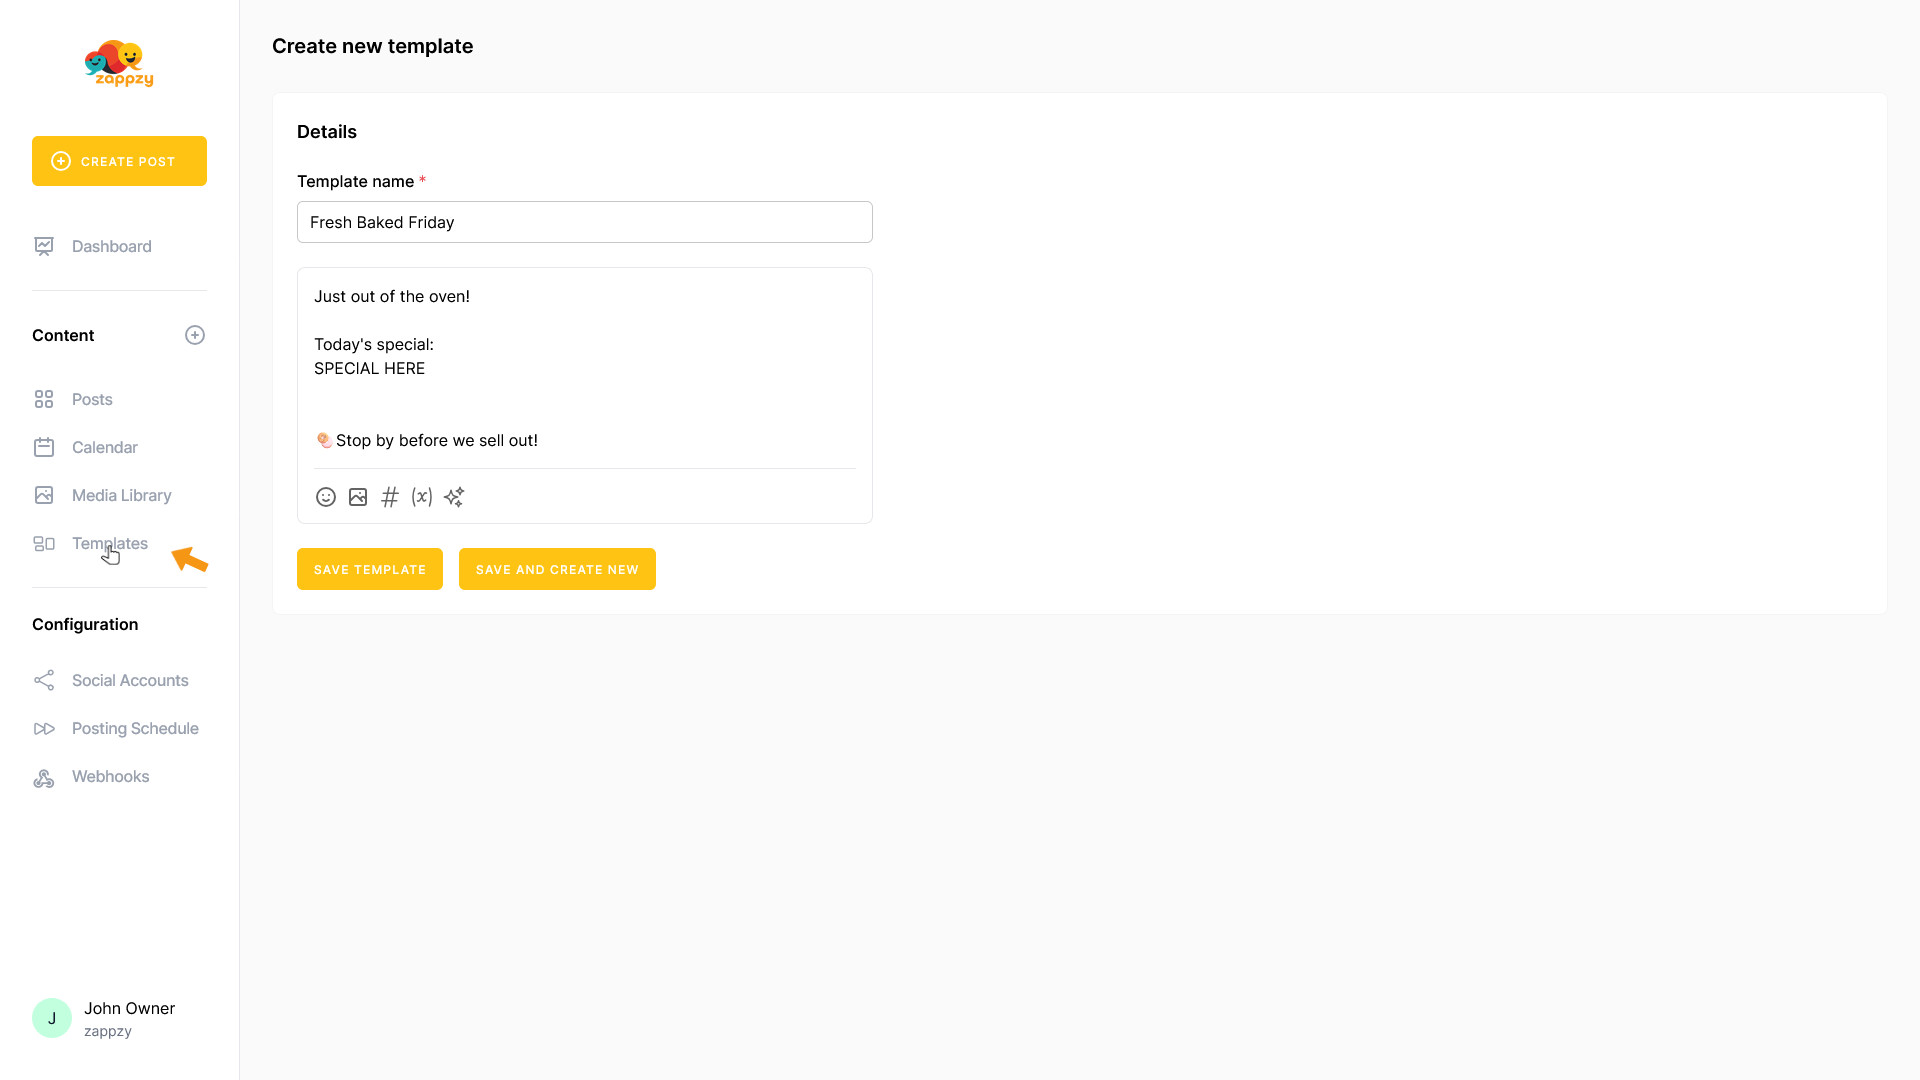
Once you're logged in to zappzy, you'll see the Content section. Click on Templates below.
The Templates overview will appear on your main screen.
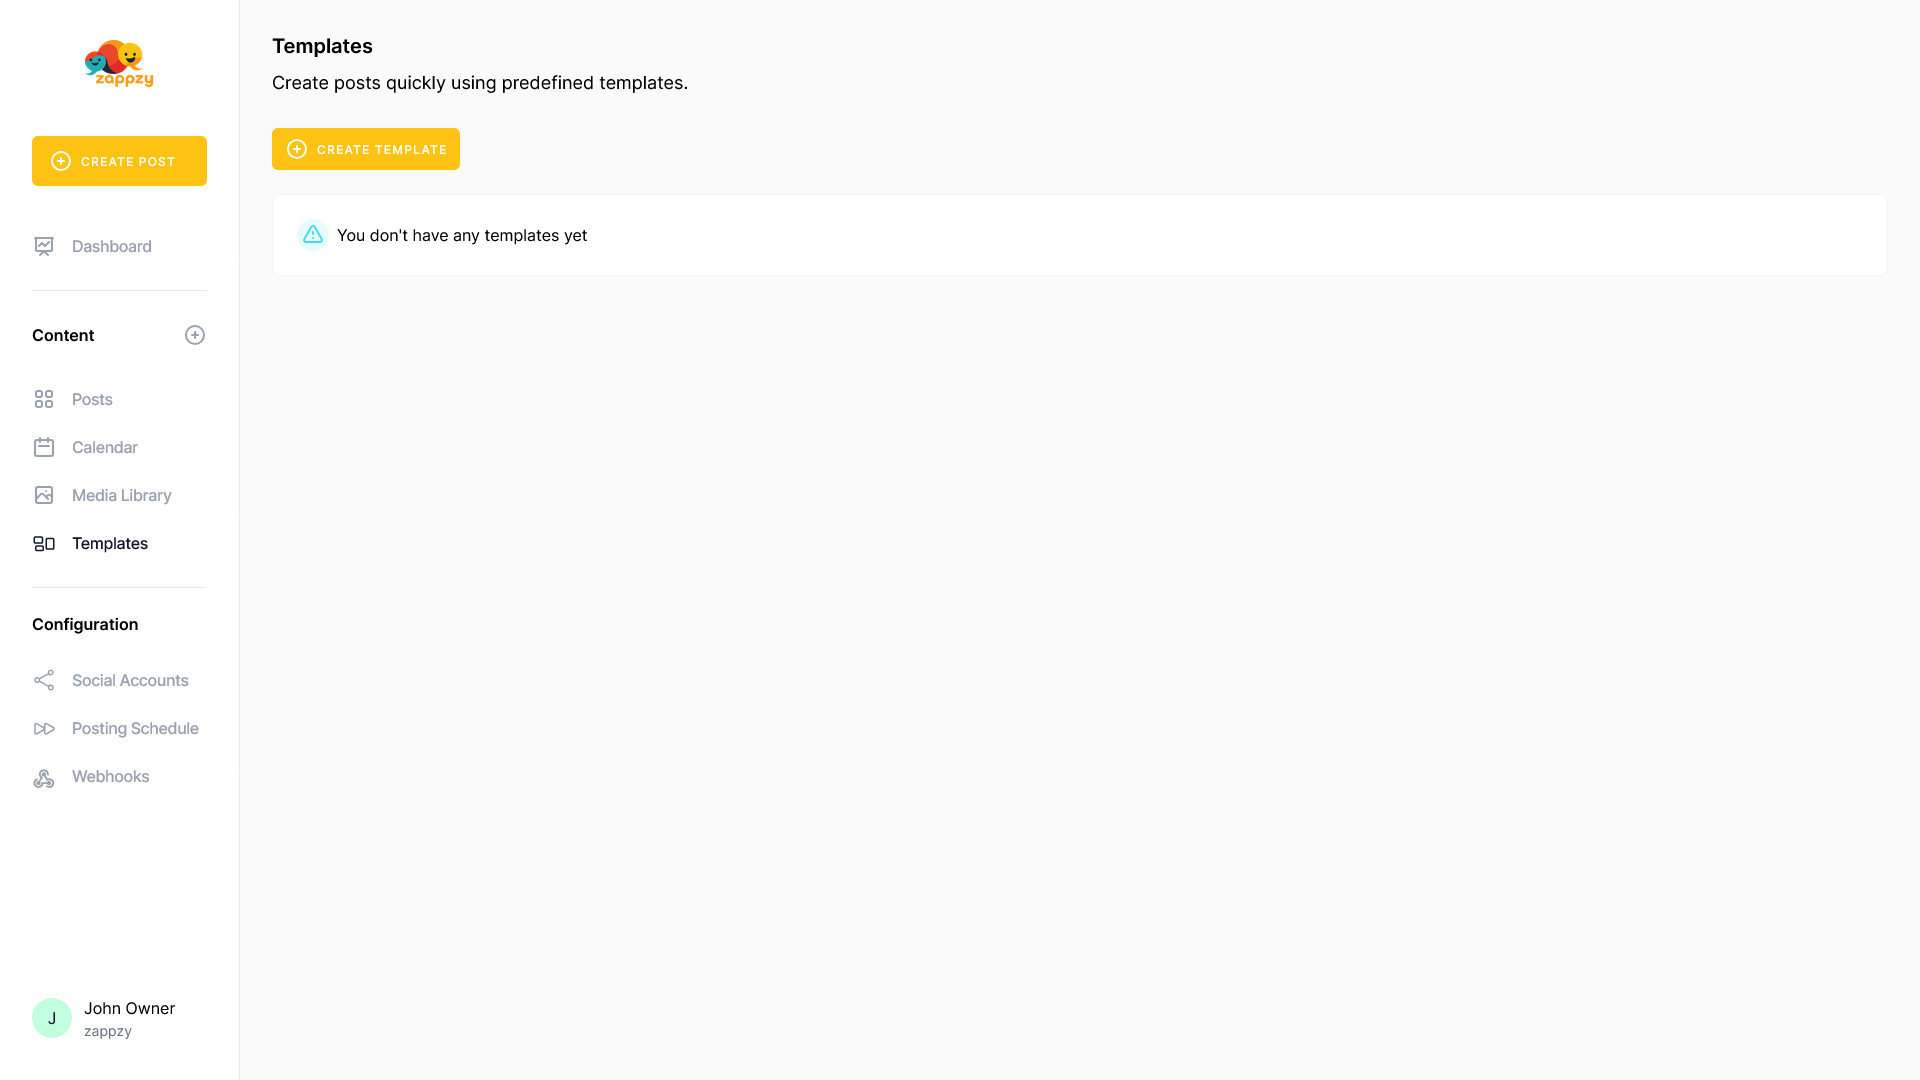
To create your first template, click the CREATE TEMPLATE button.

A blank template appears on your main screen.
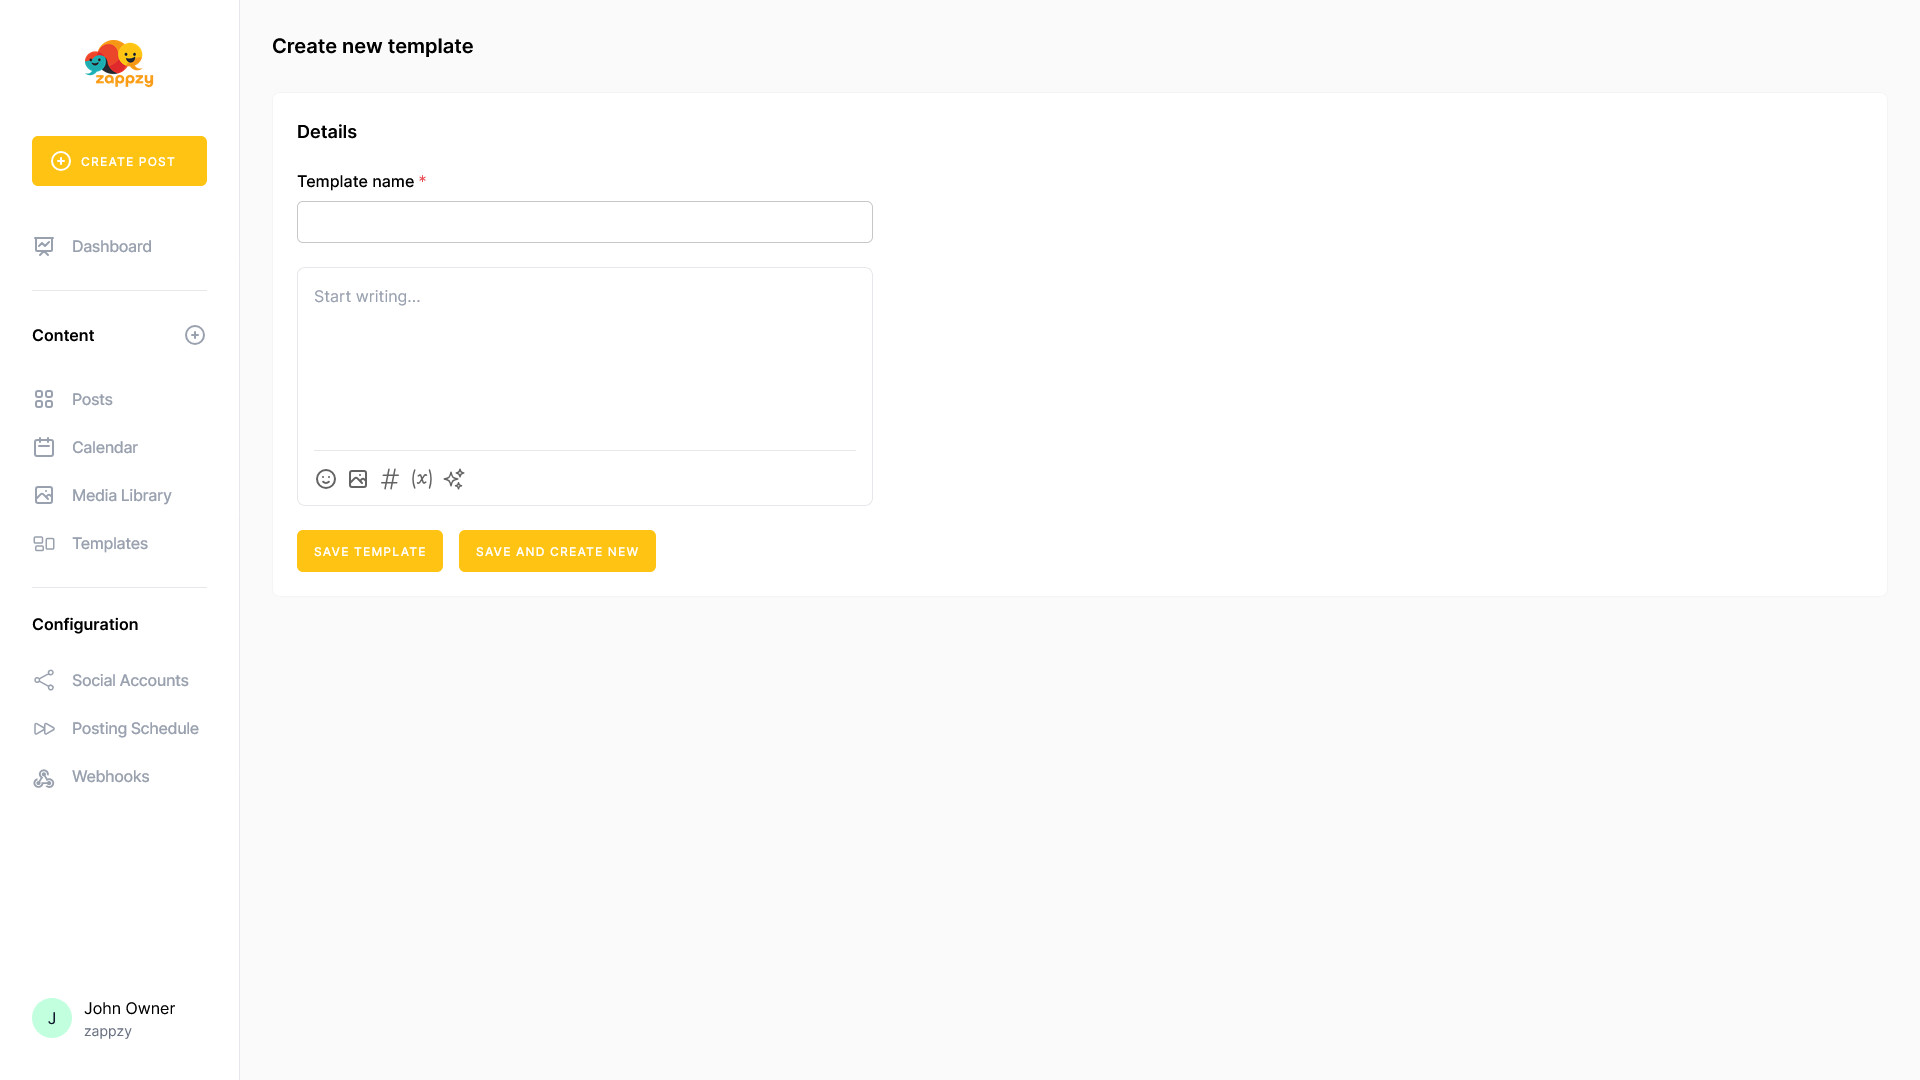
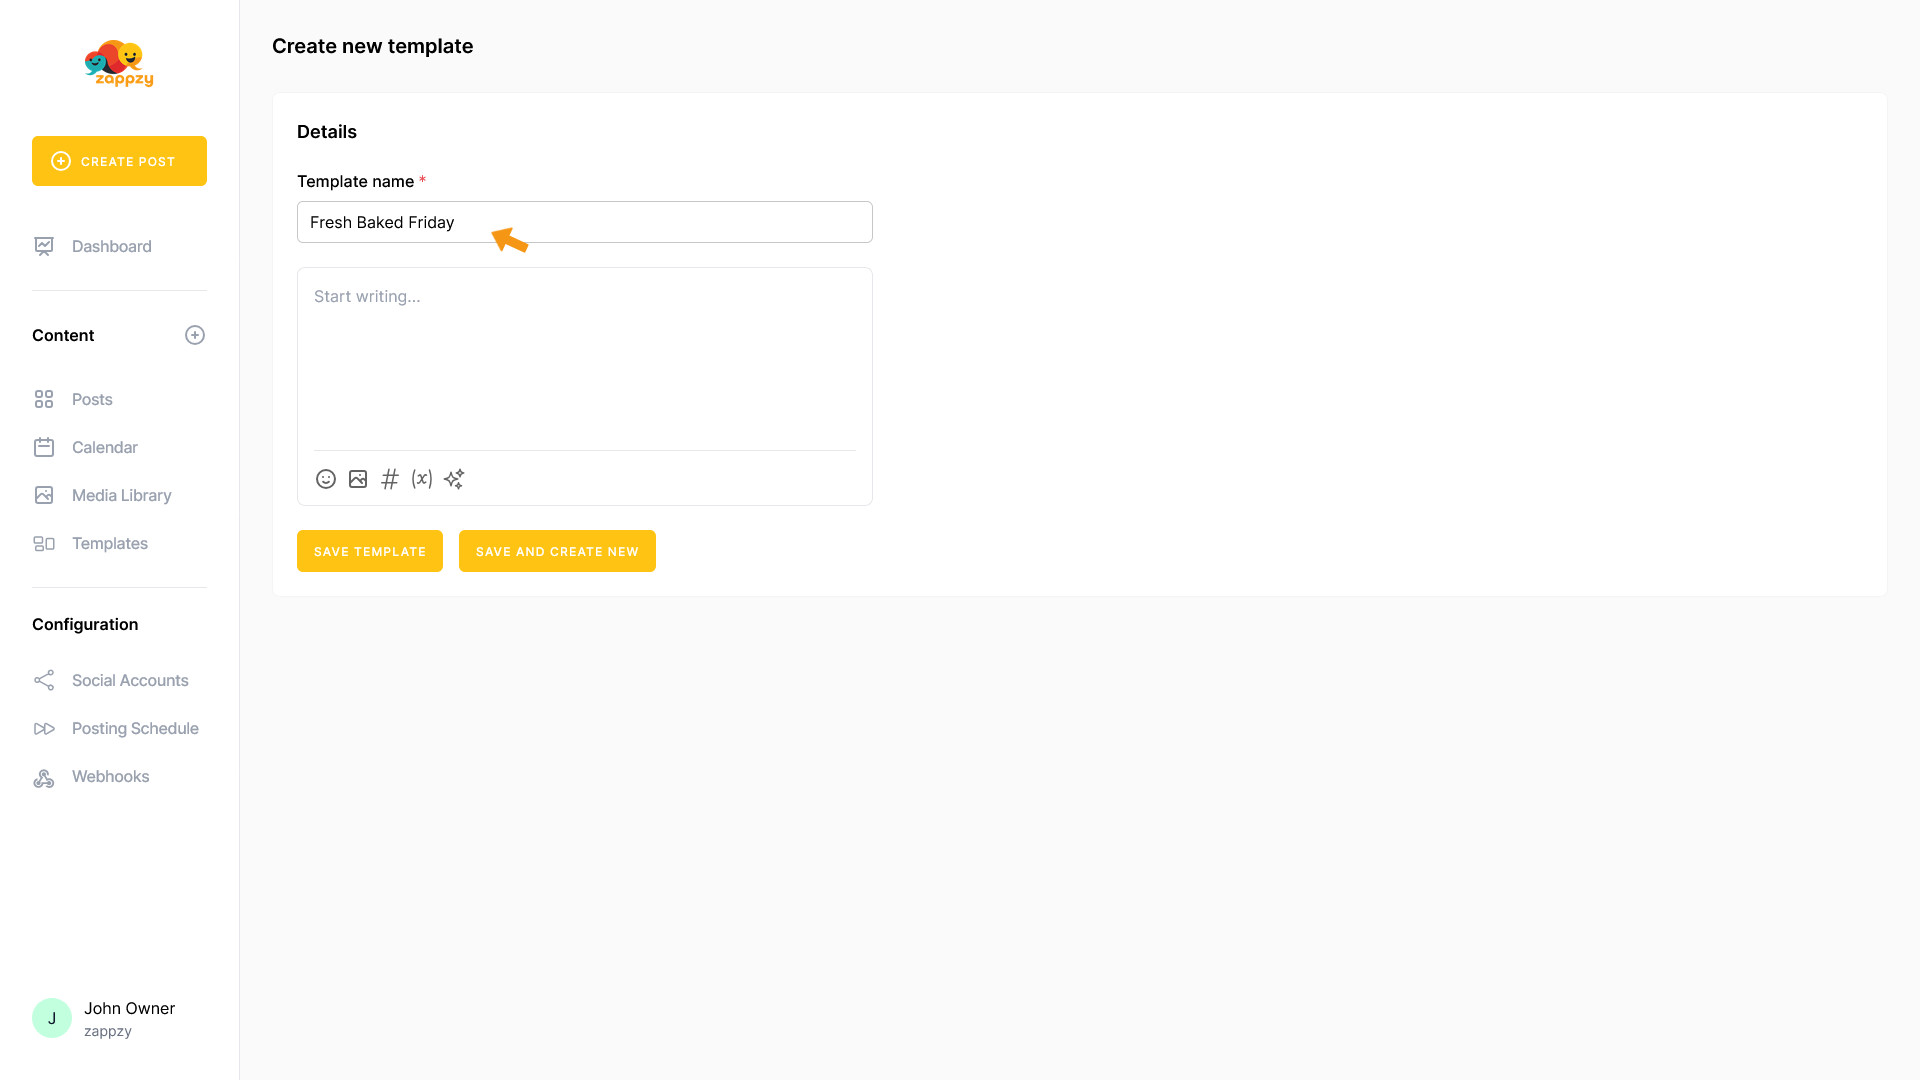
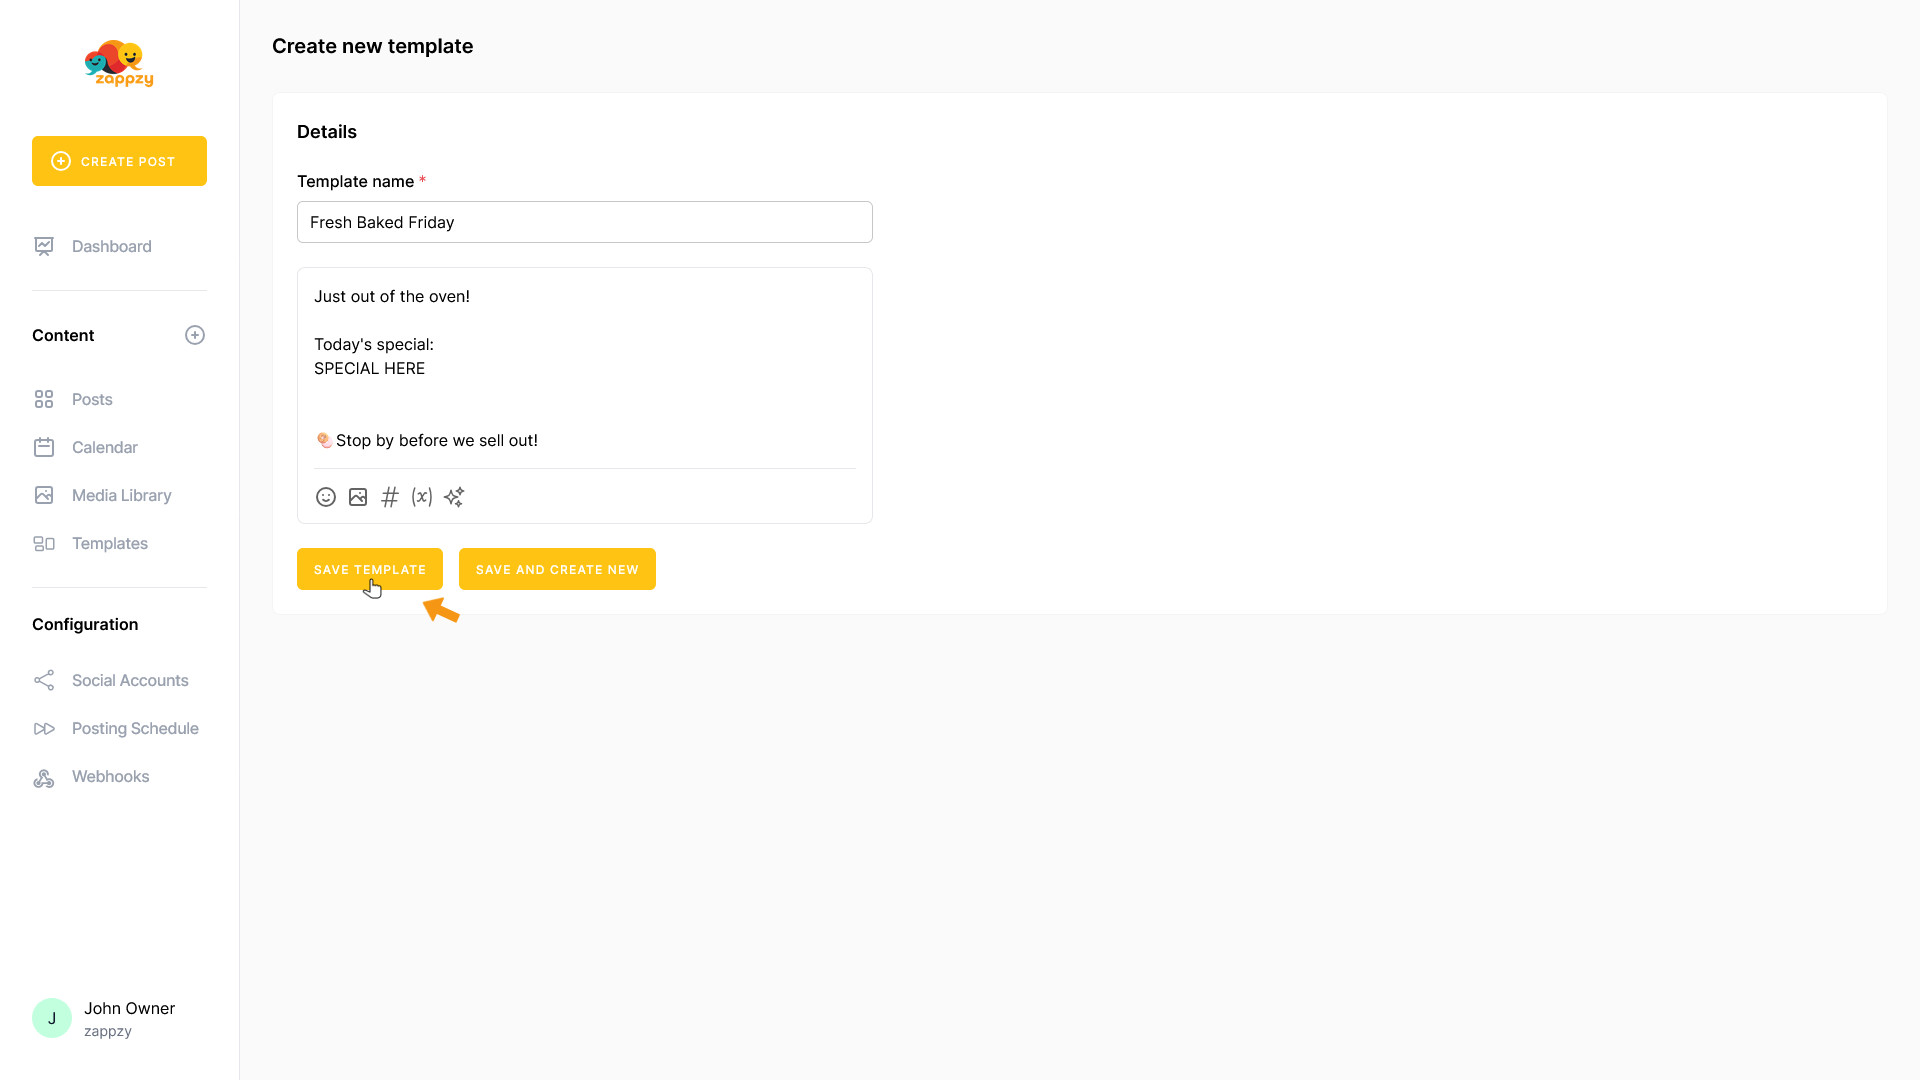
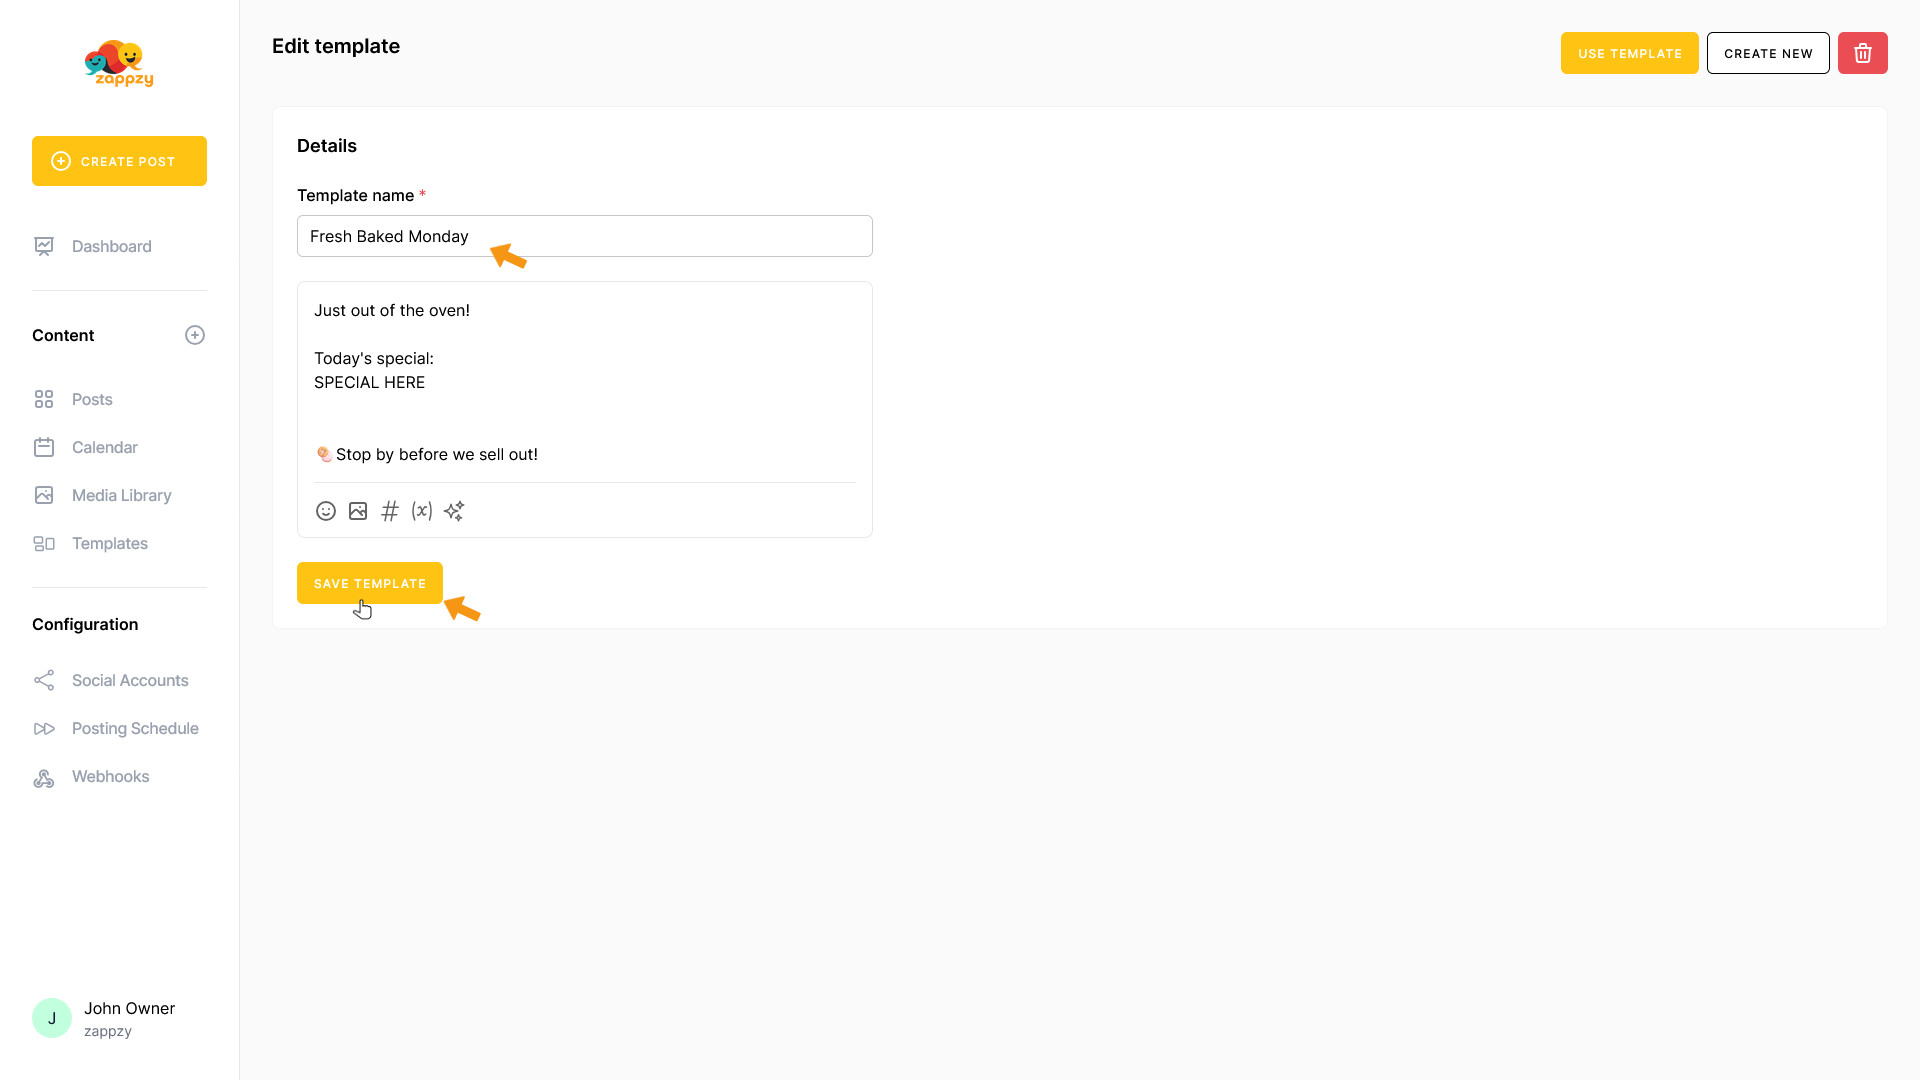
First, enter a name for your template in the Template name field. Choose something that makes it instantly clear what the template is for.
Next, create your post content in the field below that says Start writing...
(We'll cover the advanced post creation features in the Create Posts article.)

Once you've created your content, click SAVE TEMPLATE.
Note: don't add images or videos since these will change each time you use the template.
Your template has been saved. Now click on Templates again in the Content section.
The Templates overview will appear on your main screen and you'll see your newly created template.

To use the template, either hover over it and click the USE button that appears, or click the CREATE POST button in the top left menu.

When you click the USE button, a new post opens with the template content.
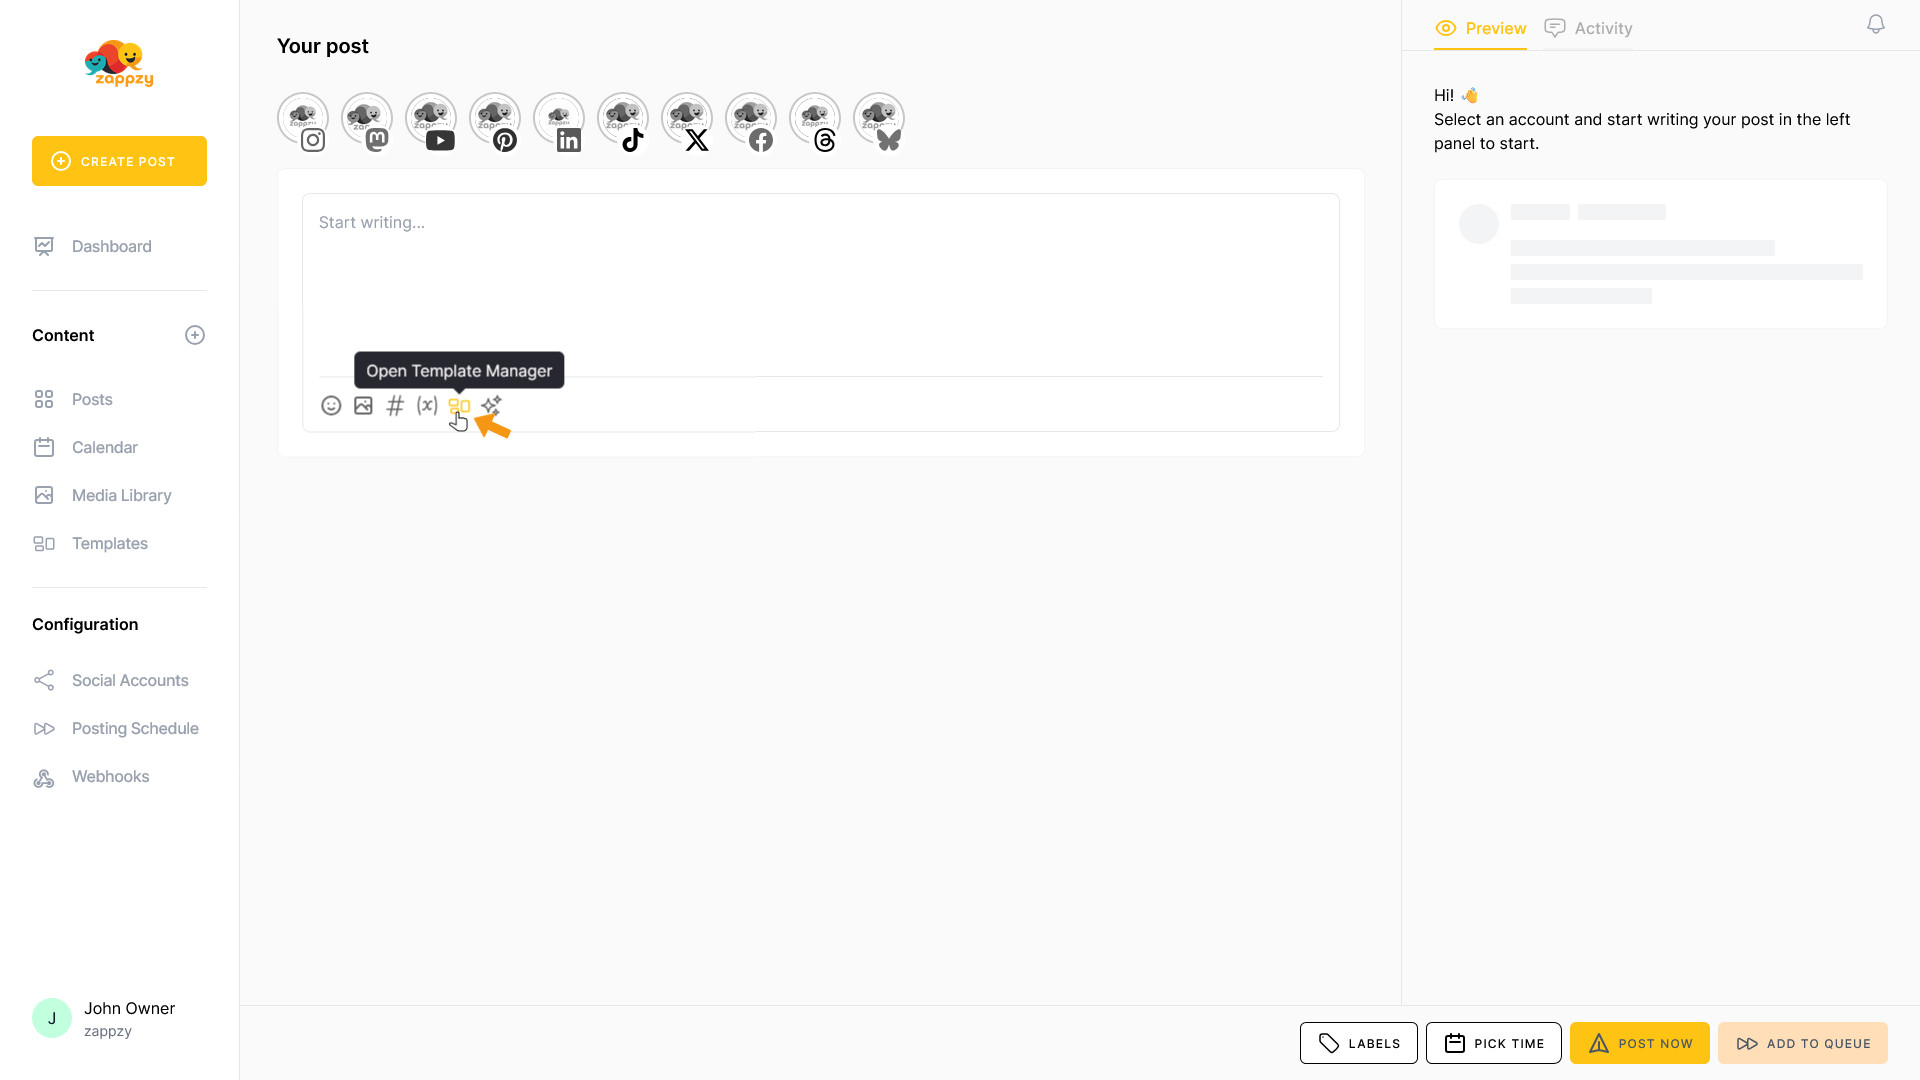
In practice, you'll usually create a new post using the CREATE POST button. You'll then see a blank post on your main screen.
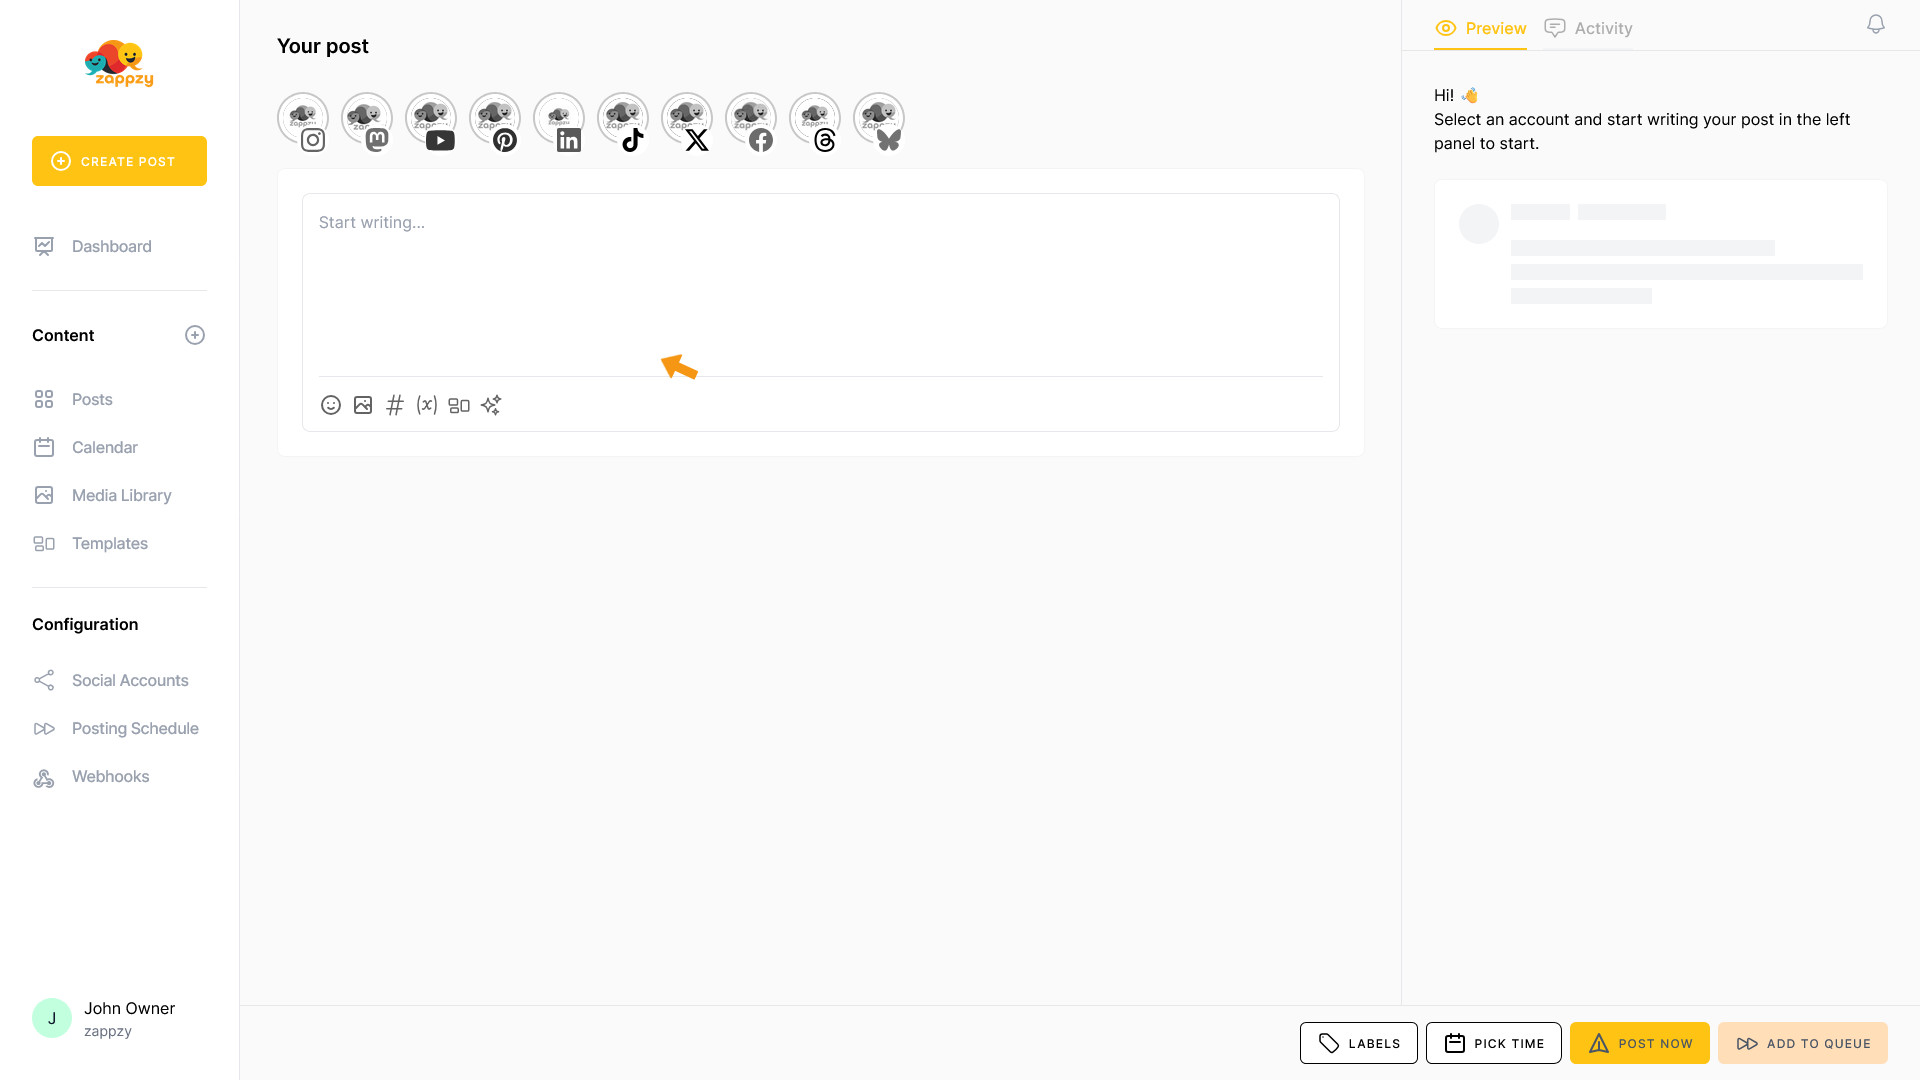
To use a template, click the Open Template Manager icon in the advanced post creation features.
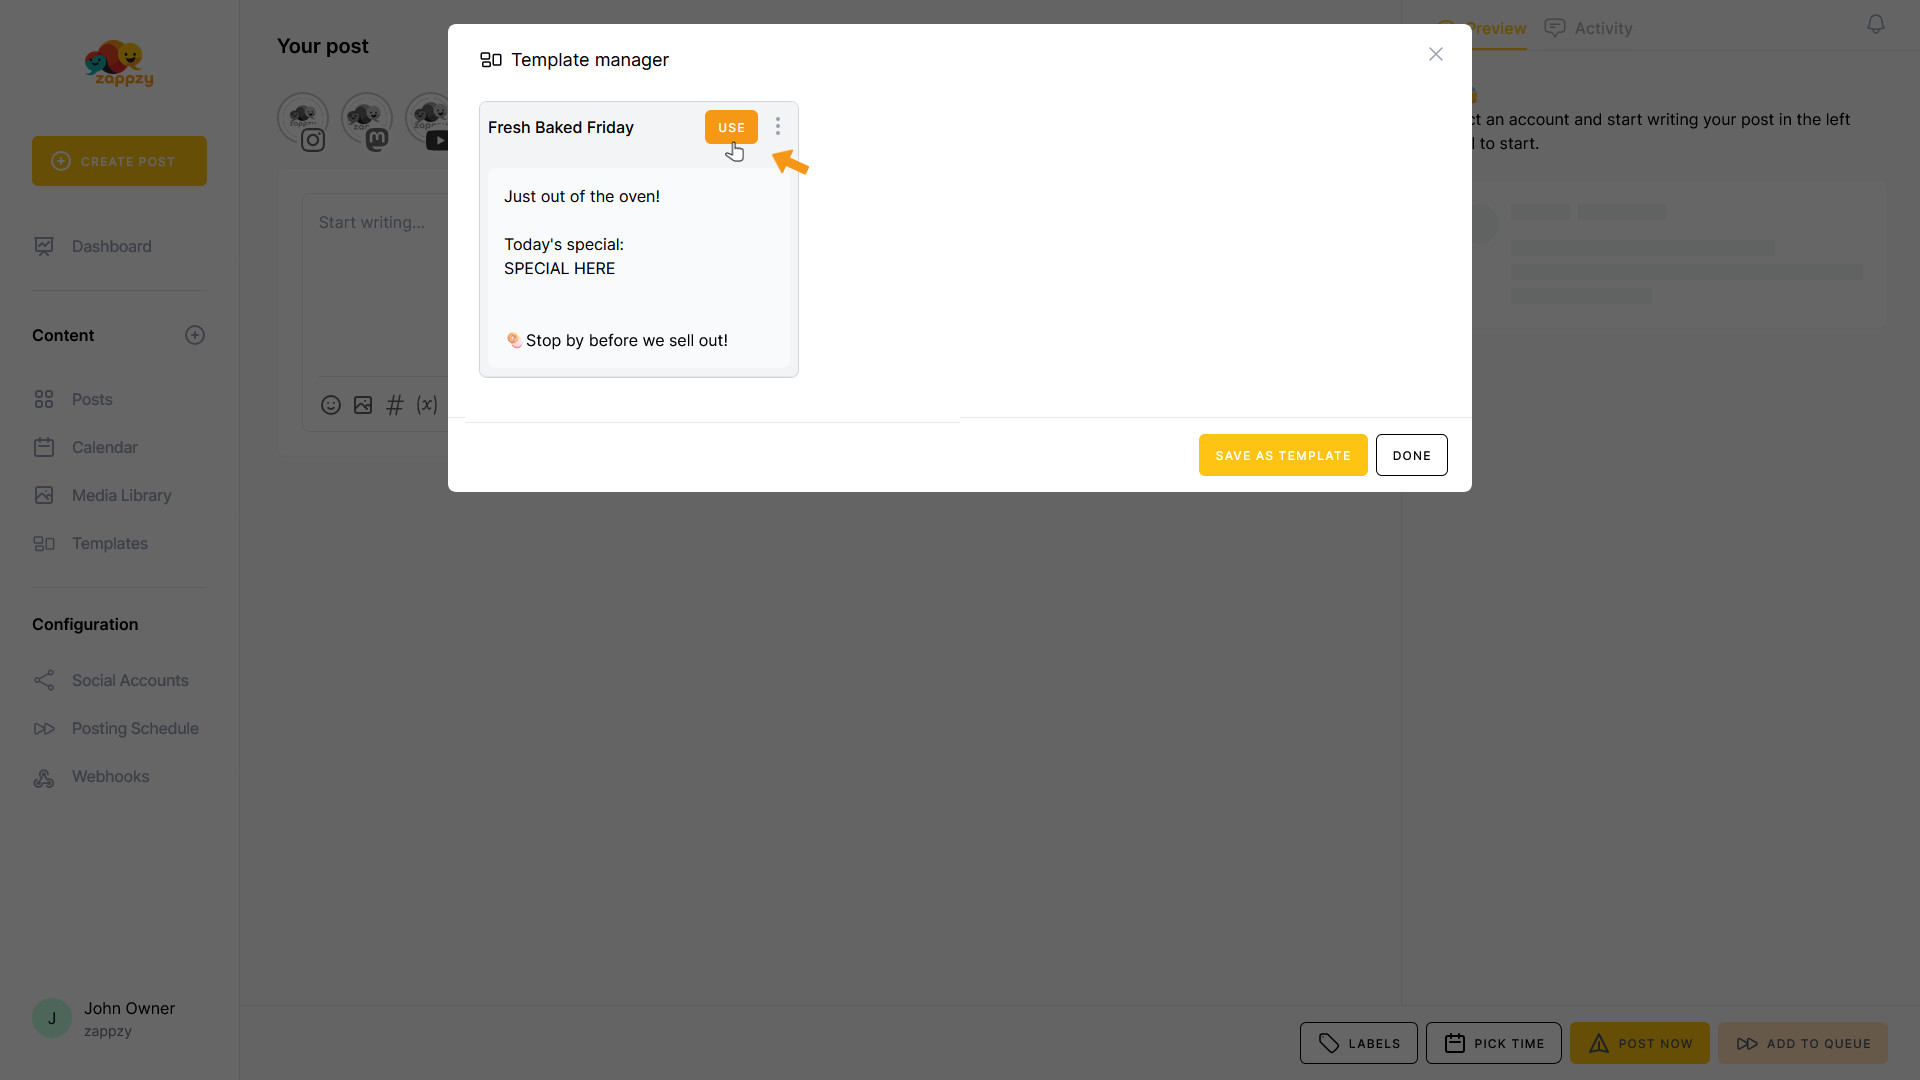
A popup appears. Find the template you want to use, hover over it to make the USE button appear, and click the button.
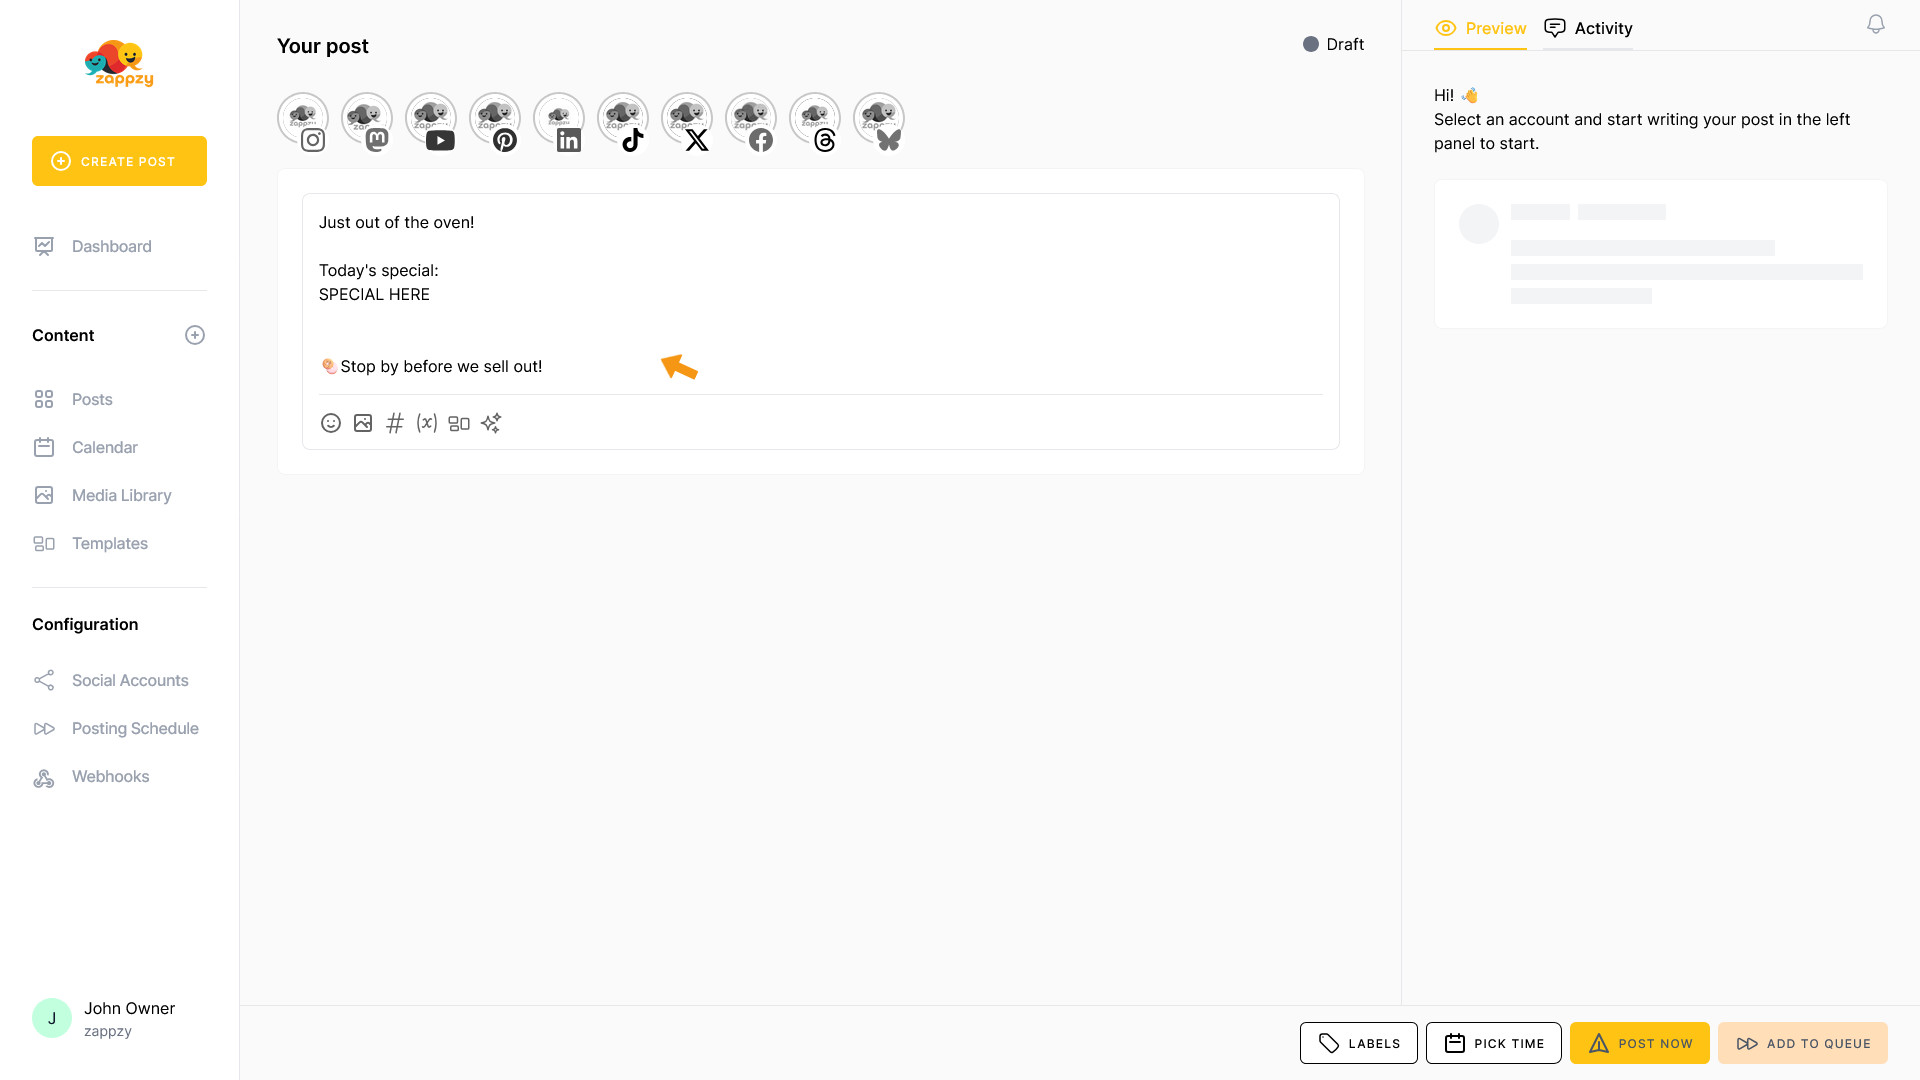
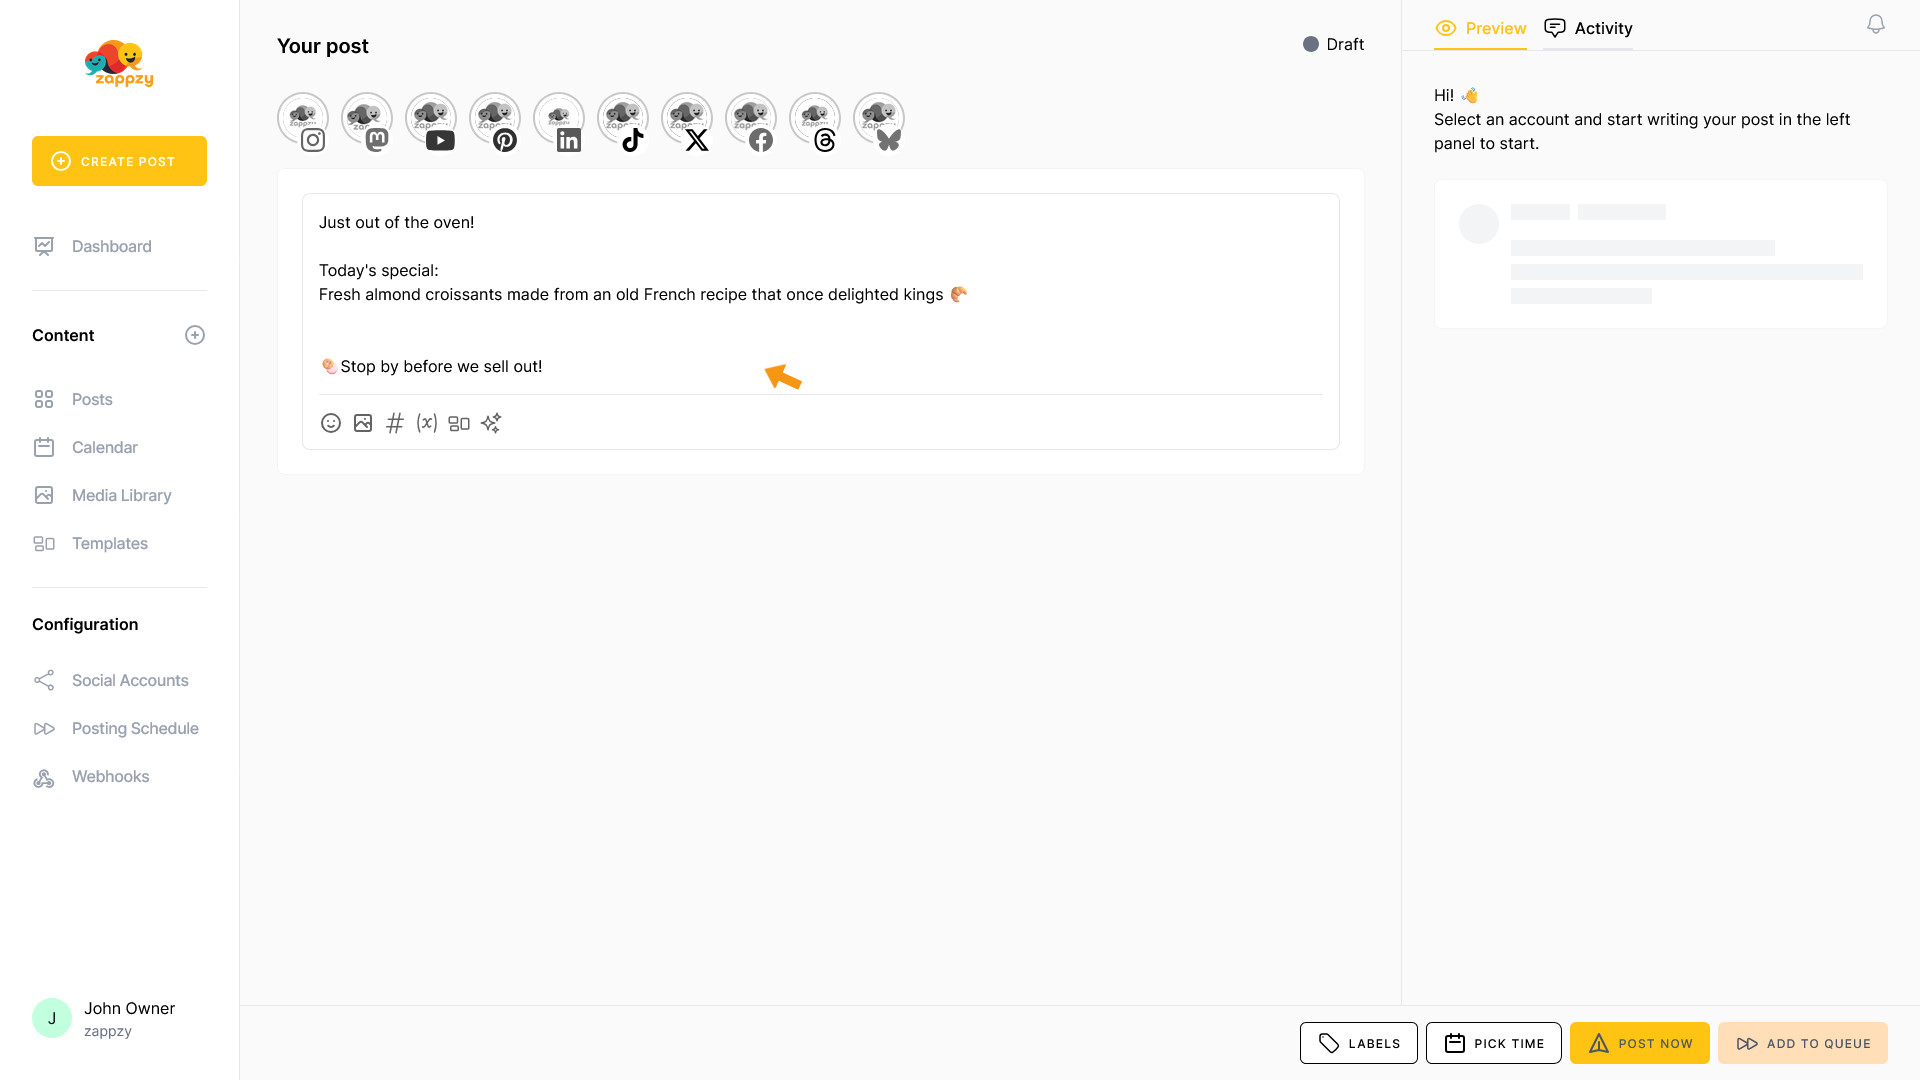
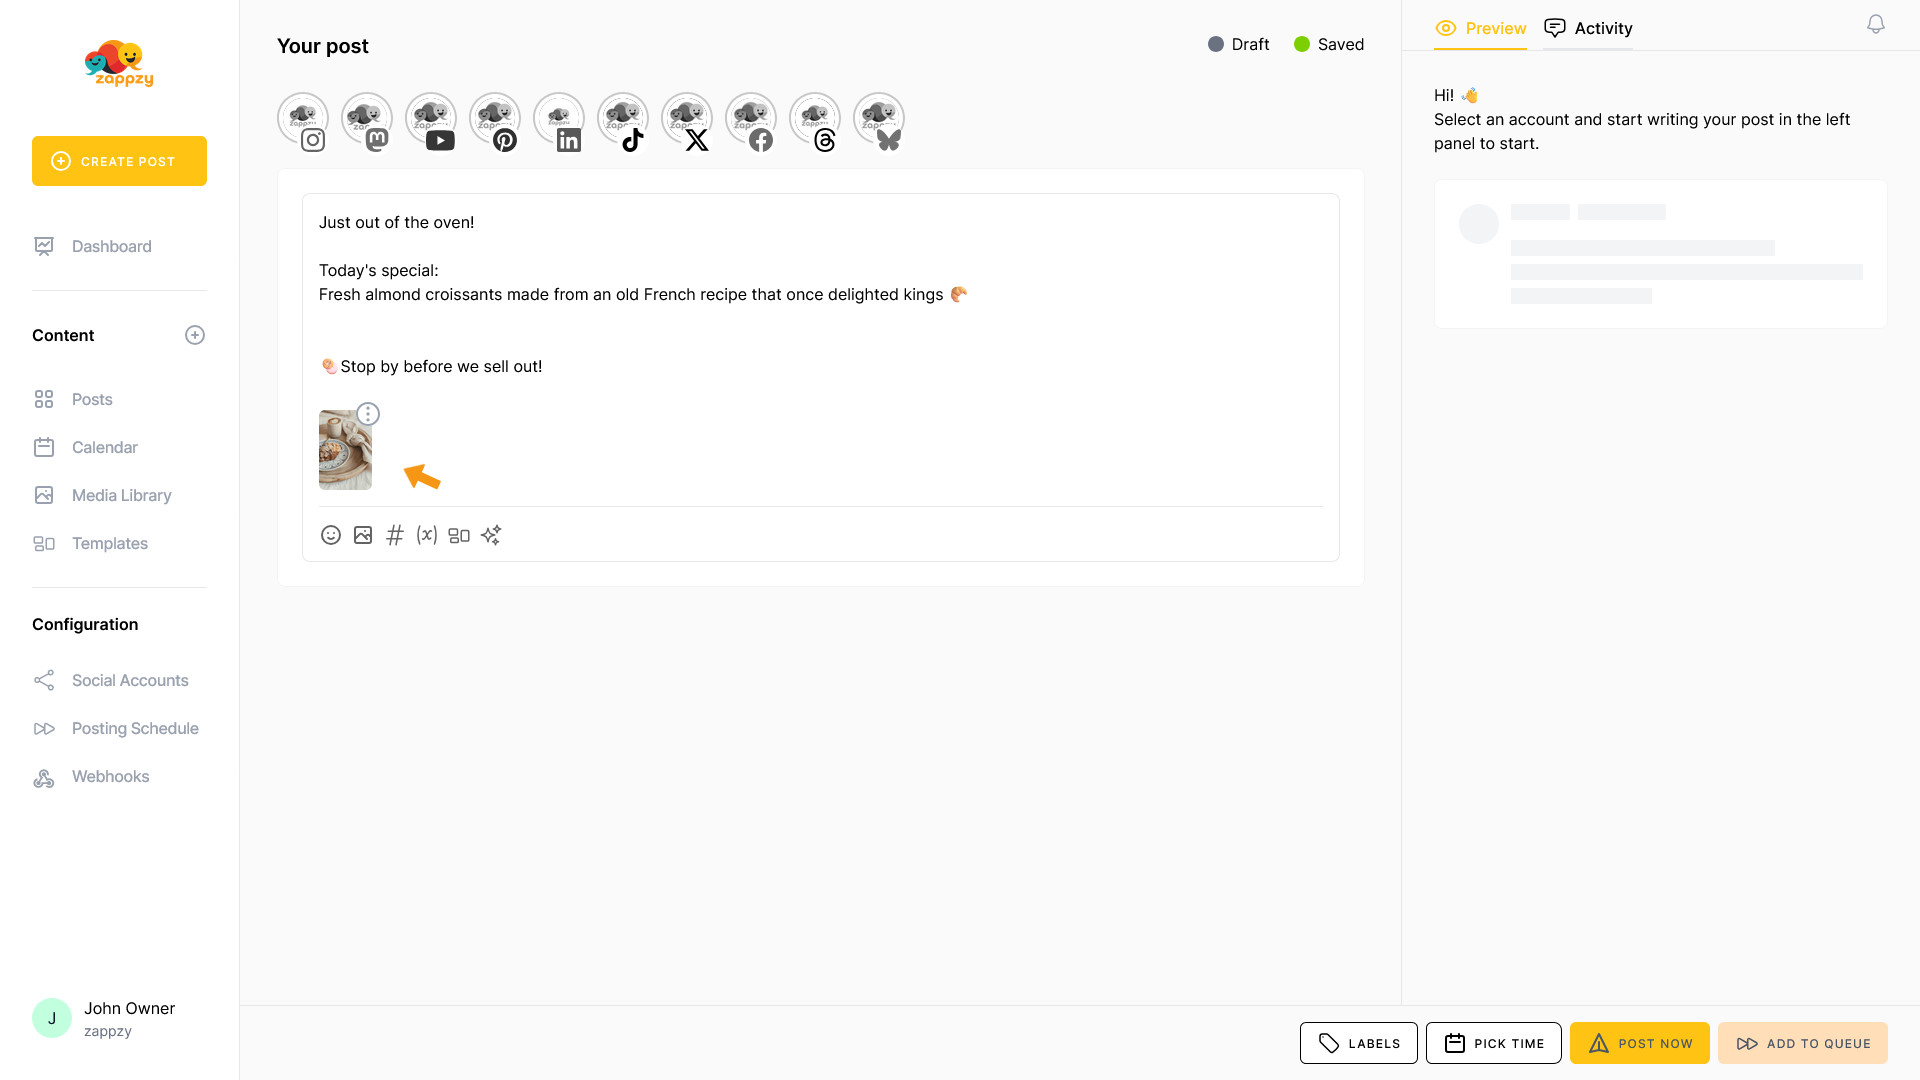
The template content is now inserted into your blank post.

You can now customize the content.
(We'll cover all about how to create a post and its features in the Create Posts article.)
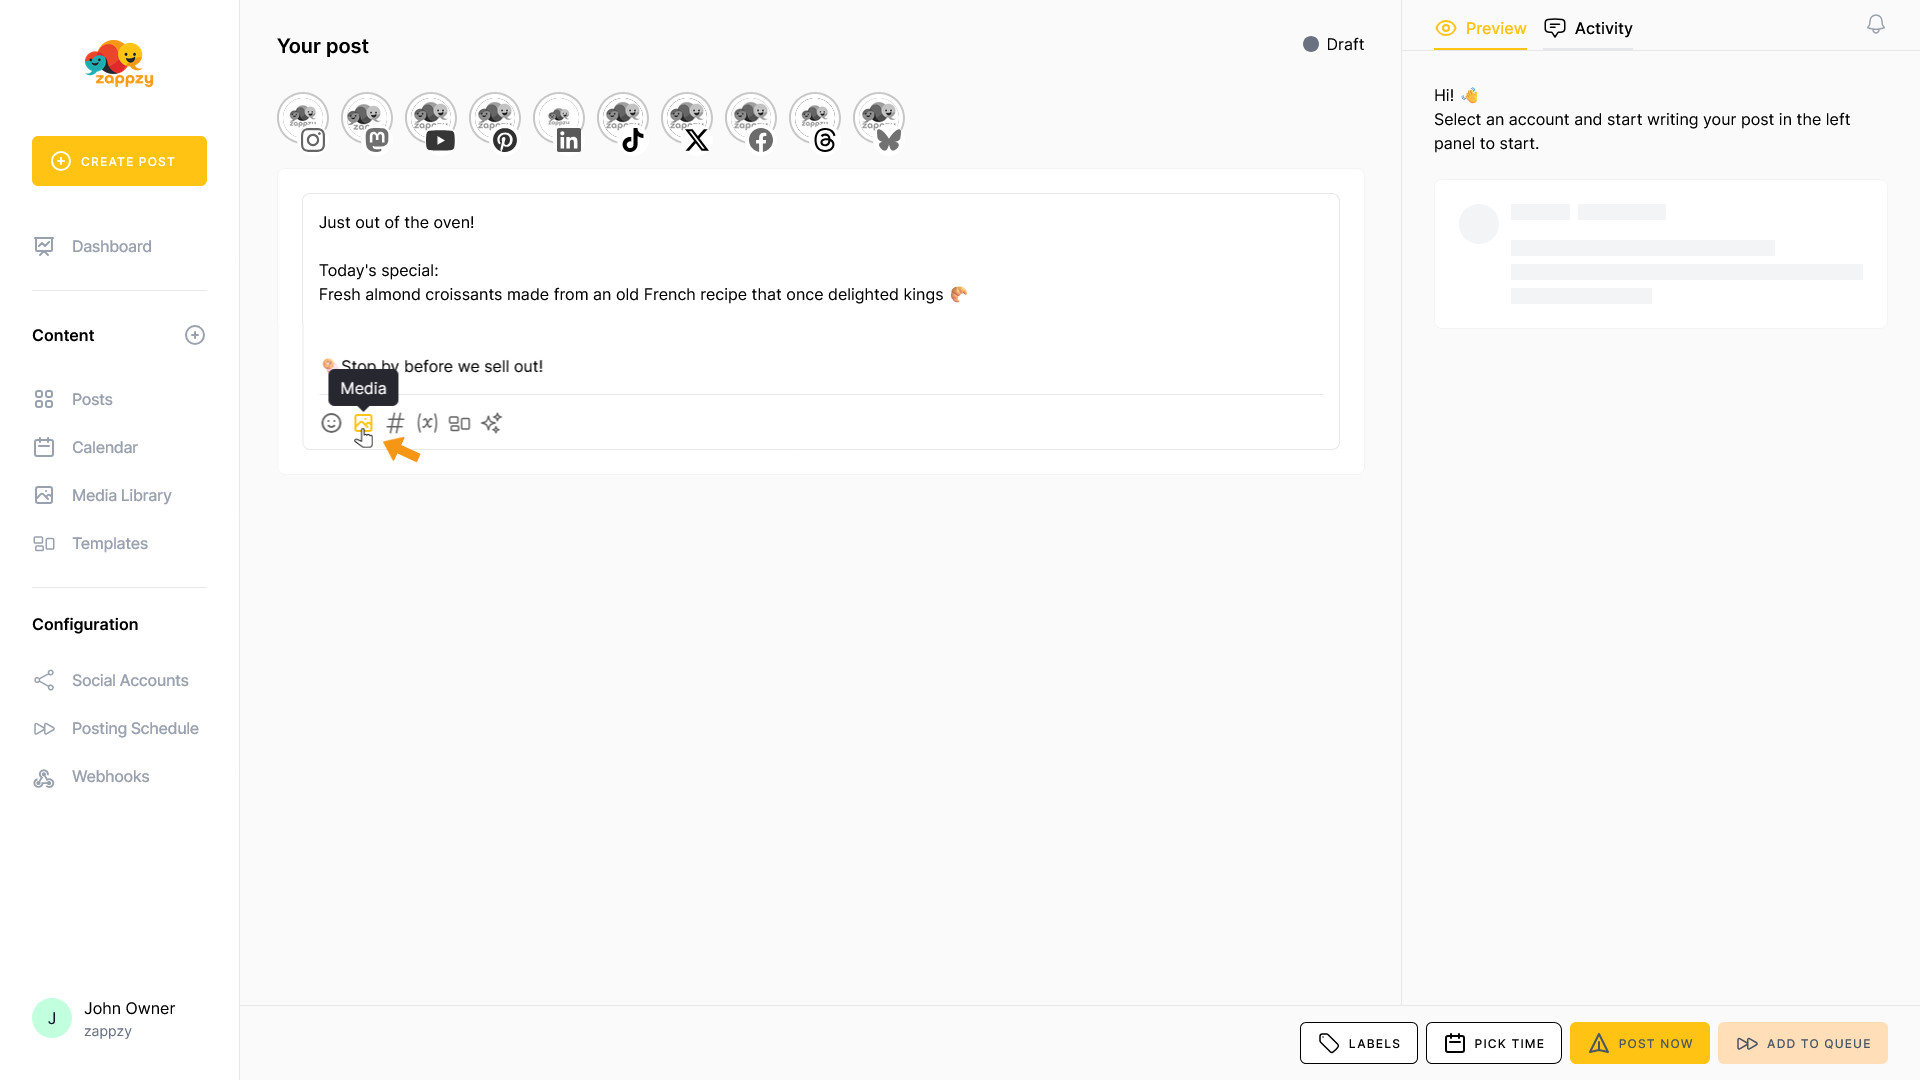
To add a matching image or video, click the Media icon in the advanced post creation features.
A popup appears. Select the right image or video by clicking on the media item. The selected media will be marked with a checkmark. Then click the INSERT 1 ITEM button.
(We'll cover all about using media in the Media Library article.)

The selected image has been added to your post. You can now edit the post further before publishing.
(We'll show you exactly how to do this in the Create Posts article.)
This way, you can create a new post using your template each week by simply updating the special text and adding a new photo.
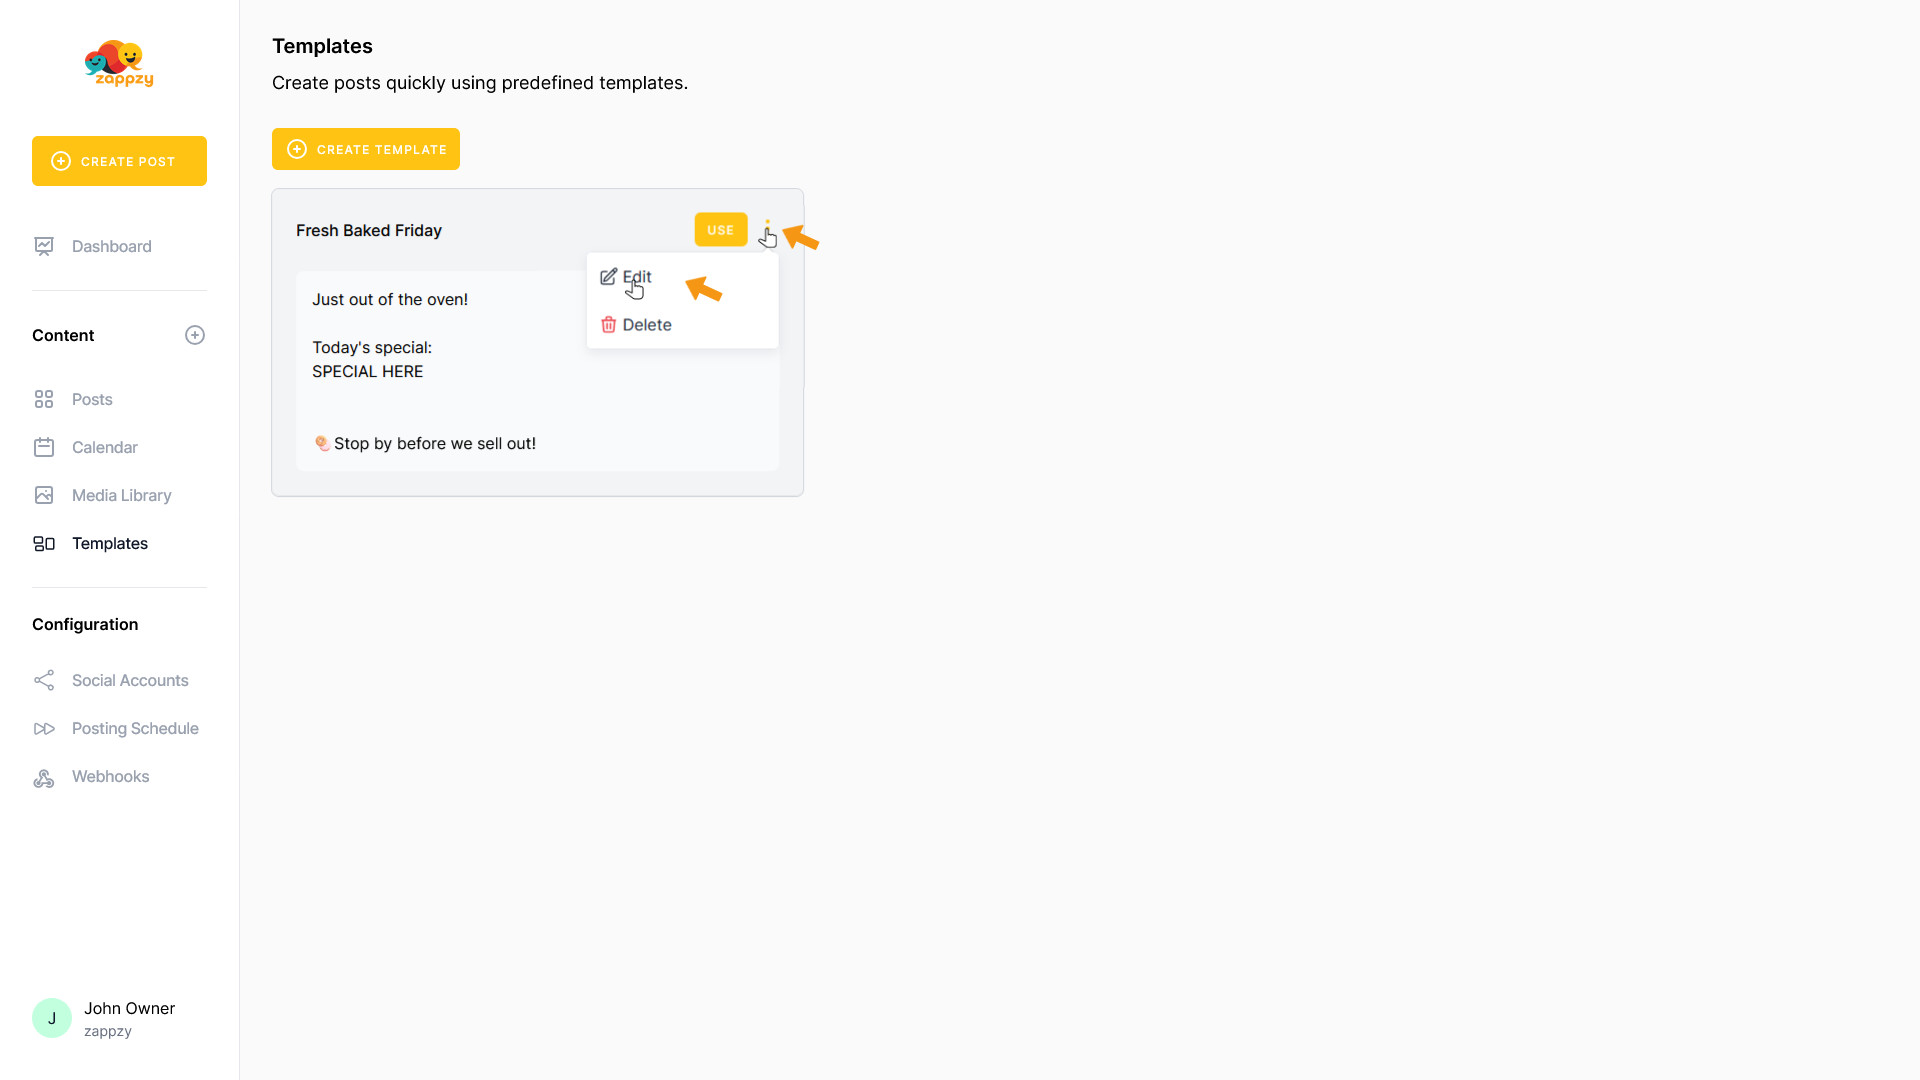
Let's go back to Templates. To modify a template, click the 3 vertical dots on the right side of the template you want to change, then click Edit.
The template opens, and you can make your changes. When you're finished, click SAVE TEMPLATE.
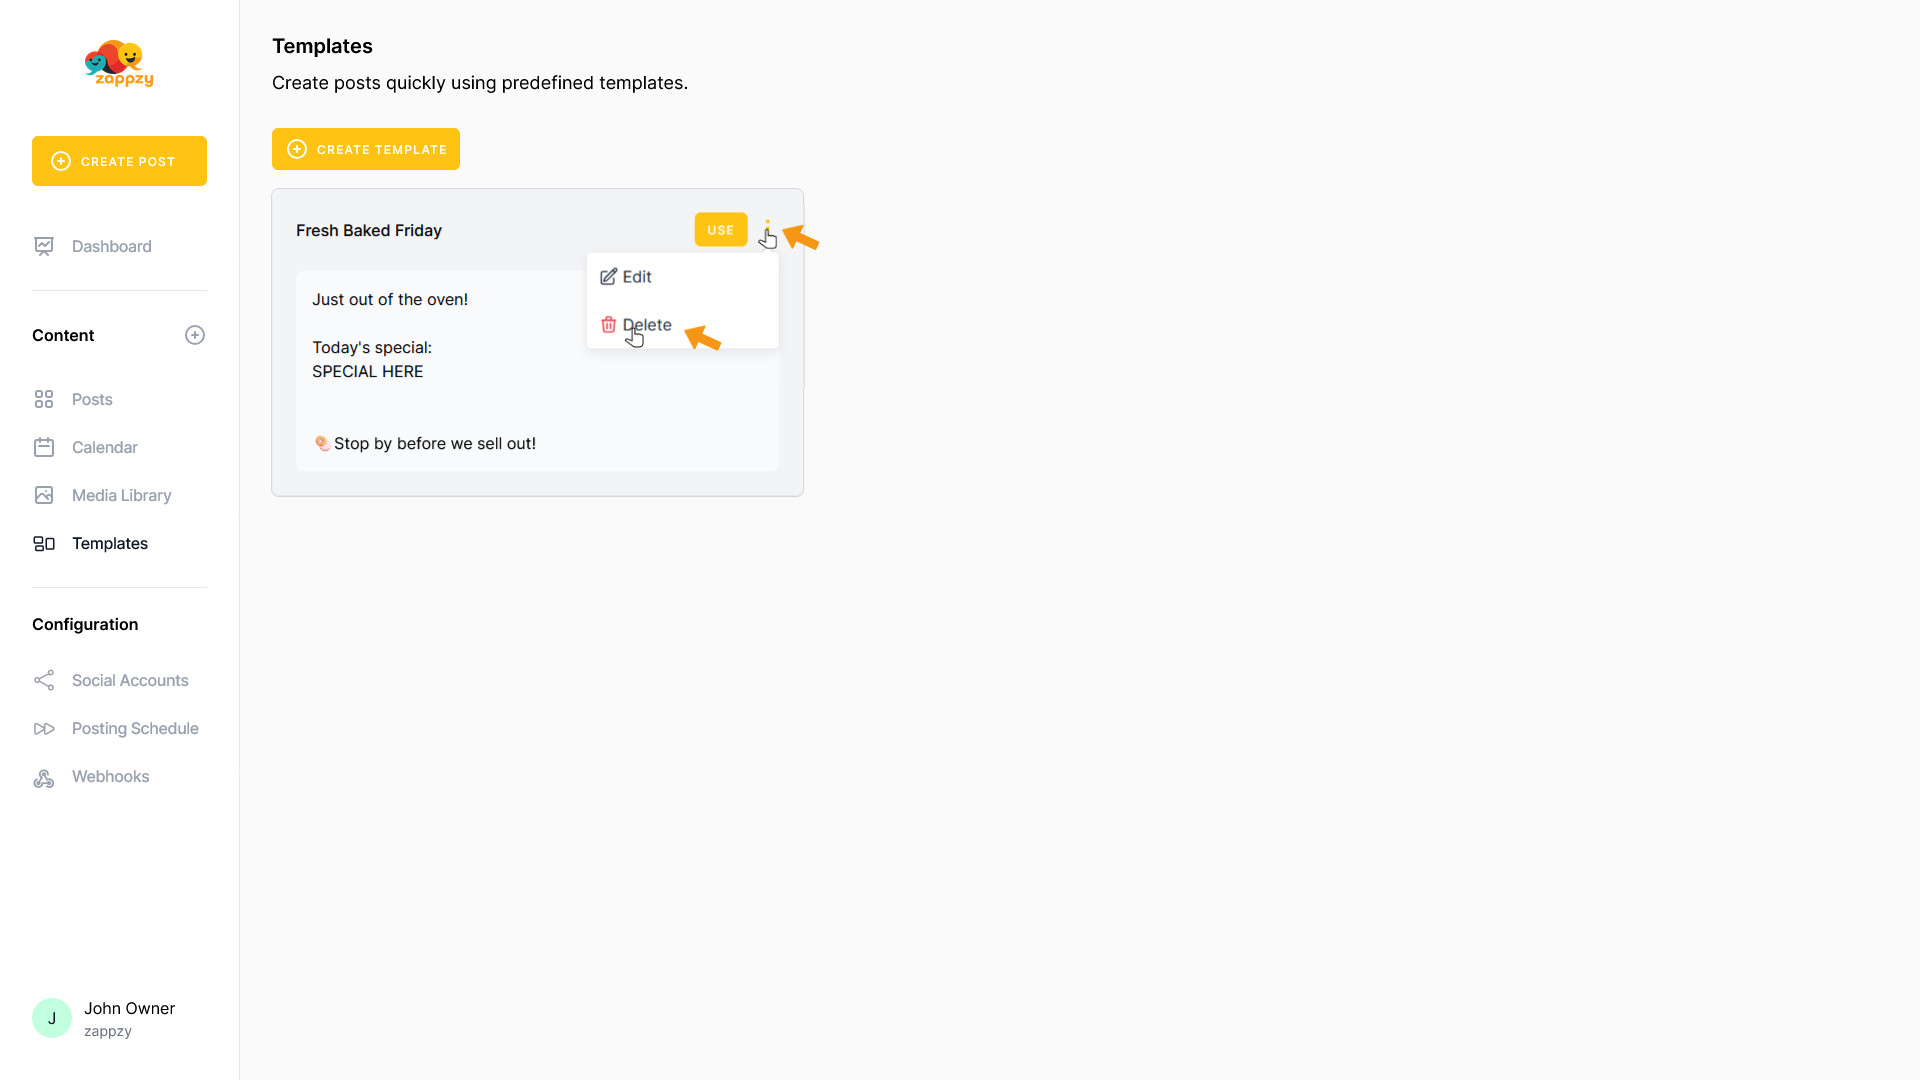
To delete a template, click the 3 vertical dots on the right side of the template you want to delete, then click Delete.
Important: The template will be deleted immediately without a confirmation prompt.
The template has been deleted.
