zappzy Support Center > Content > Create posts > zappzy AI Assistant: How to use your sidekick for better posts

Video or step-by-step guide with screenshots. Your choice. Choose what fits you best.
Step-by-step guide
The zappzy AI Assistant takes the guesswork out of content creation—so you can stop staring at blank screens and start creating posts that actually connect with your audience.
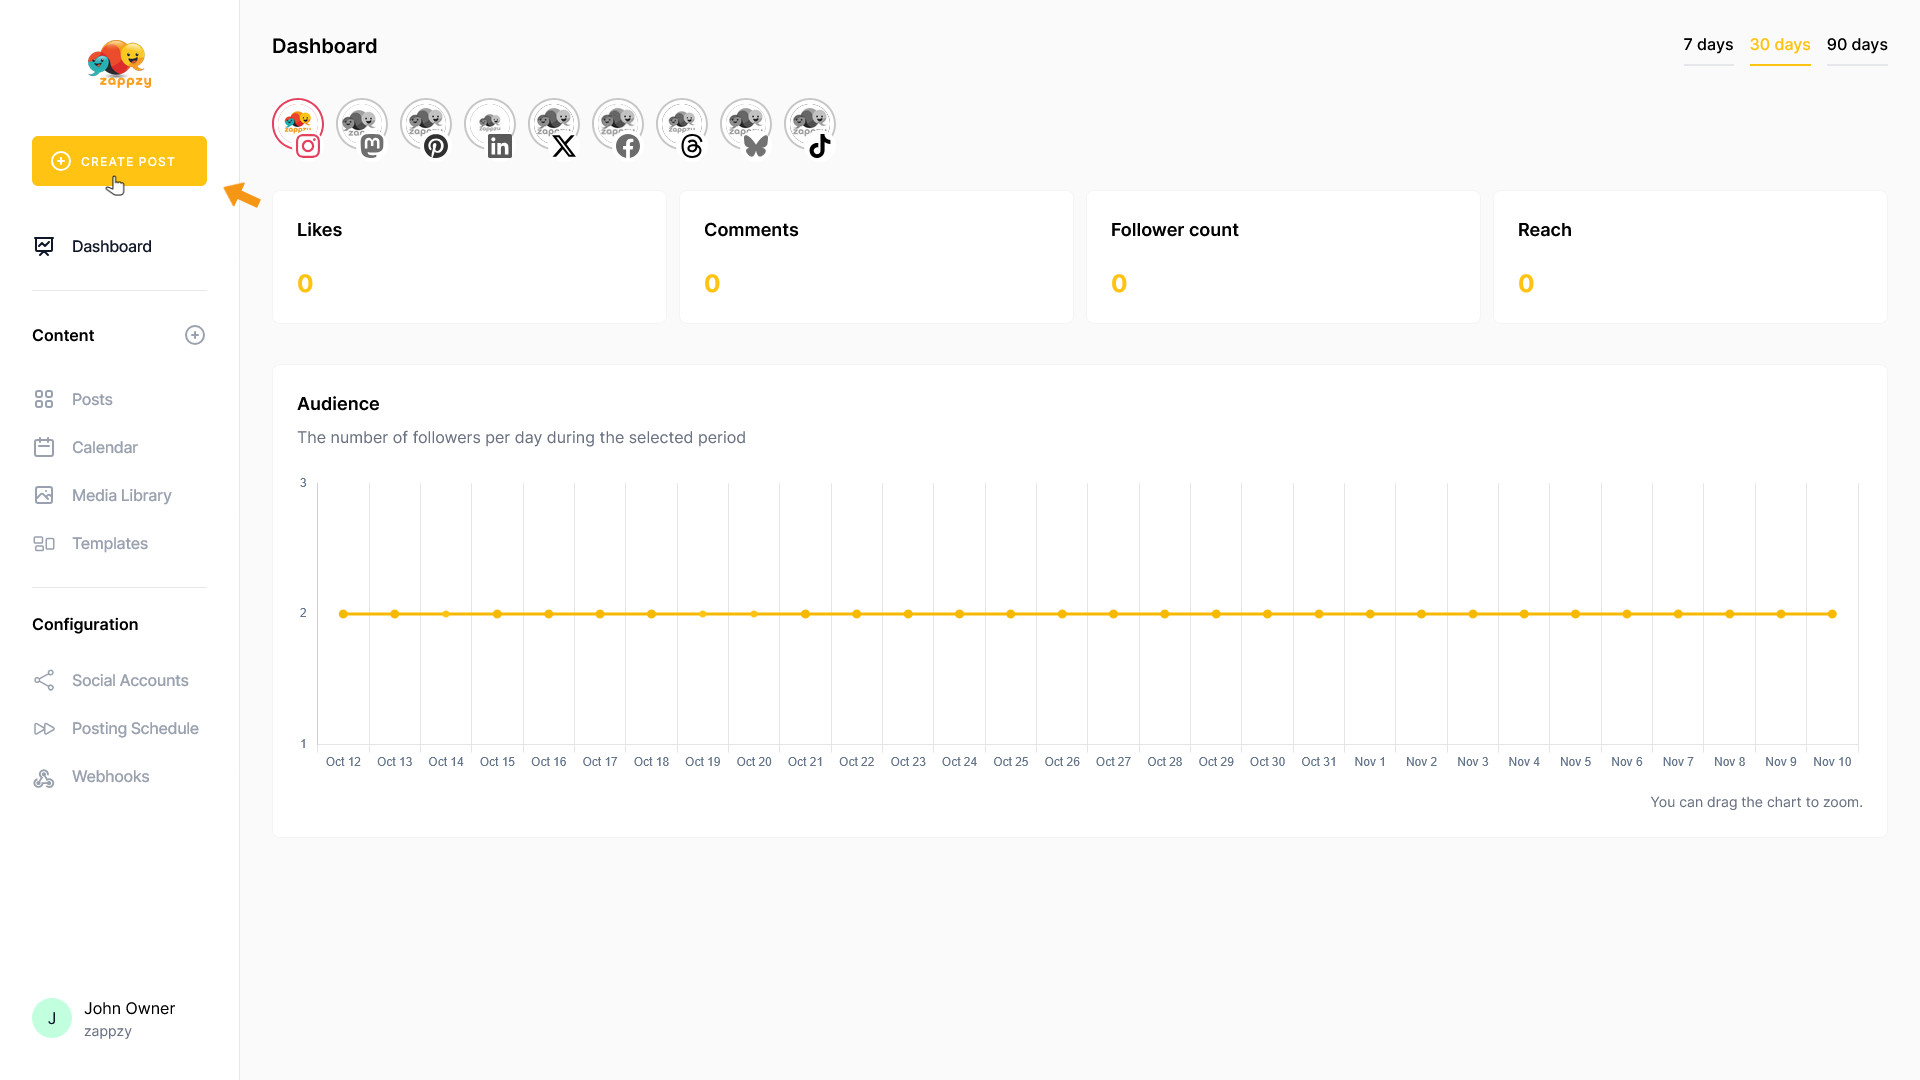
Once you're logged in to zappzy, you'll see an orange CREATE POST button in the left menu. Click on it.
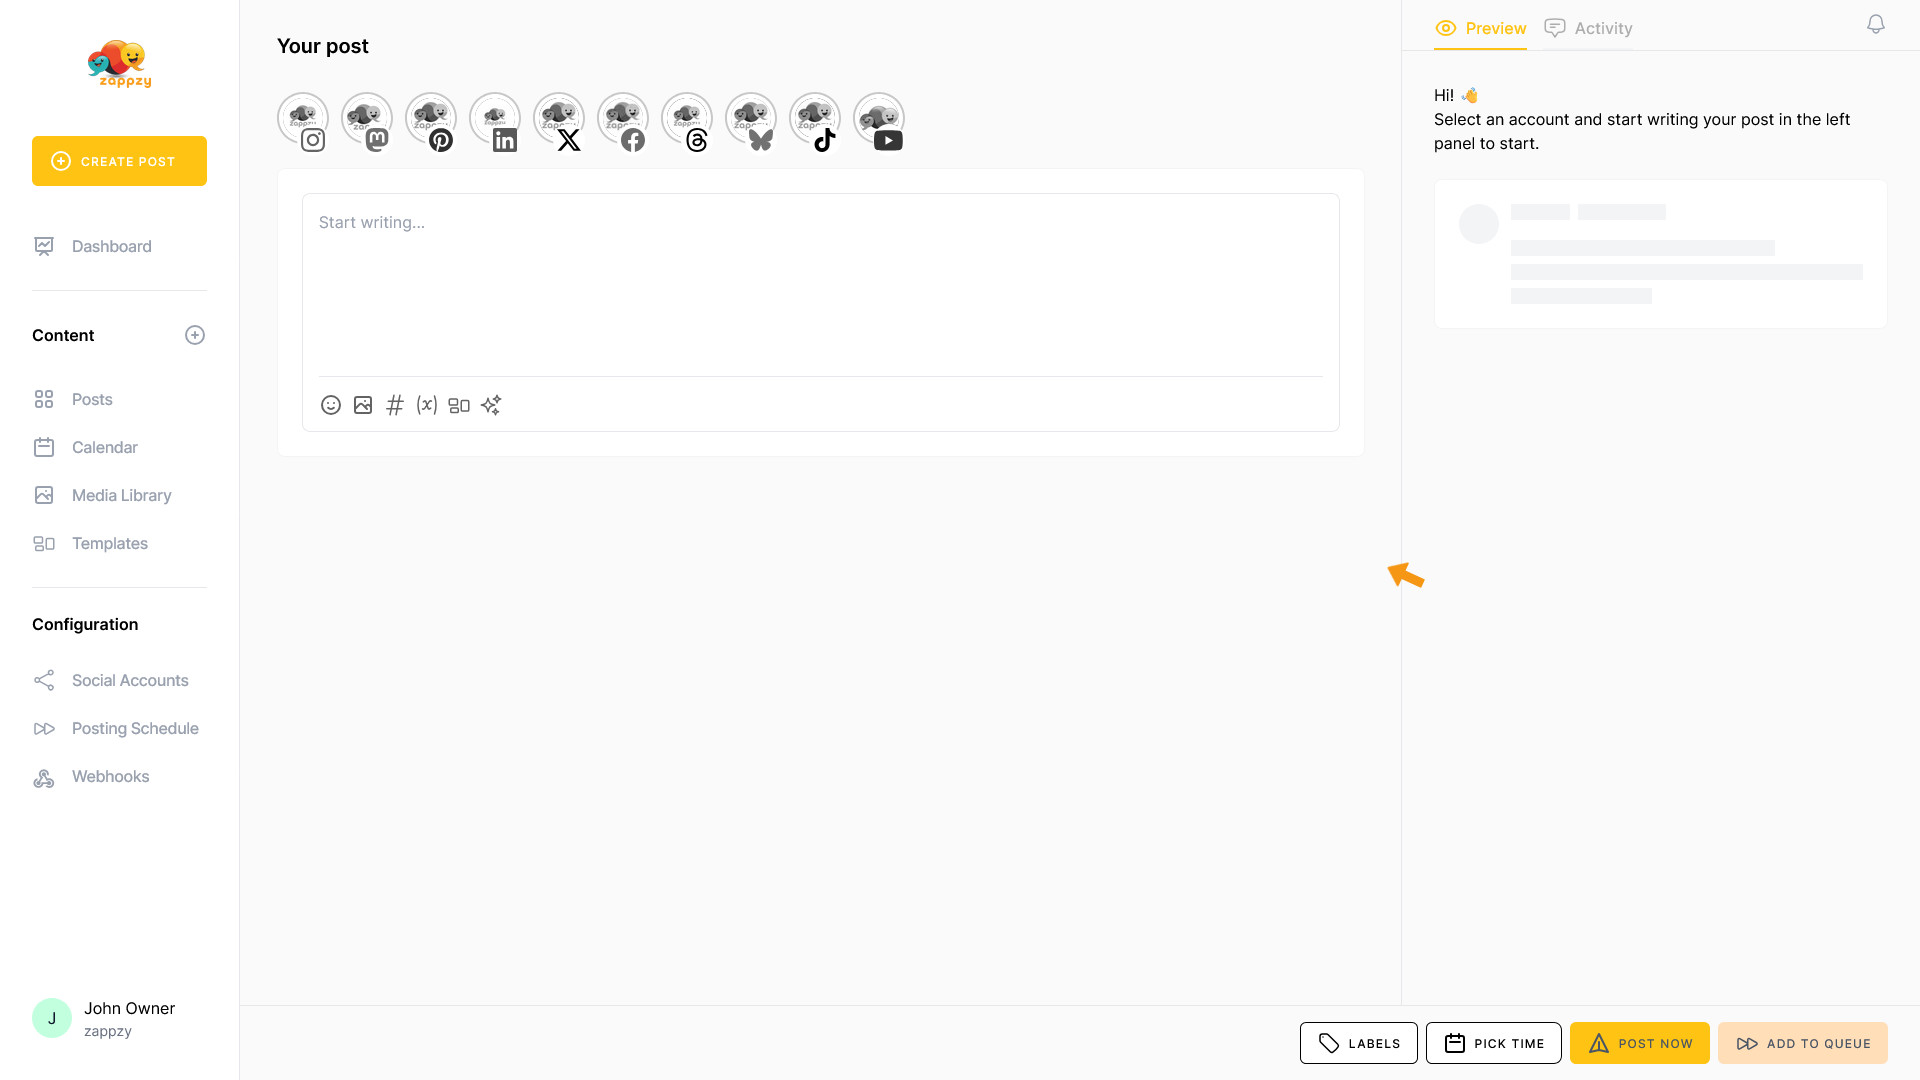
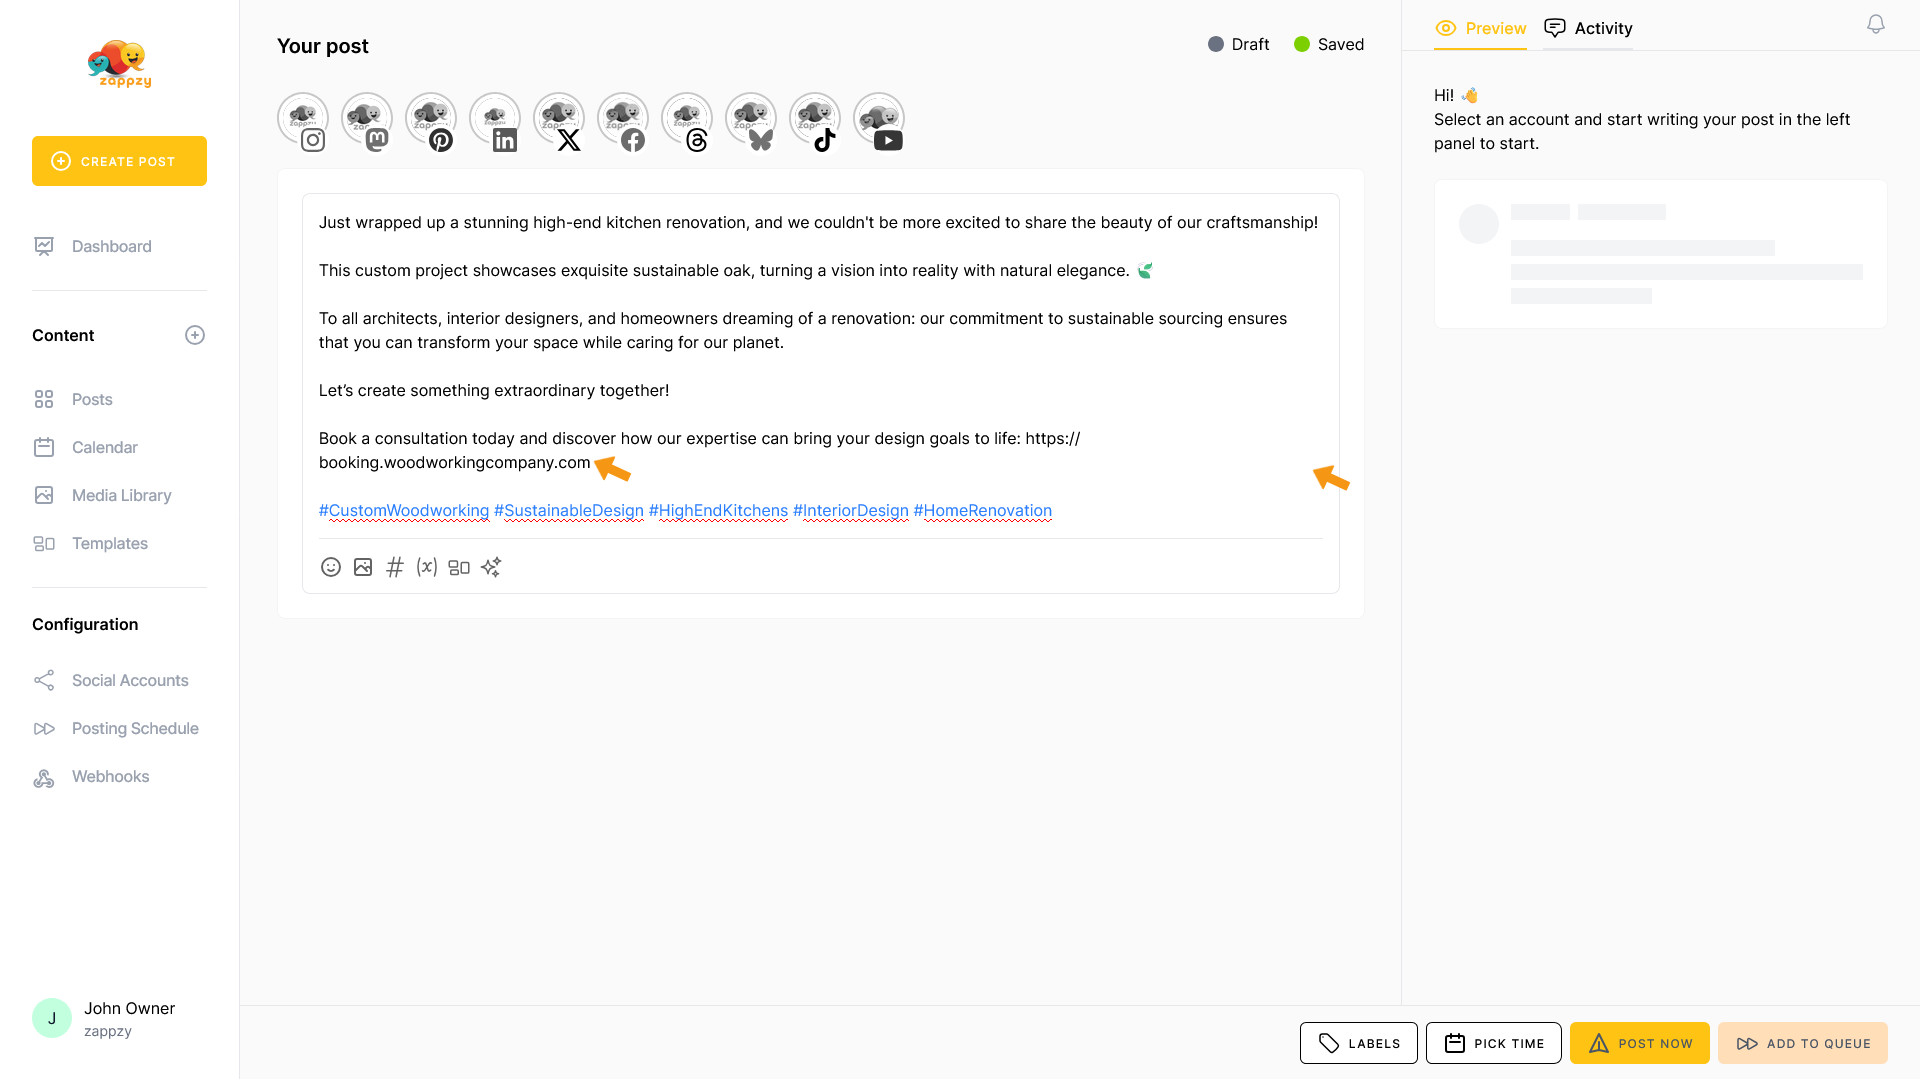
The Your post overview will appear on your main screen.
Note: We're focusing on AI here, not the complete post creation. For step-by-step guidance on creating a post, see the Create a post articles.
The AI Assistant is always accessible right where you need it—inside the post editor. This keeps your workflow smooth and puts your sidekick exactly where it makes sense: when you're creating or editing a post.
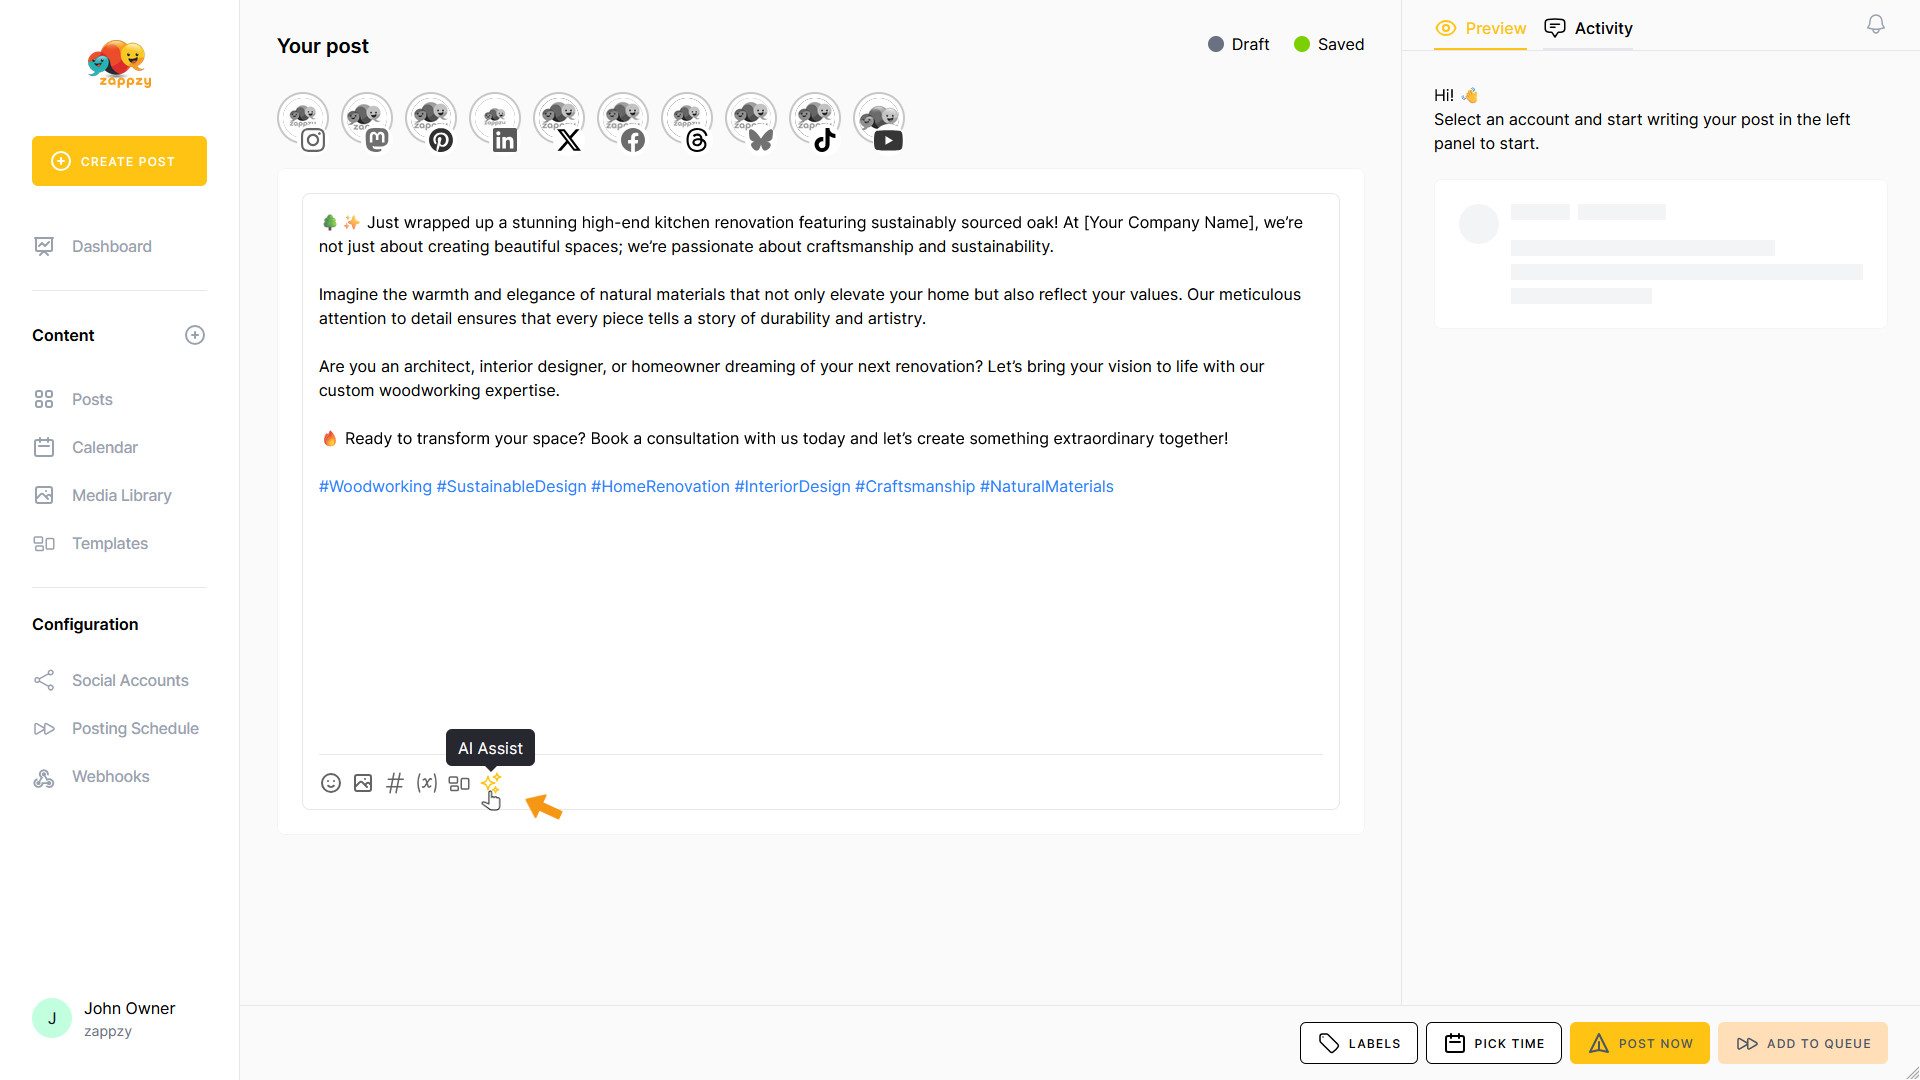
Click the AI icon at the bottom of the post window where you're writing your content.
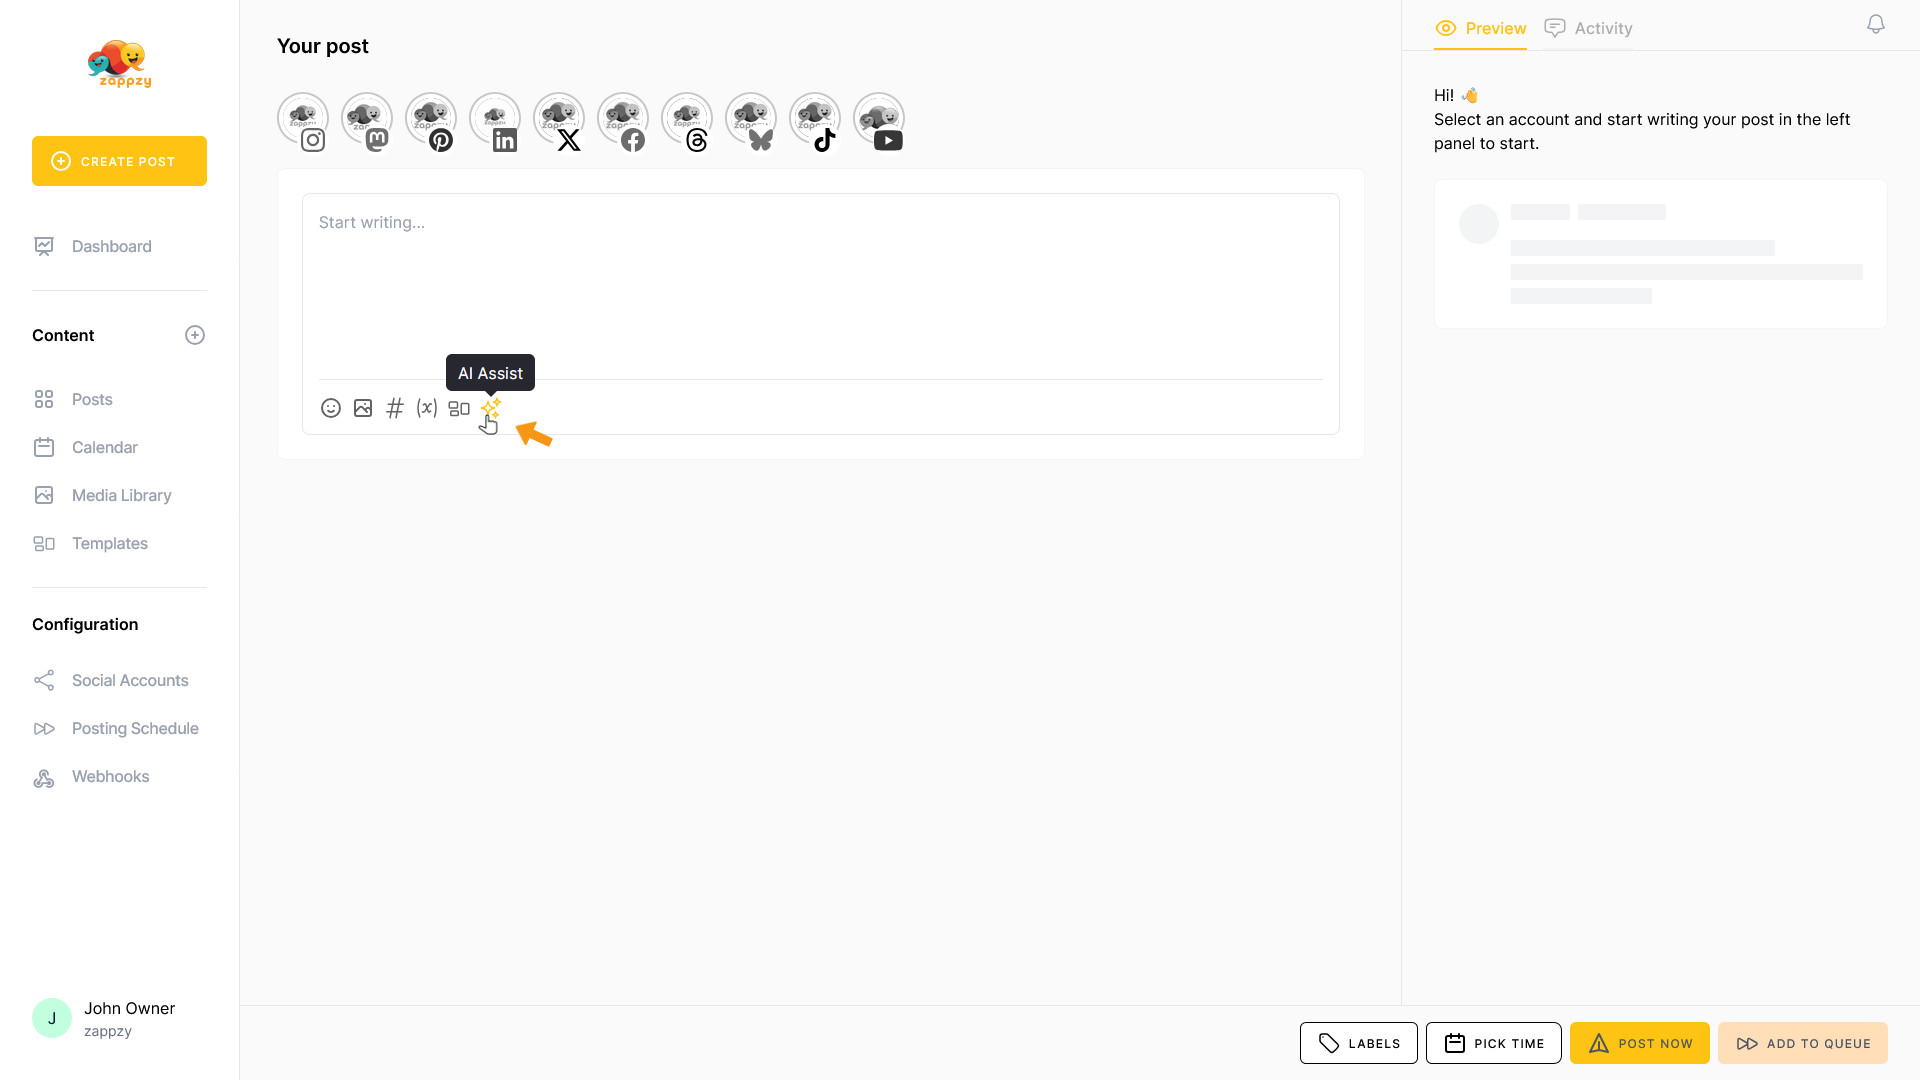
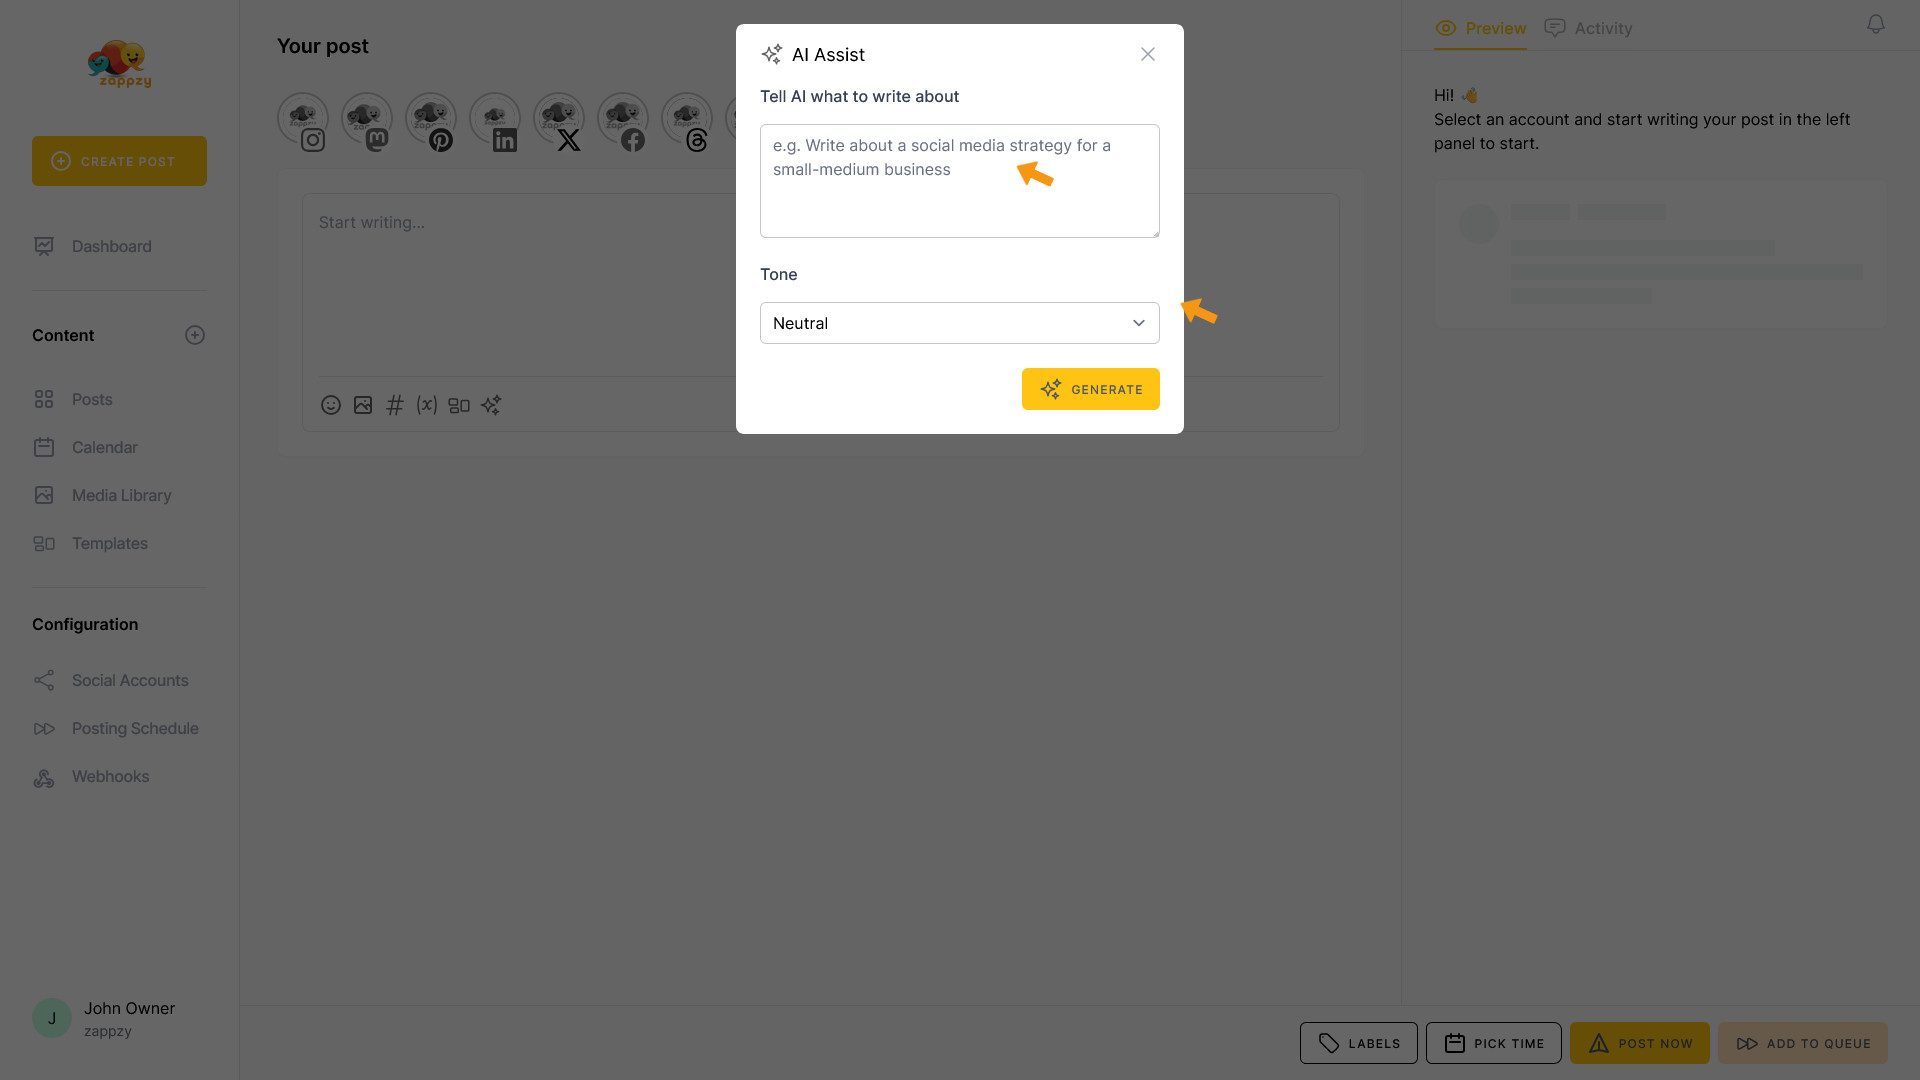
The AI Assistant pop-up opens—now you're ready to put zappzy to work.
In the top field “Tell AI what to write about”, you can tell the AI Assistant what kind of post you need—and it'll create suggestions based on your input.
How to write a great prompt
The AI Assistant is already trained for social media—you don't need to explain that part. But to get the best results, you need to be specific about two things:
1. Which platform you're creating for
Different platforms have different vibes and formats. Instagram thrives on visuals and short, punchy captions. LinkedIn needs a more professional tone with longer-form content. Facebook sits somewhere in between. Tell the AI which platform you're targeting so it can tailor the output accordingly.
2. What your post should be about
This is where details matter. The more context you provide, the sharper and more relevant the output will be. Think about:
Examples: Bad vs. Great Prompts
Bad Prompt:
“Post about coffee”
Why it's bad: Too vague. The AI doesn't know which platform, what angle, or who you're talking to. You'll get generic output that needs heavy editing.
Great Prompt:
“Instagram post about the benefits of cold brew coffee for busy professionals who need sustained energy throughout the morning. Focus on health benefits and convenience.”
Why it's great: The platform is clear (Instagram), the topic is specific (cold brew coffee), the audience is defined (busy professionals), and the angle is focused (health + convenience). The AI has everything it needs to create sharp, relevant content.
Bad Prompt:
“LinkedIn post”
Why it's bad: Zero context. The AI has no idea what you want to talk about or why.
Great Prompt:
“LinkedIn post for a custom woodworking company that just completed a high-end kitchen renovation using sustainable oak. Target architects, interior designers, and homeowners planning renovations. Highlight our craftsmanship, the beauty of natural materials, and our commitment to sustainable sourcing. Include a call to action to book a consultation.”
Why it's great: The platform is clear (LinkedIn), the context is specific (completed kitchen project with sustainable oak), the audience is defined (architects, designers, homeowners), and the key selling points are listed (craftsmanship, natural materials, sustainability). Plus, there's a clear goal (book consultation). The AI has everything it needs to create content that feels authentic, emotionally charged, and action-ready.
Tip: Think of the AI Assistant as a super-smart teammate who needs a clear brief. The better your brief, the better the output. Give it the details it needs, and you'll get posts that feel authentic, emotionally charged, and action-ready.
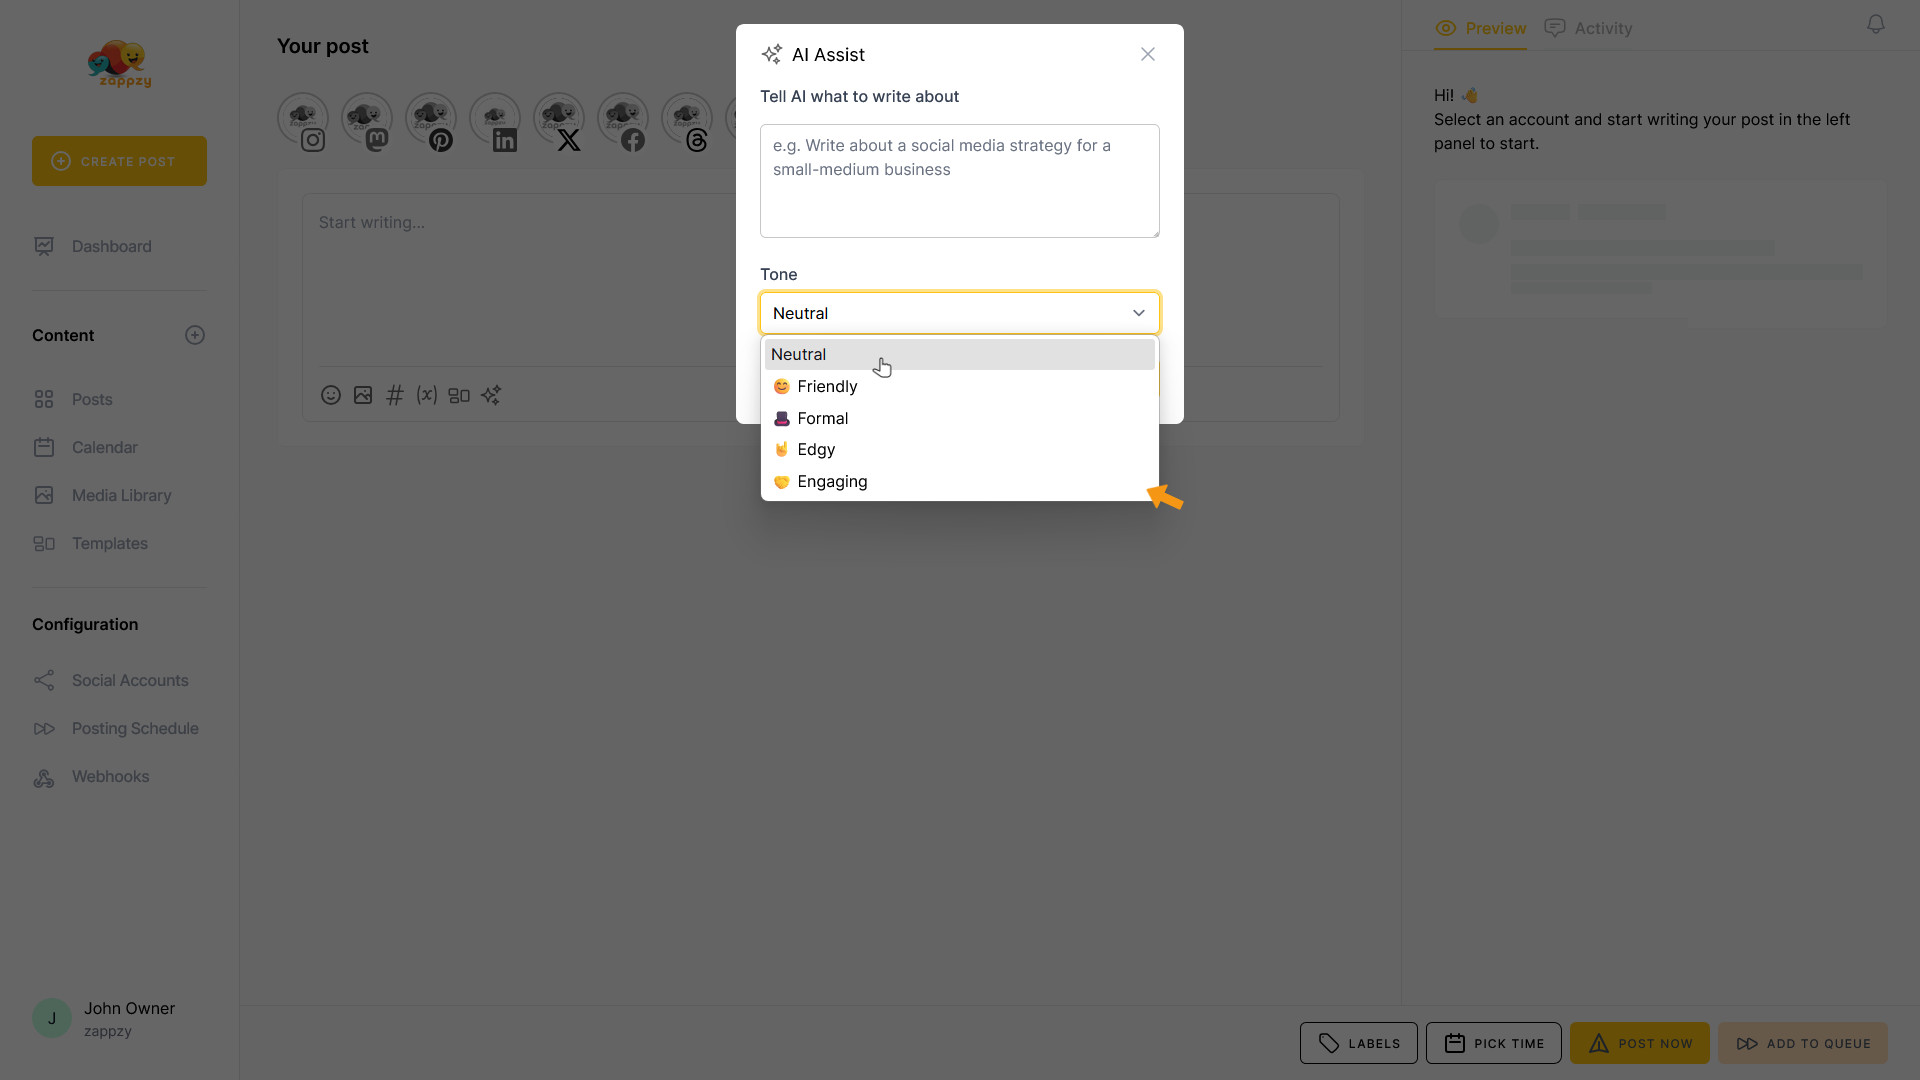
Now head to the second field where you can set the tone. By default, it's set to Neutral.
But you can adjust the tone to match your brand's vibe. Choose from Neutral, Friendly, Formal, Edgy, or Engaging—whatever fits your style best.
What each tone means:
Pick the tone that matches your brand's vibe and the goal of your post.
In our example, we'll use the LinkedIn prompt in the “Tell AI what to write about” field and select “Neutral” as the tone. Then click GENERATE.
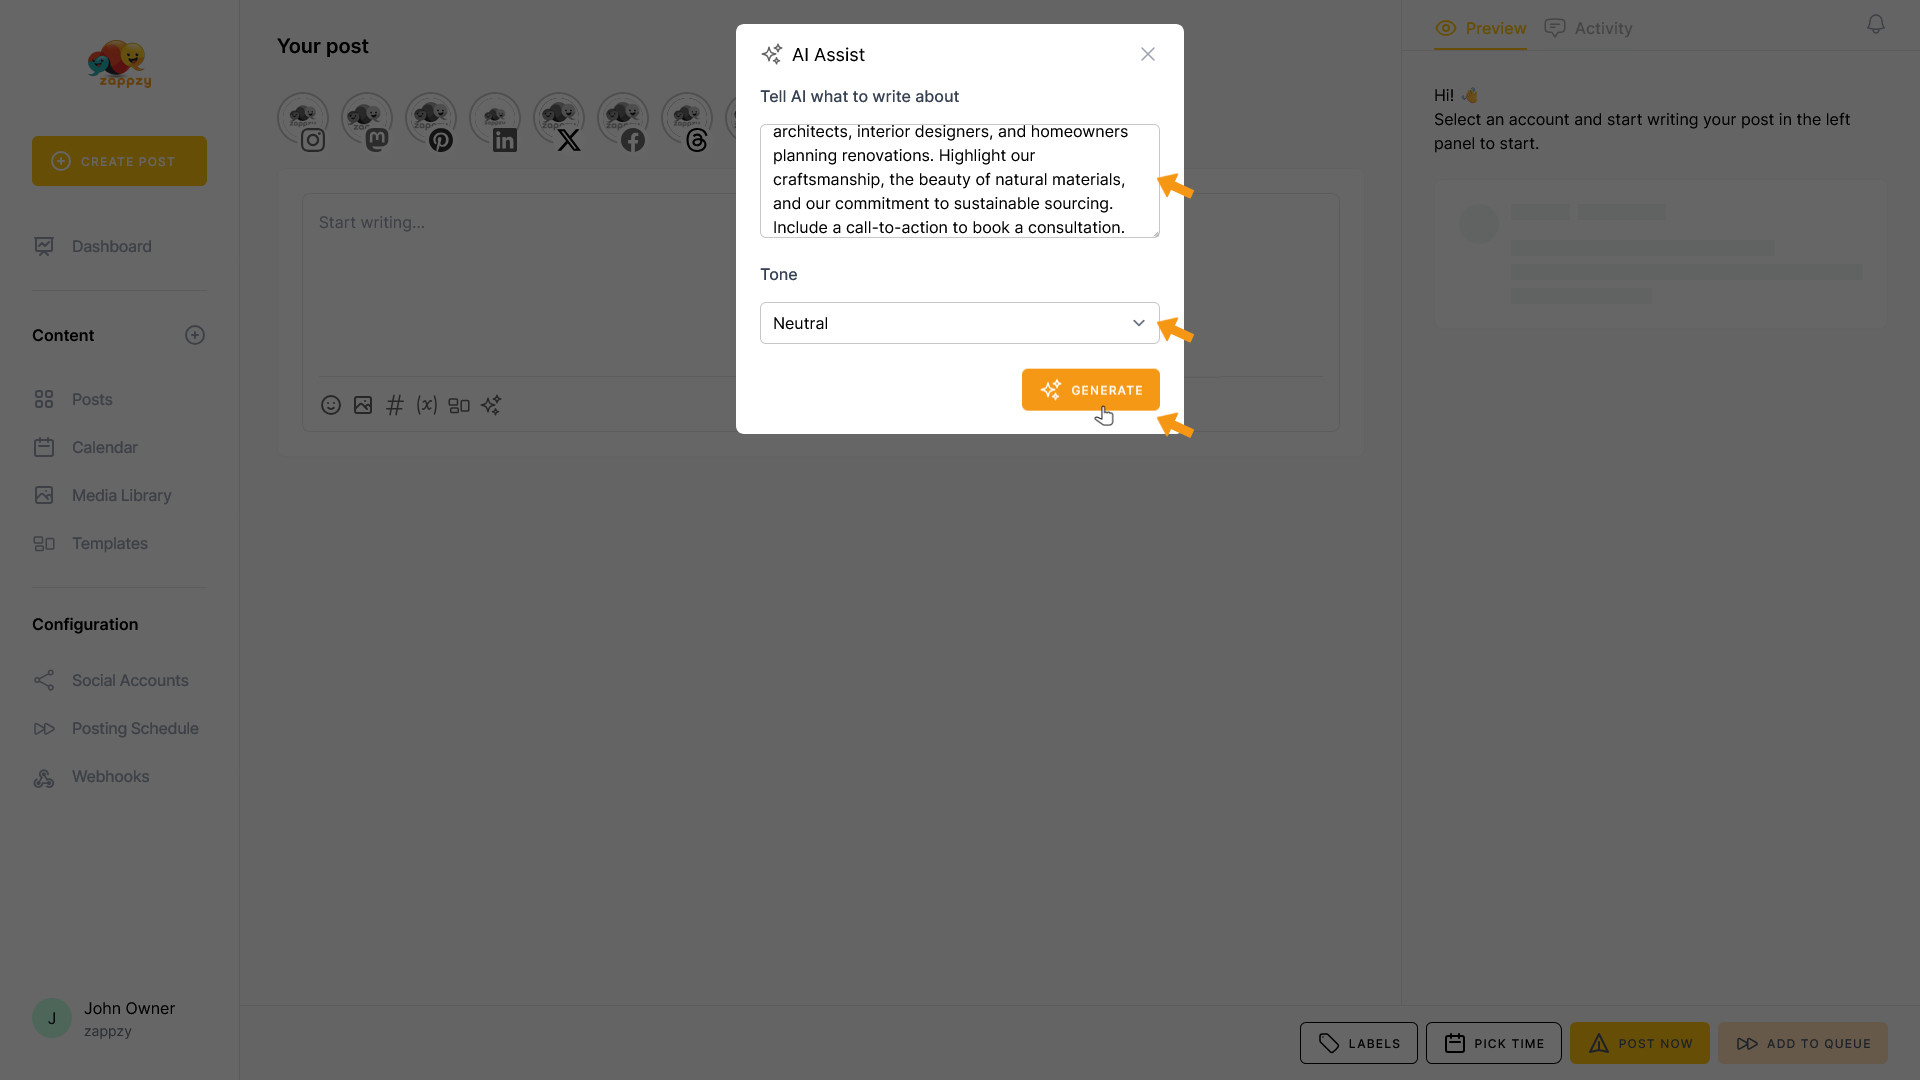
The AI Assistant starts to generate your post.

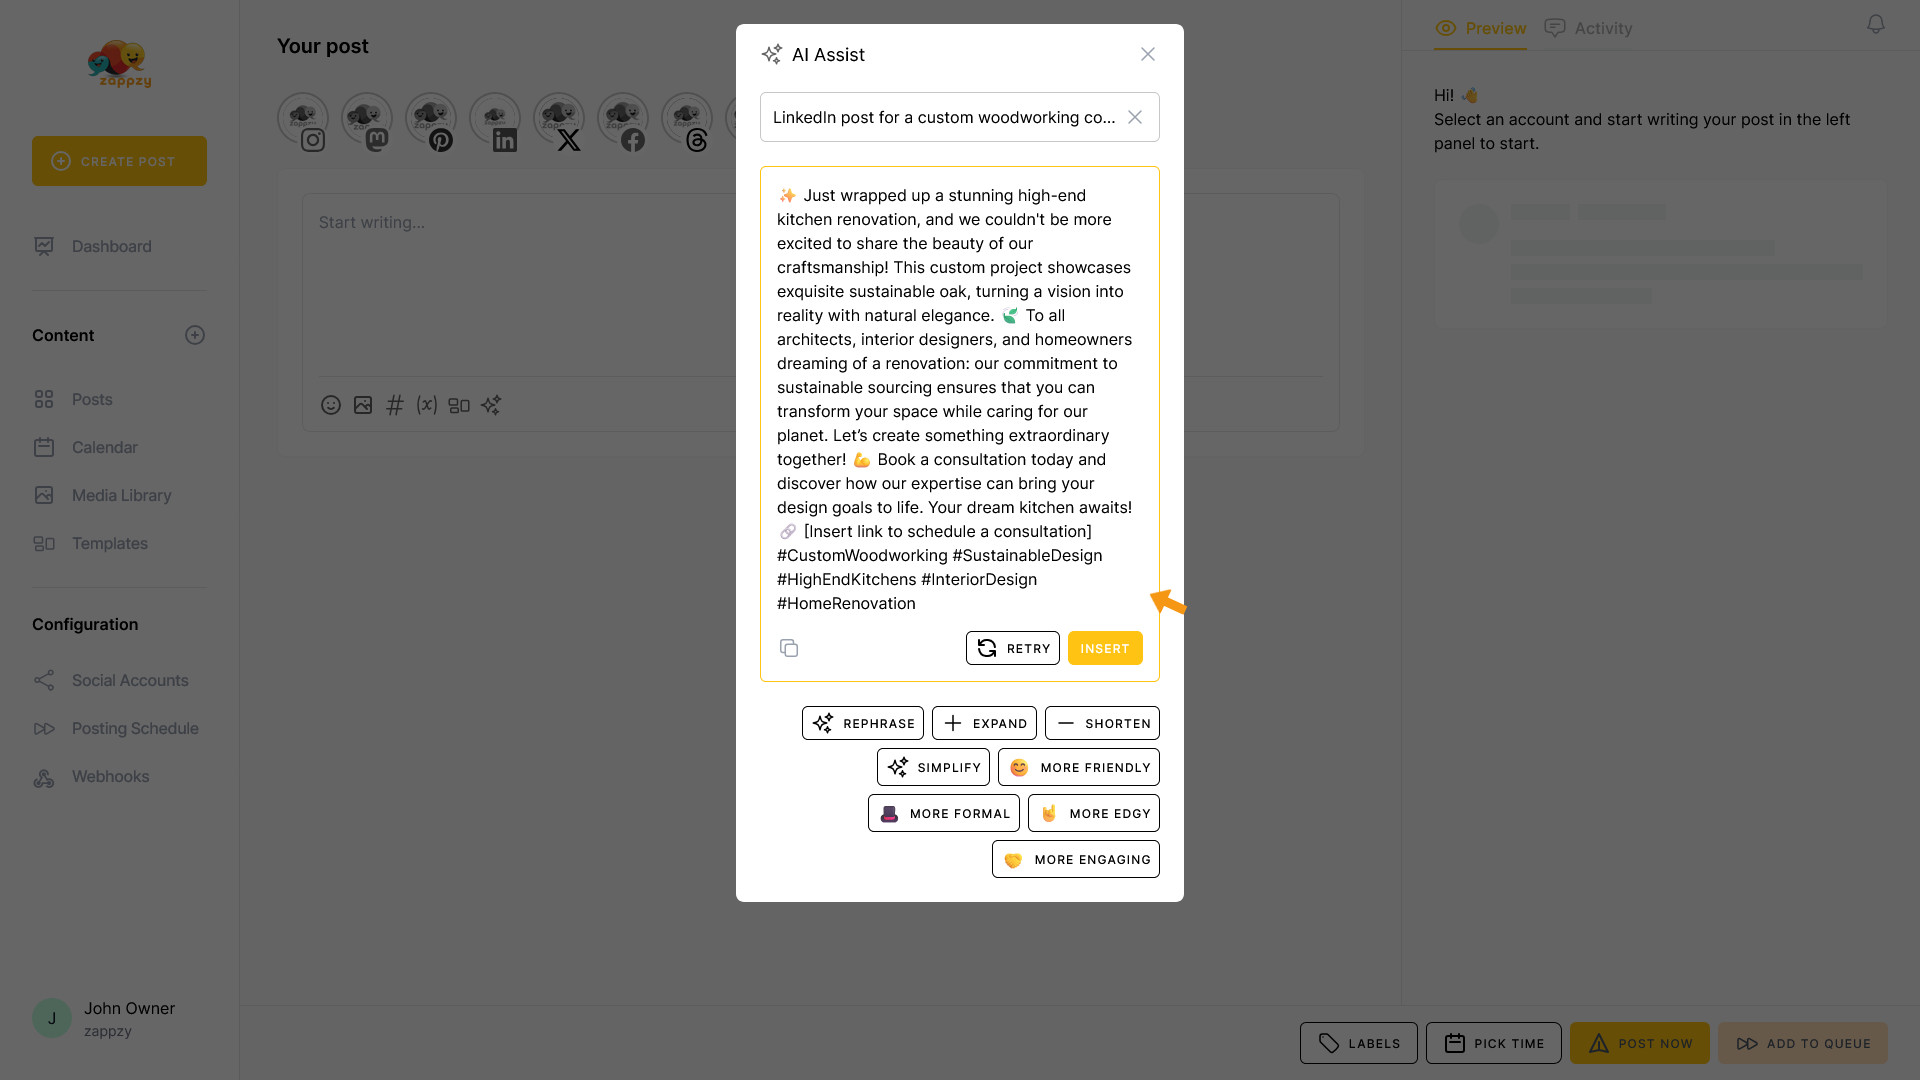
The result is displayed in the same pop-up. You'll see the complete draft, ready for review.
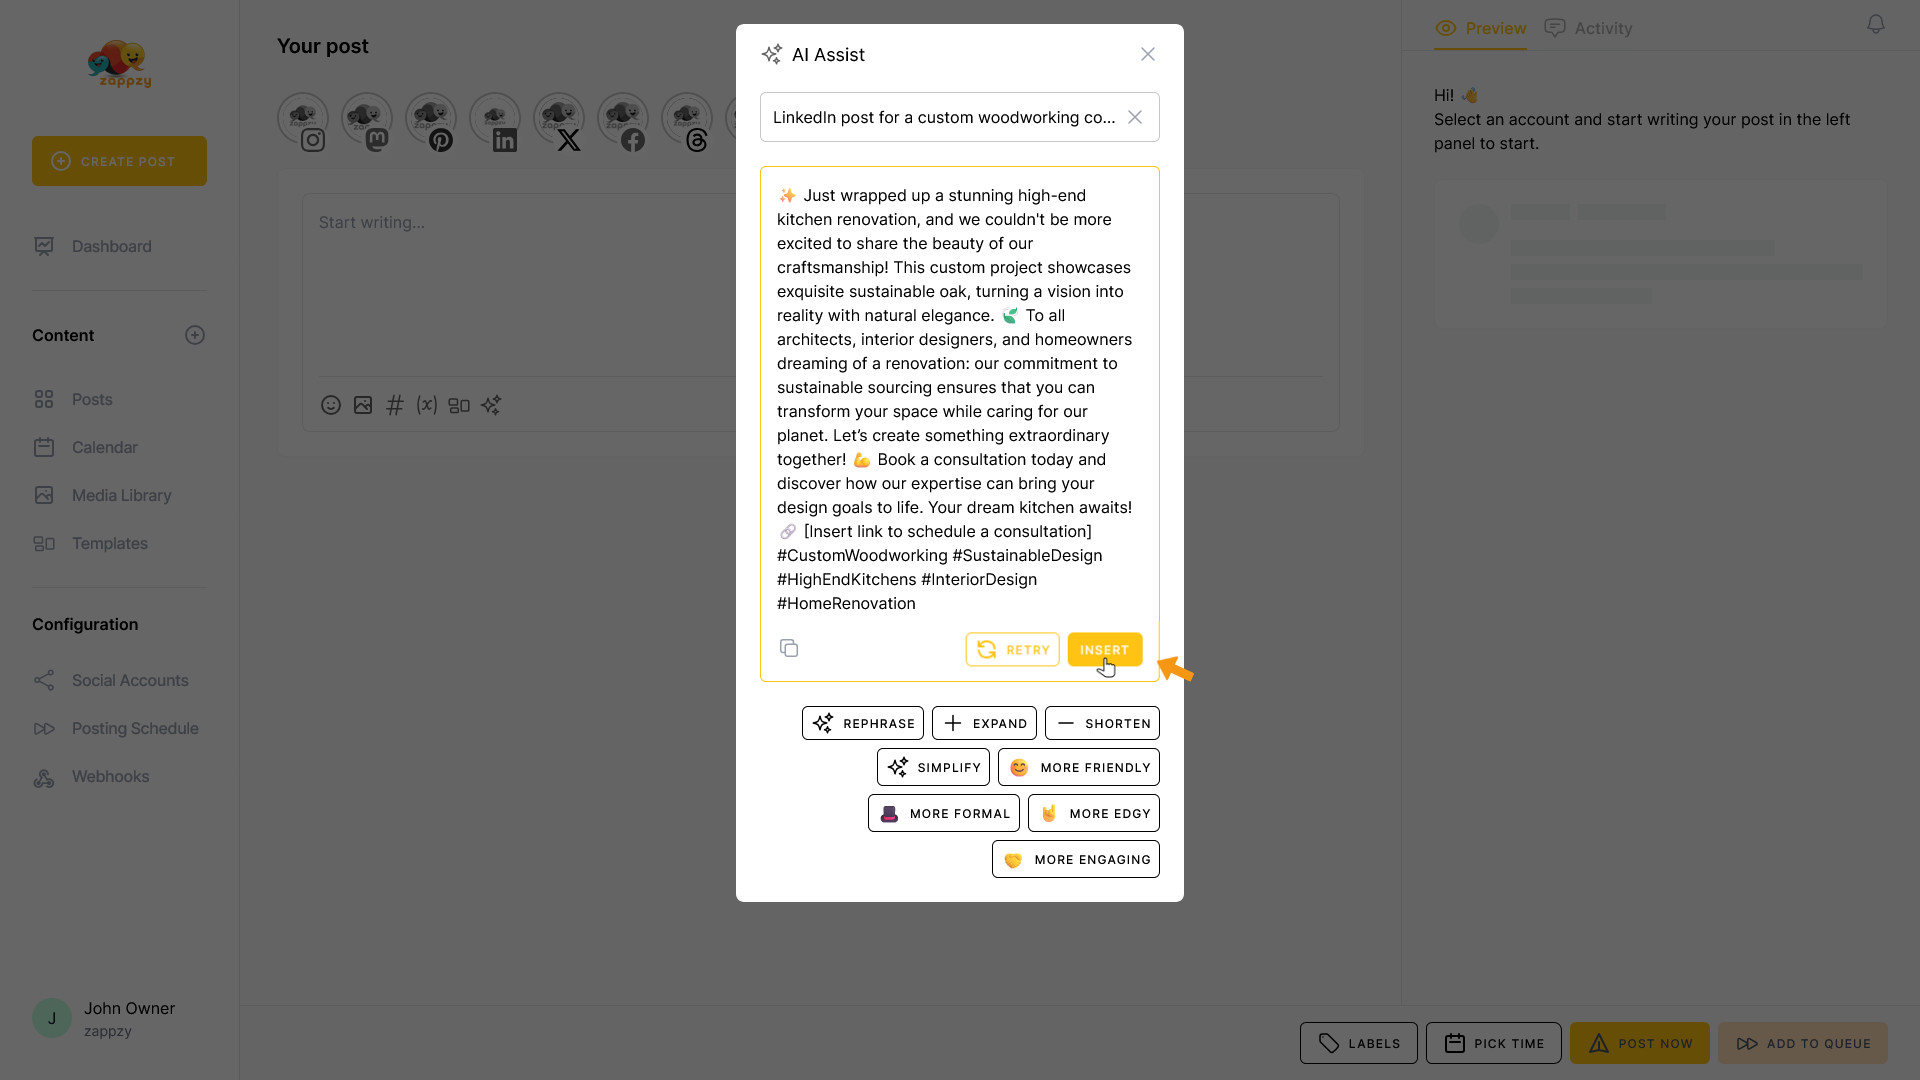
If the draft looks good, click INSERT to add the AI-generated text to your post. From there, you can refine it to make it perfect.
Important: The AI Assistant isn't perfect—always review the generated text and adjust it to fit your brand. Swap out or remove emojis if they don't match your style, and pay attention to any placeholders where you need to add information manually.
Once you're done with your edits, you're ready to schedule your post for publishing.
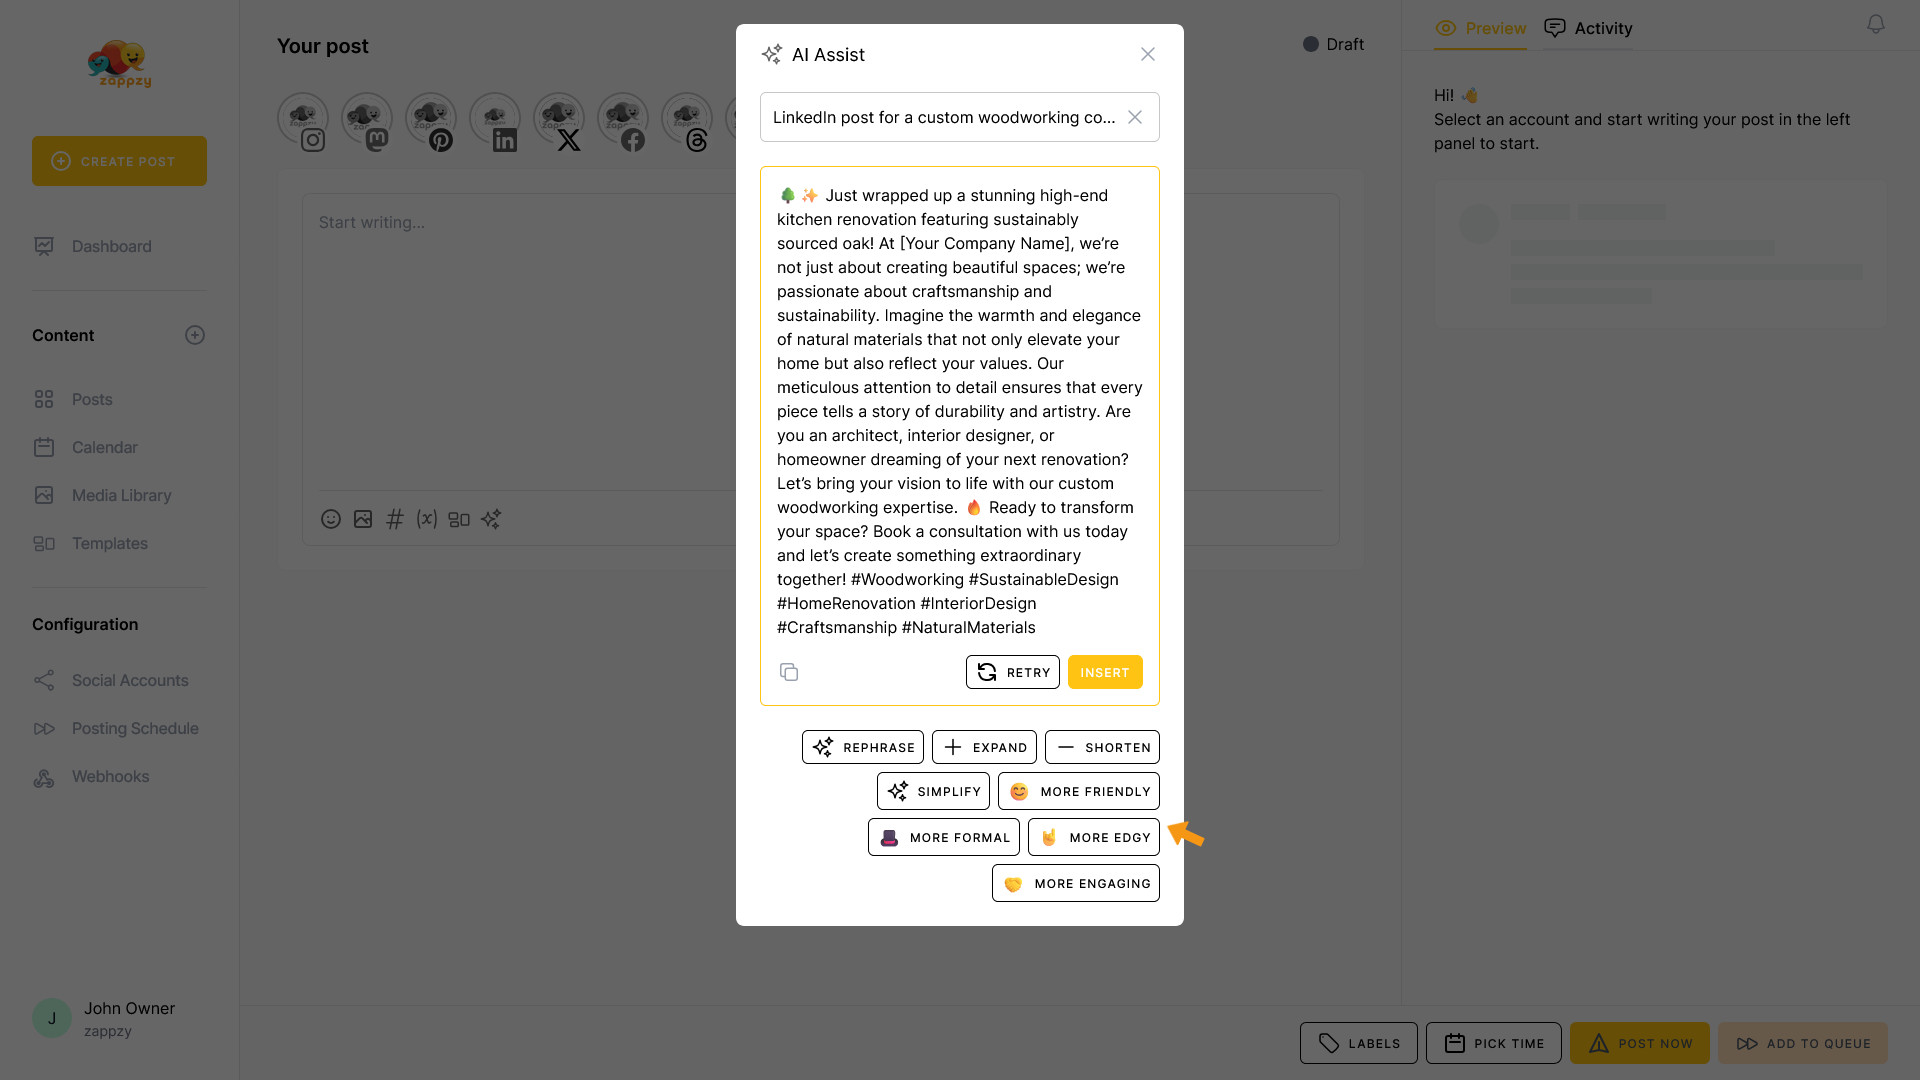
If the result doesn't meet your needs, click RETRY, and the AI Assistant will generate a new version. If the new version works for you, proceed as described above.
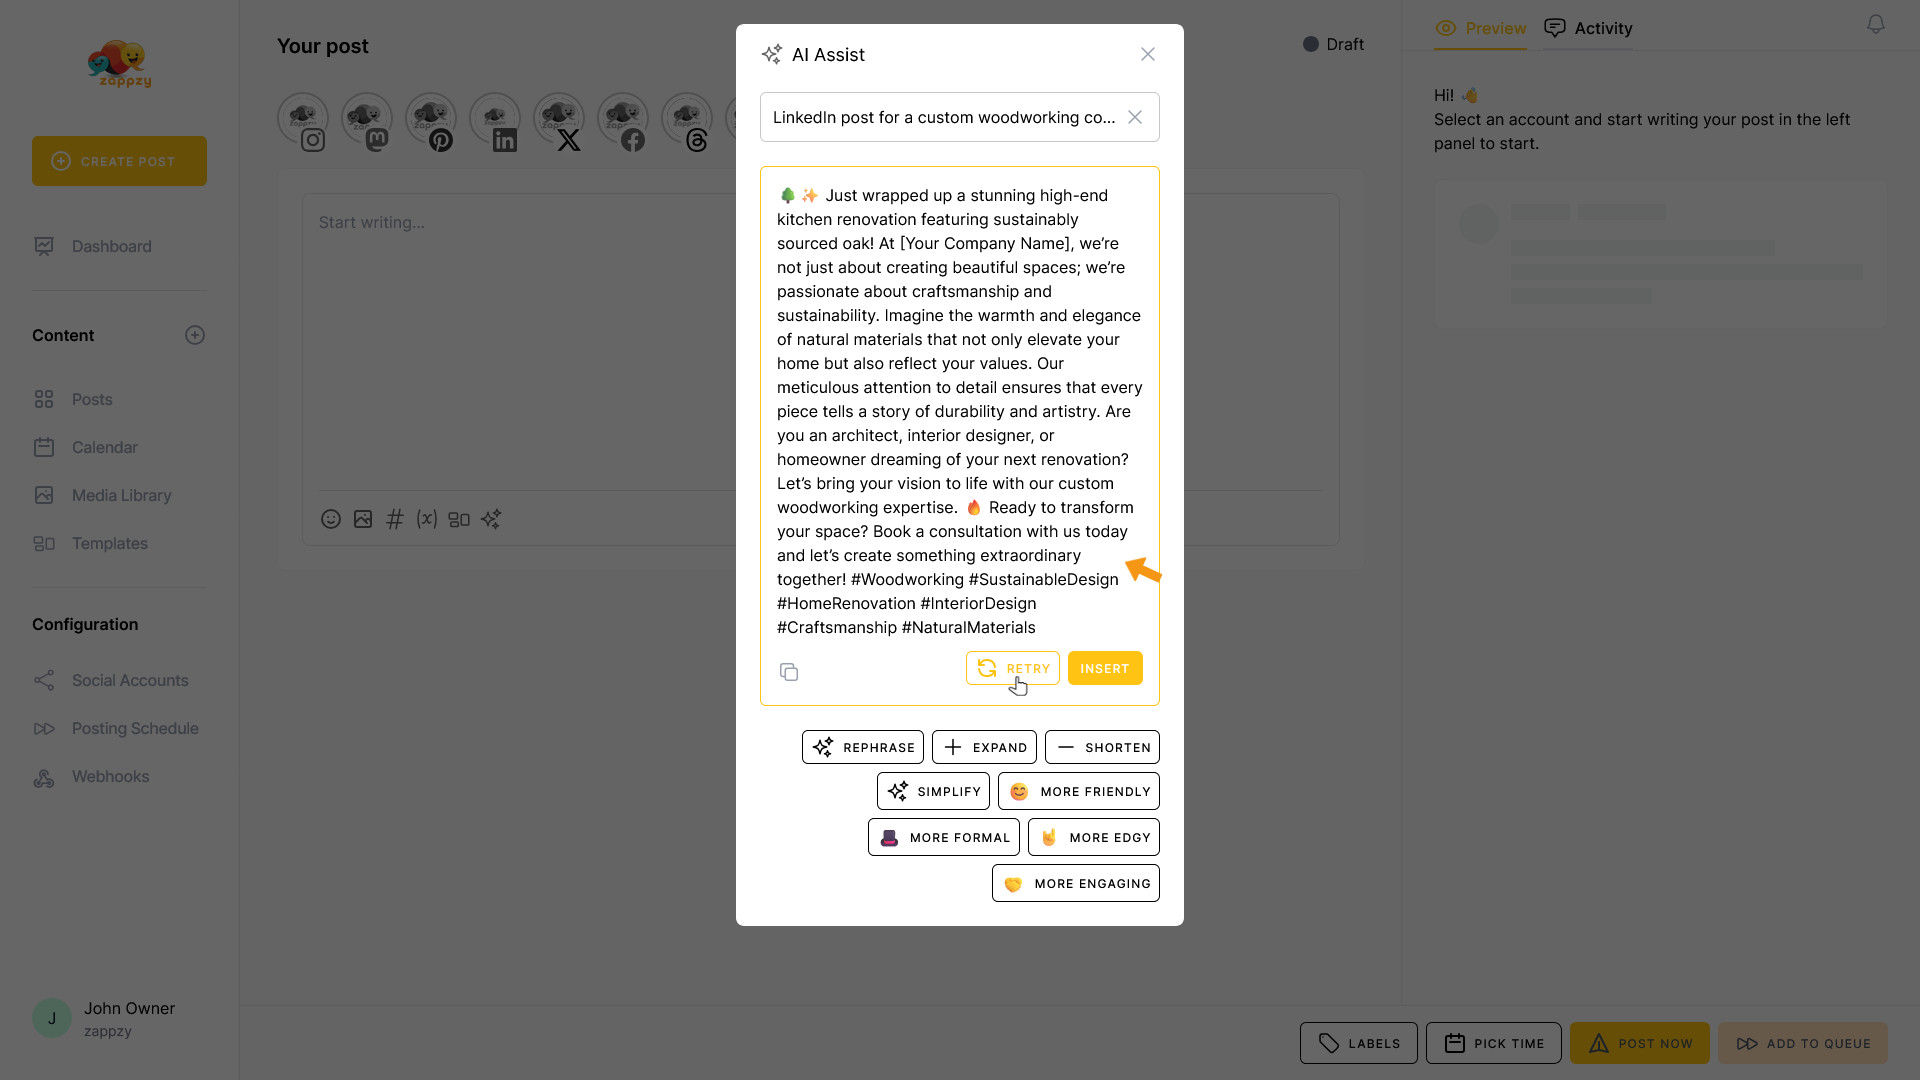
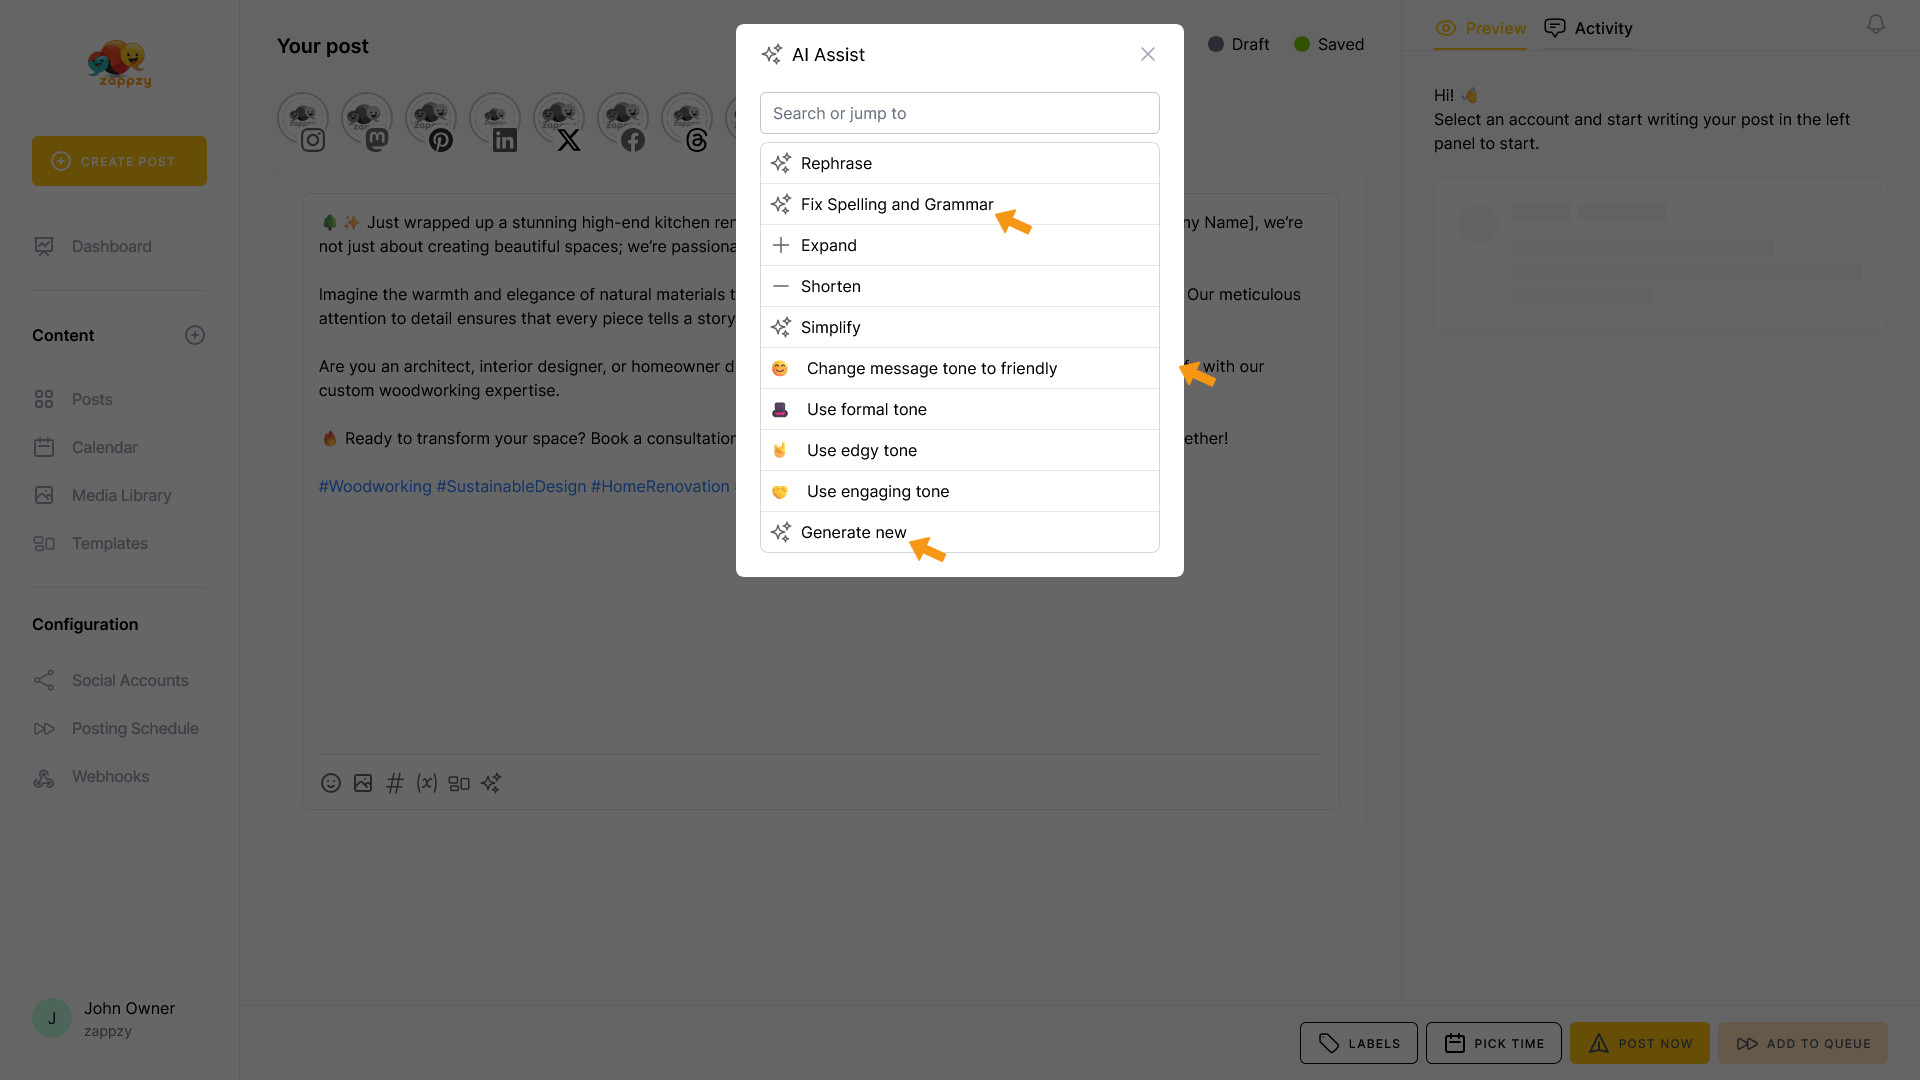
You also can access additional functions directly from the pop-up:
Each option refines your content instantly.
If you've already inserted the text into your post window, you can still use these editing functions. To access them, simply click the AI icon again after adding the content to your post.
You'll find all the editing functions mentioned above, plus two additional options:
You now know how the zappzy AI Assistant can help you—but remember:
The AI Assistant is only as effective as the information you provide. The more specific and detailed your prompt, the better the results. Think of it as a collaboration—you bring the vision and context, the AI brings the speed and structure.
Don't expect the AI to read your mind or deliver perfection on the first try. It's a powerful tool that helps you work faster and more efficiently, but it still needs your expertise and judgment to make the content truly great.
Give clear instructions, review the output carefully, and refine as needed. That's how you get content that's authentic, emotionally charged, and action-ready.