zappzy Support Center > Content > Create posts > Variable Manager: Create dynamic placeholders for consistent, time-saving content

Video or step-by-step guide with screenshots. Your choice. We’ll make it work either way.
Step-by-step guide
The Variable Manager lets you create placeholders for information you use repeatedly across posts. Set up a variable once, drop it into your content, and zappzy automatically fills in the details when your post goes live.
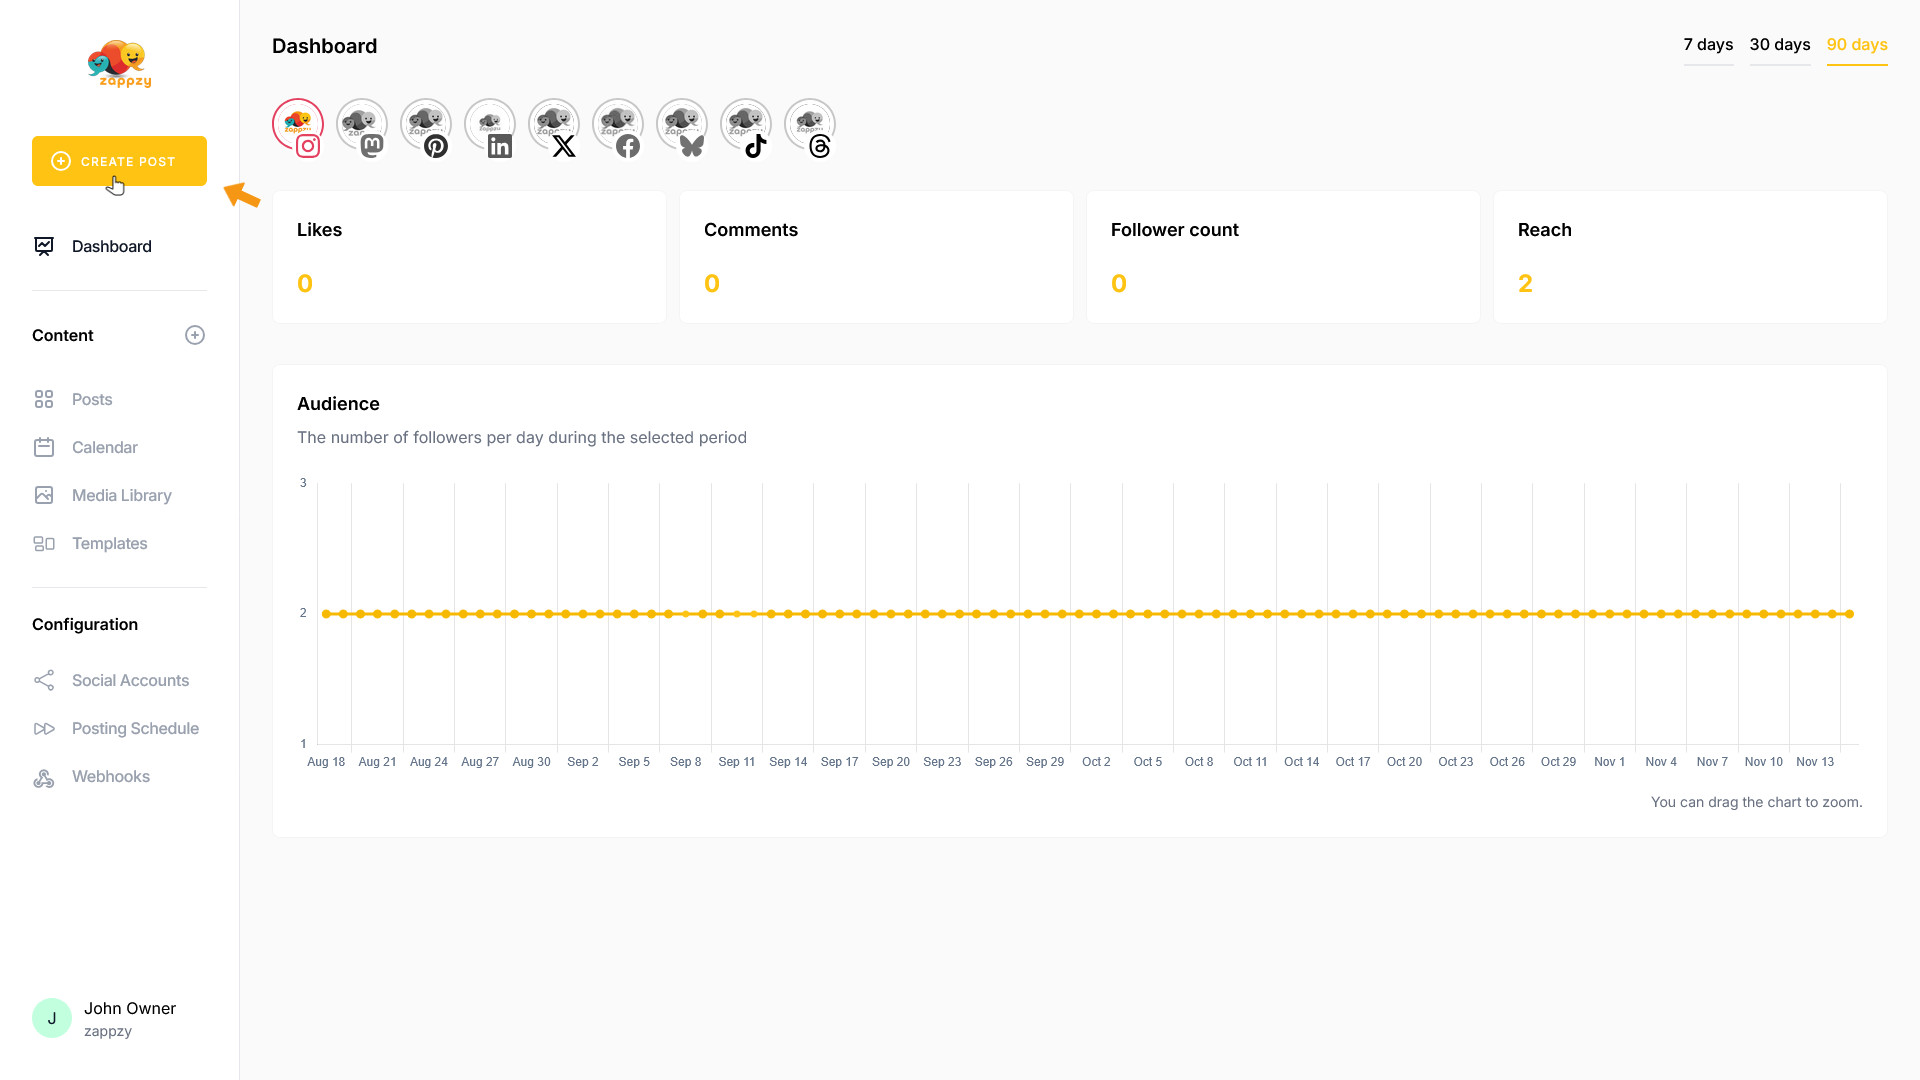
Once you're logged in to zappzy, you'll see an orange CREATE POST button in the left menu. Click on it.
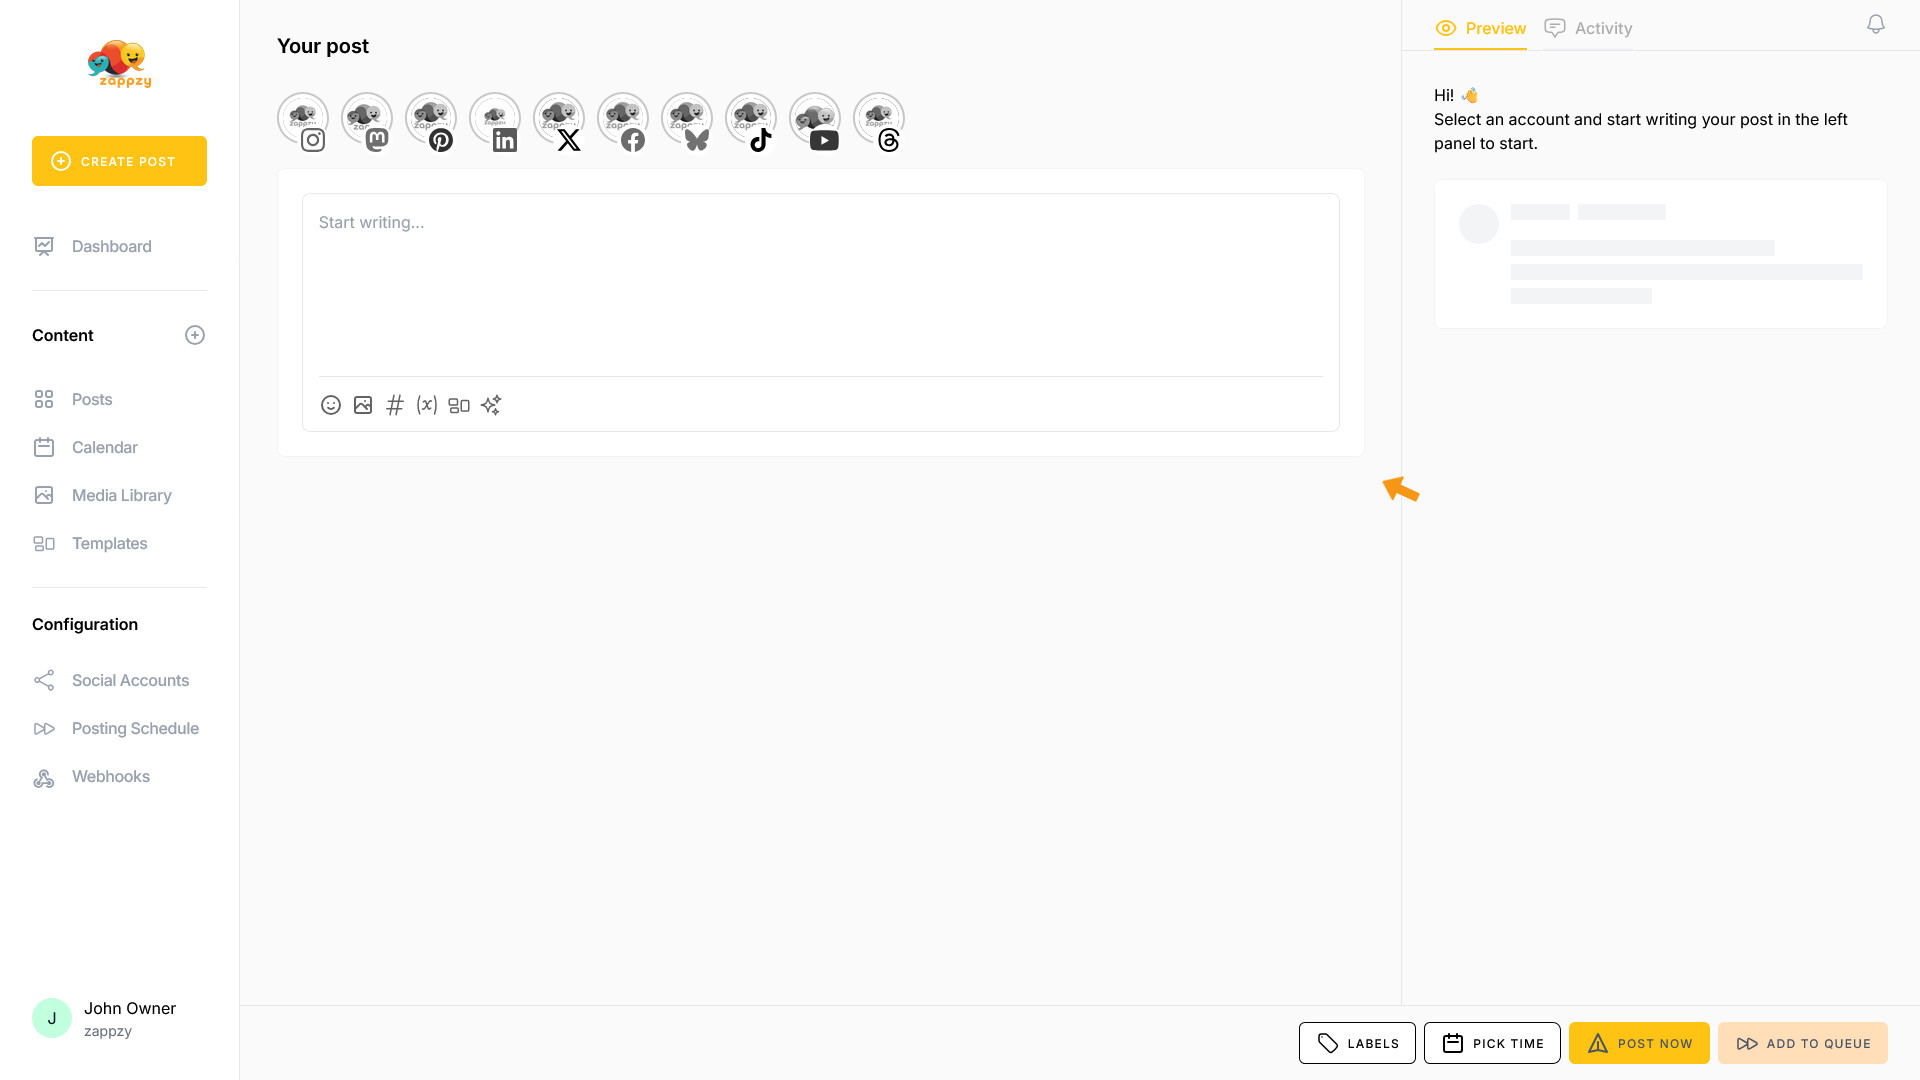
The Your post overview will appear on your main screen.
Note: We're focusing on variables here, not post creation. For step-by-step guidance on creating a post, see the Create a post articles.
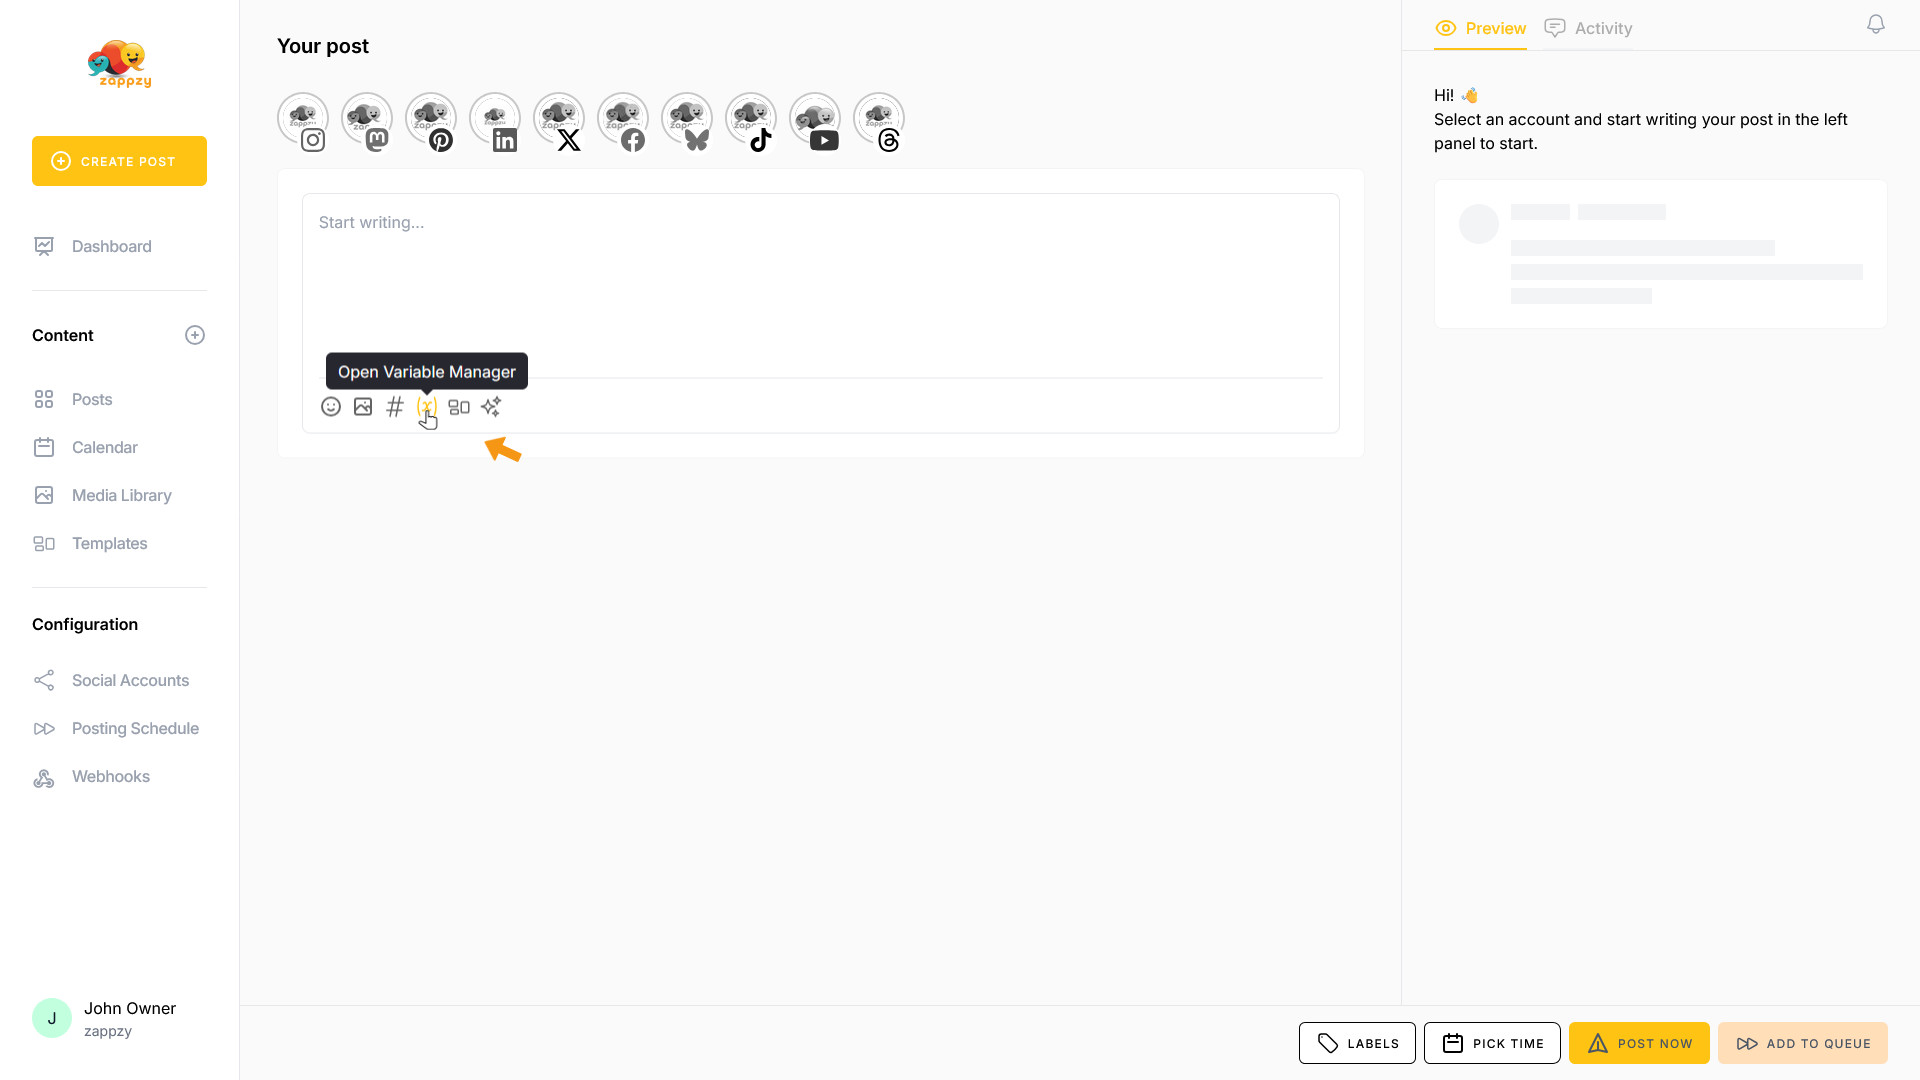
The Variable Manager is always accessible right where you need it—inside the post editor. This keeps your workflow smooth and puts the variables exactly where it makes sense: when you're creating or editing a post.
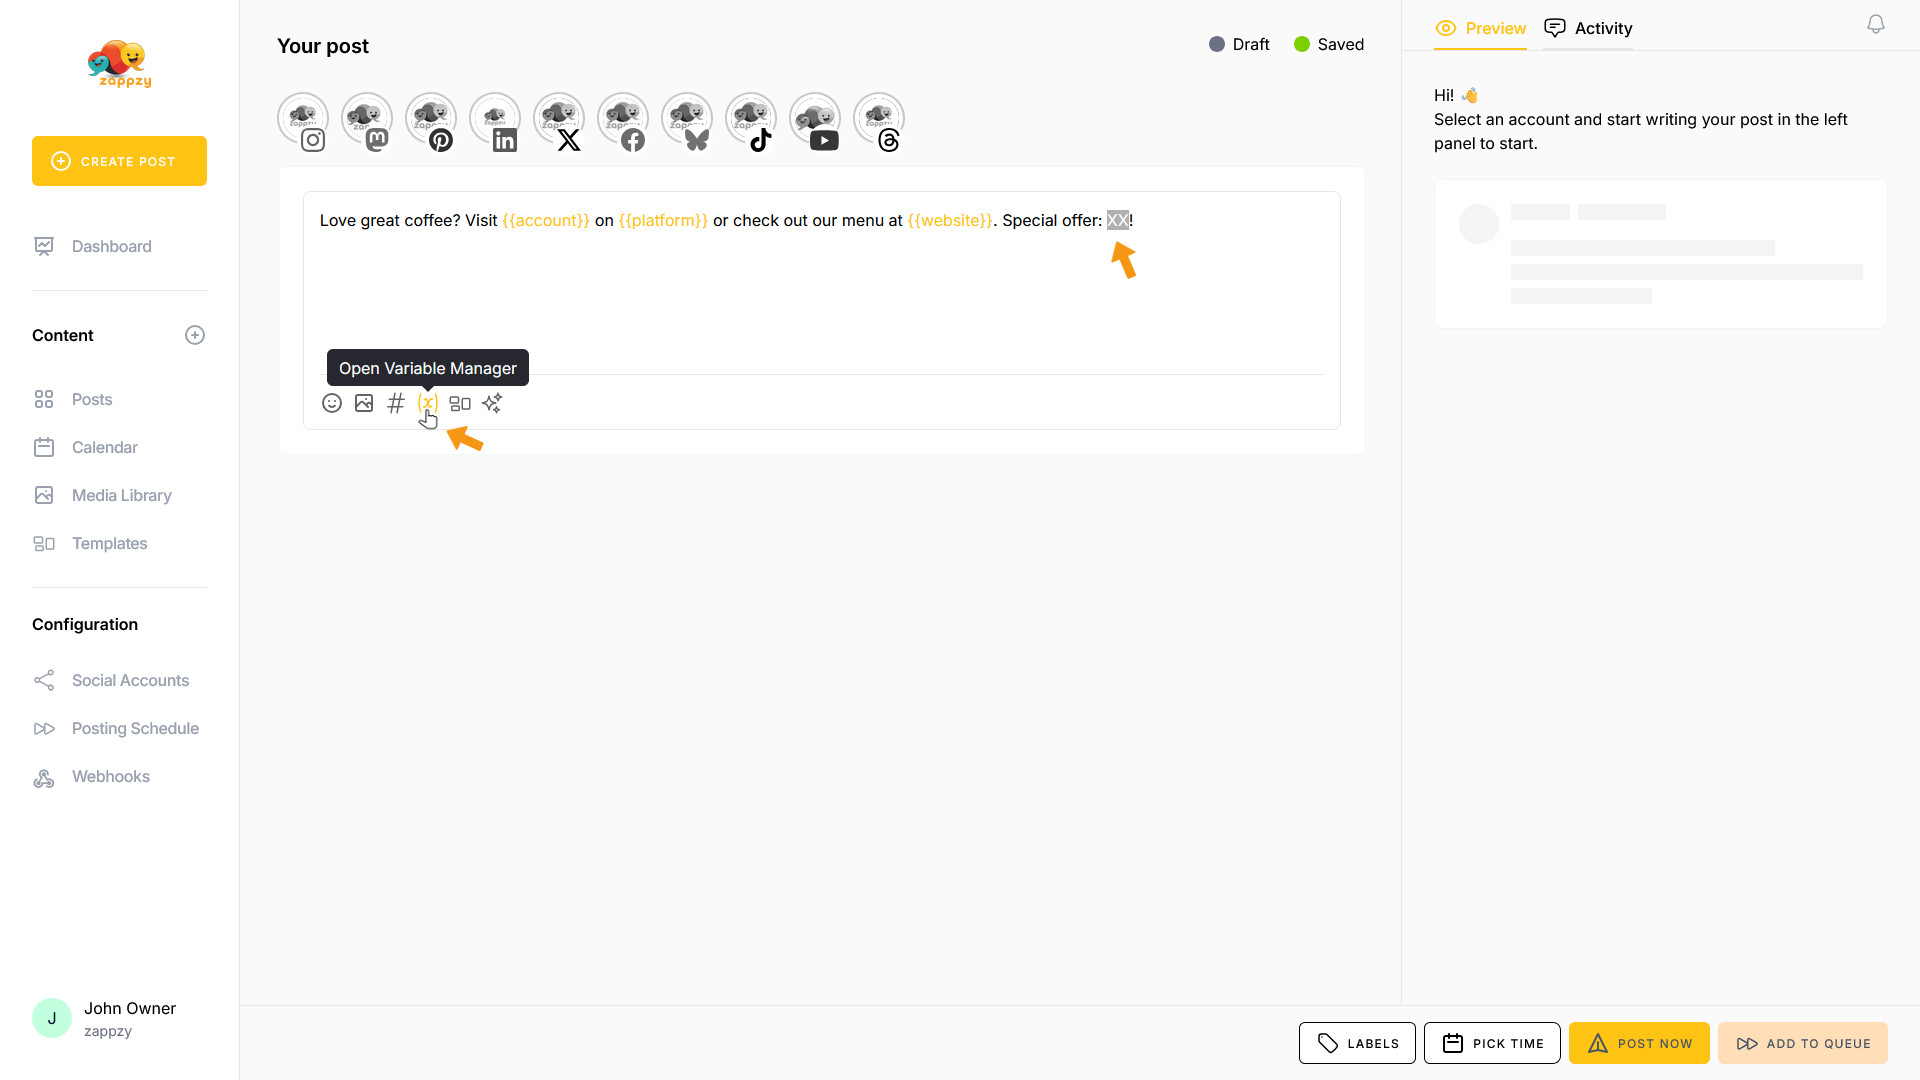
Click the (x) icon at the bottom of the post window where you're writing your content.
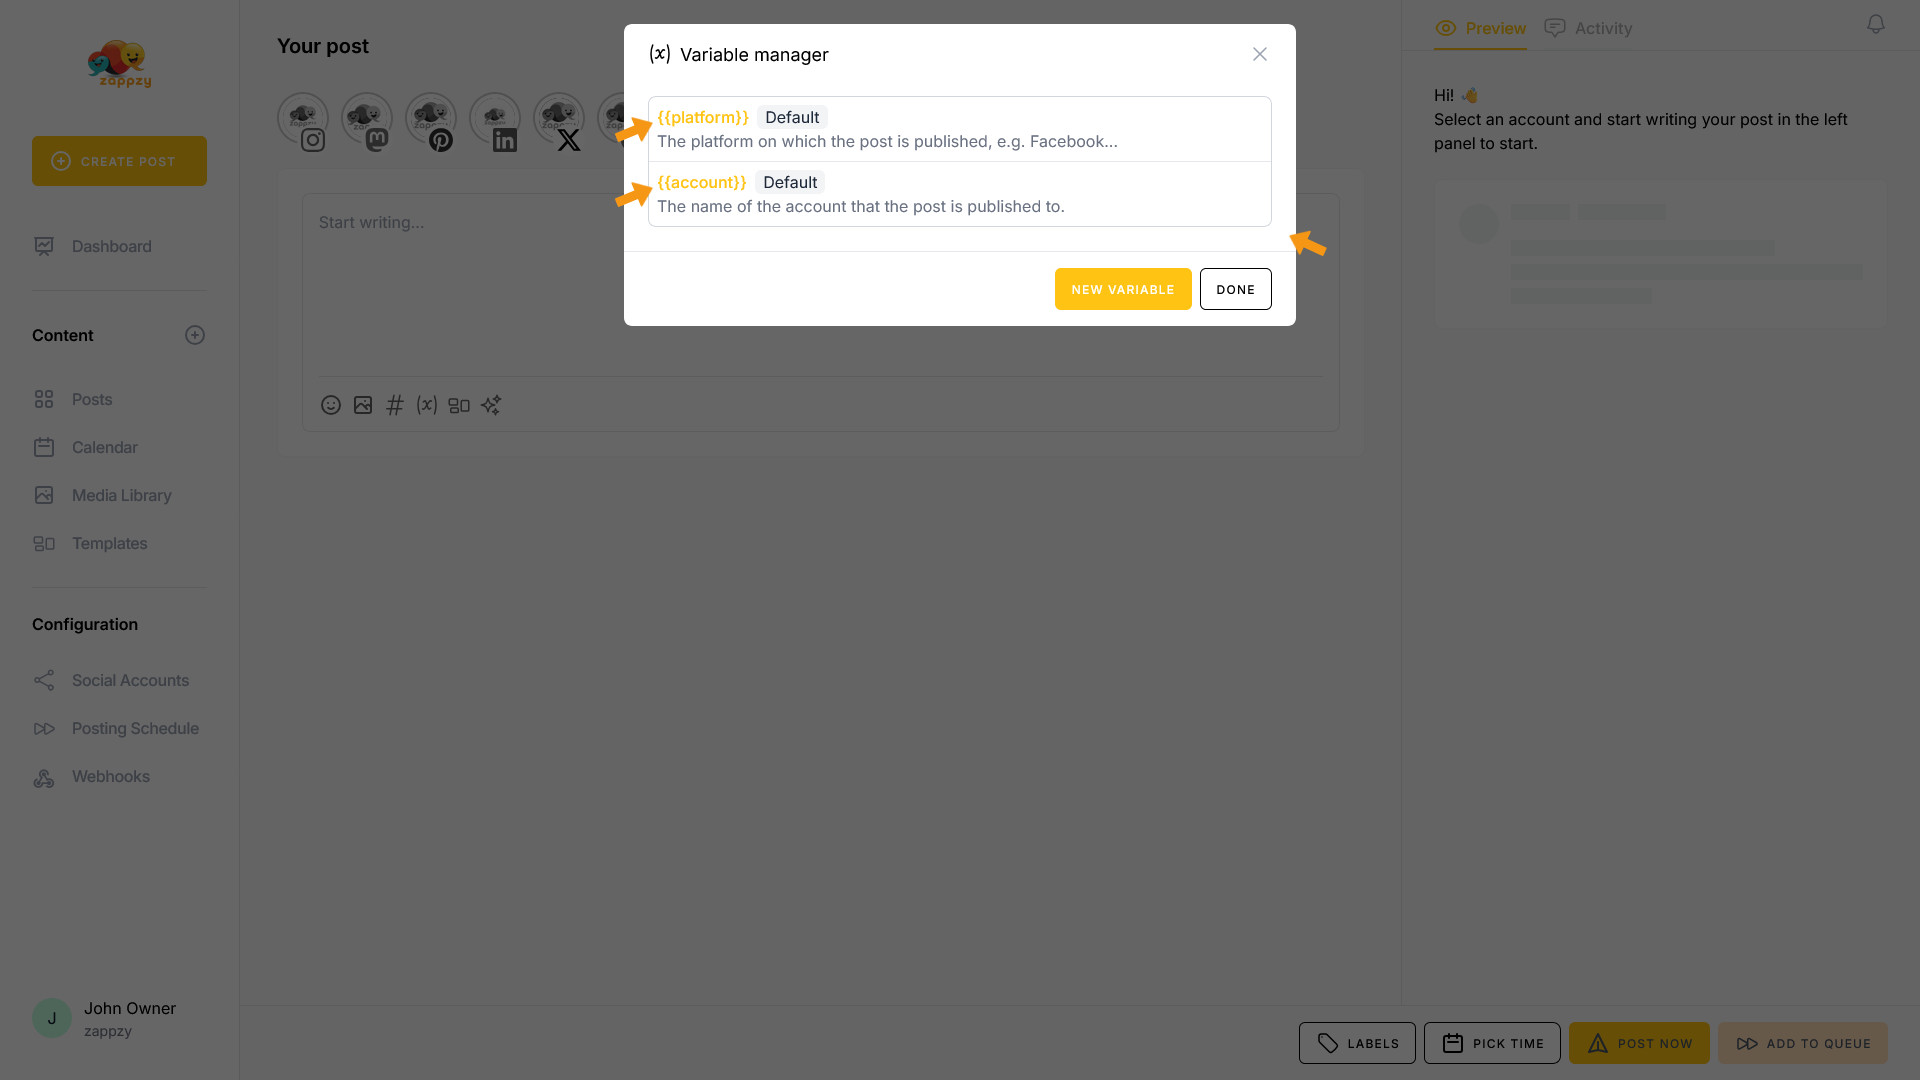
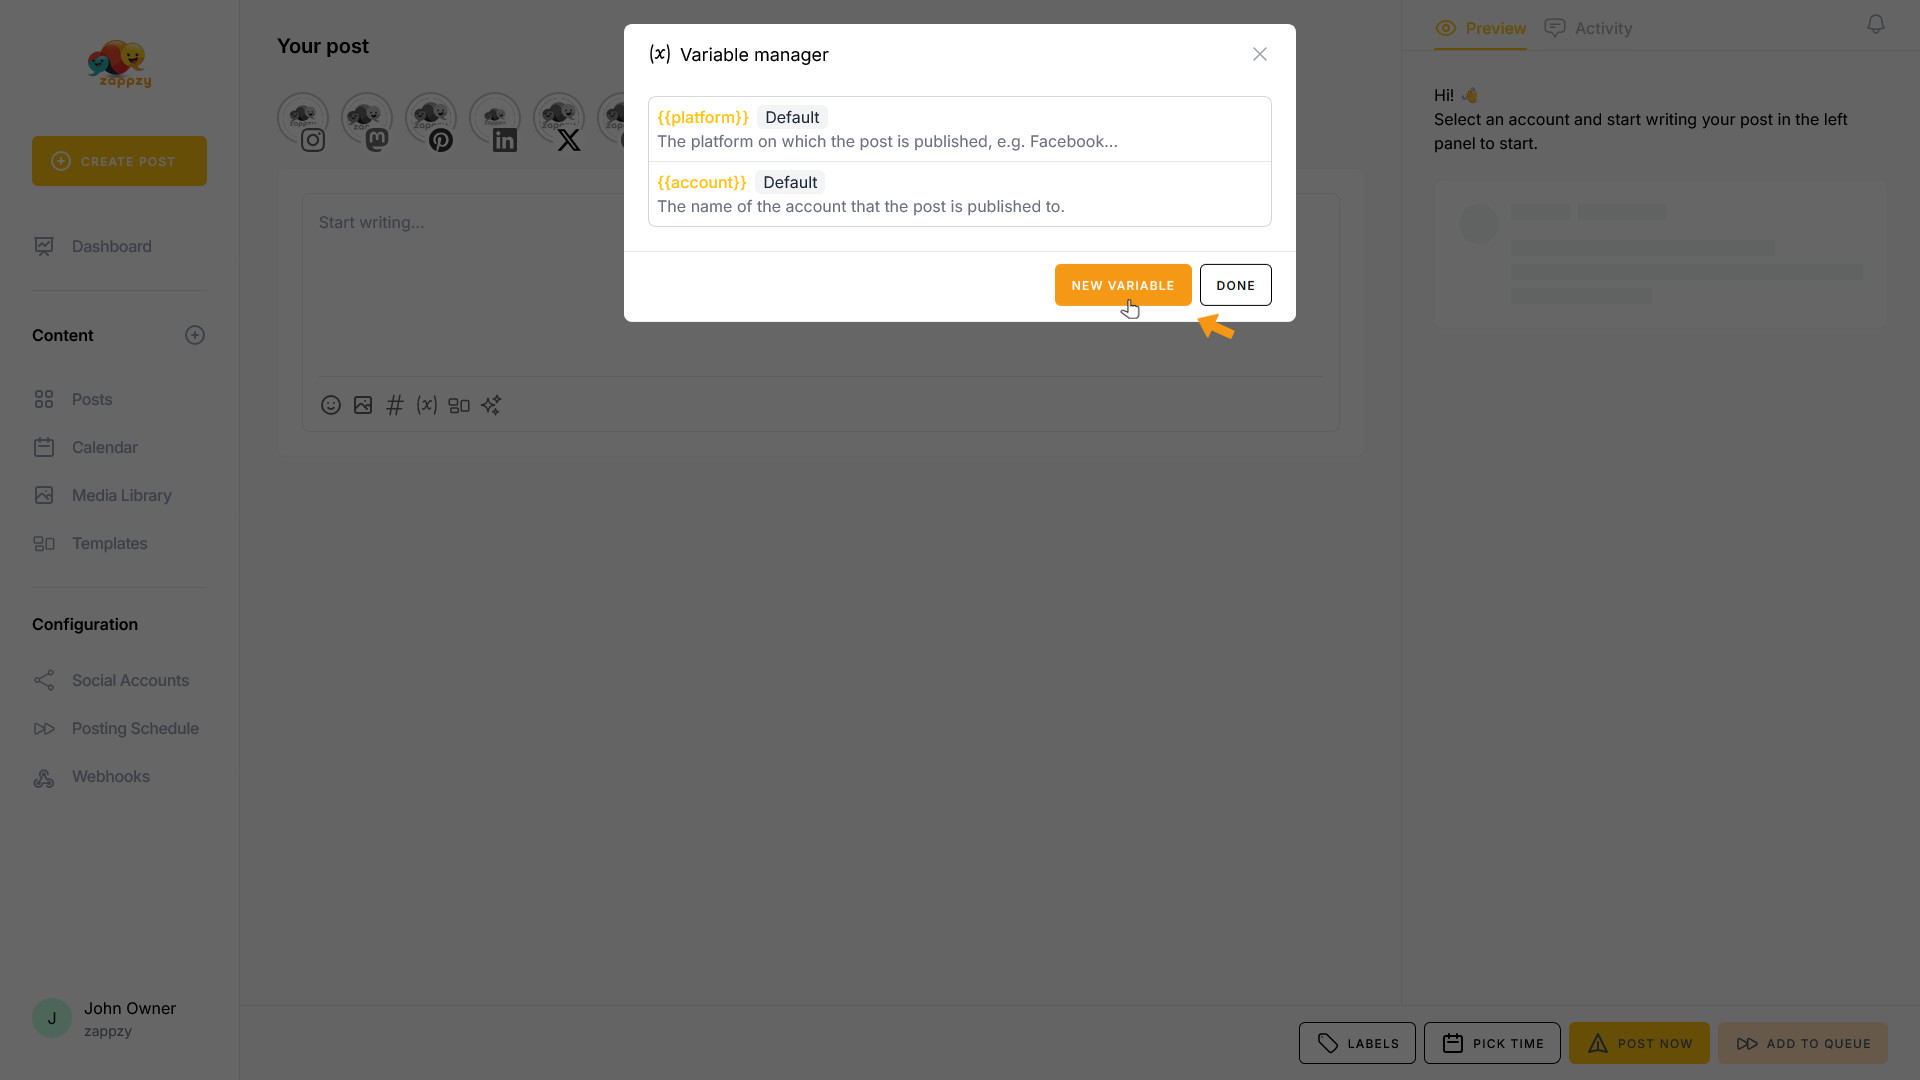
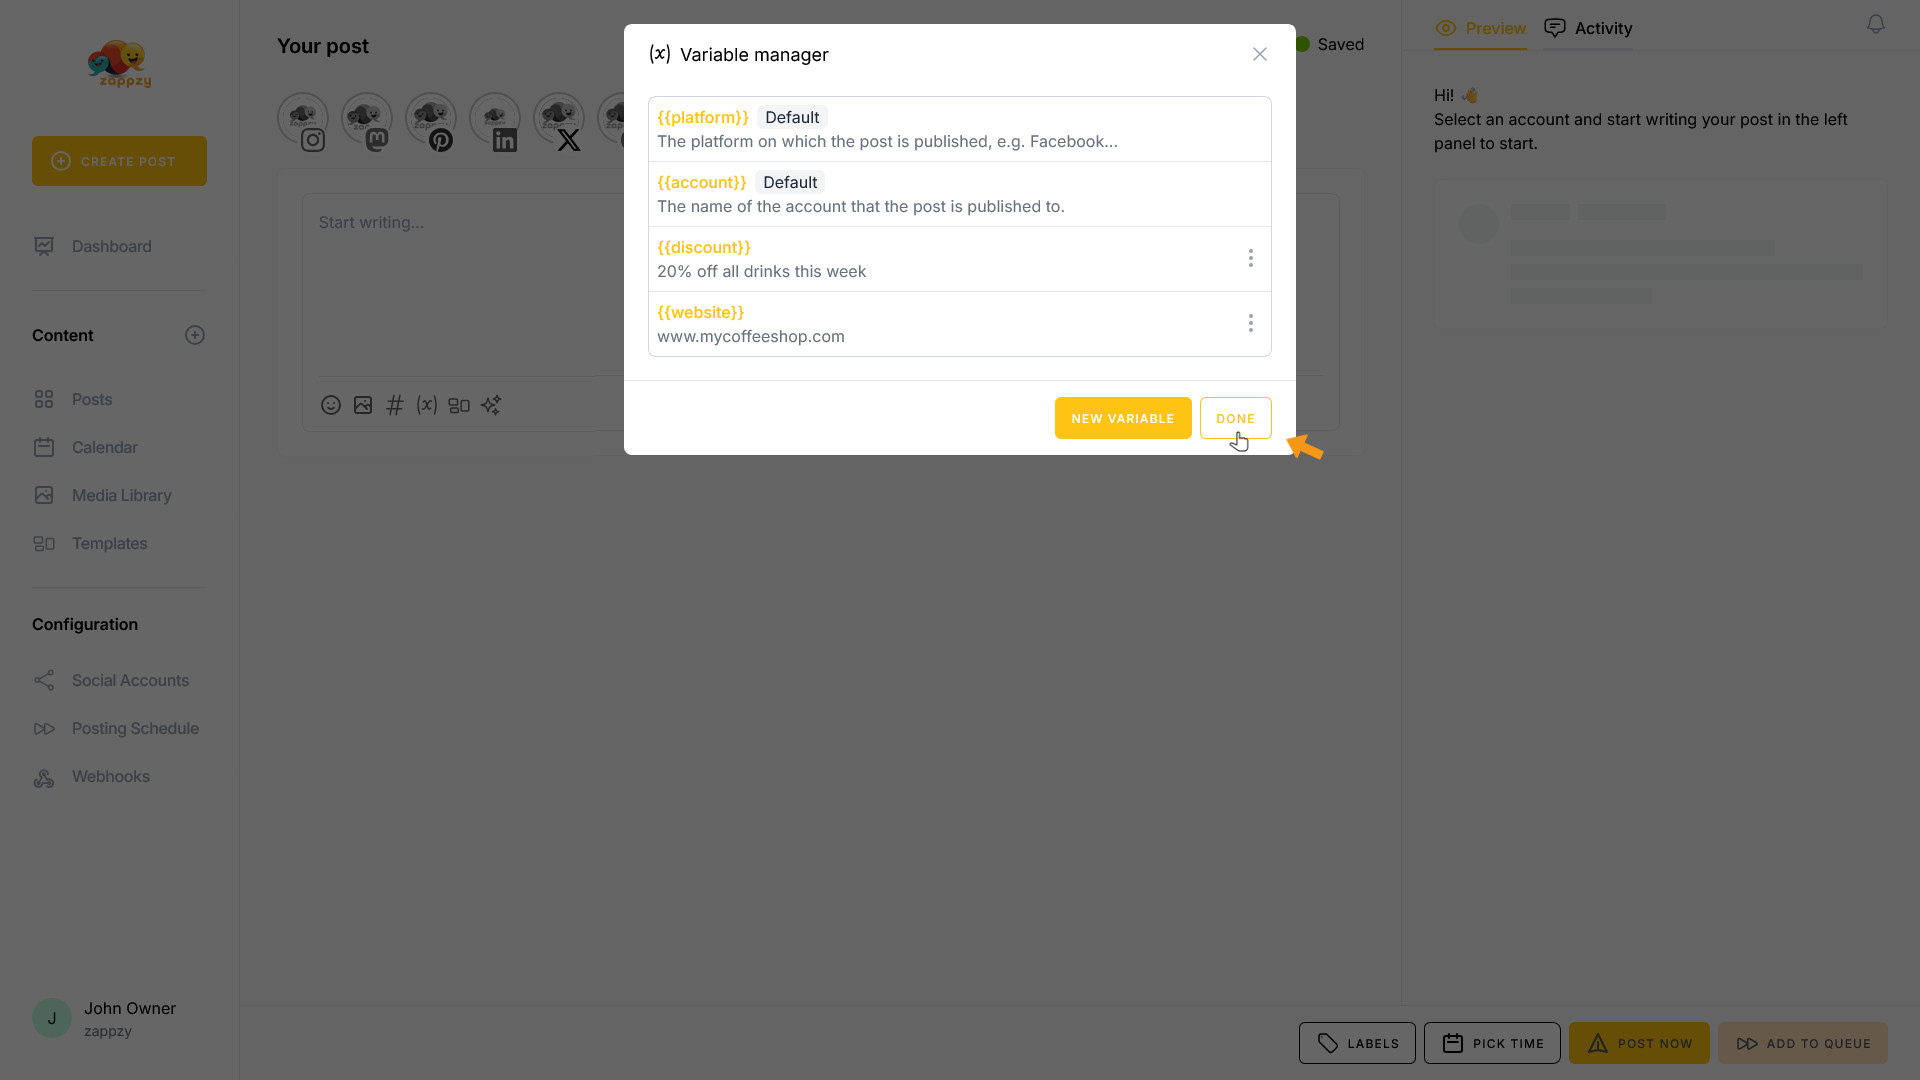
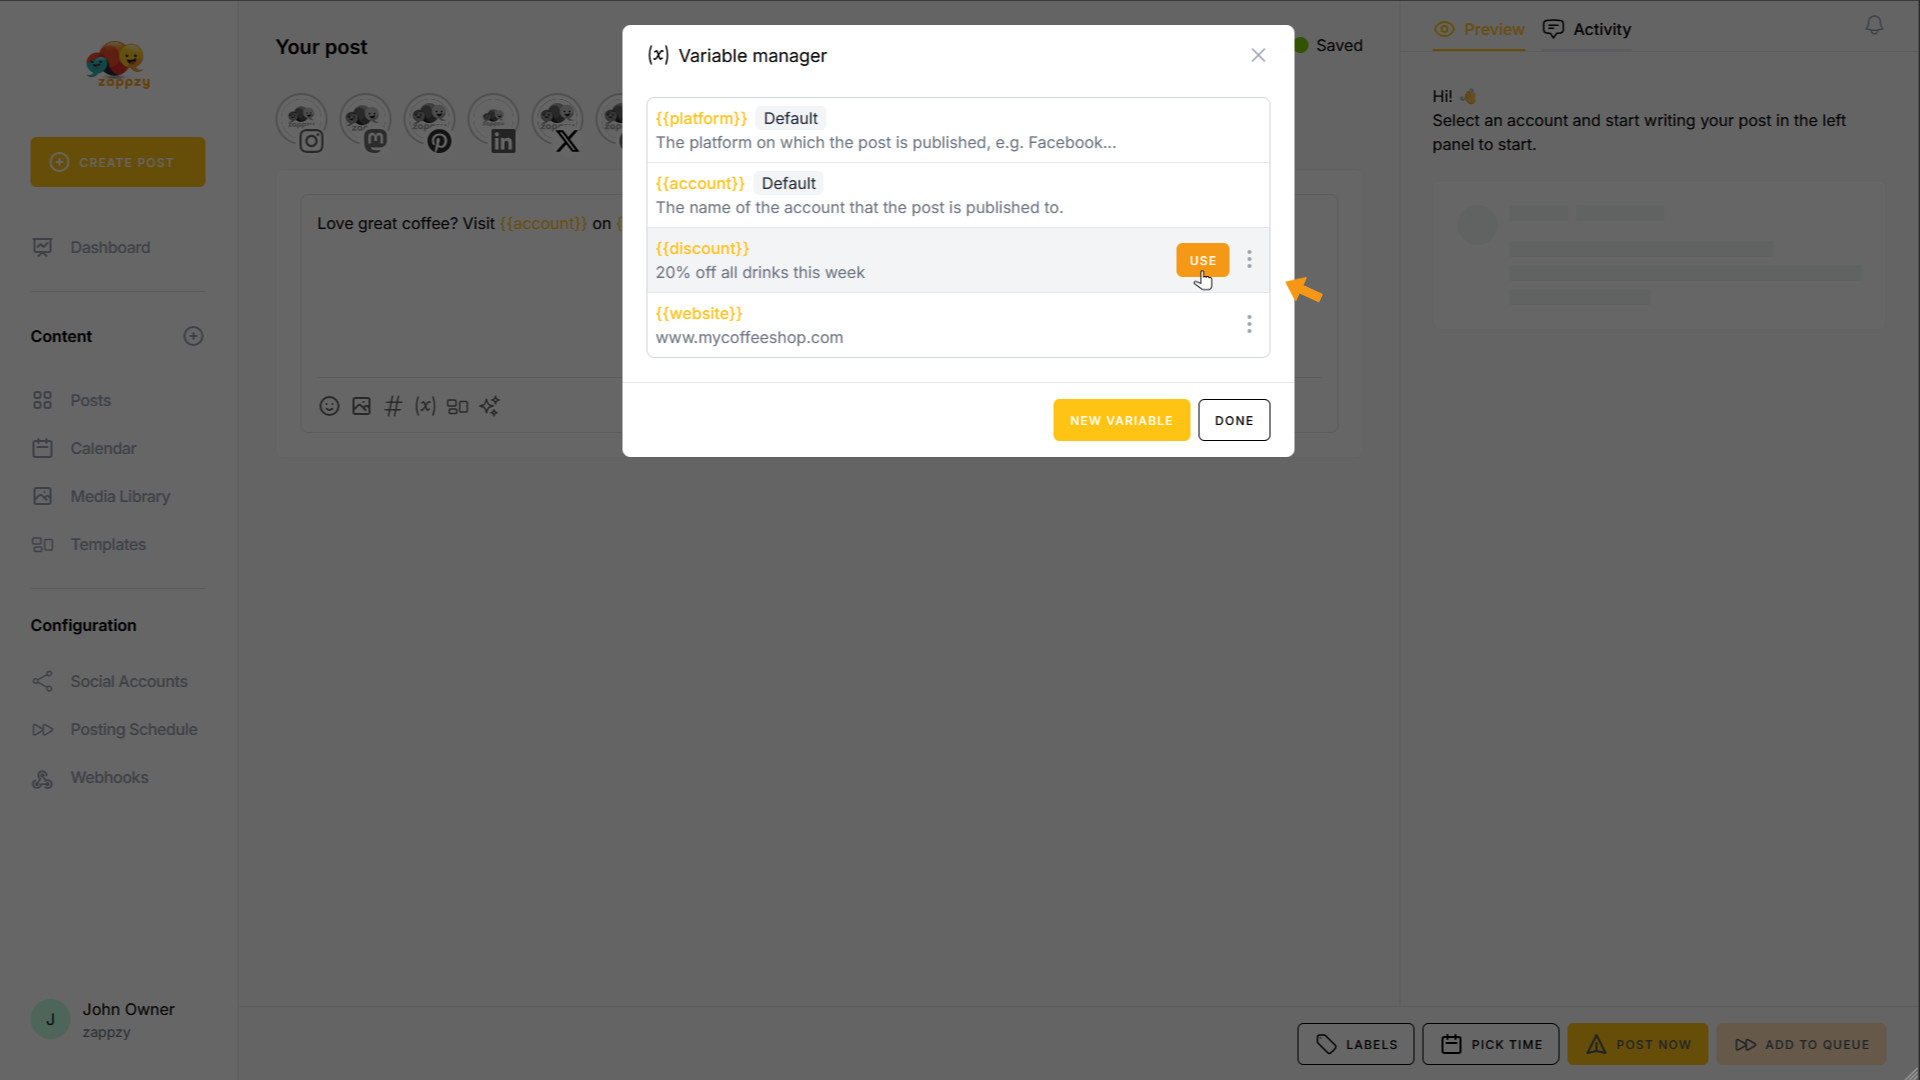
The Variable Manager pop-up opens. When you open the Variable Manager for the first time, you'll see 2 variables already set up for you:
{{platform}}
This variable represents the social media platform where your post will go live—like Facebook, Instagram, LinkedIn, X (Twitter), or any other channel you've connected to zappzy. The platform name is automatically adjusted based on where you're publishing the post.
{{account}}
This variable represents the account name you've set up on your social media platform—like “zappzy” on Facebook, “zappzy (Page)” on LinkedIn, or “zappzy_official” on Instagram. The account name is automatically adjusted based on which connected account you're publishing the post to.
You can create custom variables for information you use frequently in your posts—like your website URL, email address, phone number, or current promotion details. These dynamic placeholders save you time, prevent typos, and ensure consistent, personalized communication across all your channels.
Click the NEW VARIABLE button to create your own variable.
What should I create variables for?
Let's look at an example:
Let's say you run a coffee shop and create these variables:
{{website}} = “www.mycoffeeshop.com”
{{discount}} = “20% off all drinks this week”
You write:
“Love great coffee? Visit {{account}} on {{platform}} or check out our menu at {{website}}. Special offer: {{discount}}!”
When published to Instagram, zappzy automatically replaces:
{{account}} with “mycoffeeshop_official”
{{website}} with “www.mycoffeeshop.com”
{{discount}} with “20% off all drinks this week”
The final post reads:
“Love great coffee? Visit mycoffeeshop_official on Instagram or check out our menu at www.mycoffeeshop.com. Special offer: 20% off all drinks this week!”
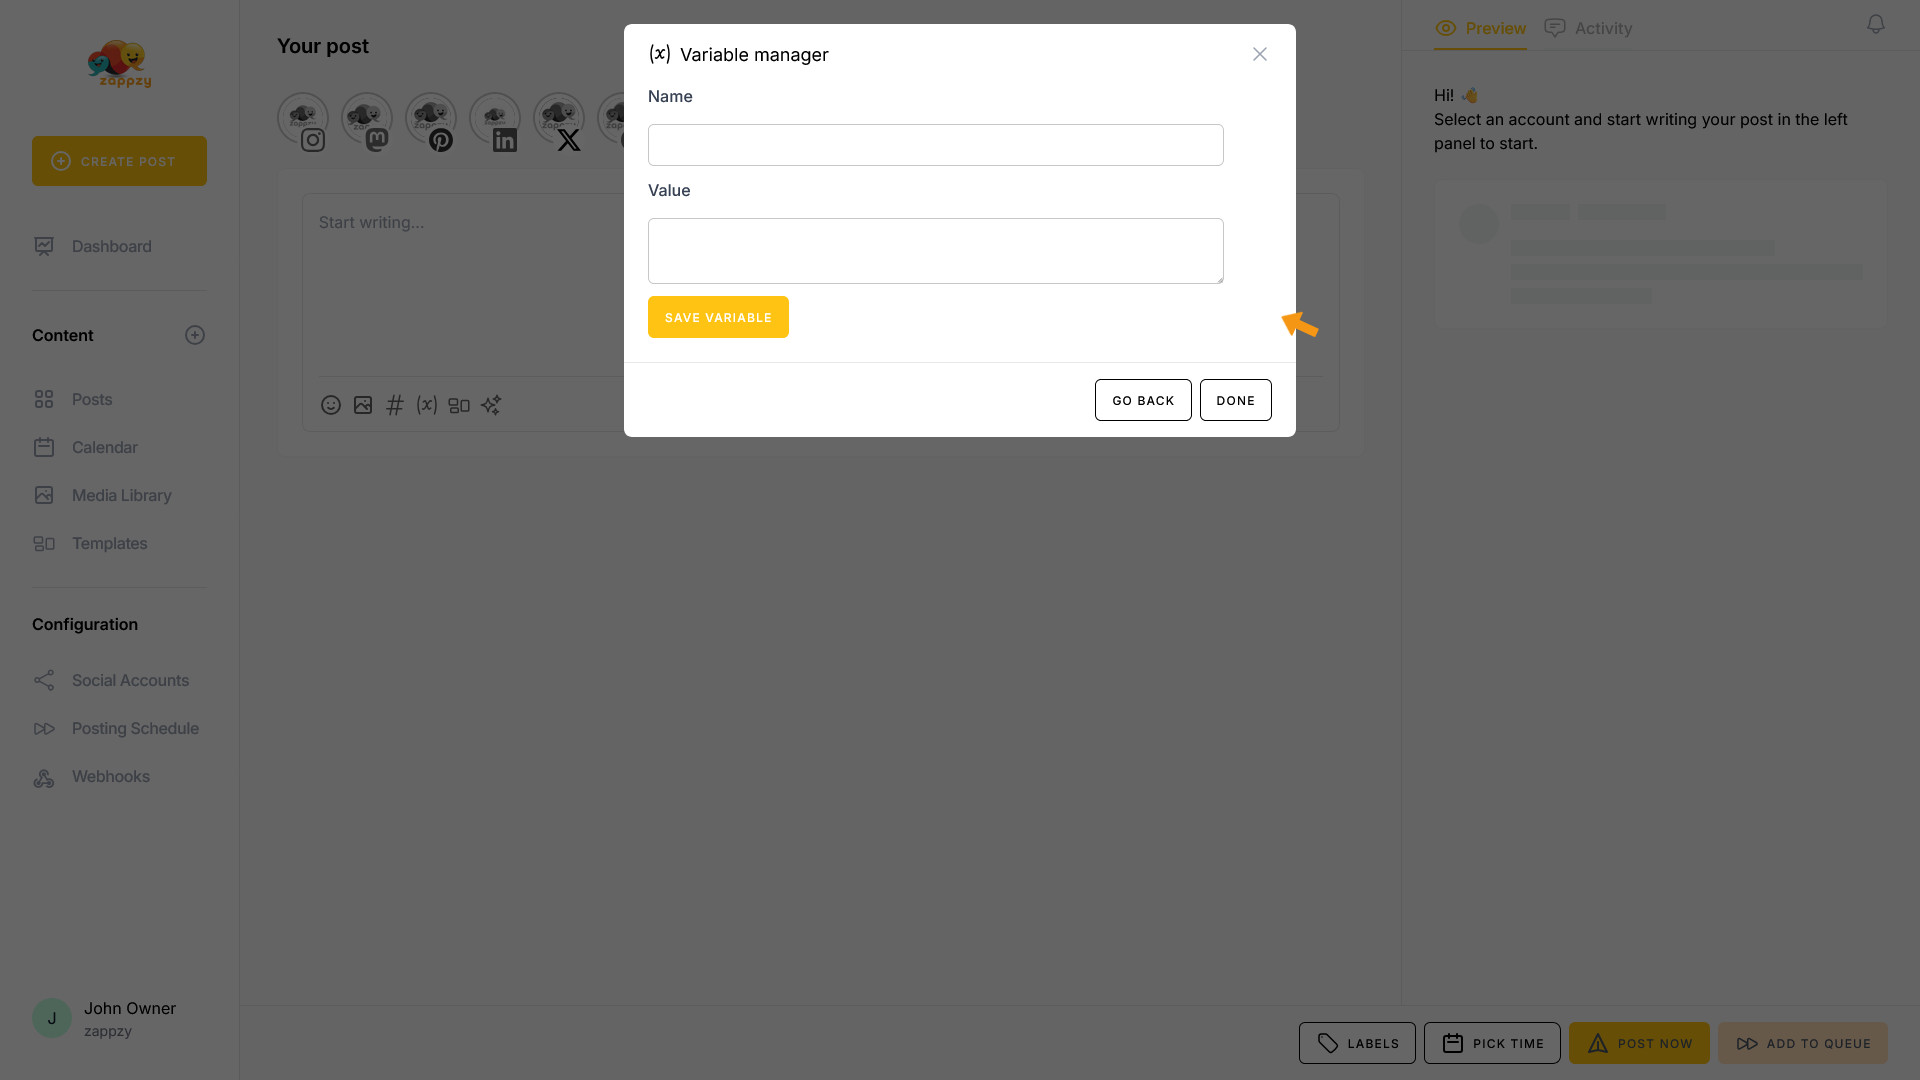
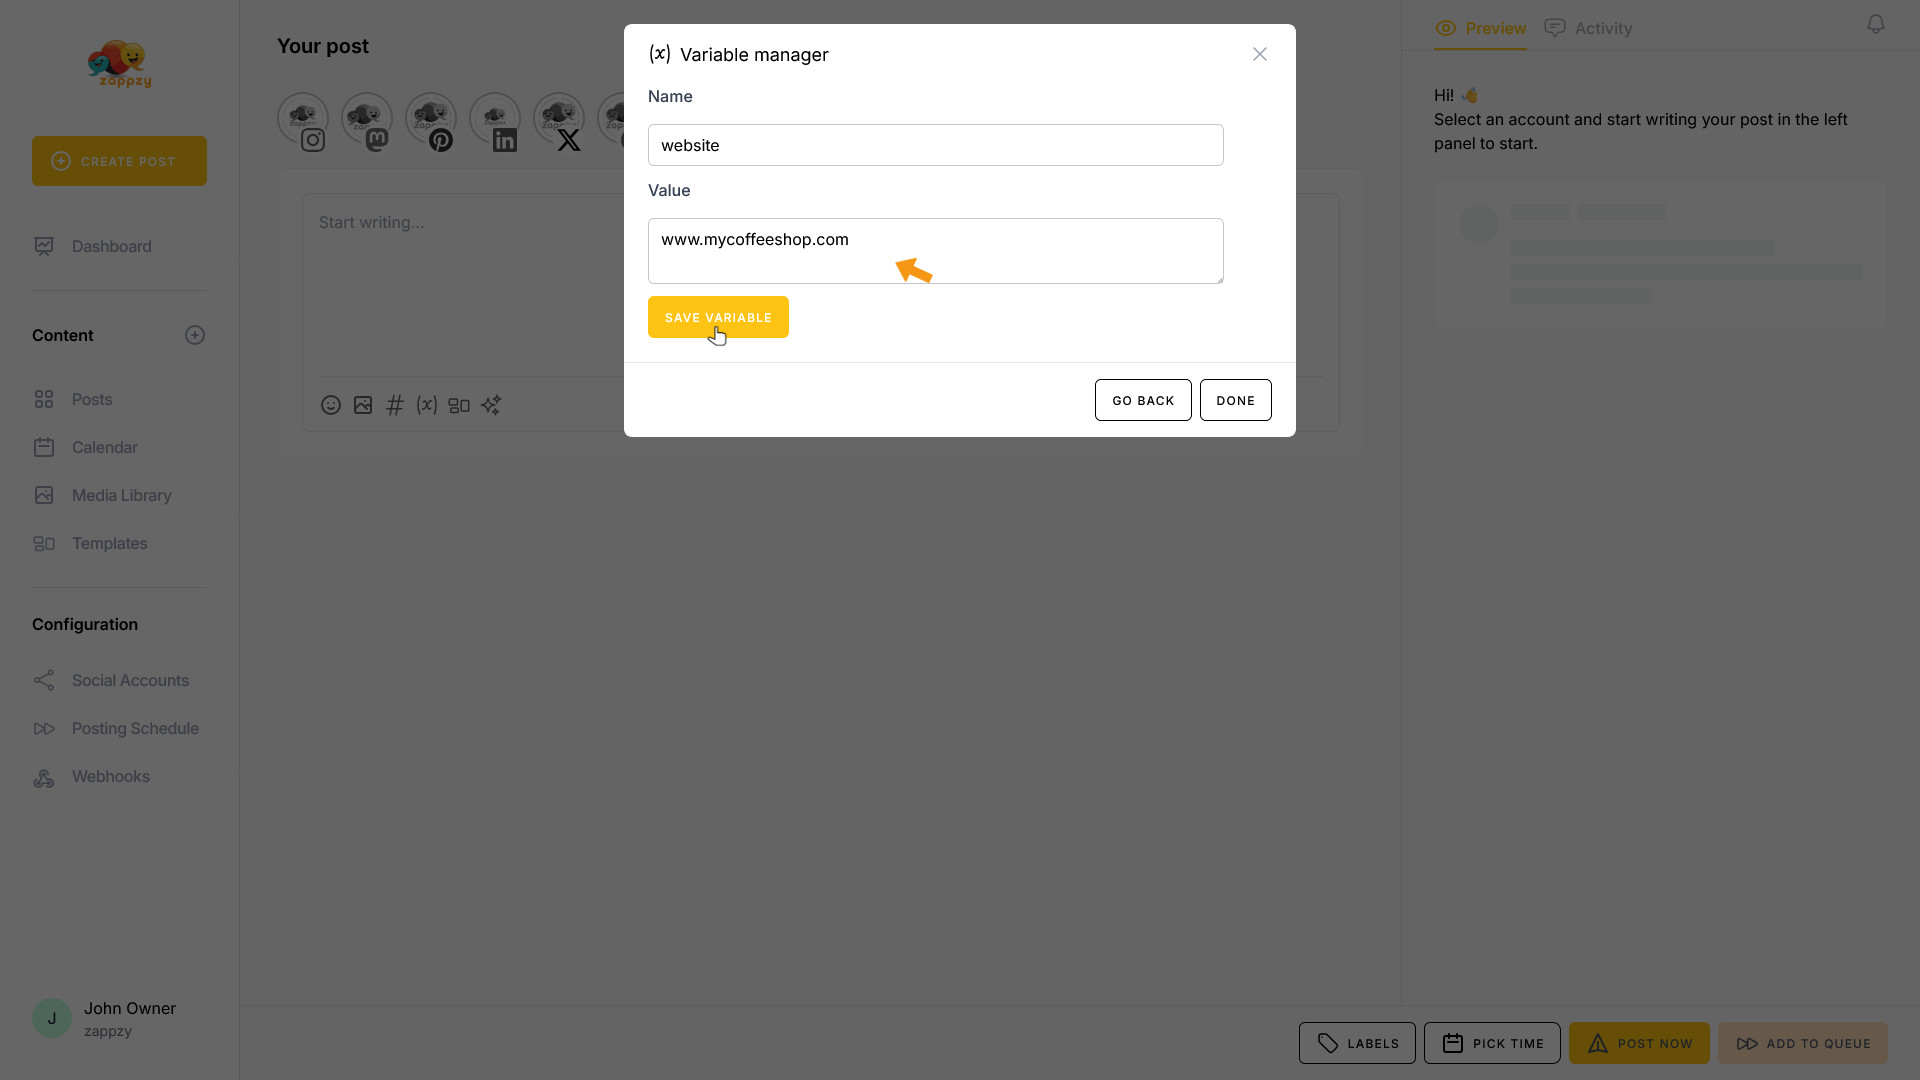
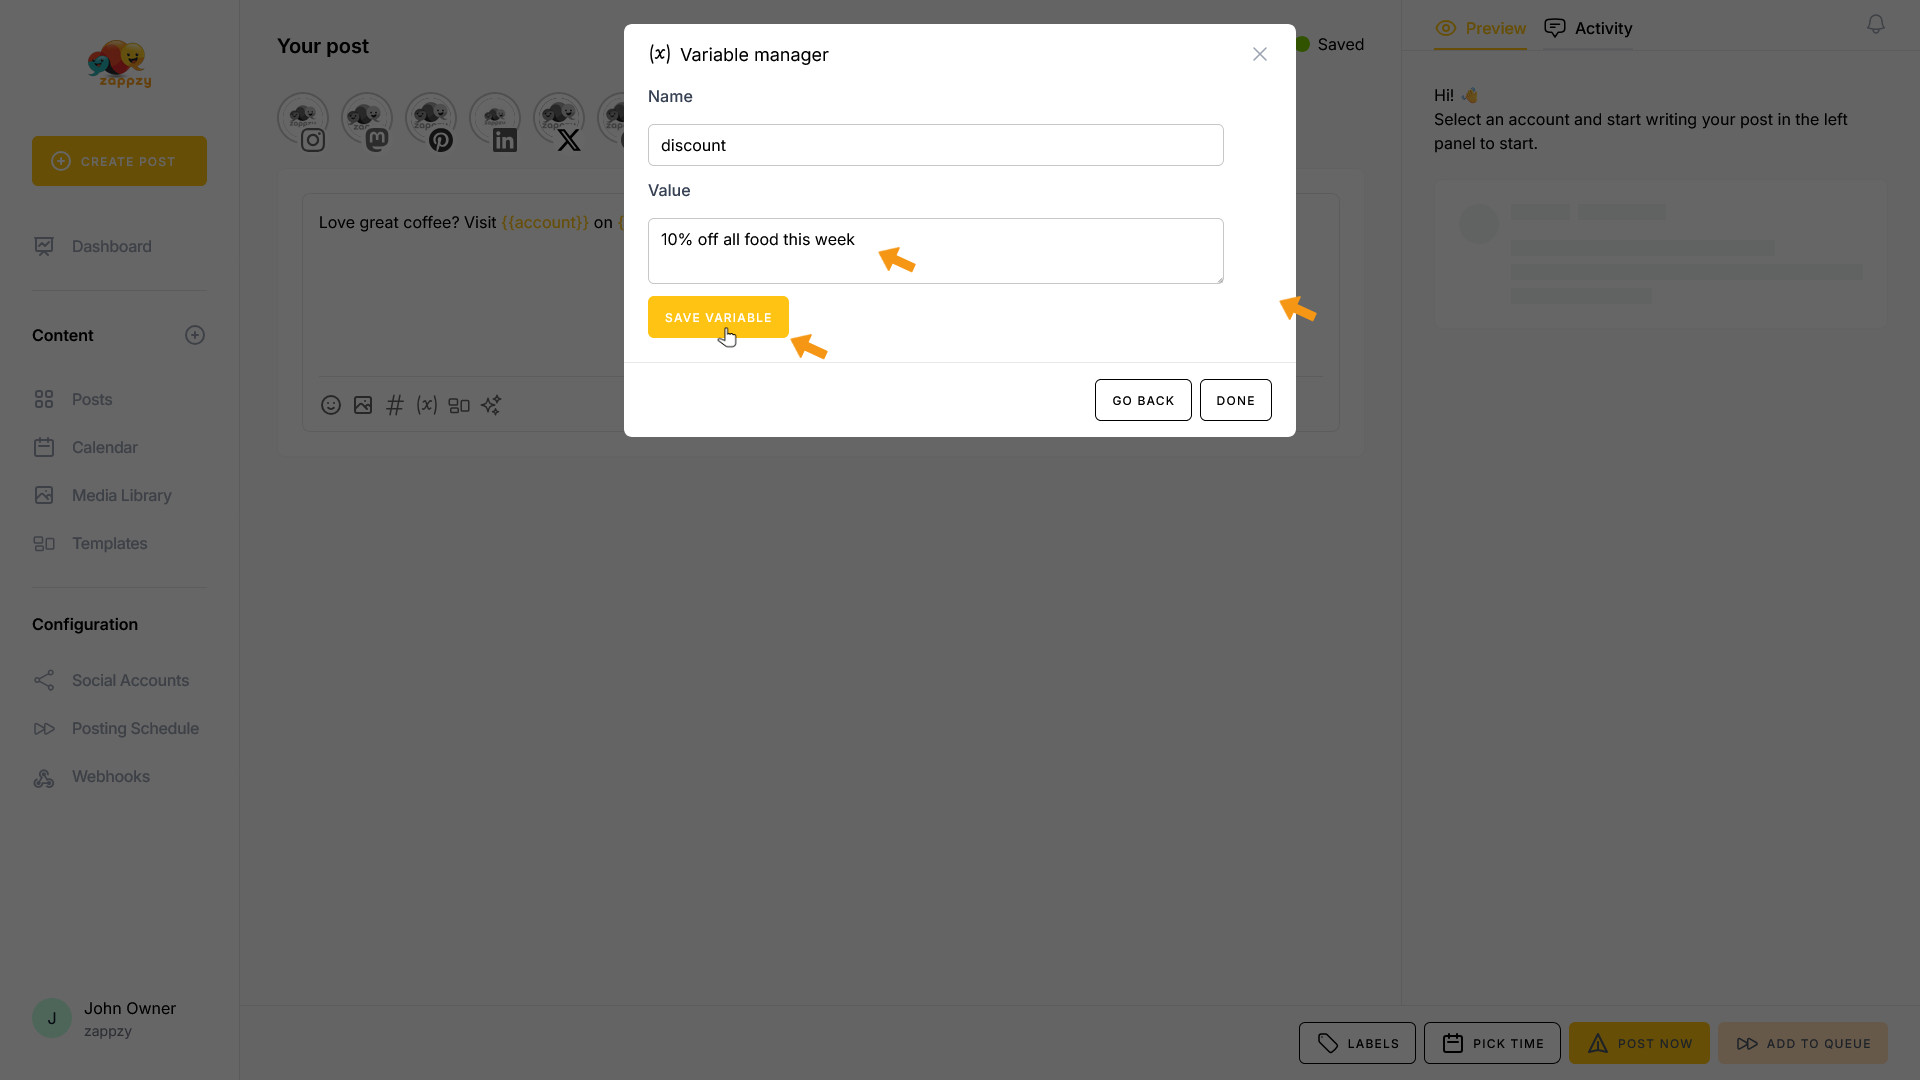
Let's use our coffee shop example. In the Name field, enter “website”. In the Value field, enter “www.mycoffeeshop.com”. Click the SAVE VARIABLE button to save your variable.
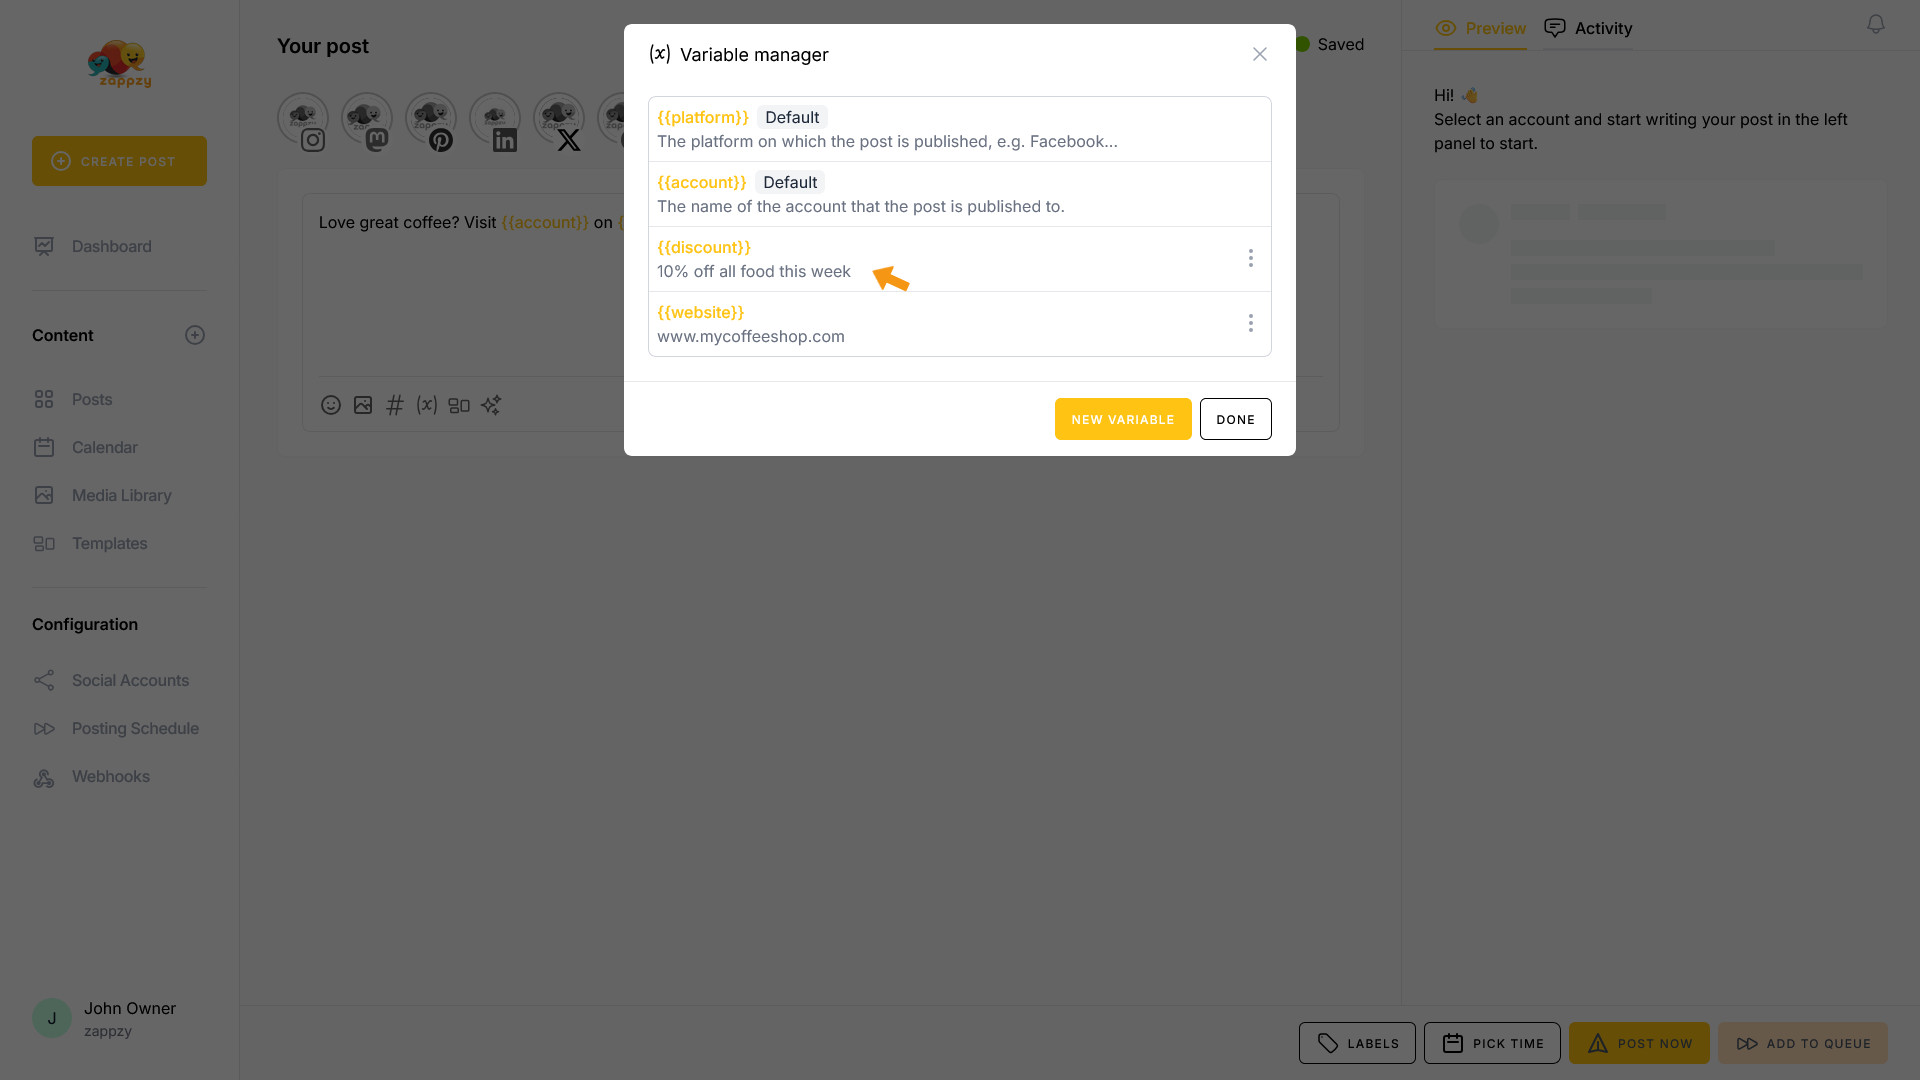
The variable has been added to the Variable Manager.
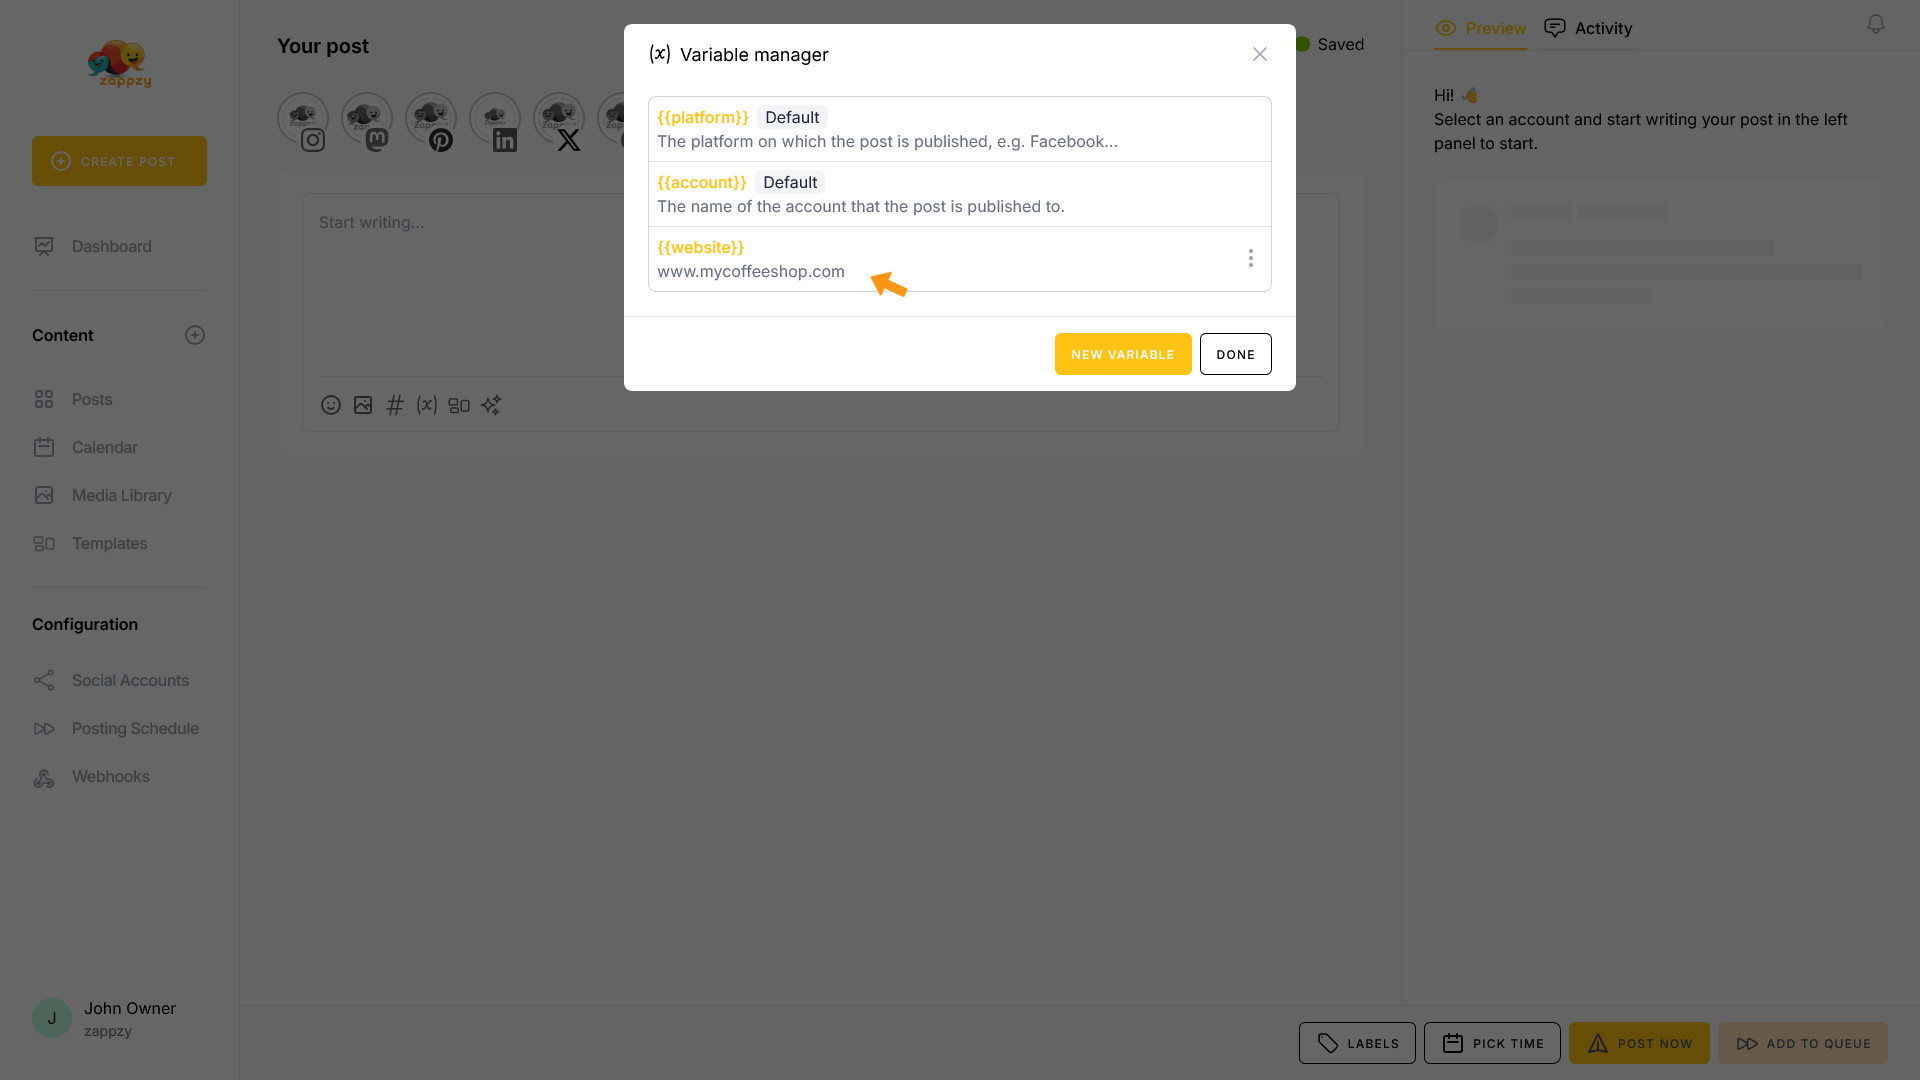
Repeat the same process for “discount”.

Click the DONE button to close the pop-up.
In the post editor, write: “Love great coffee? Visit {{account}} on {{platform}} or check out our menu at {website}. Special offer: XX!”
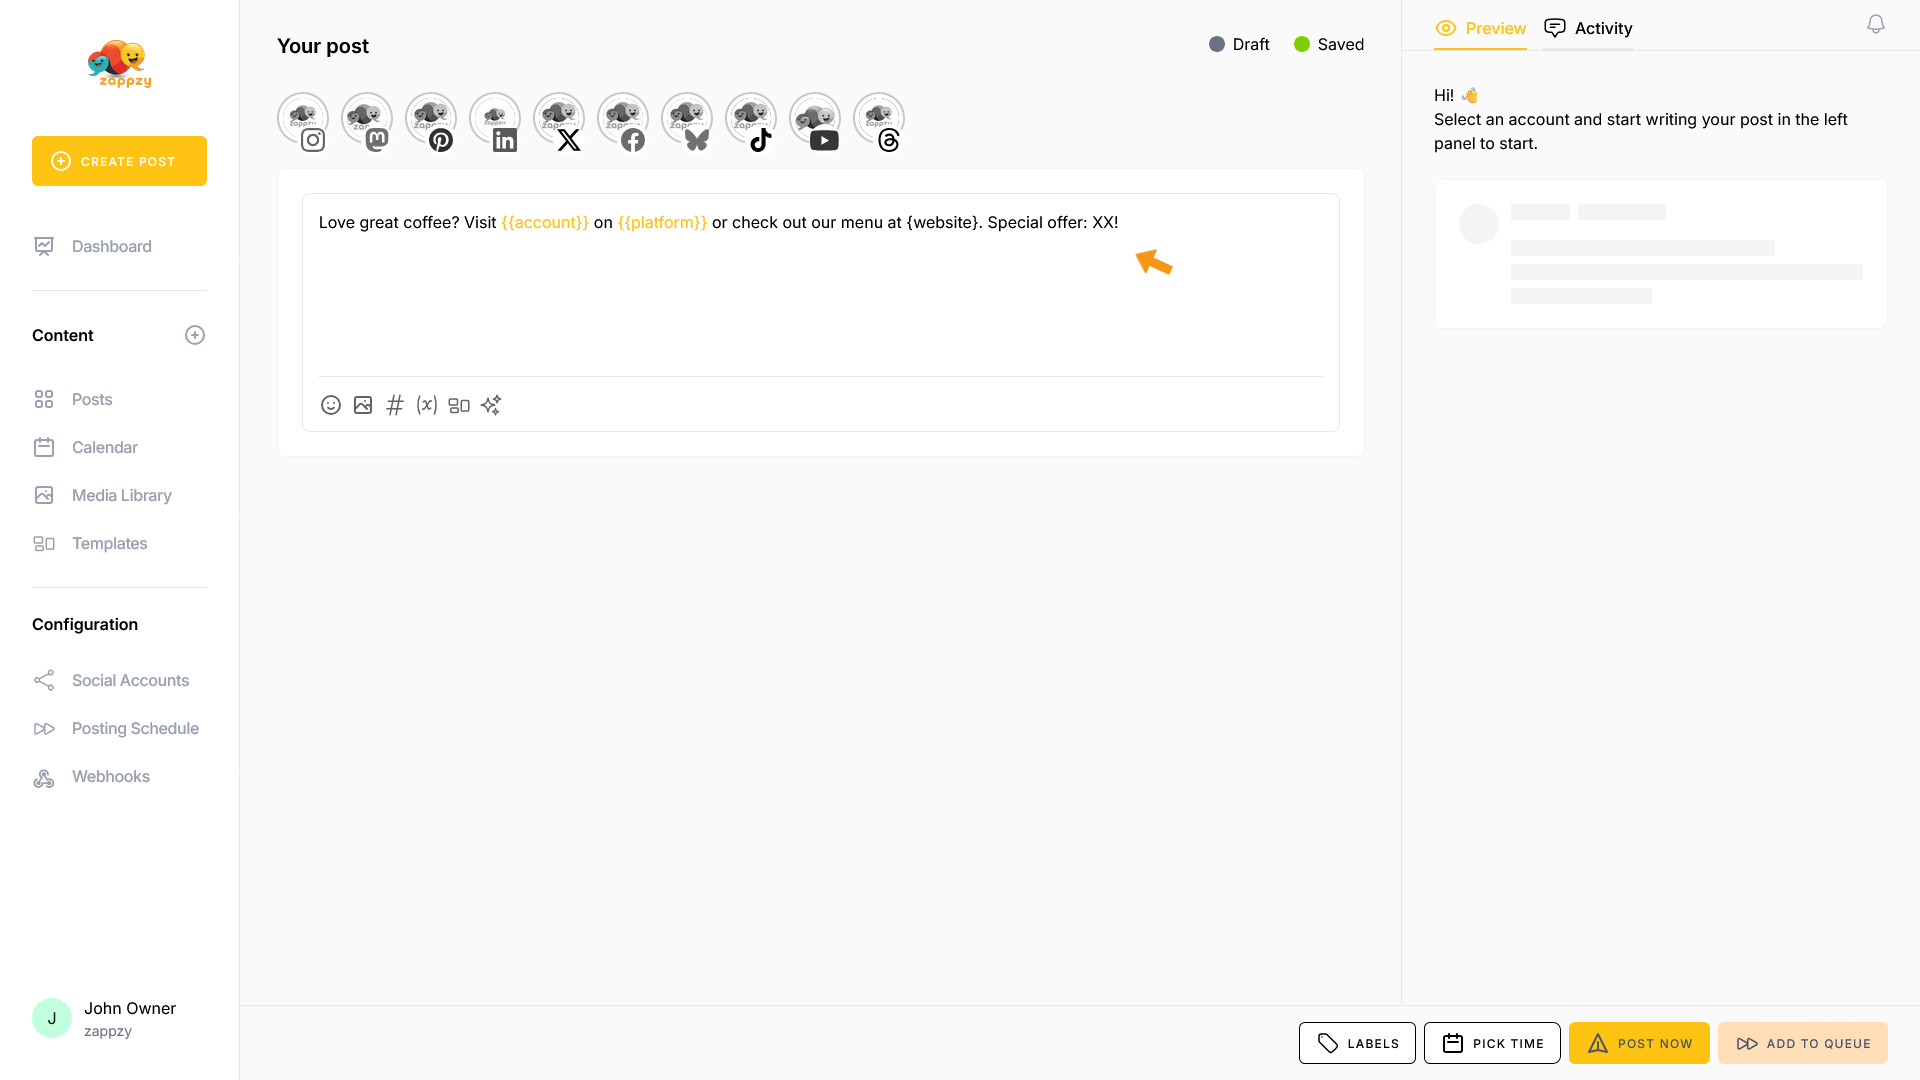
If you remember the variable name, you can type it directly into your text. zappzy confirms it's correct by highlighting the variable in orange.
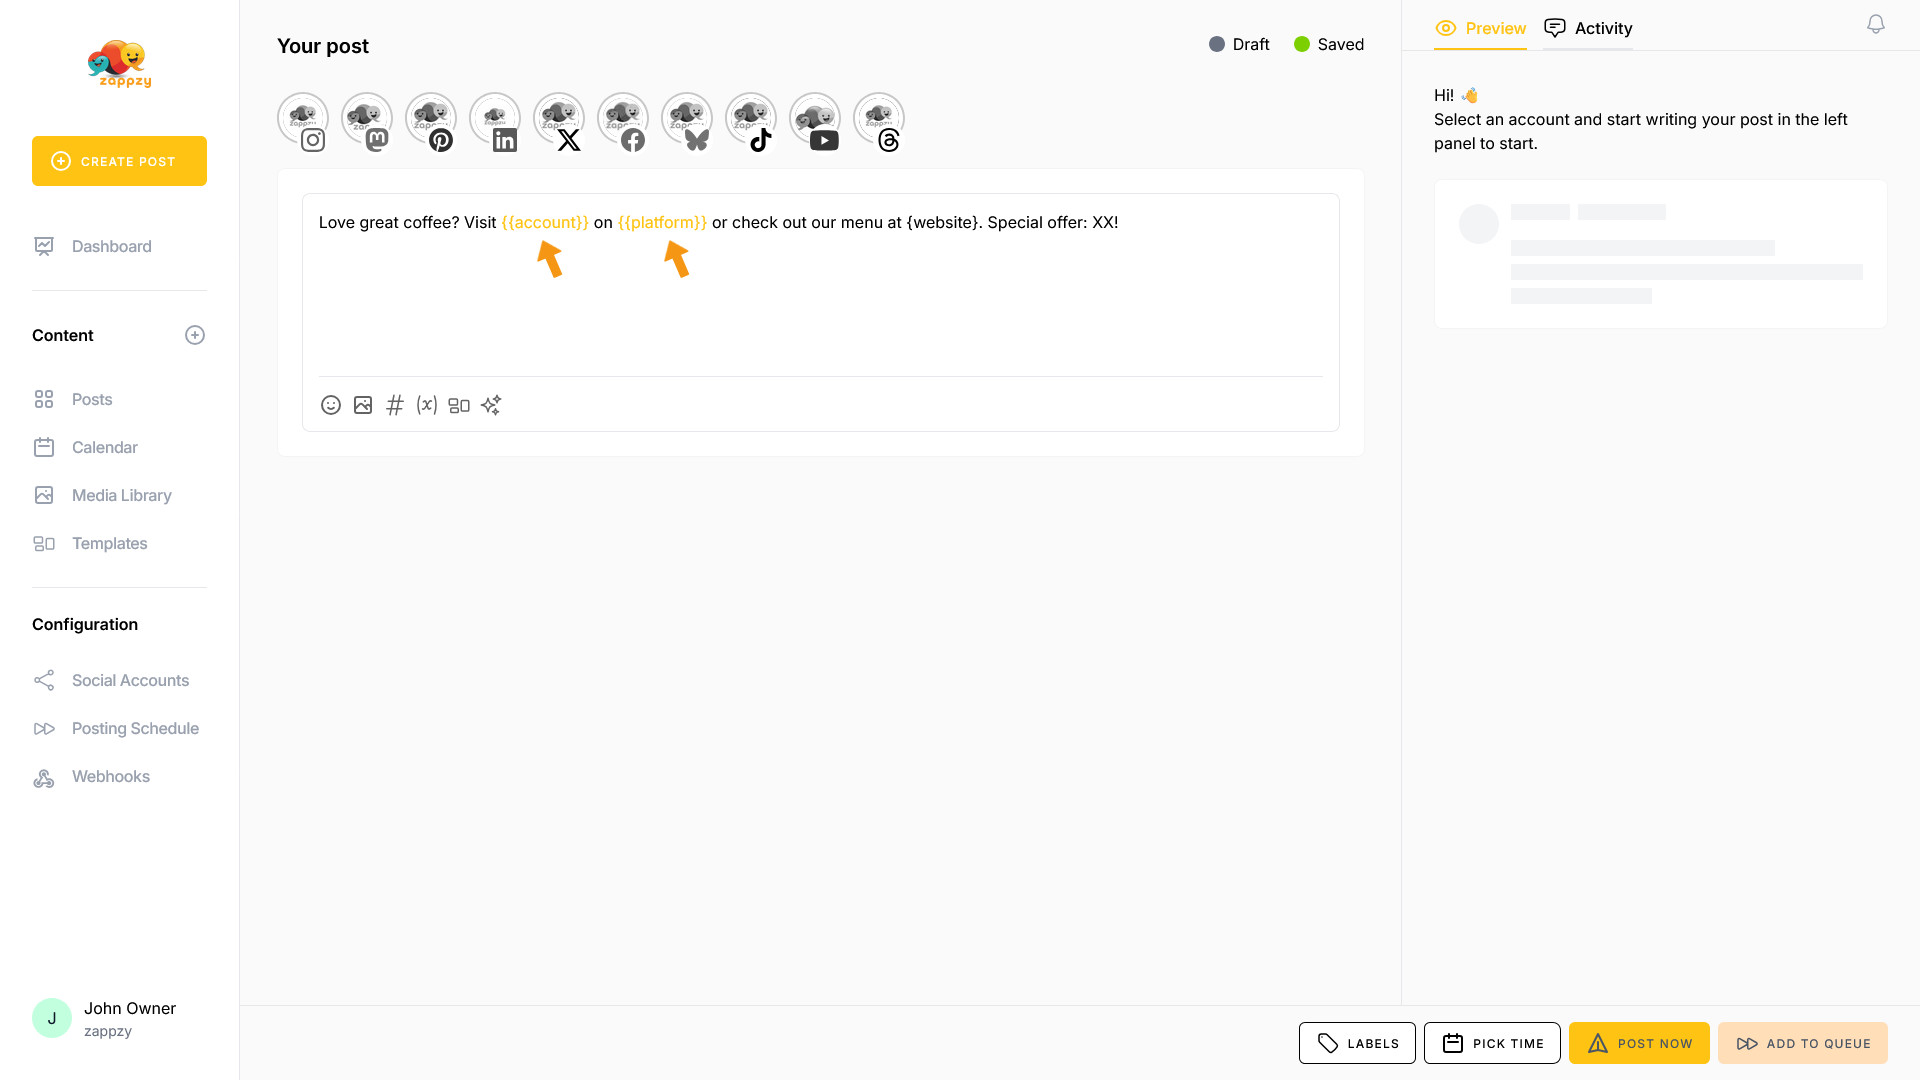
If you made a mistake with the variable, it won't turn orange—it will stay in black text.
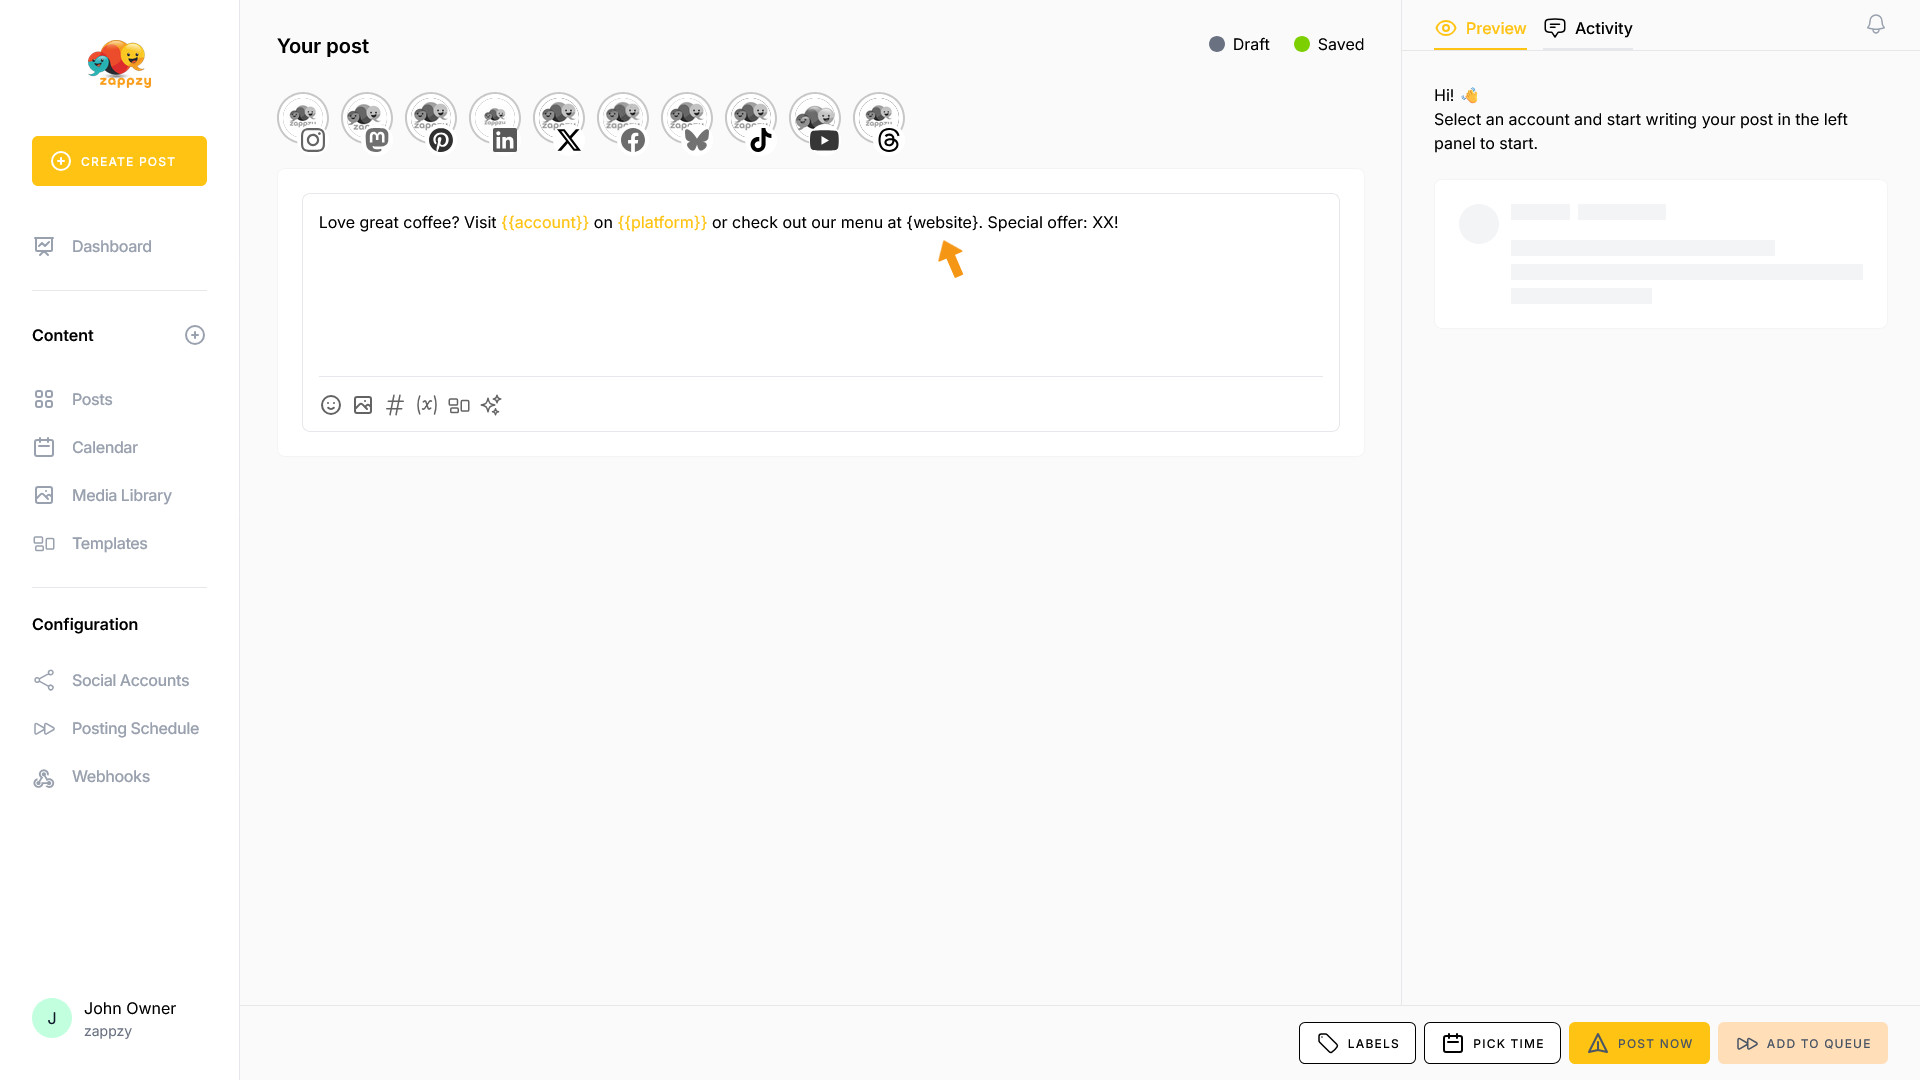
You'll need to correct the variable or write it correctly.

If you can't remember the variable names, highlight the text you want to replace with a variable and click the (x) icon at the bottom of the post editor.
Hover over the variable you want to insert. A USE button appears on the right side. Click it.
The text has been replaced with the variable.

You can edit and delete variables anytime. To do this, open the Variable Manager as described above.
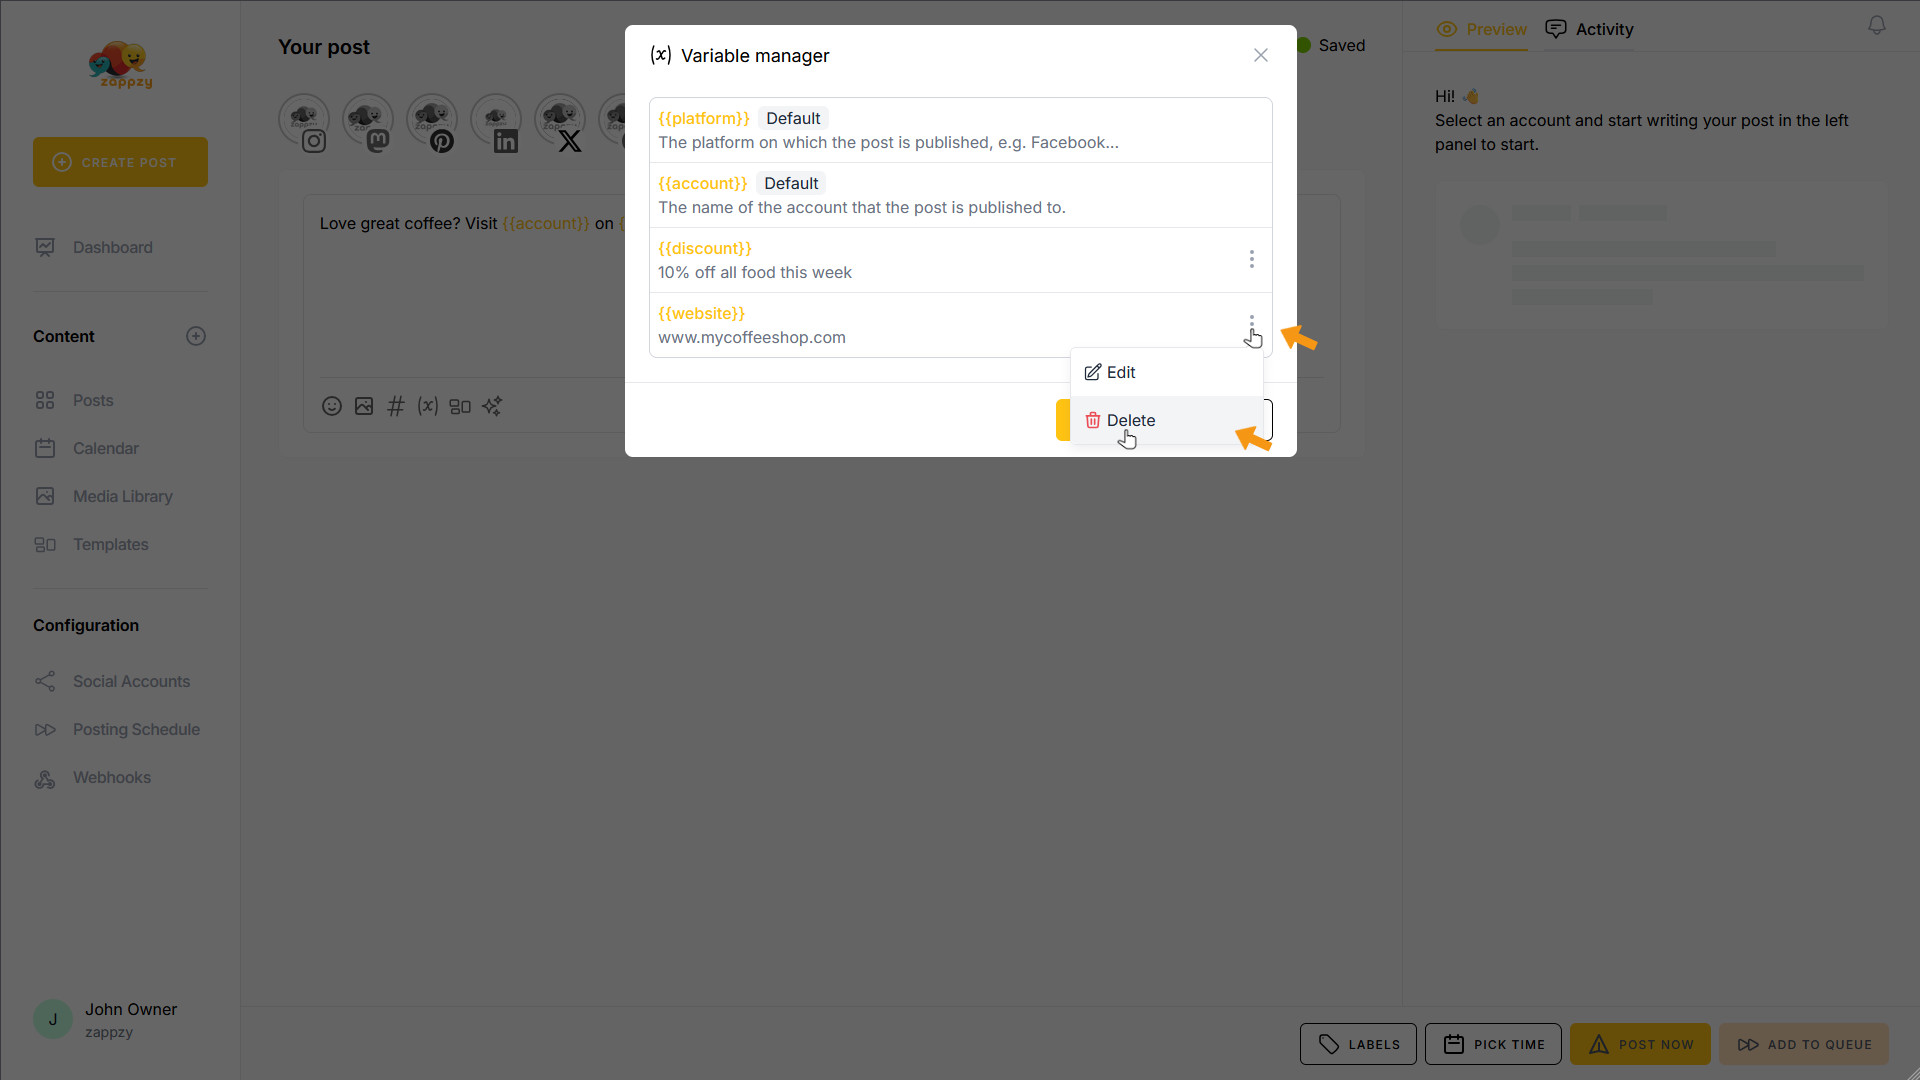
Navigate to the variable you want to edit or delete—you'll see three vertical dots on the right side. Click on them.
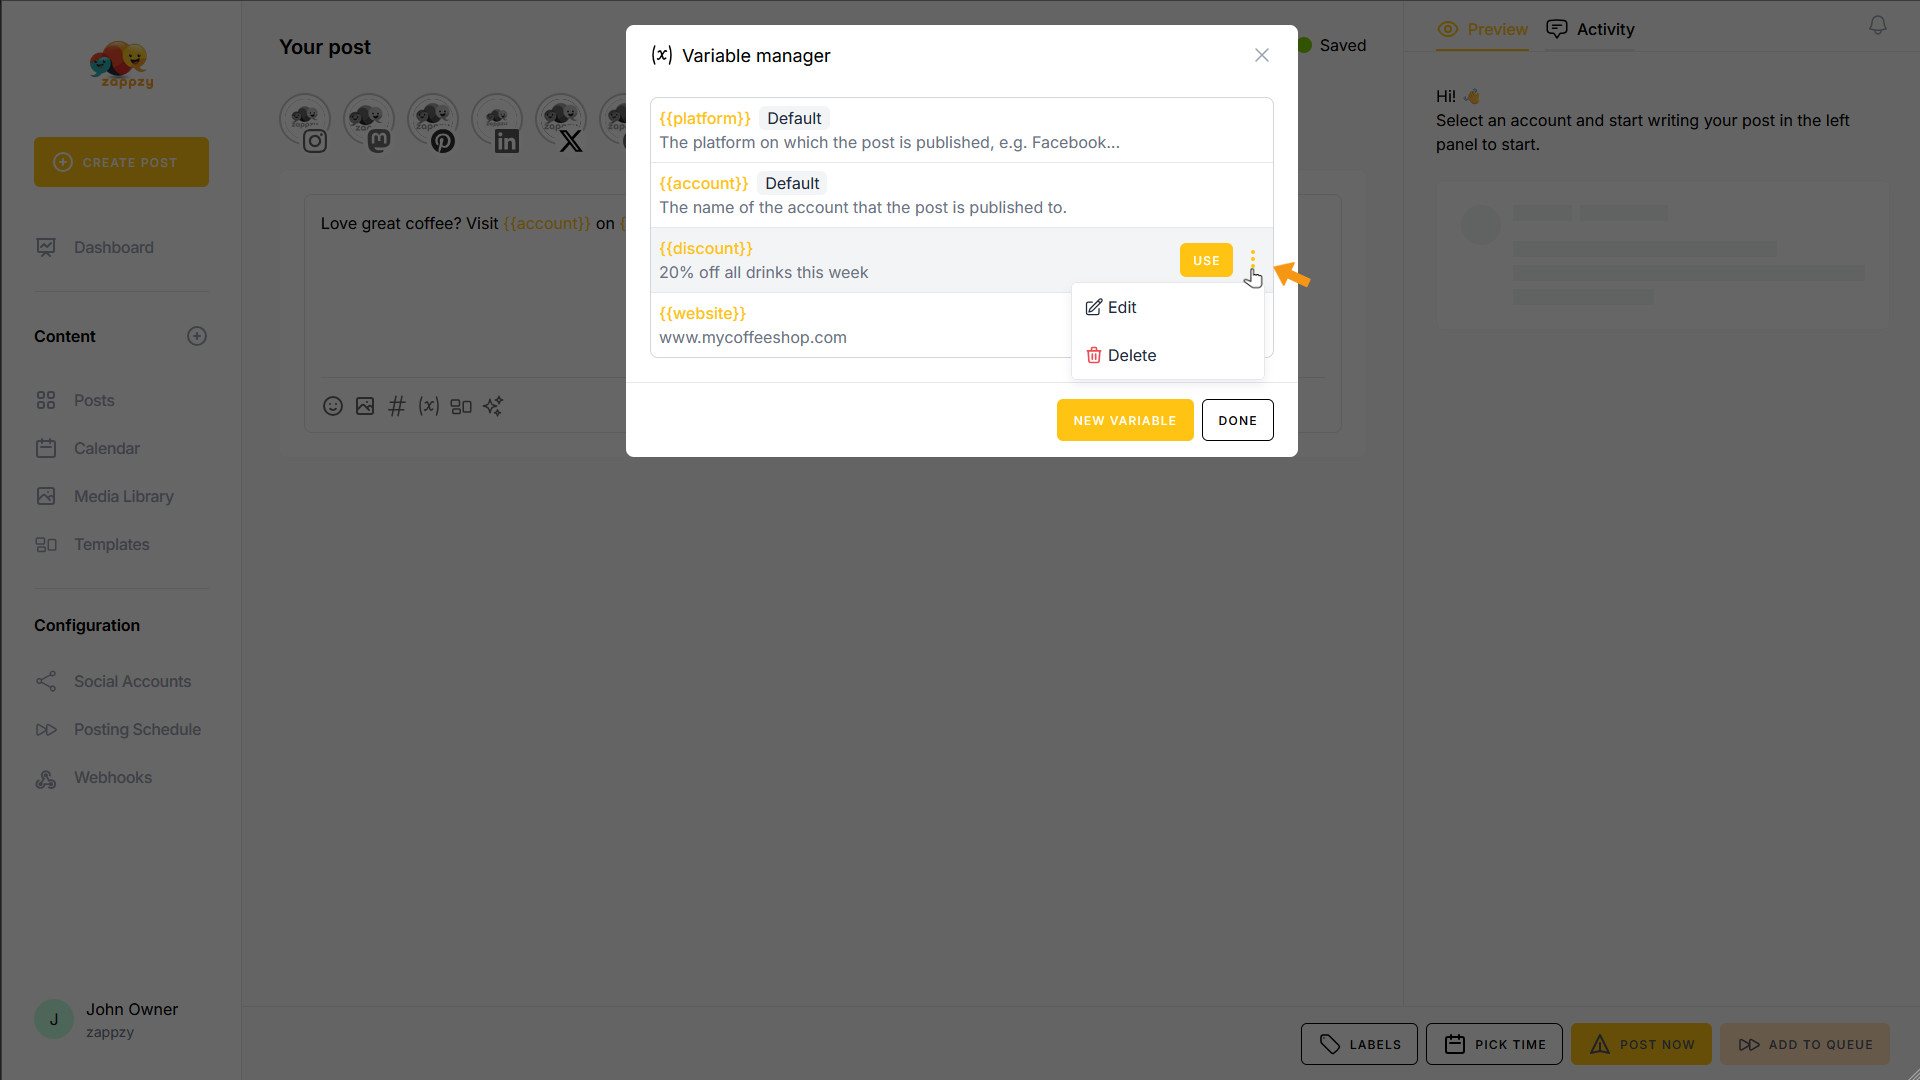
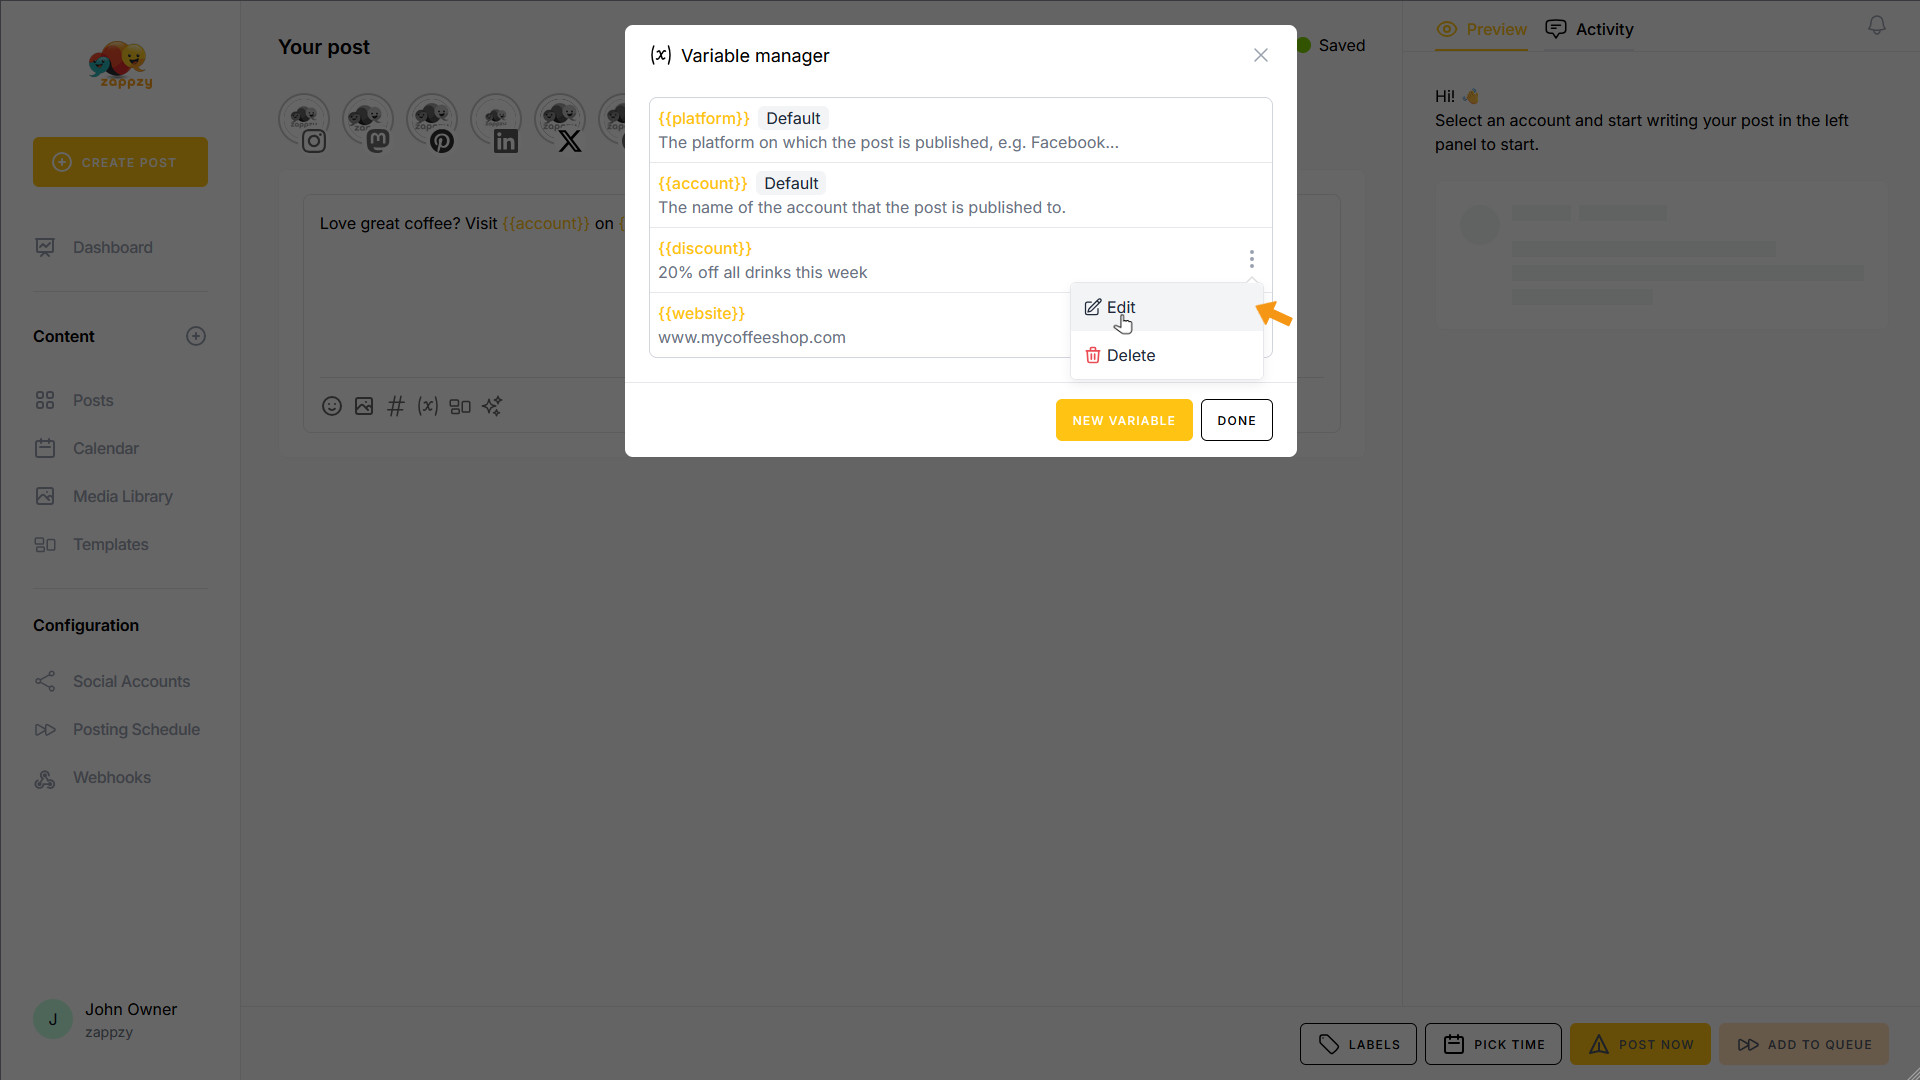
A menu opens. If you want to edit a variable, click Edit.
The familiar window opens where you can edit your variable. In this case, we update the discount to “10% off all food this week” and save the variable again.
As you can see, the {{discount}} variable has been updated. The next time you publish a post using this variable, it will automatically include the new content.
To delete a variable, hover over the variable, click the three vertical dots, and select Delete.
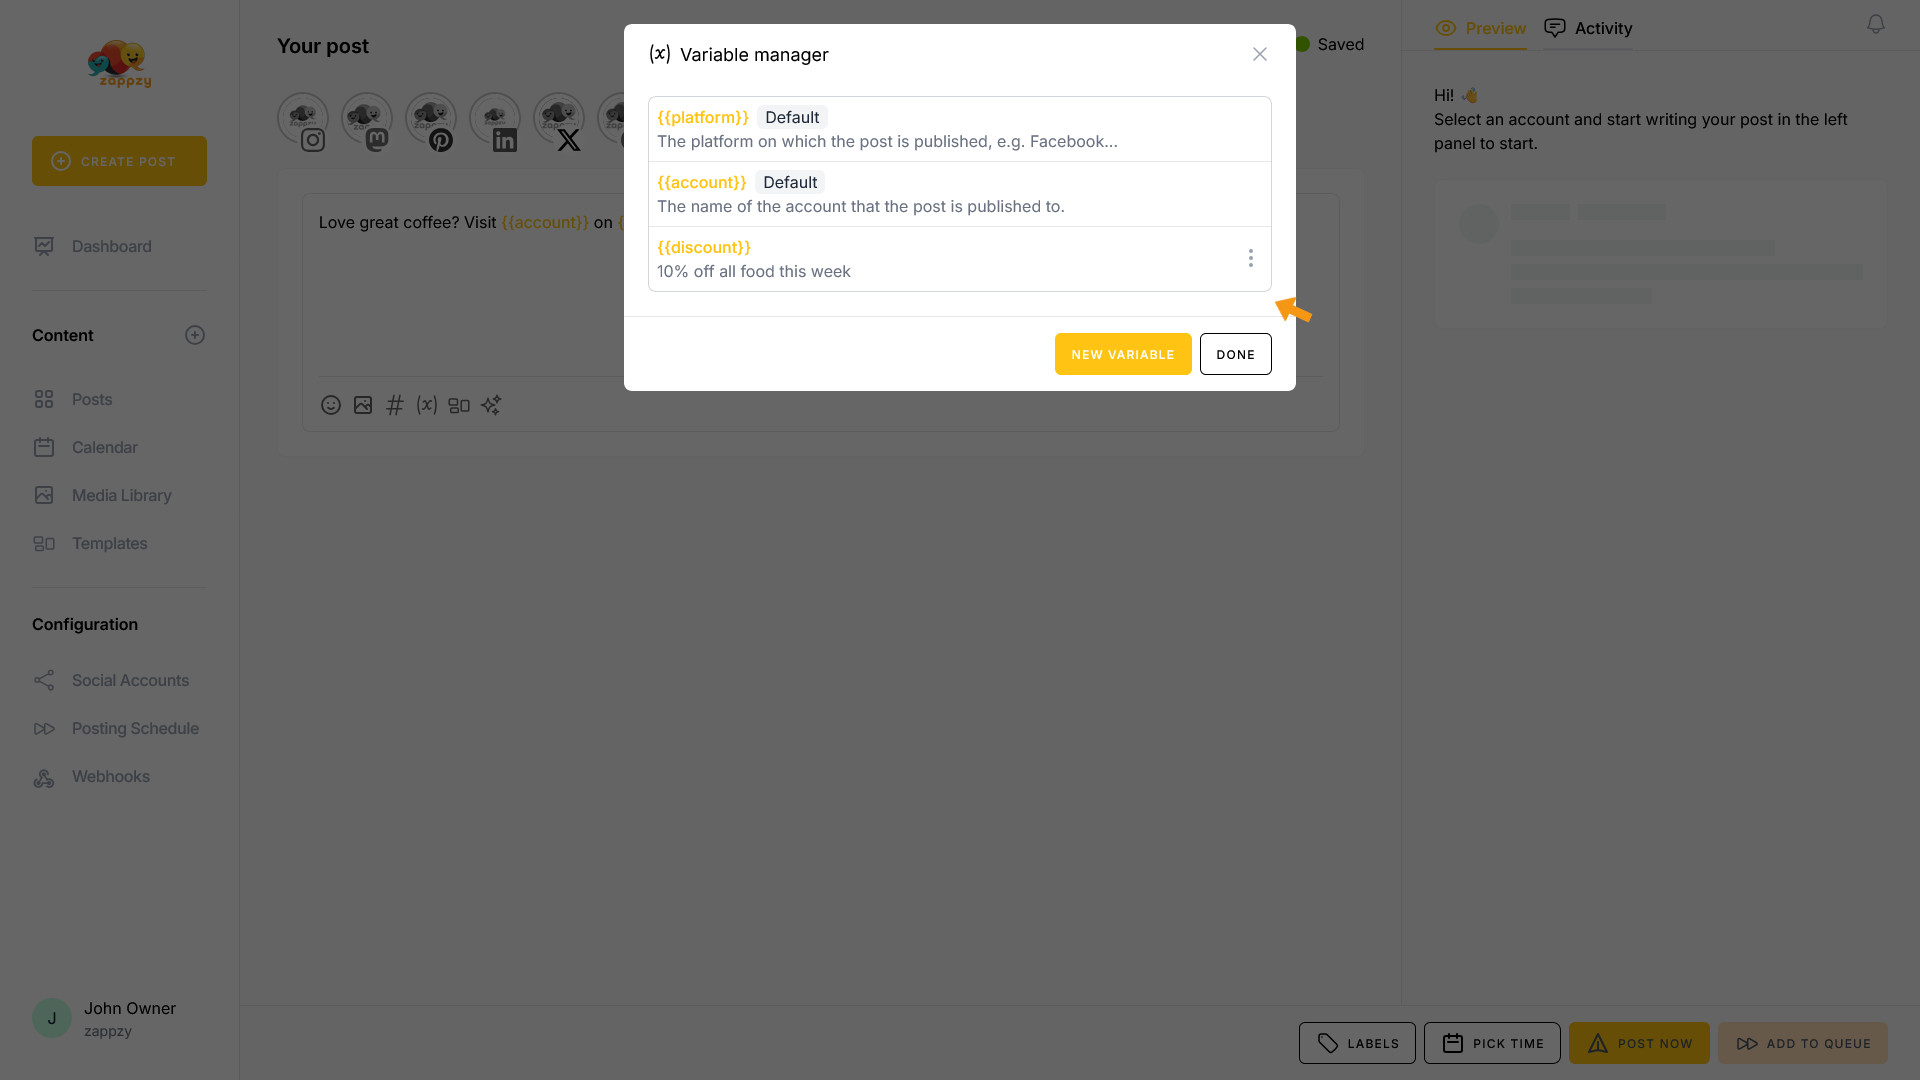
The variable is deleted immediately.
Warning: There's no confirmation prompt—once it's gone, it's gone!
Perfect! You now know how to work with the Variable Manager.