zappzy Support Center > Content > Create posts > Template Manager: Insert saved templates instantly into your posts

Video or step-by-step guide with screenshots. Your choice. We keep it easy.
Step-by-step guide
Working together with the Template Library, the Template Manager streamlines your workflow for quick, consistent posts and eliminates repetitive tasks.
Once you're logged in to zappzy, you'll see an orange CREATE POST button in the left menu. Click on it.
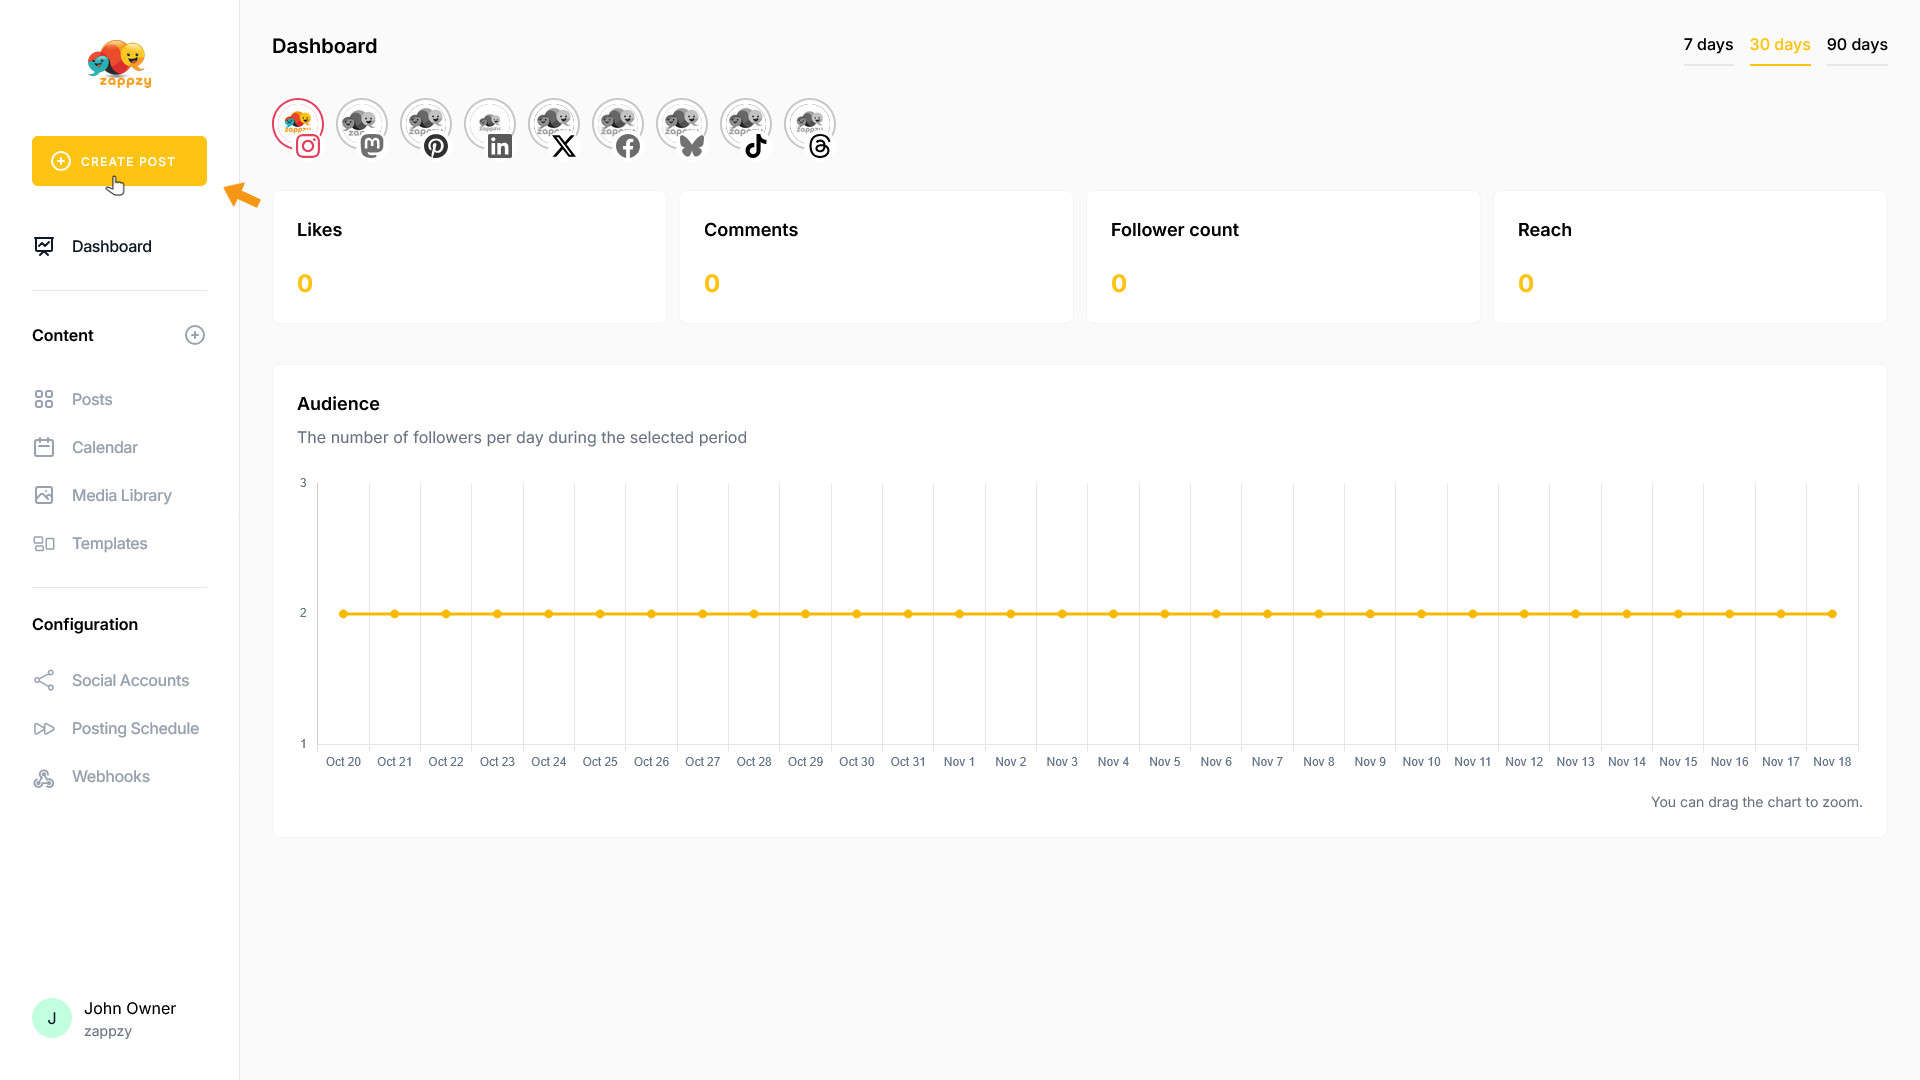
The Your post overview will appear on your main screen.
Note: We're focusing on templates here, not post creation. For step-by-step guidance on creating a post, see the Create a post articles.
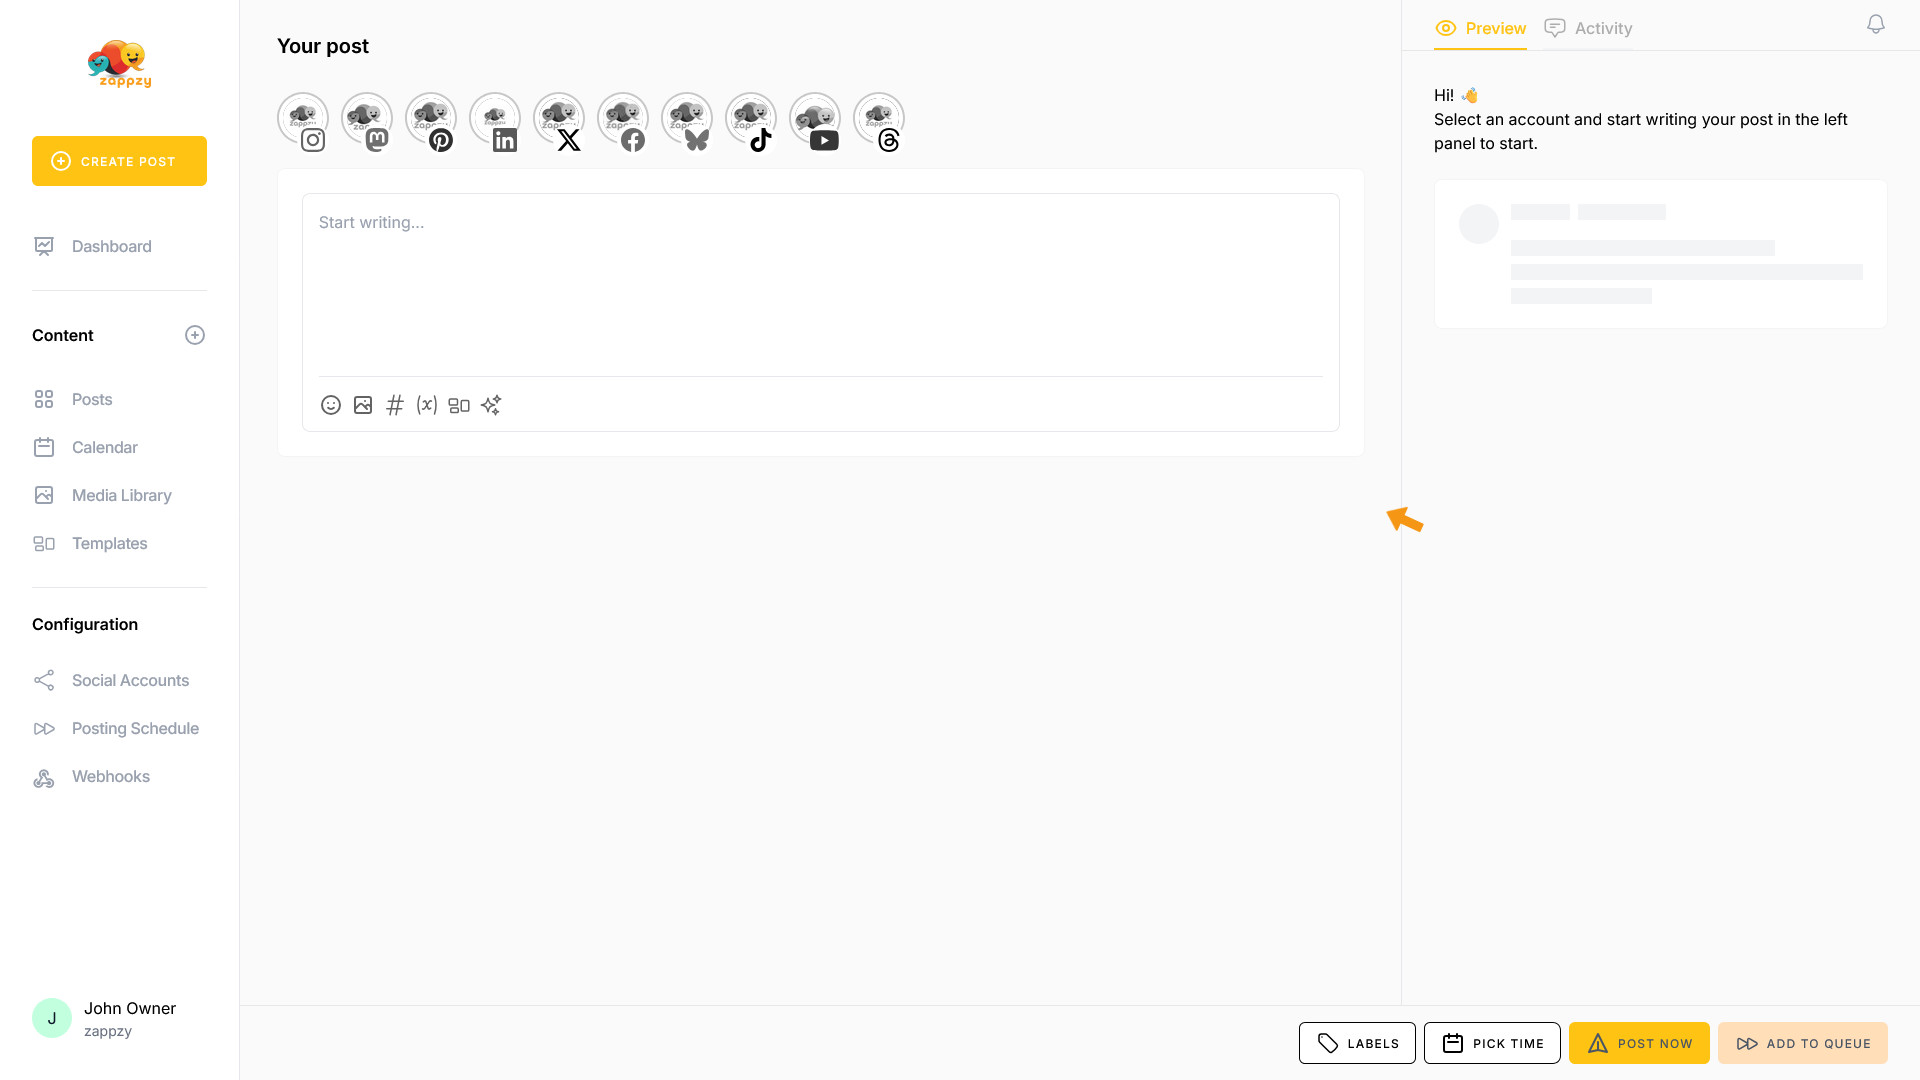
The Template Manager is always accessible right where you need it—inside the post editor. This keeps your workflow smooth and puts the templates exactly where it makes sense: when you're creating or editing a post.
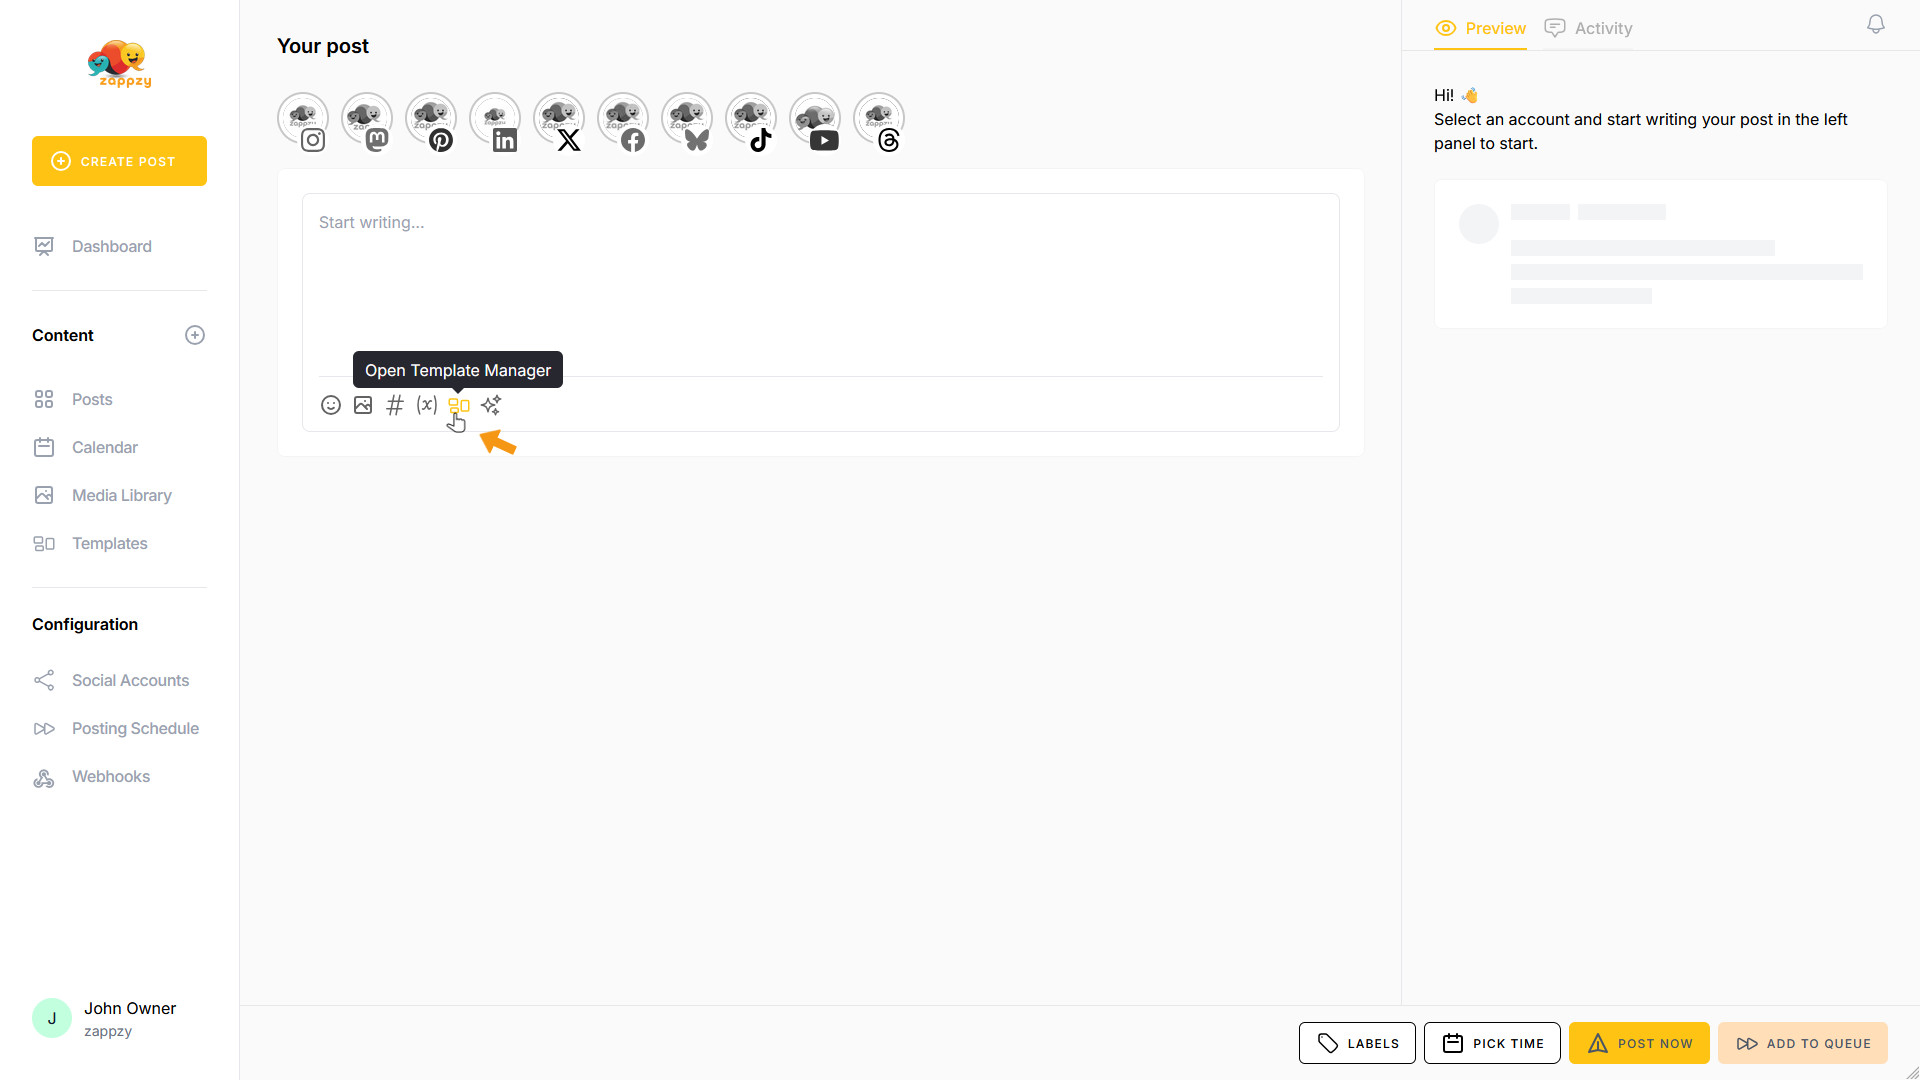
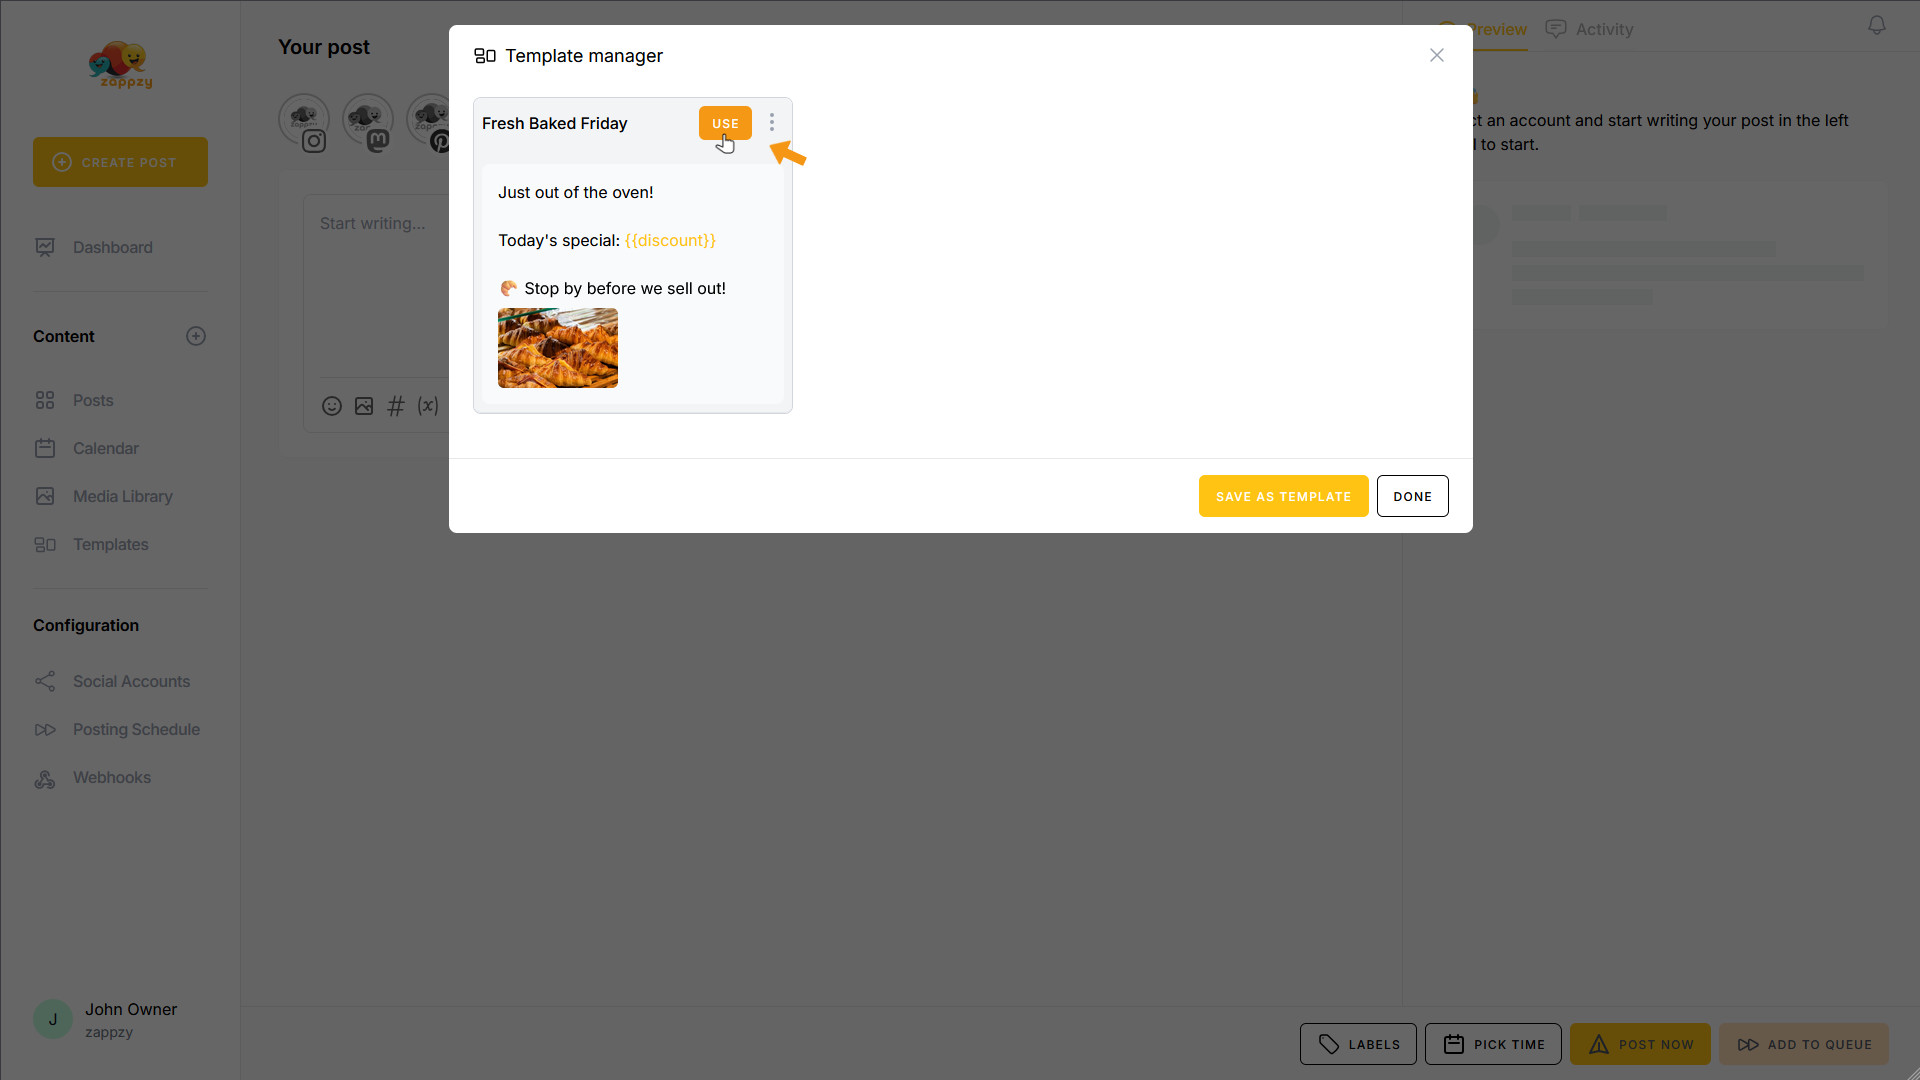
Click the Template Manager icon at the bottom of the post window where you're writing your content.
The Template Manager pop-up opens. If your Template Manager is empty, you'll need to create templates first. We'll show you how in the article Templates: Build your own templates to speed up posting.
If you've already created templates, you'll see them in the Template Manager.
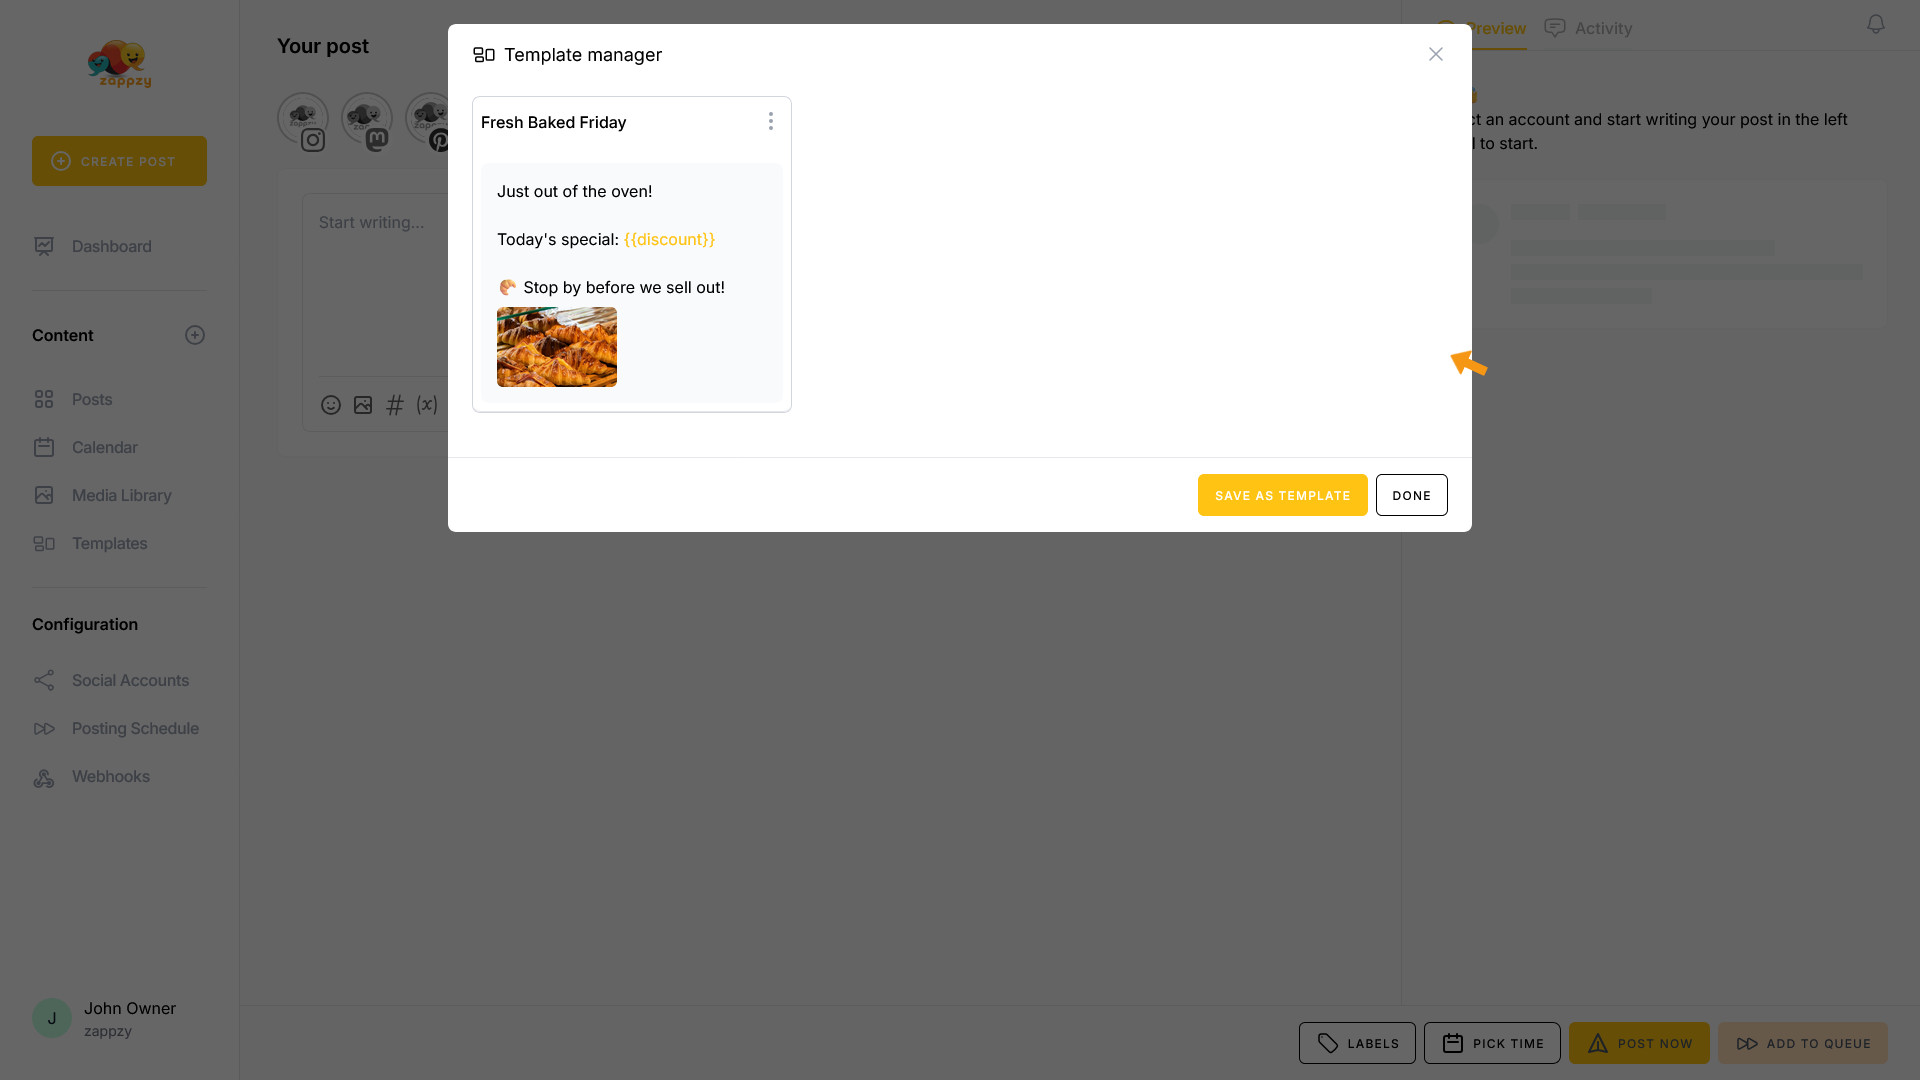
To insert a template into your post, hover over the template you want to use. The USE button appears next to the template title. Click on it.
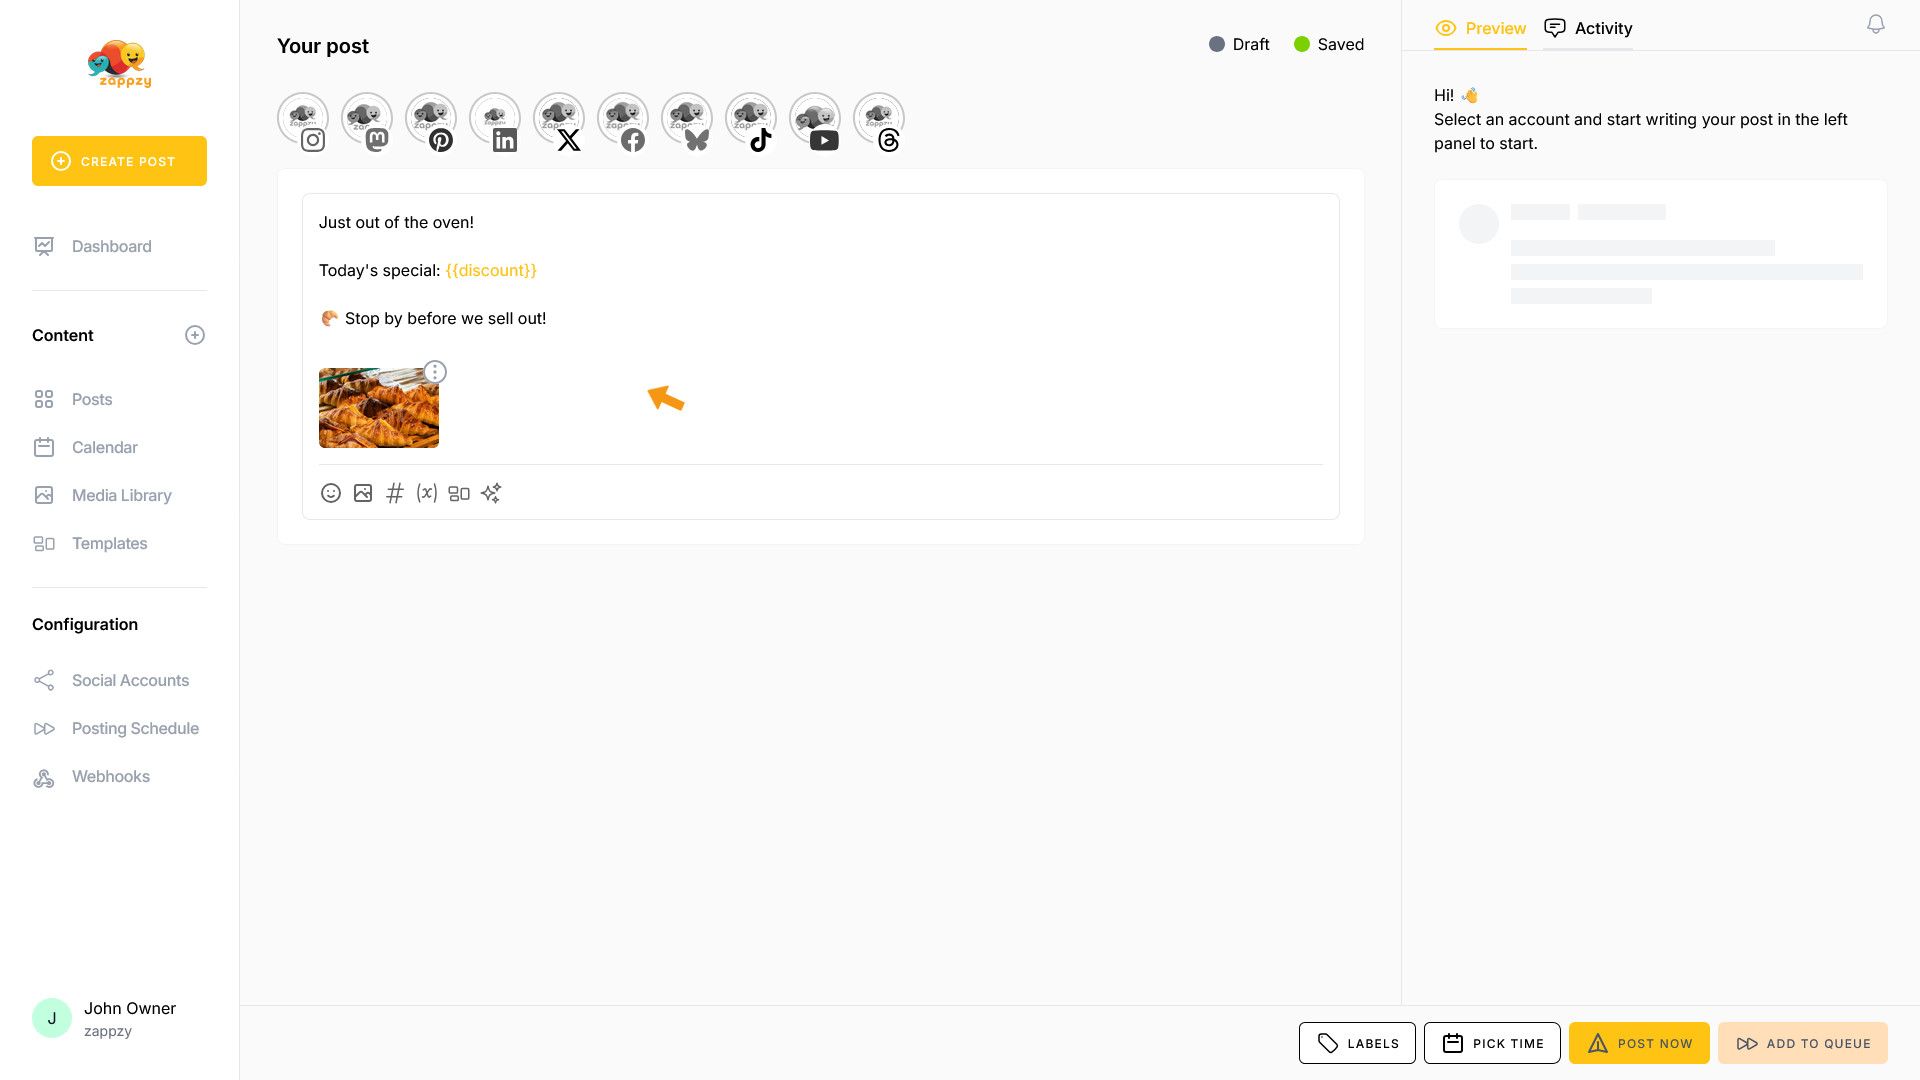
The template (text and image) has been inserted into your post. If everything looks good, you can publish your post immediately or schedule it for later.
Perfect! You now know how to work with the Template Manager.
Important: We strongly recommend not editing or deleting templates through the Template Manager (even though it's possible). Always make these changes in the Template Library instead.