zappzy Support Center > Content > Create posts > Labels: Create, edit, and assign custom labels

Video or step-by-step guide with screenshots. Your choice. Simple either way.
Step-by-step guide
Labels are your secret weapon against content chaos. They help you bring order to your social media workflow, work faster, and stay on top of everything—whether you're flying solo or working with a team.
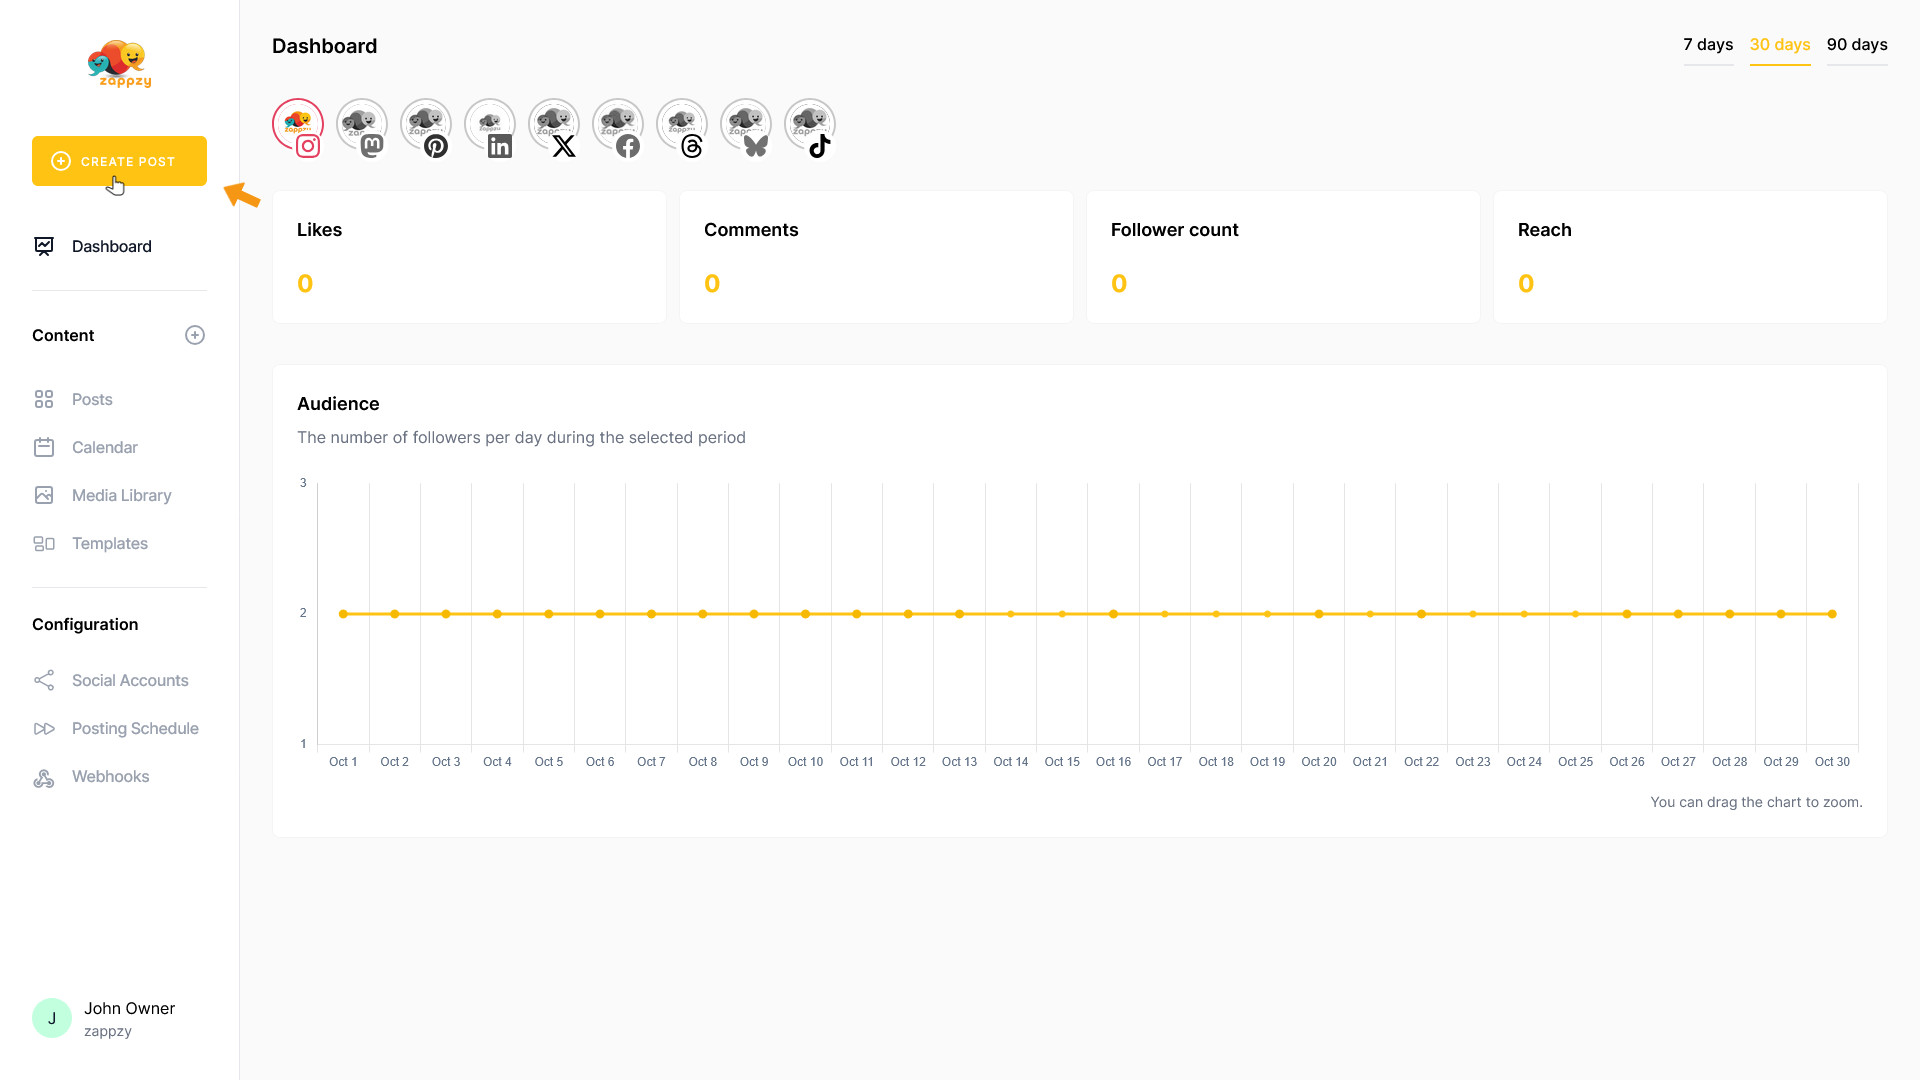
Once you're logged in to zappzy, you'll see an orange CREATE POST button in the left menu. Click on it.
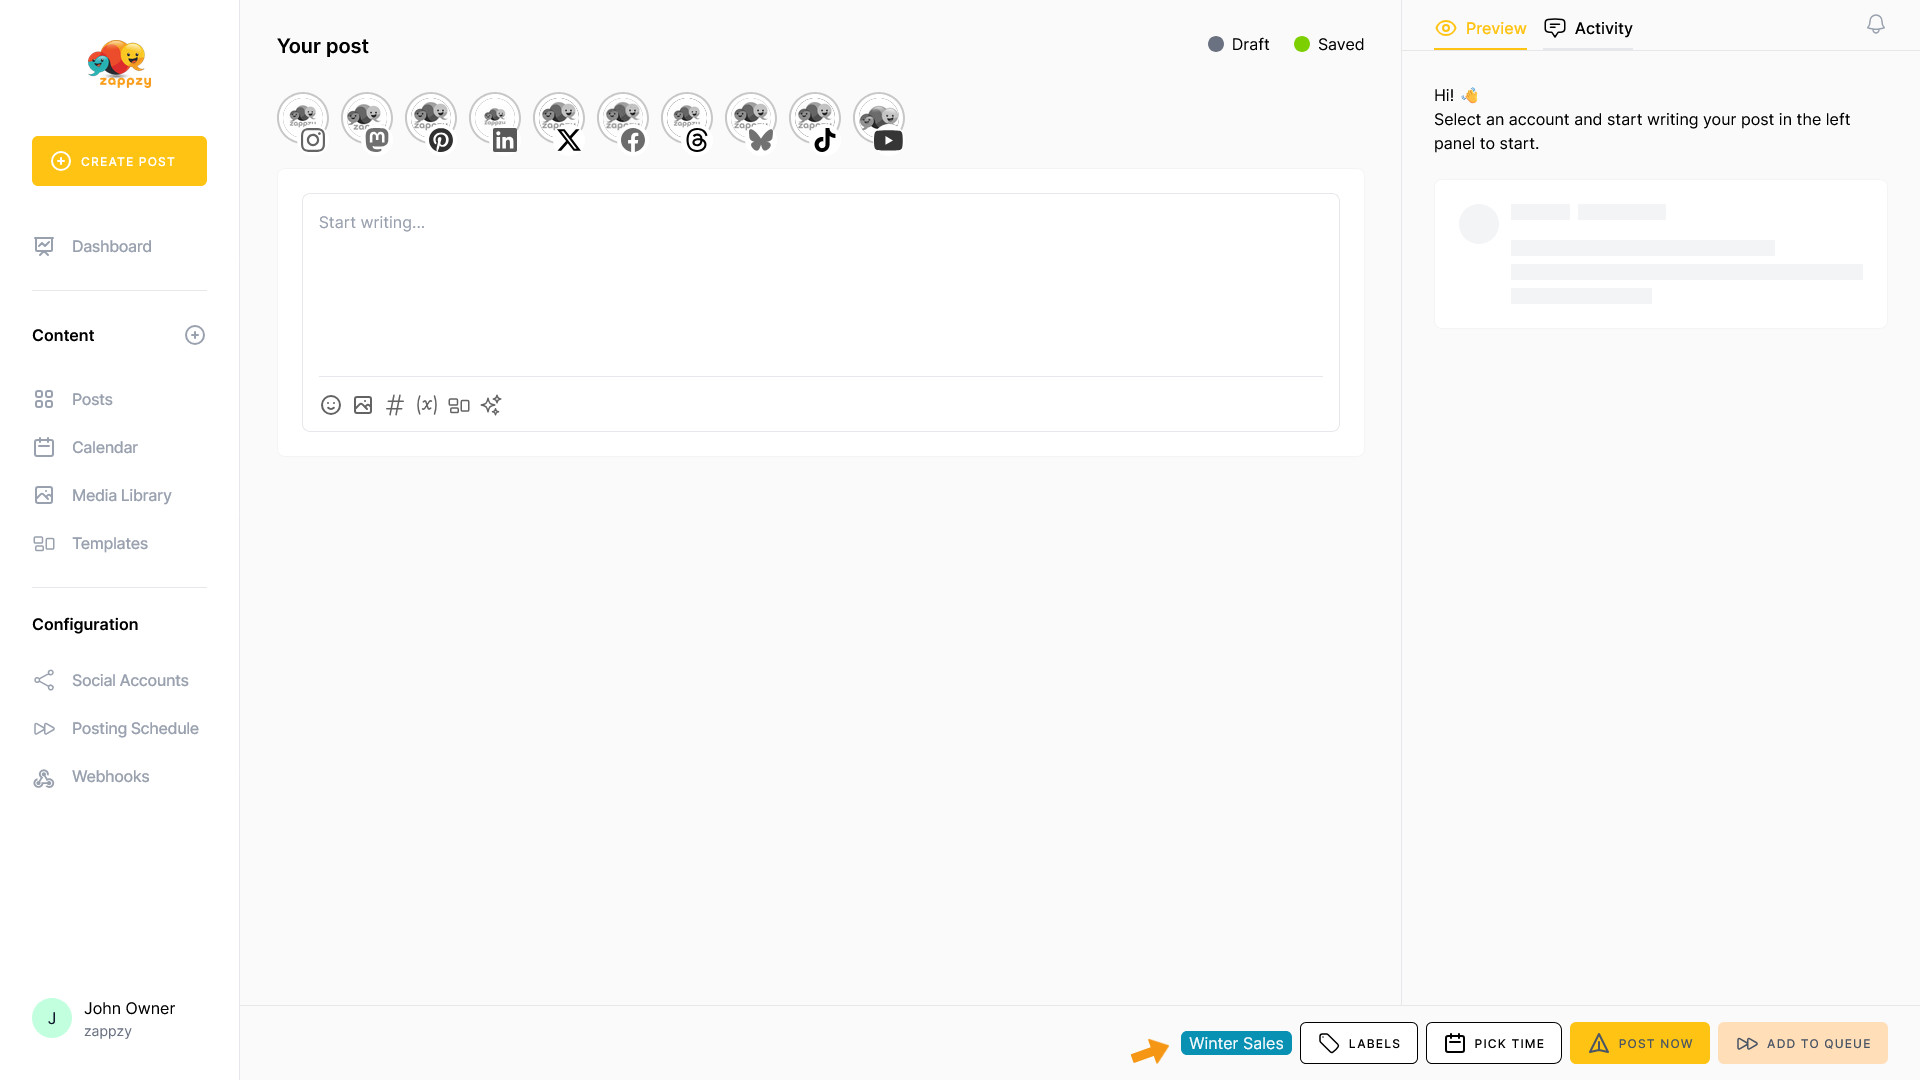
The Your post overview will appear on your main screen.
Note: We're focusing on labels here, not post creation. For step-by-step guidance on creating a post, see the Create a post articles.
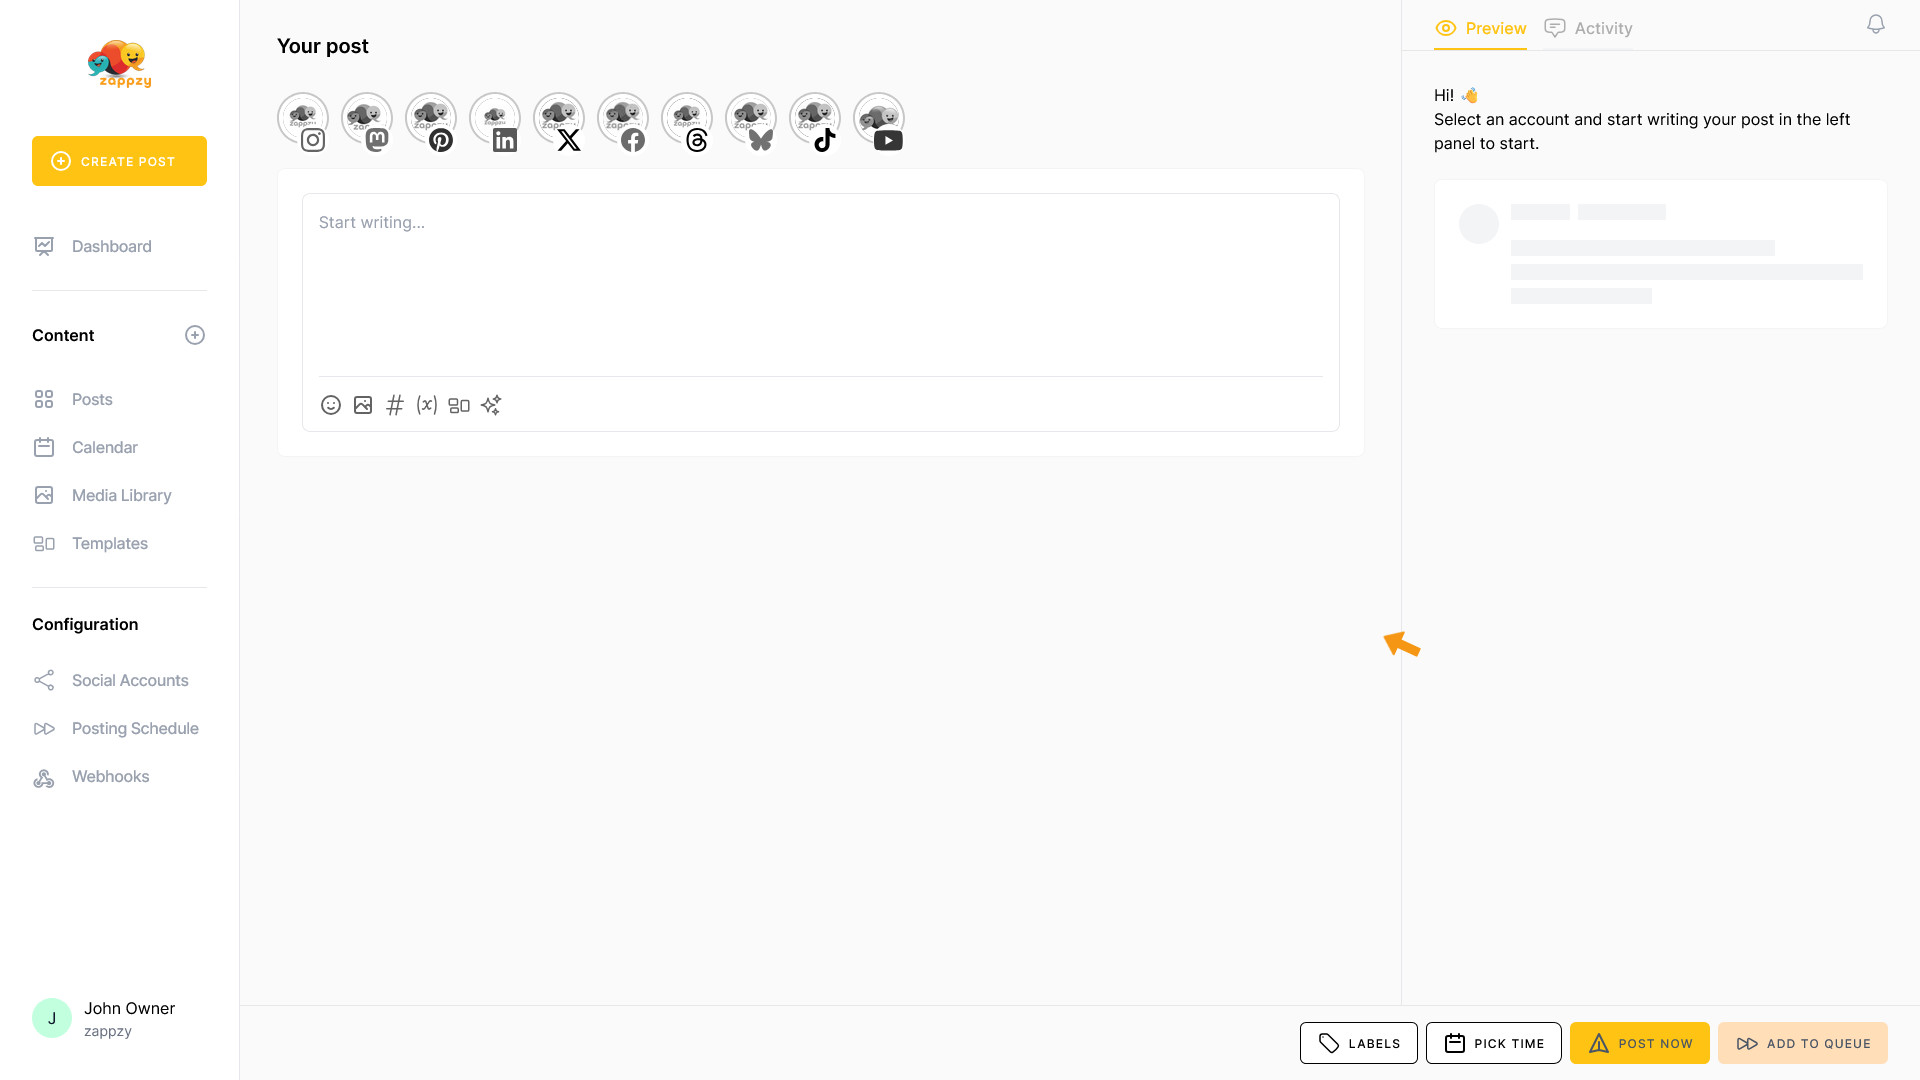
Labels are always accessible right where you need them—inside the post editor. This keeps your workflow smooth and puts the tagging feature exactly where it makes sense: when you're creating or editing a post.
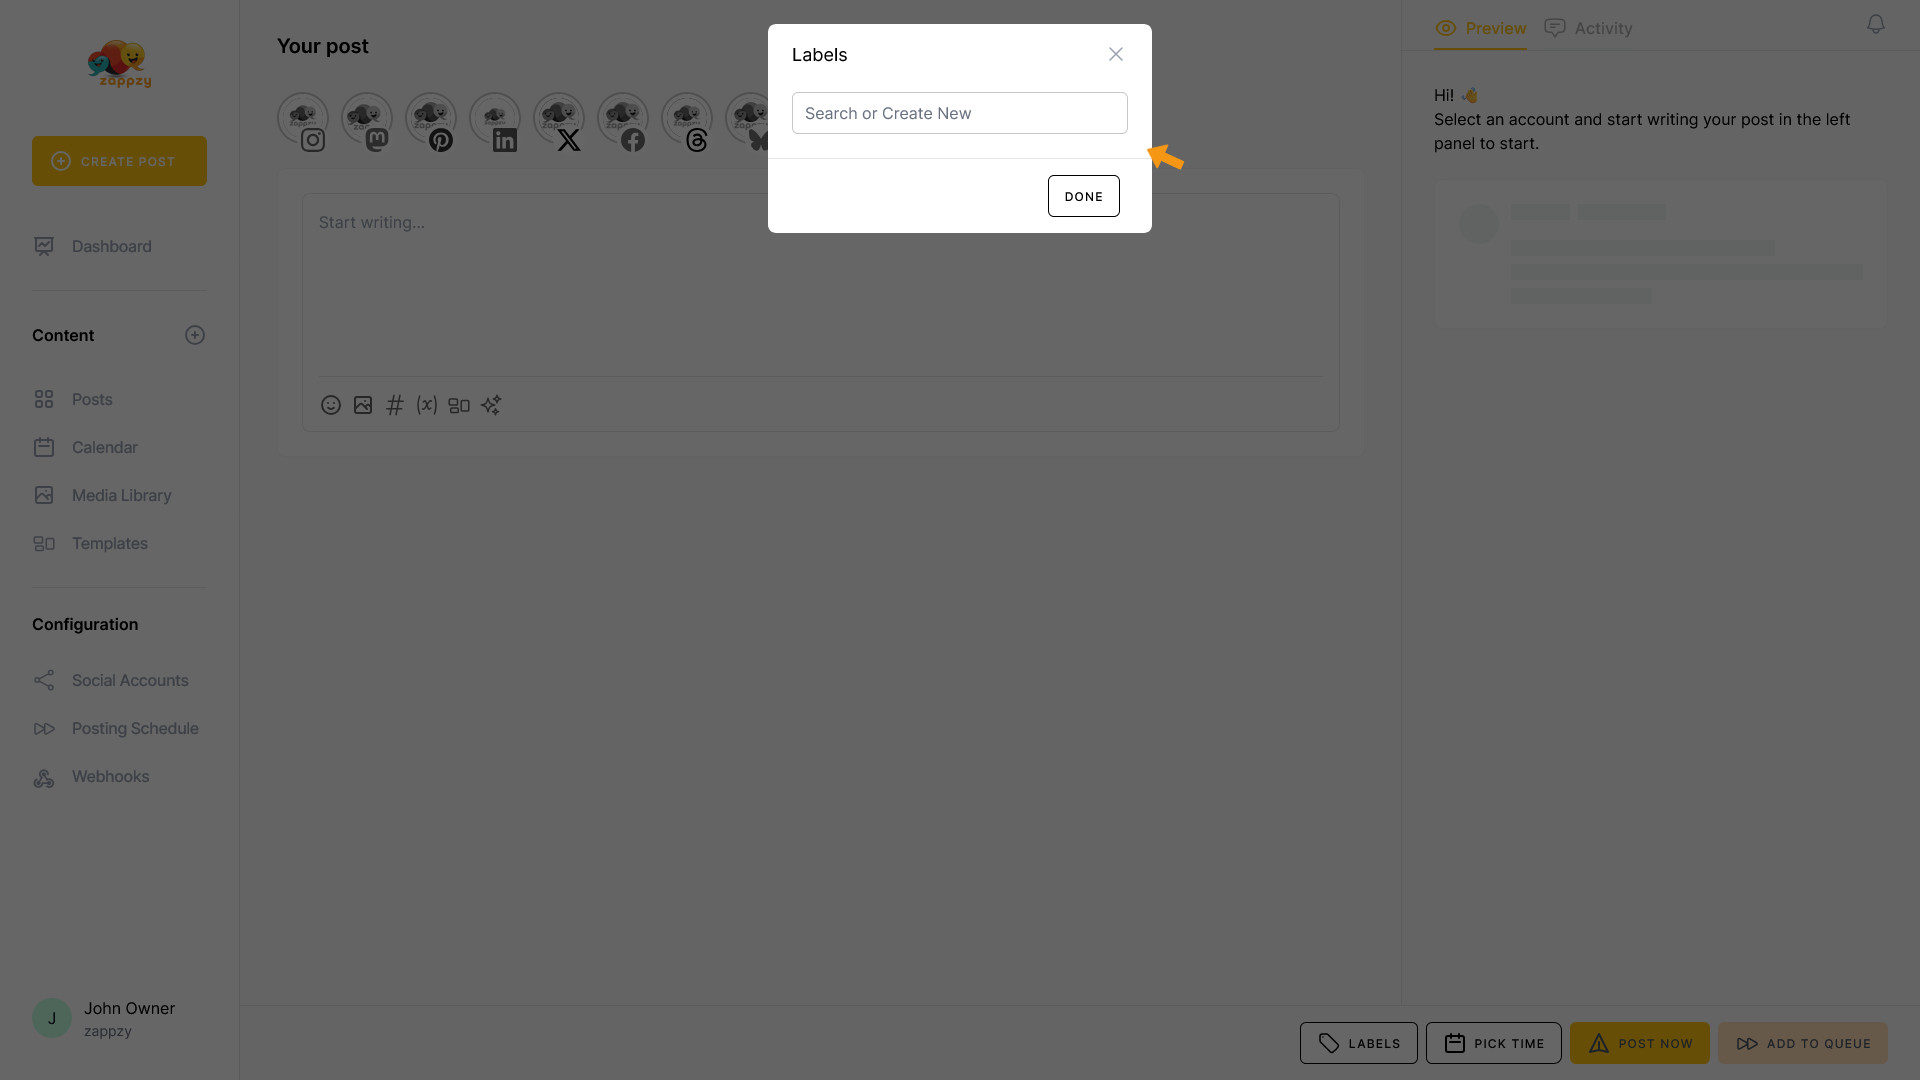
Click the LABELS button at the bottom right.
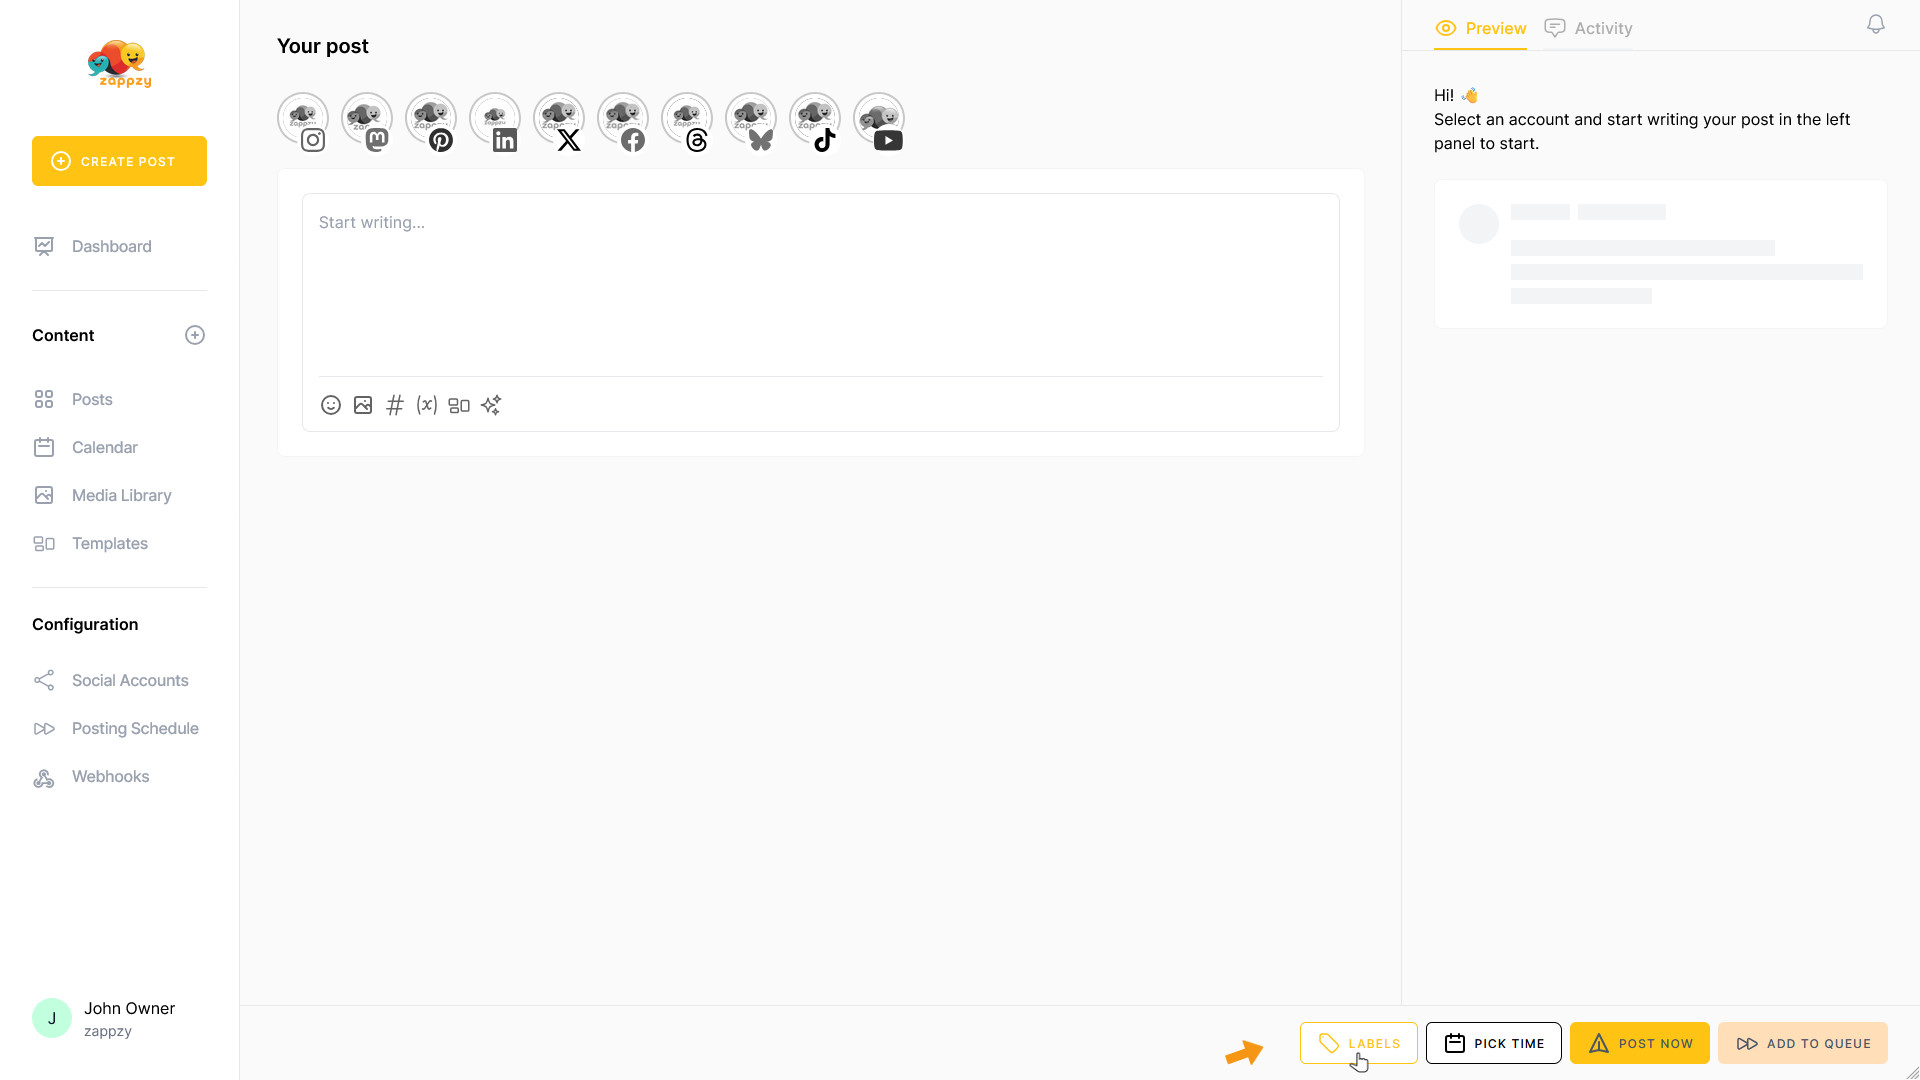
A pop-up will open where you can search for labels, create new ones, or edit existing labels.
When you open Labels for the first time, everything will be empty. So let's create your first label.
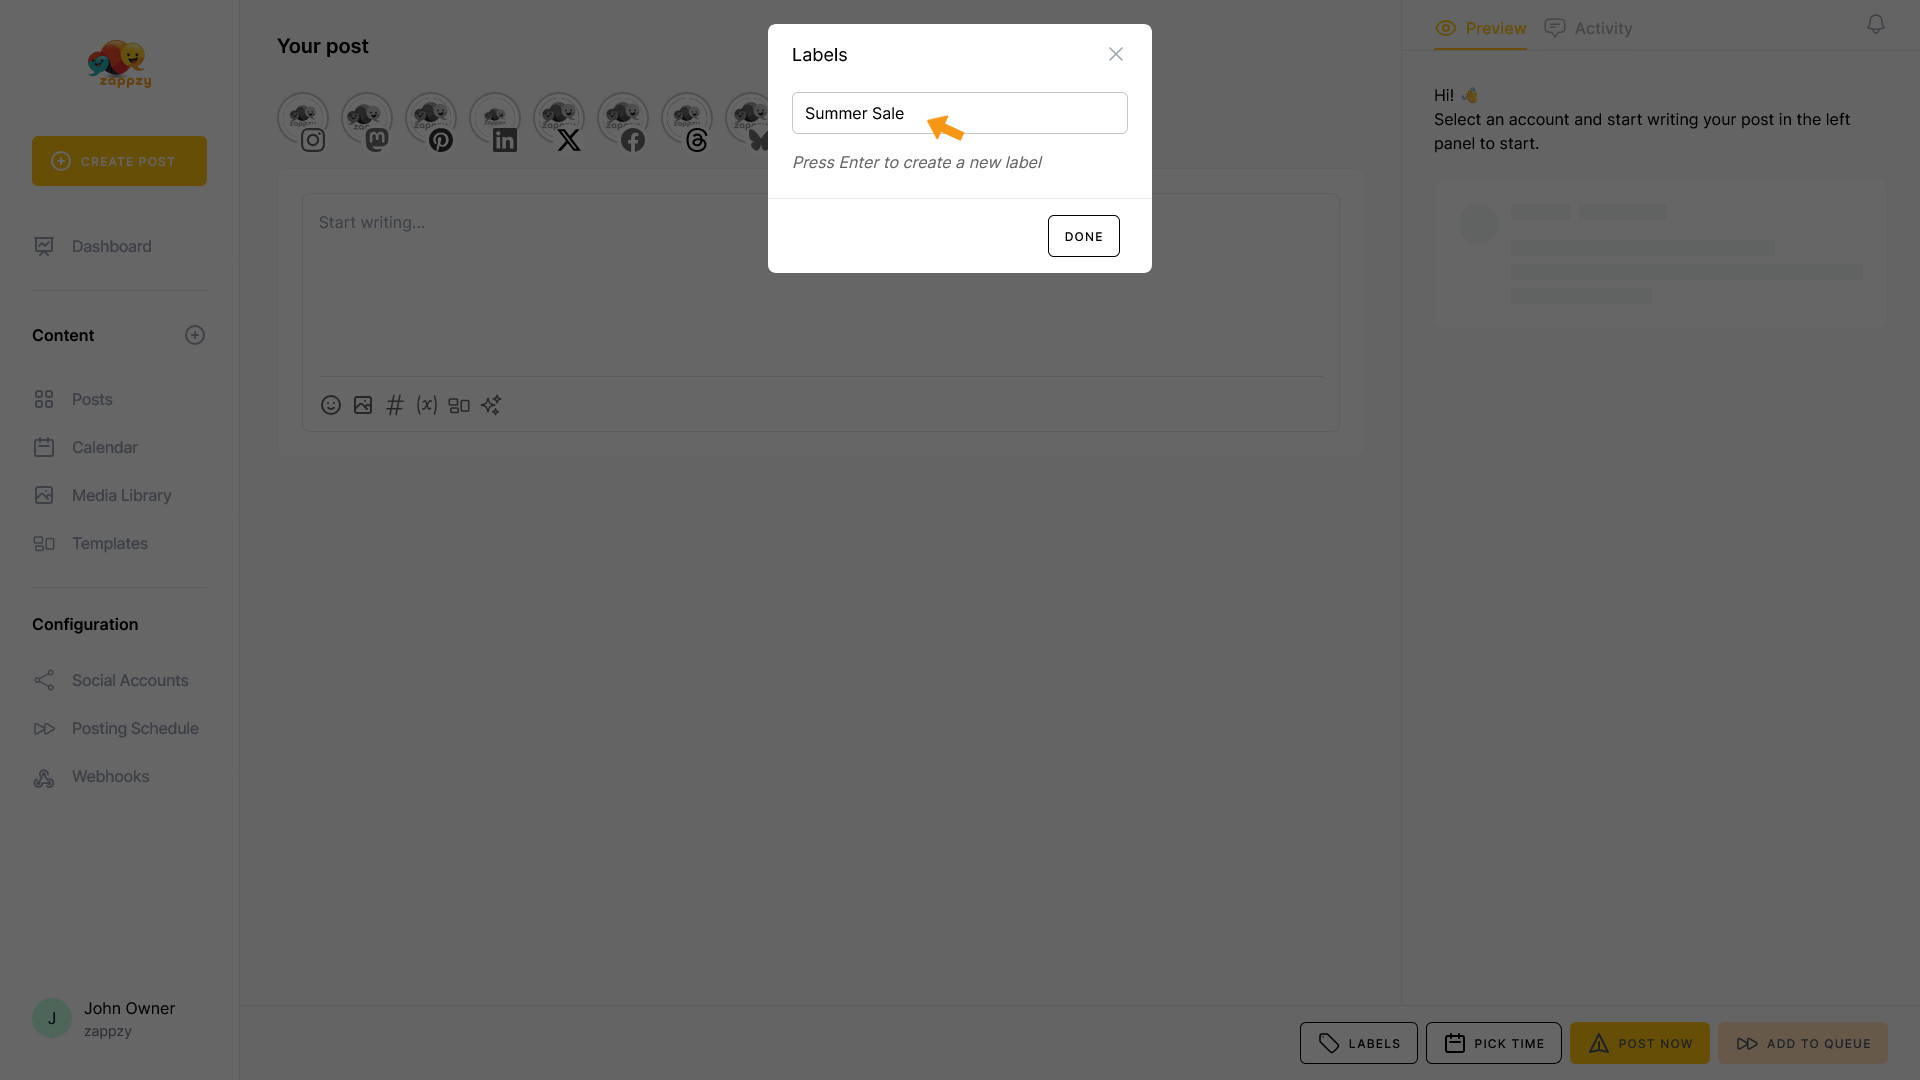
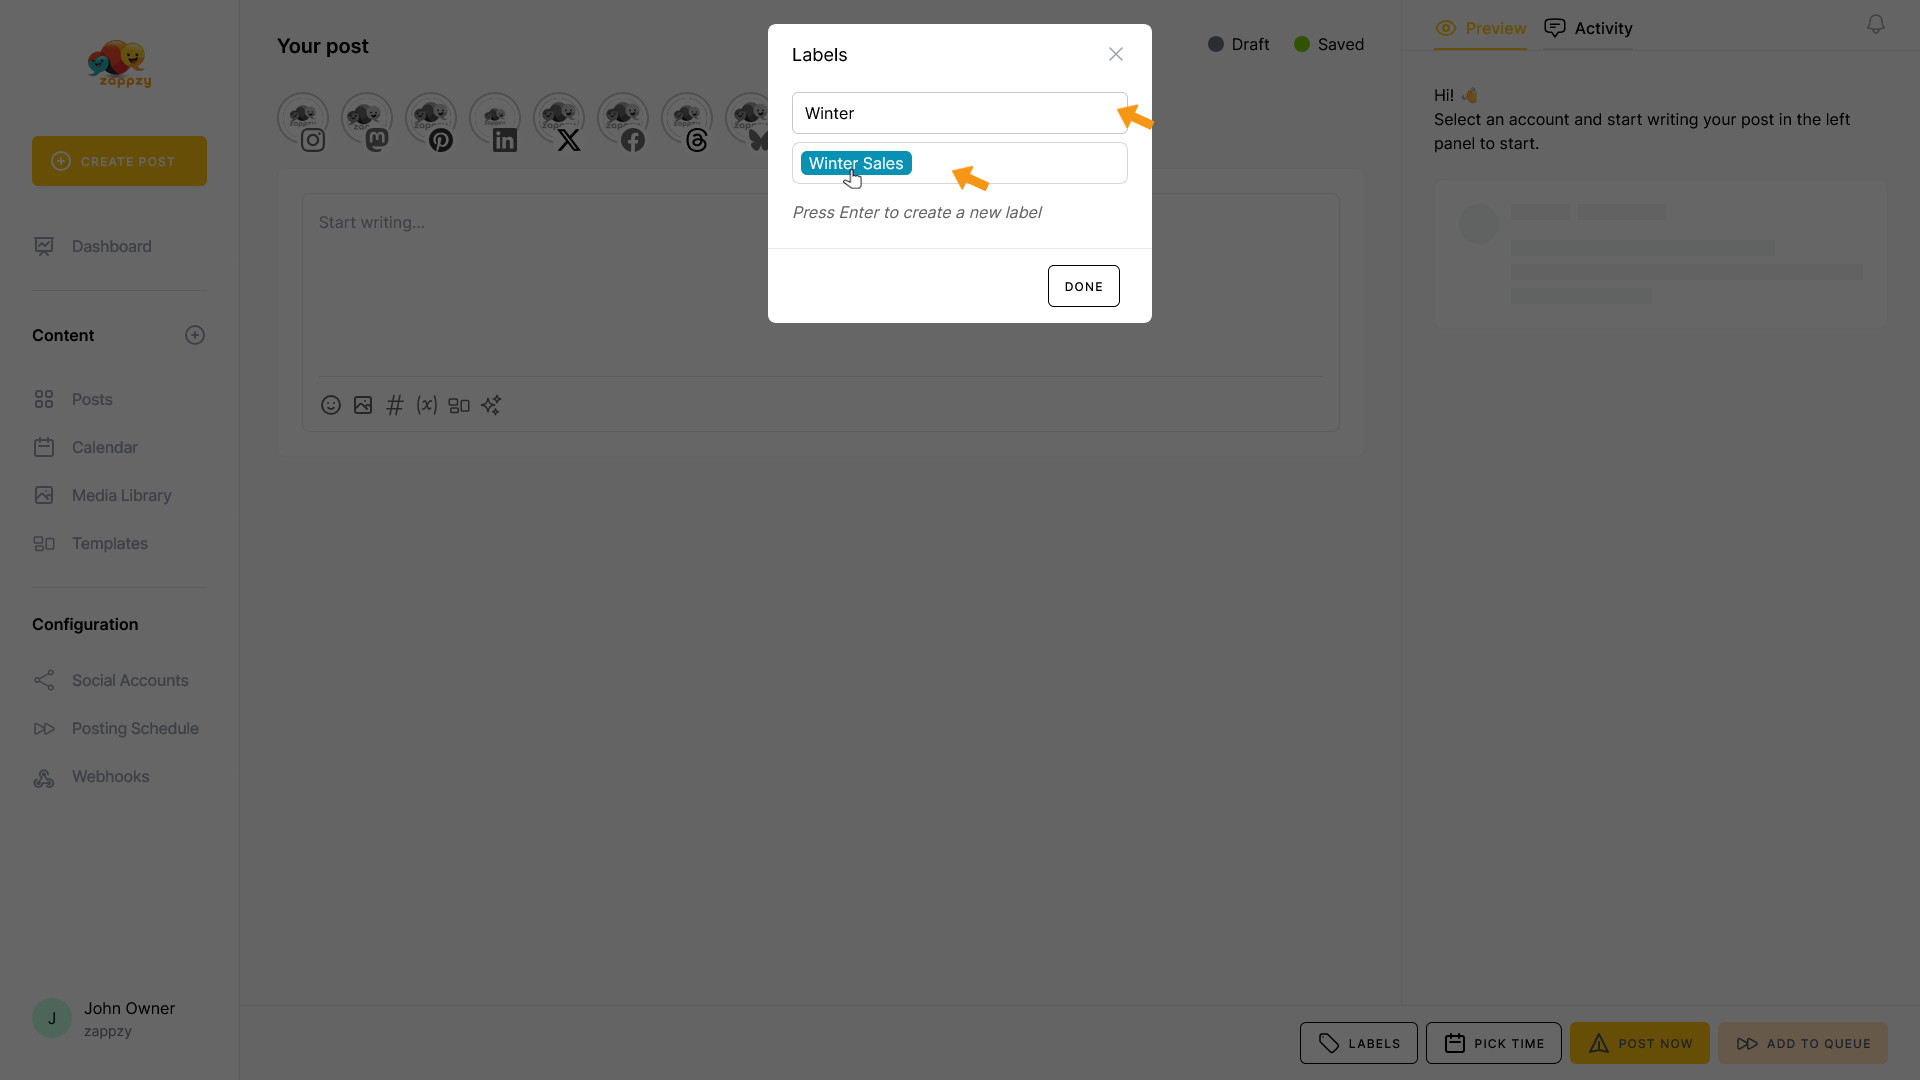
What kind of labels should you create? Tag posts with campaign names like “Summer Sale” or “Product Launch”, or use seasonal labels like “Holiday” or “Black Friday” to organize content months in advance and find exactly what you need at a glance.
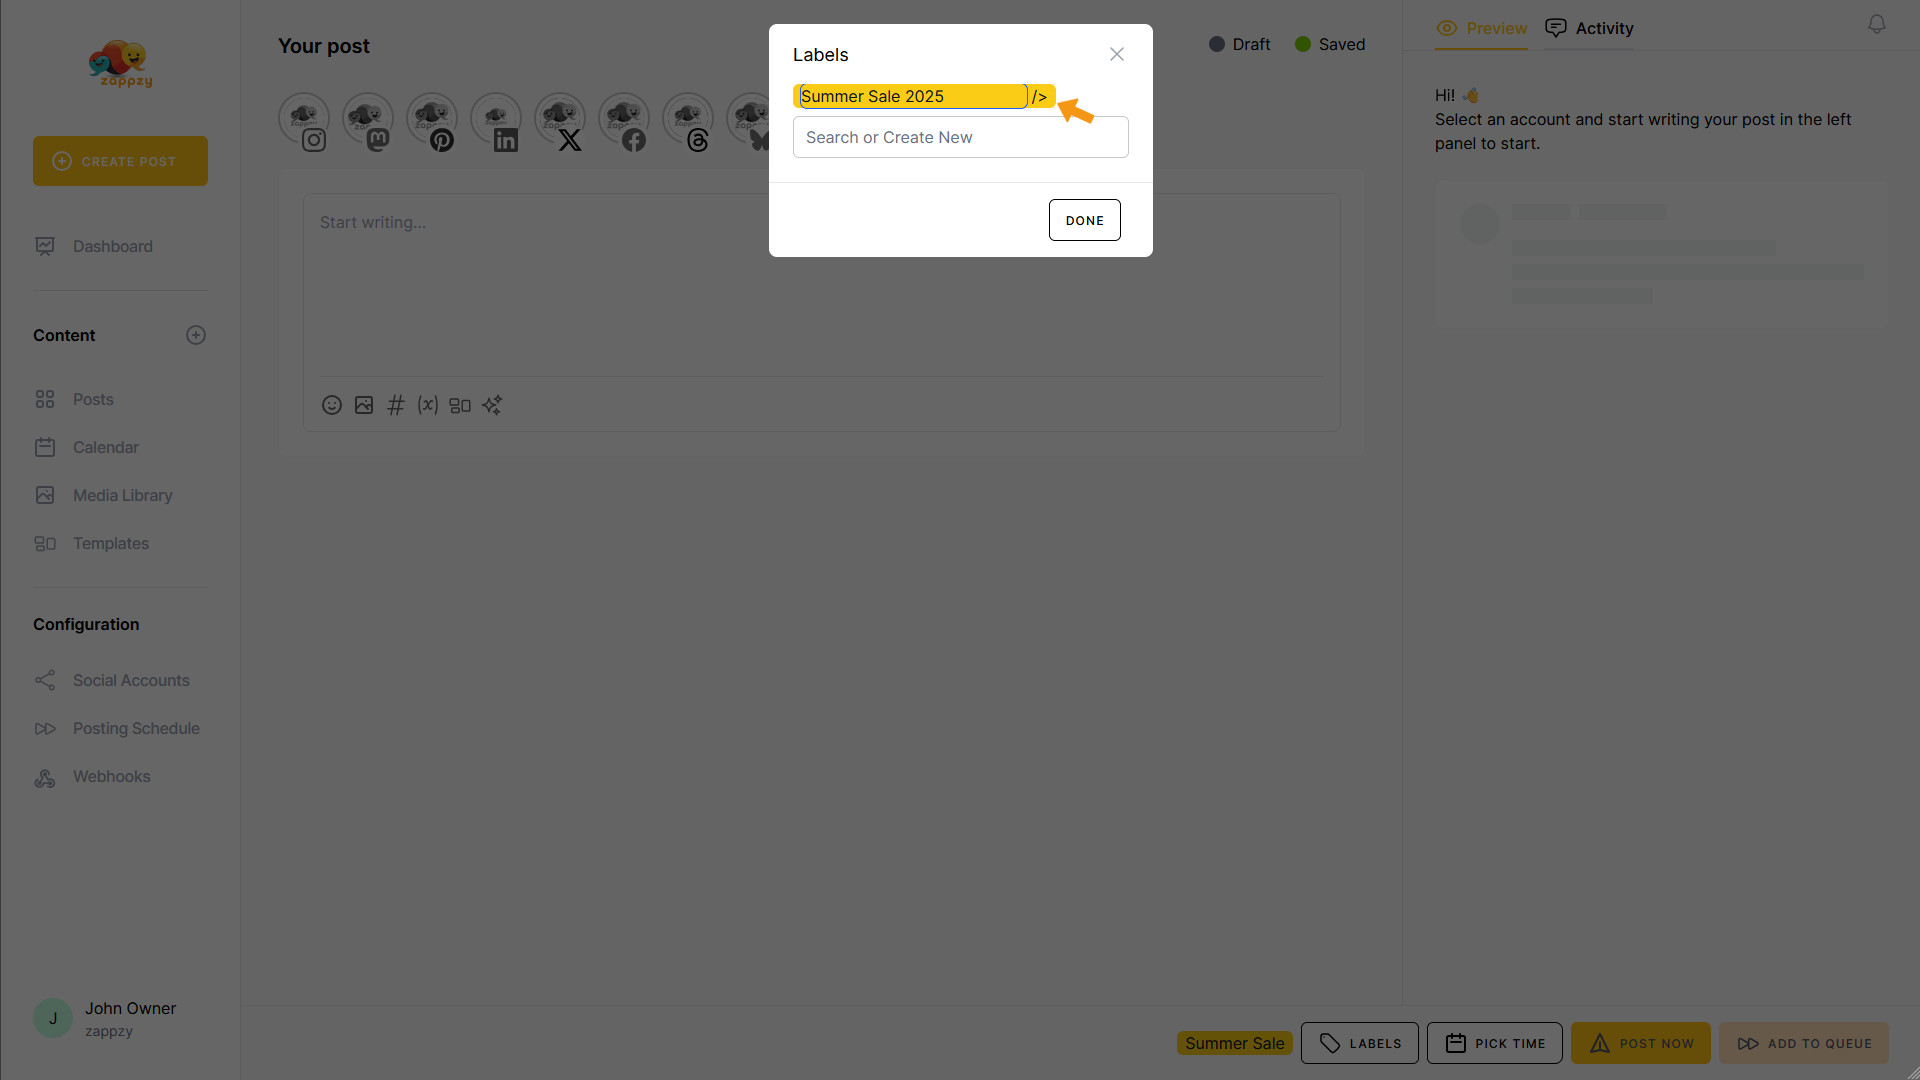
Type your label name into the “Search or Create New” field. In our case, that's “Summer Sale”. Press Enter to create your new label. It will be assigned to your post right away.
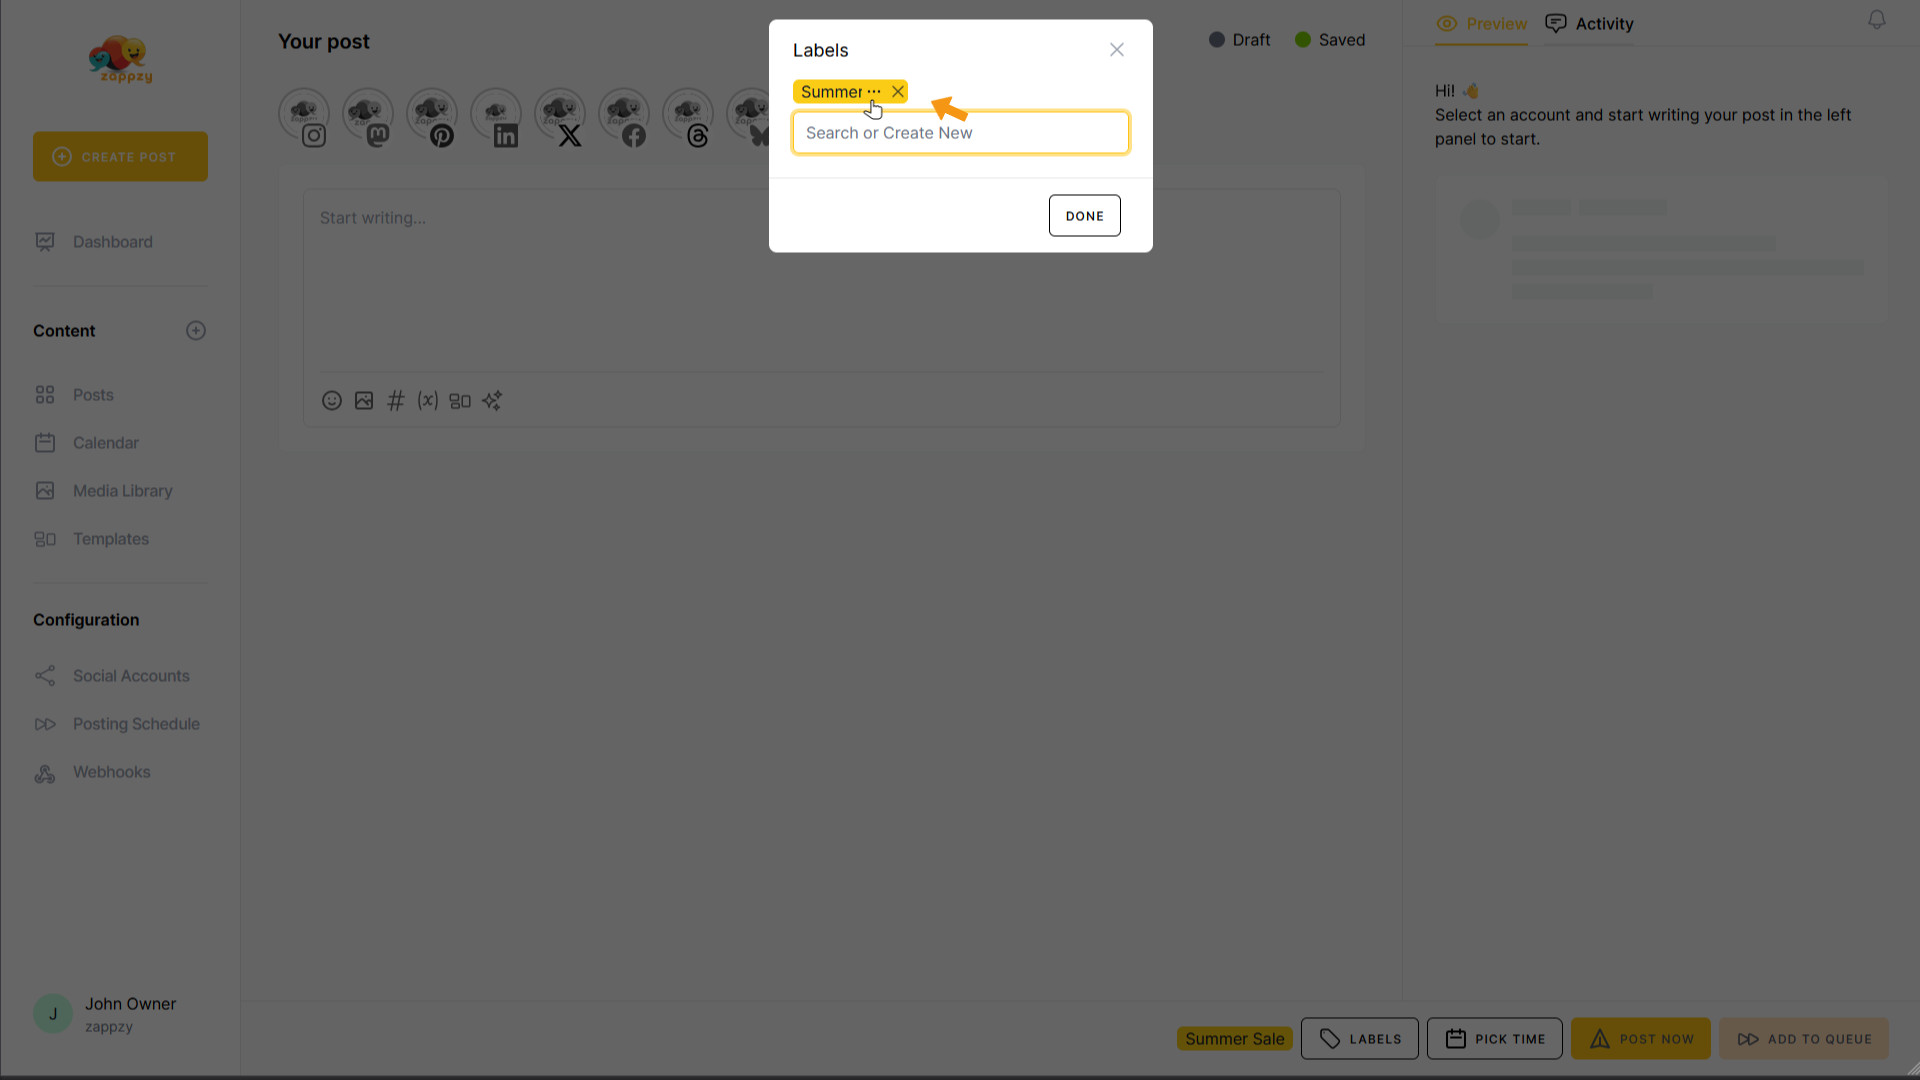
Your new label has been created. When you hover over the label name, you'll see three horizontal dots and an X. Let's look at what the three horizontal dots do.
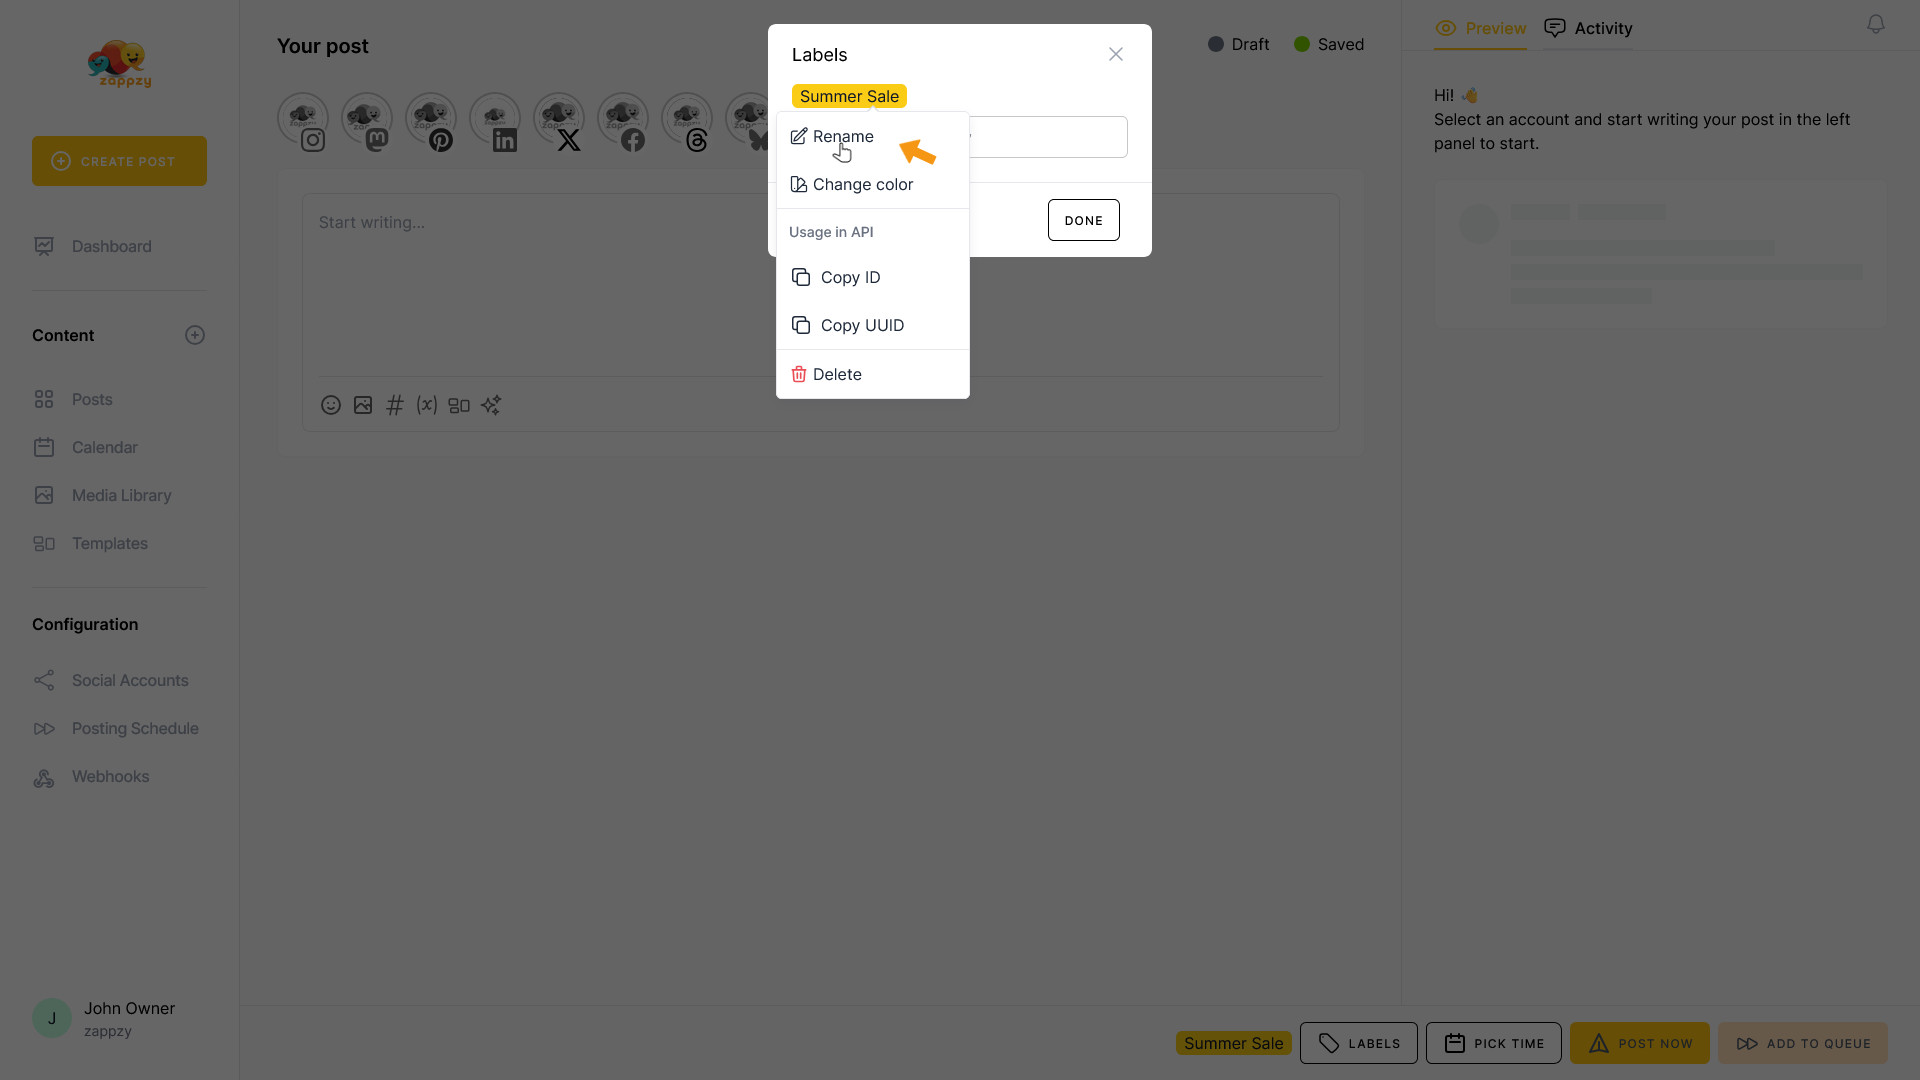
First, you can rename the label. Click Rename.
You can change the name. Hit enter after you change it.
Next, click Change color.
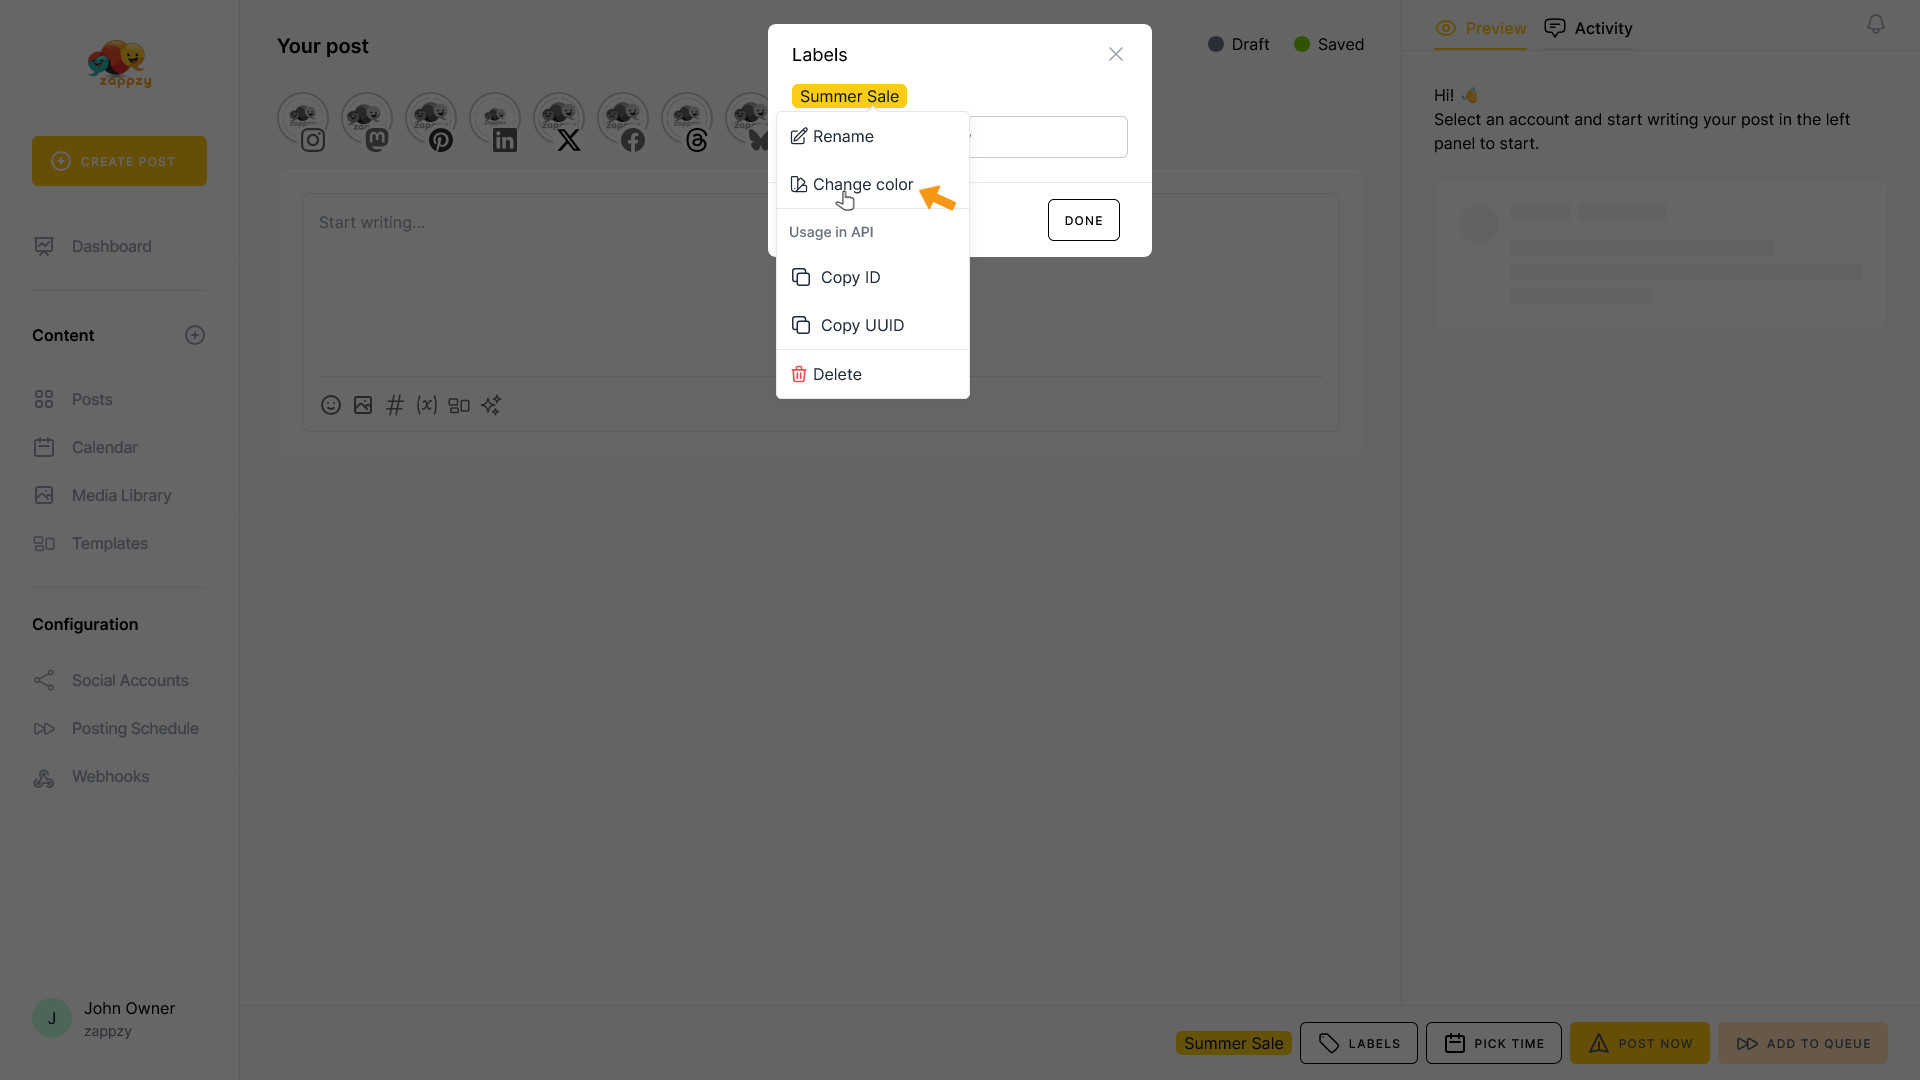
You can choose the label color—pick whatever works for you, matches your corporate identity, or just feels right. Click the button SAVE CHANGES after you finish choosing.

The next two menu items, Copy ID and Copy UUID, are exclusively for API use and typically won't concern you. For more details on the API, check out the dedicated API articles.

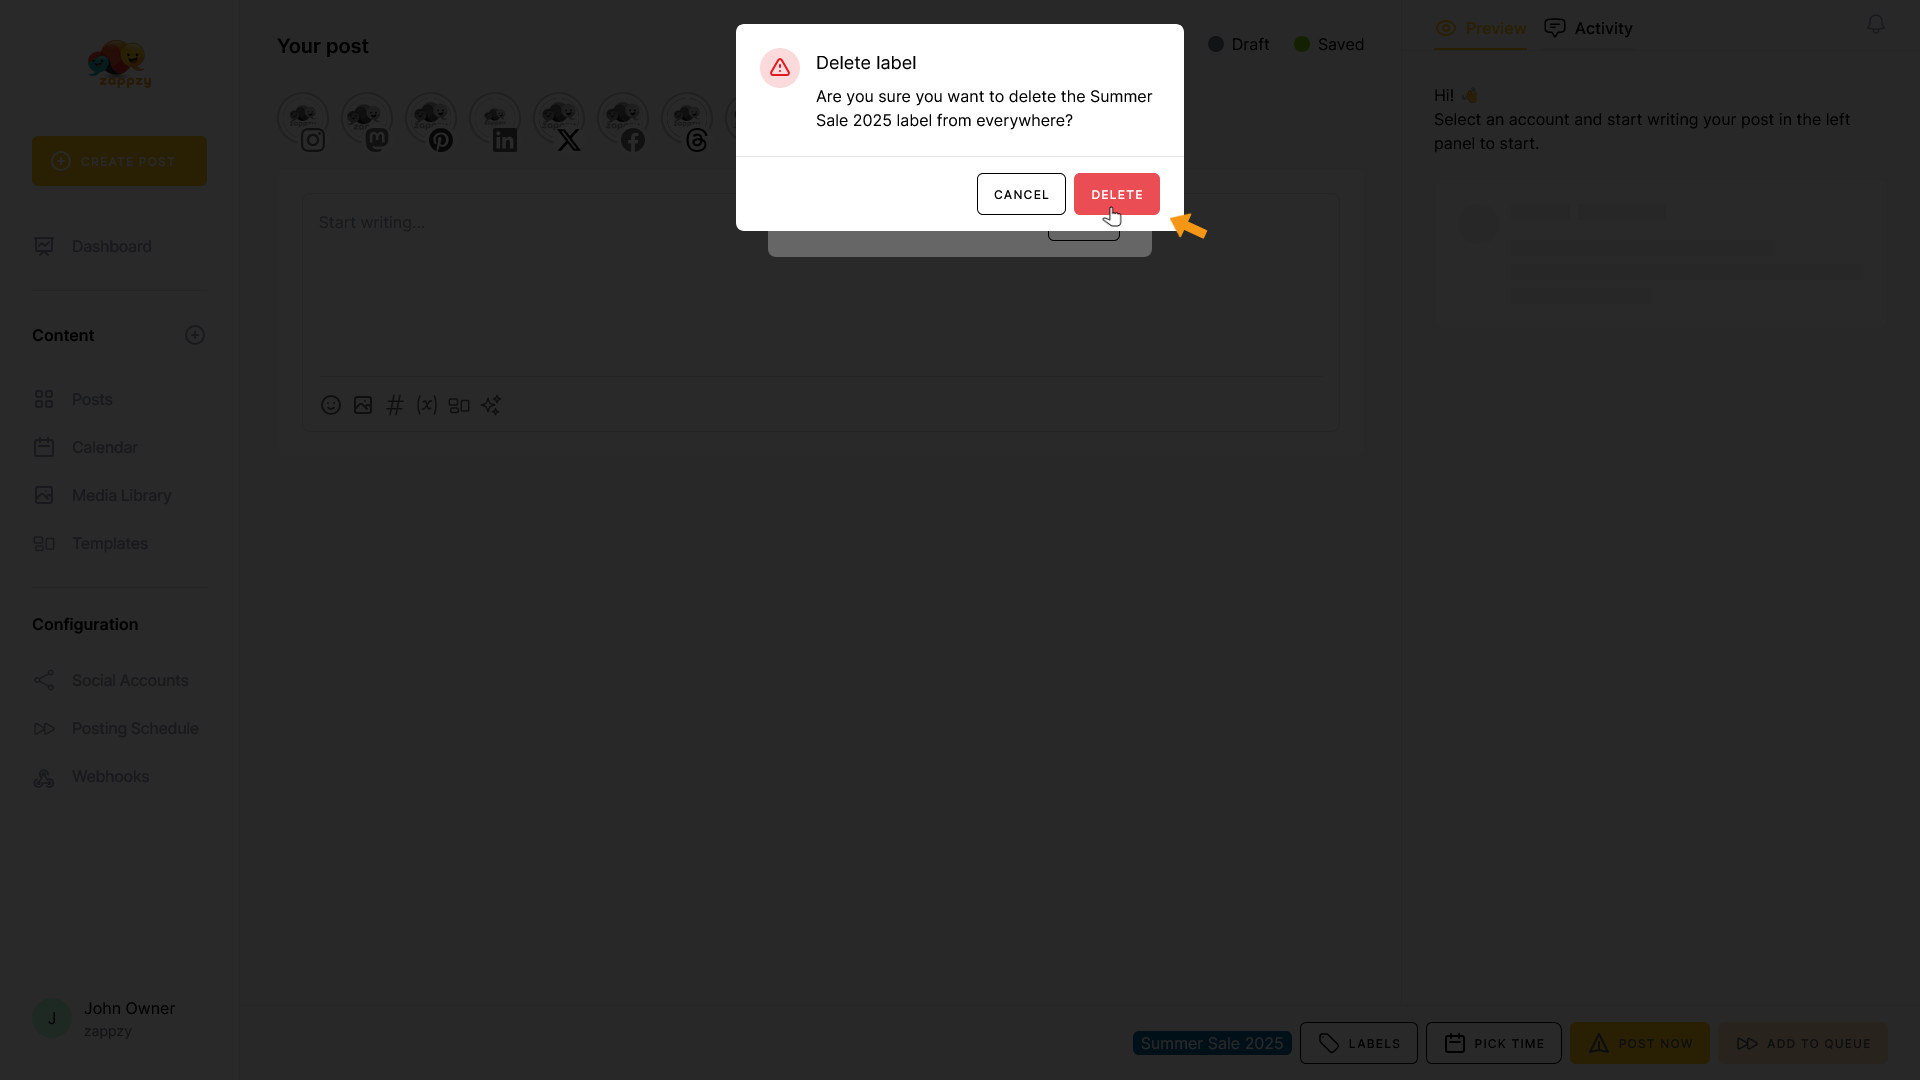
Finally, there's Delete, where you can remove the label.

Warning: When you delete a label, it will be removed from all posts where you've already assigned it.
We create two more labels: Product Launch and Black Friday. These will also be assigned to your post right away. You'll see them in two places: in the Label pop-up below the title “Labels” and at the bottom of the window next to the LABELS button.
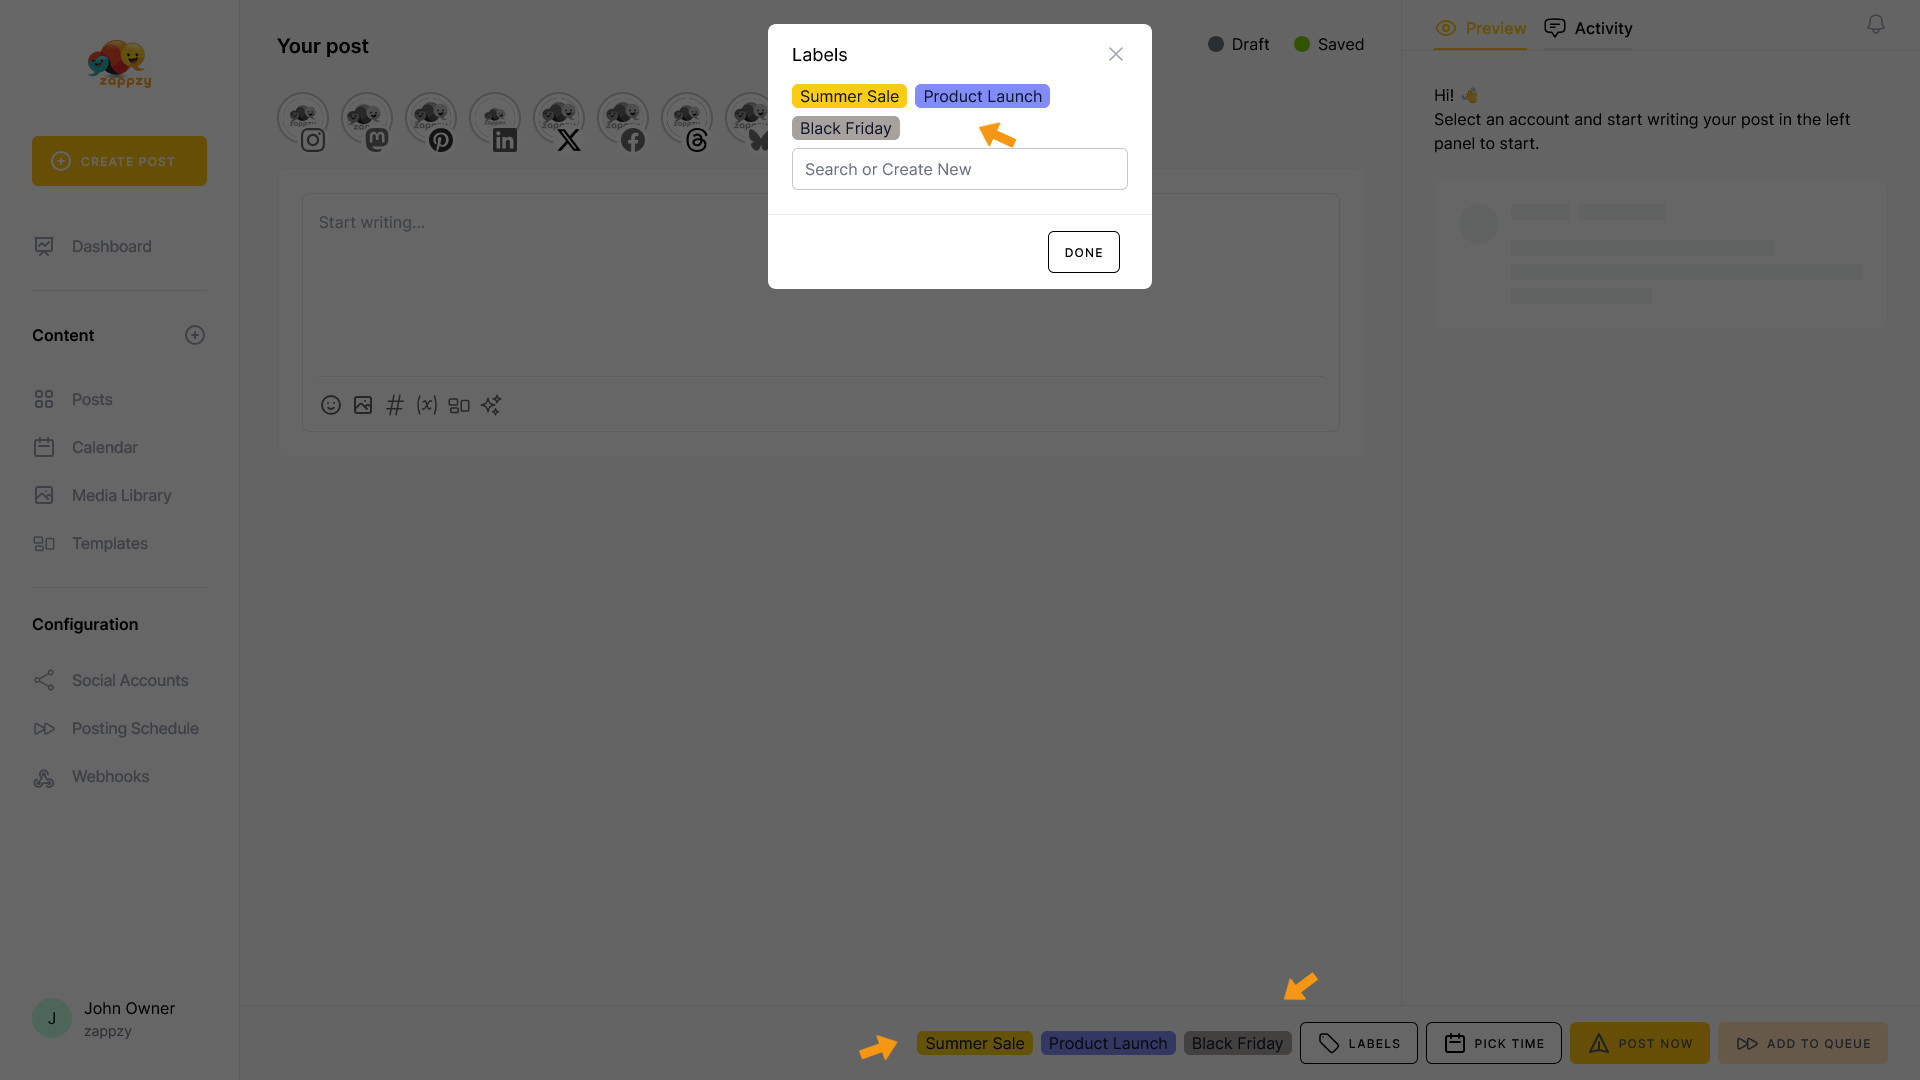
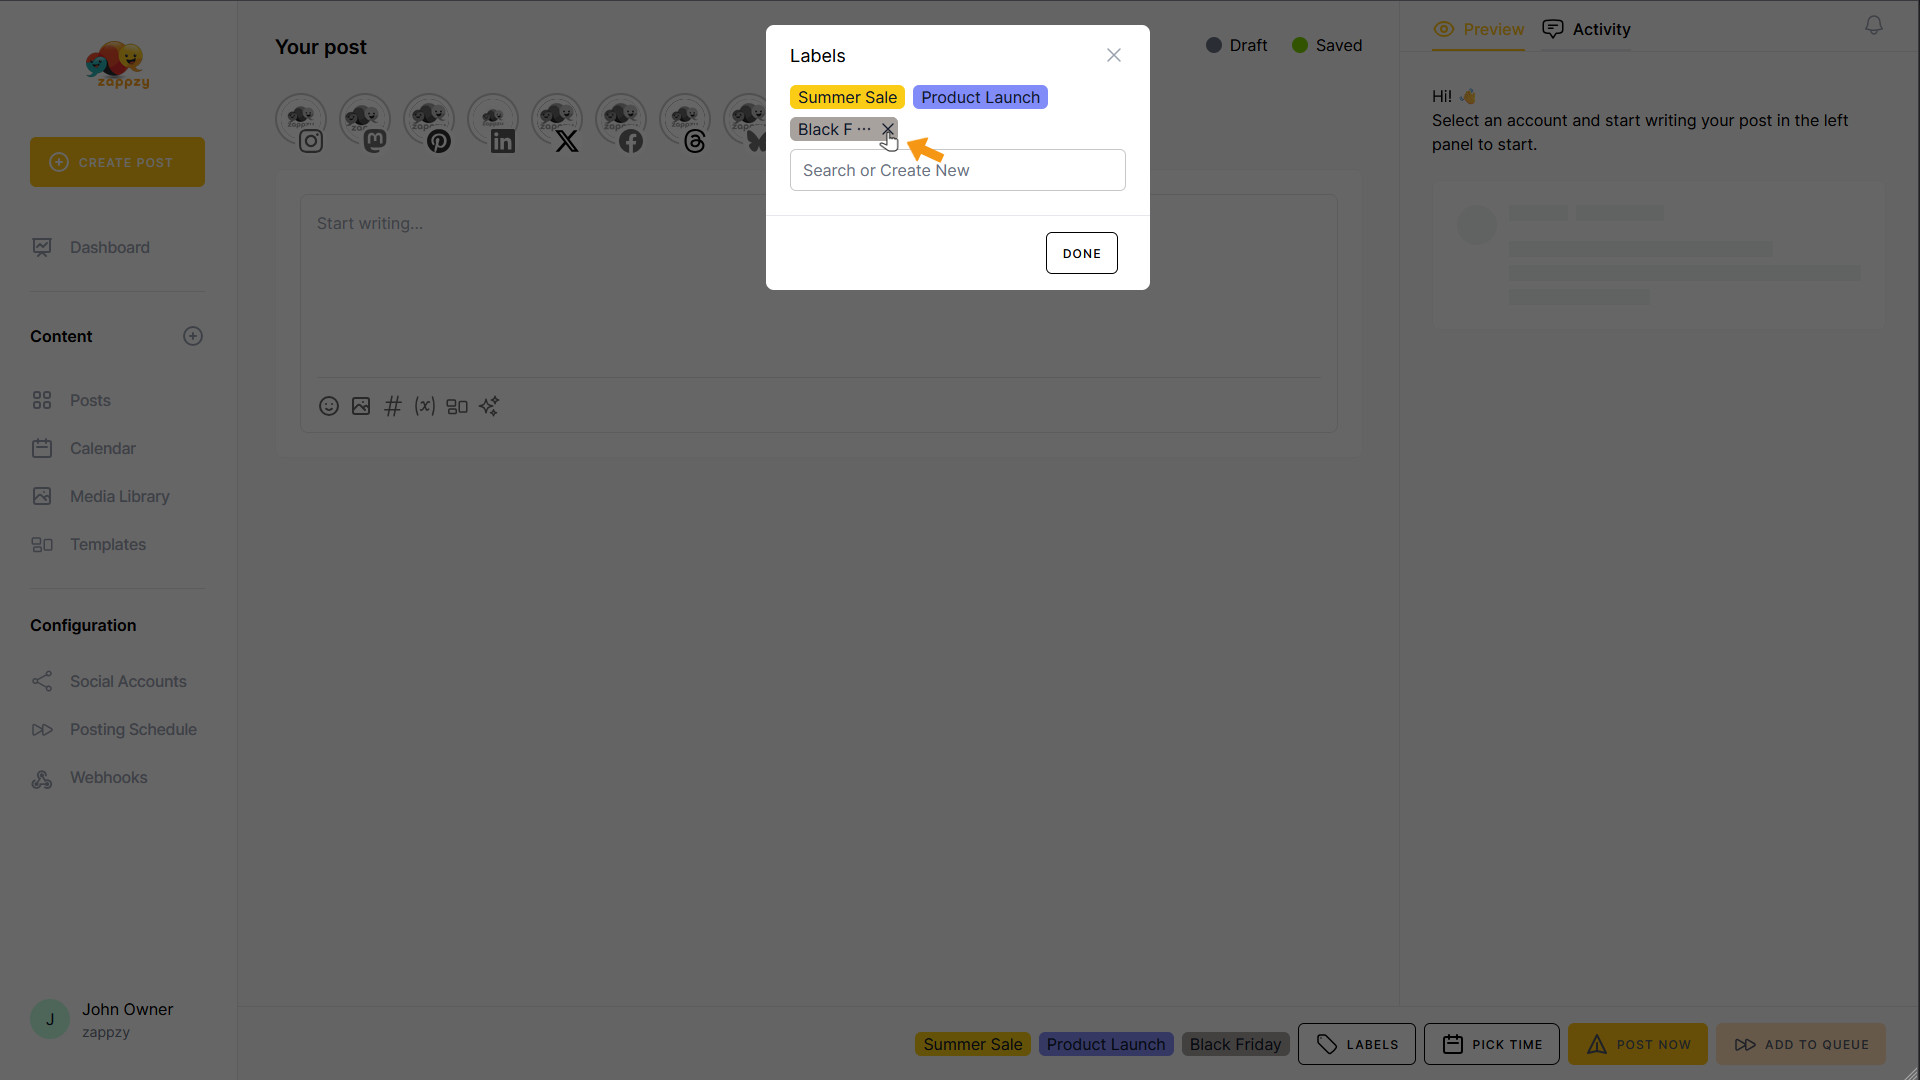
Now the X comes into play, next to the three horizontal dots. Let's say we don't need Black Friday since this is about a summer sale and a new product. So we only need the Summer Sale and Product Launch labels. Hover over the Black Friday label and click the X.
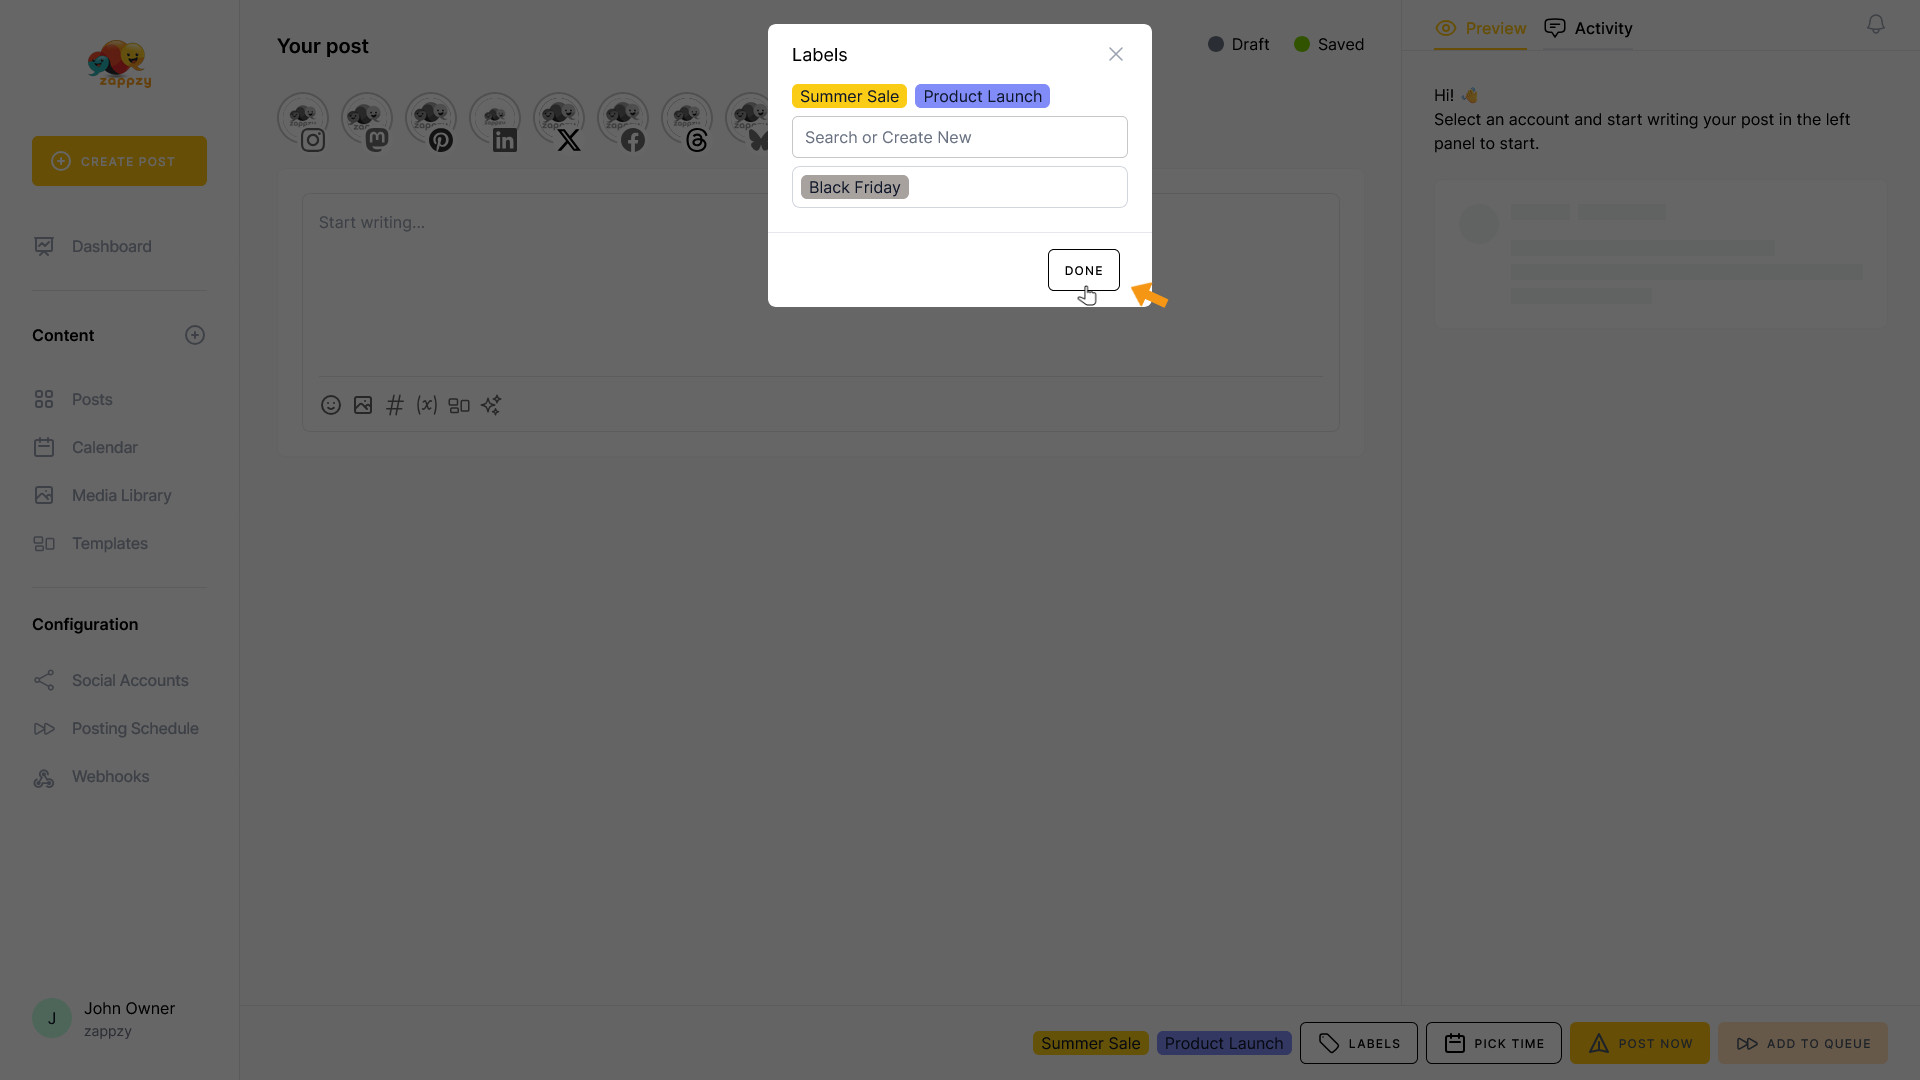
The label is removed from your post and now appears below the “Search or Create New” field.

Once you've added your labels, click the DONE button.
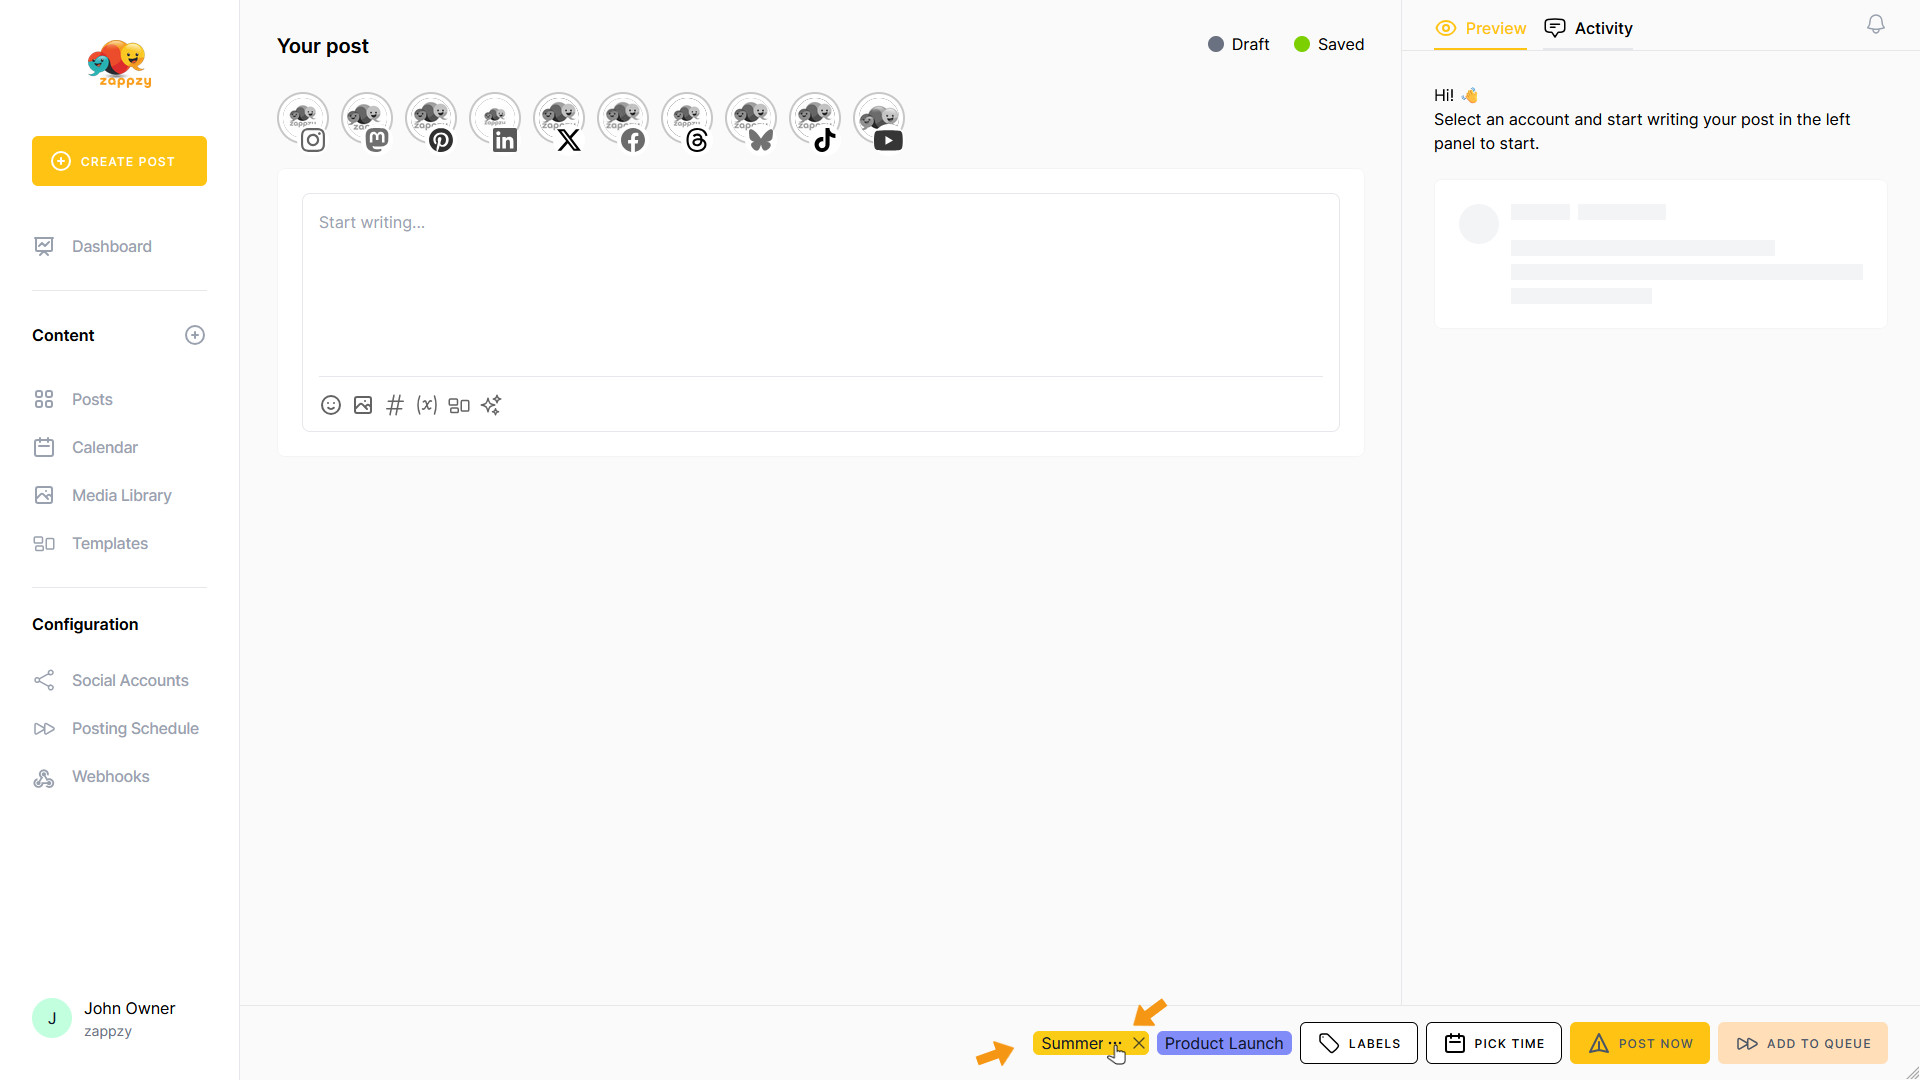
You'll see the labels at the bottom next to the LABELS button. You can remove or edit these labels right there, just like explained above.
If you've already created some labels and you're writing a new post where you want to add existing labels, open the Label pop-up and search for the label.
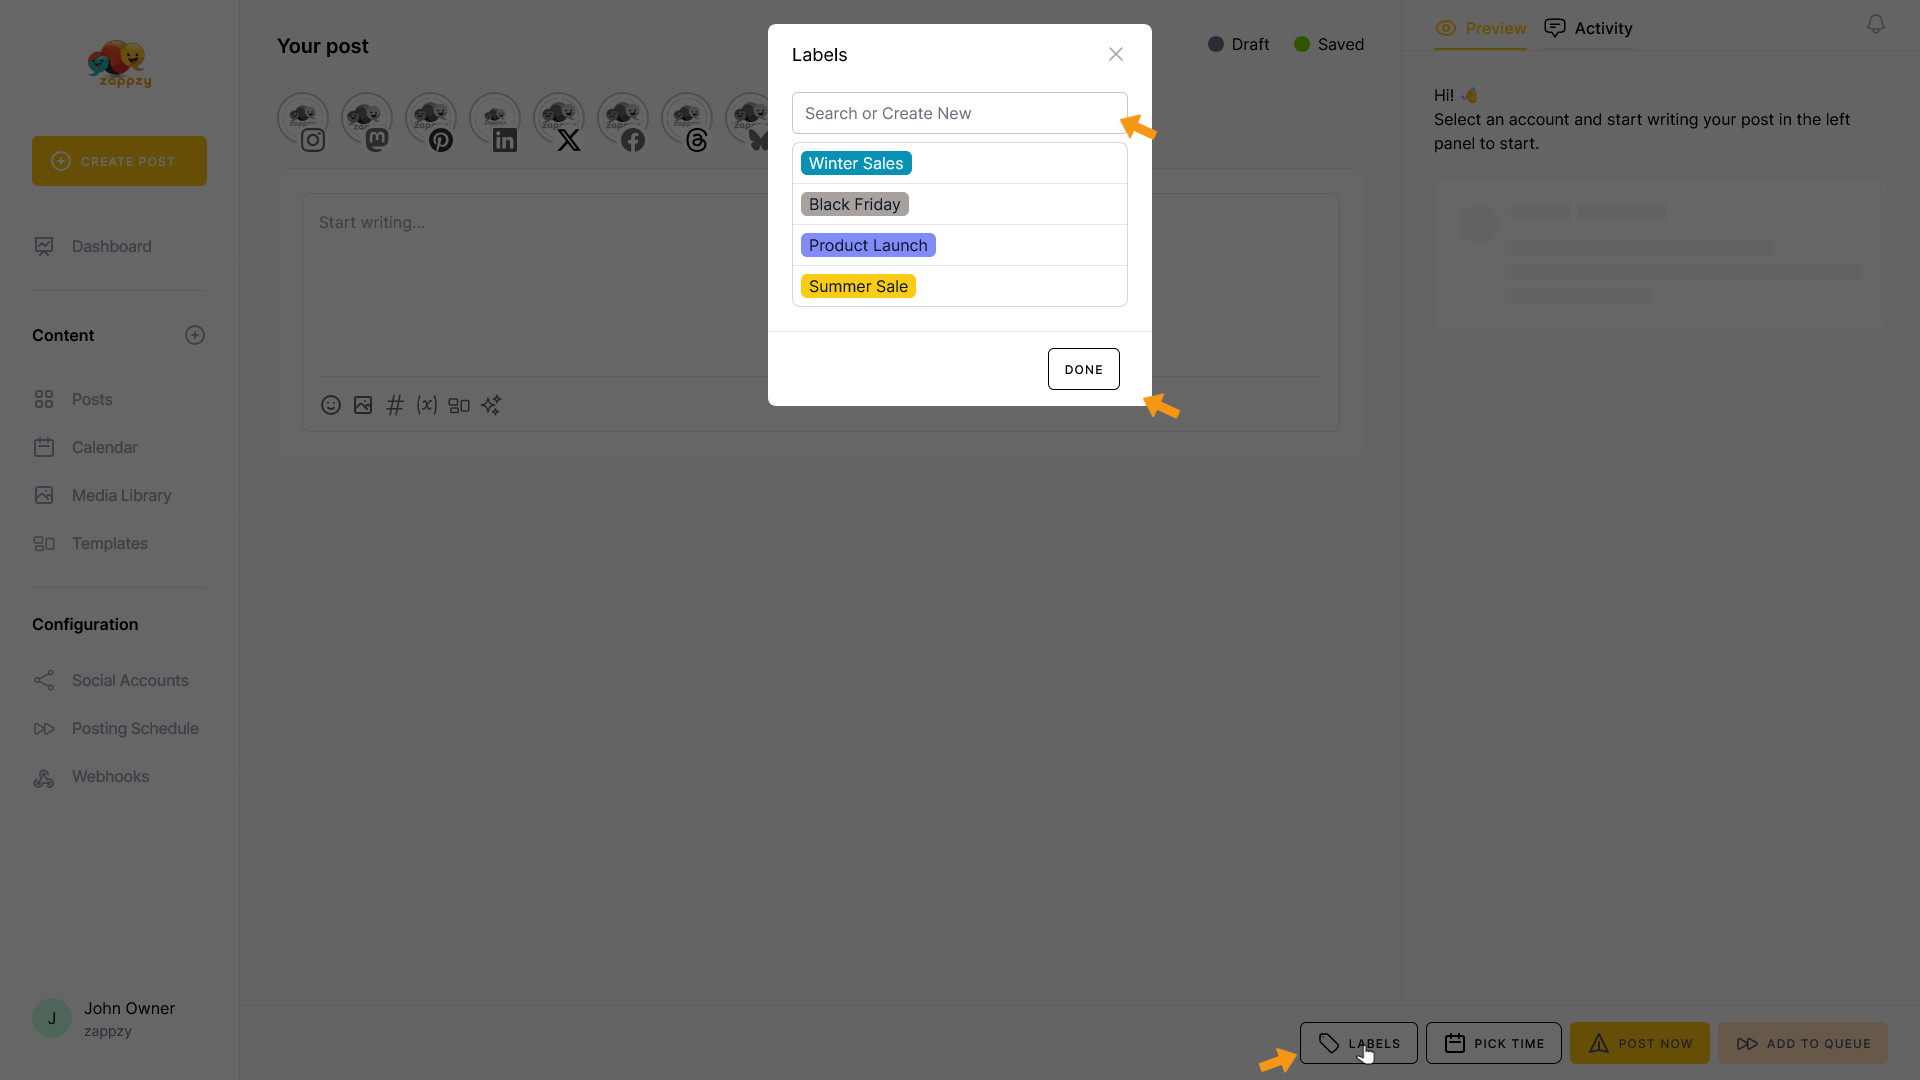
Click on the label to add it to your post. Continue with the steps described above.
Perfect! You now know how to work with labels. And remember: labels aren't just colorful tags—they're your shortcut to more structure and faster work.