zappzy Support Center > Content > Create posts > Create multiple posts at once: Create and post to multiple platforms

Video or step-by-step guide with screenshots. Your choice. We’ll guide you through.
Step-by-step guide
You can create posts individually or use the bulk workflow to create multiple posts at once—ideal when you're sharing the same topic across all your social media channels.
Once you're logged in to zappzy, you'll see an orange CREATE POST button in the left menu. Click on it.
The Your post overview will appear on your main screen.
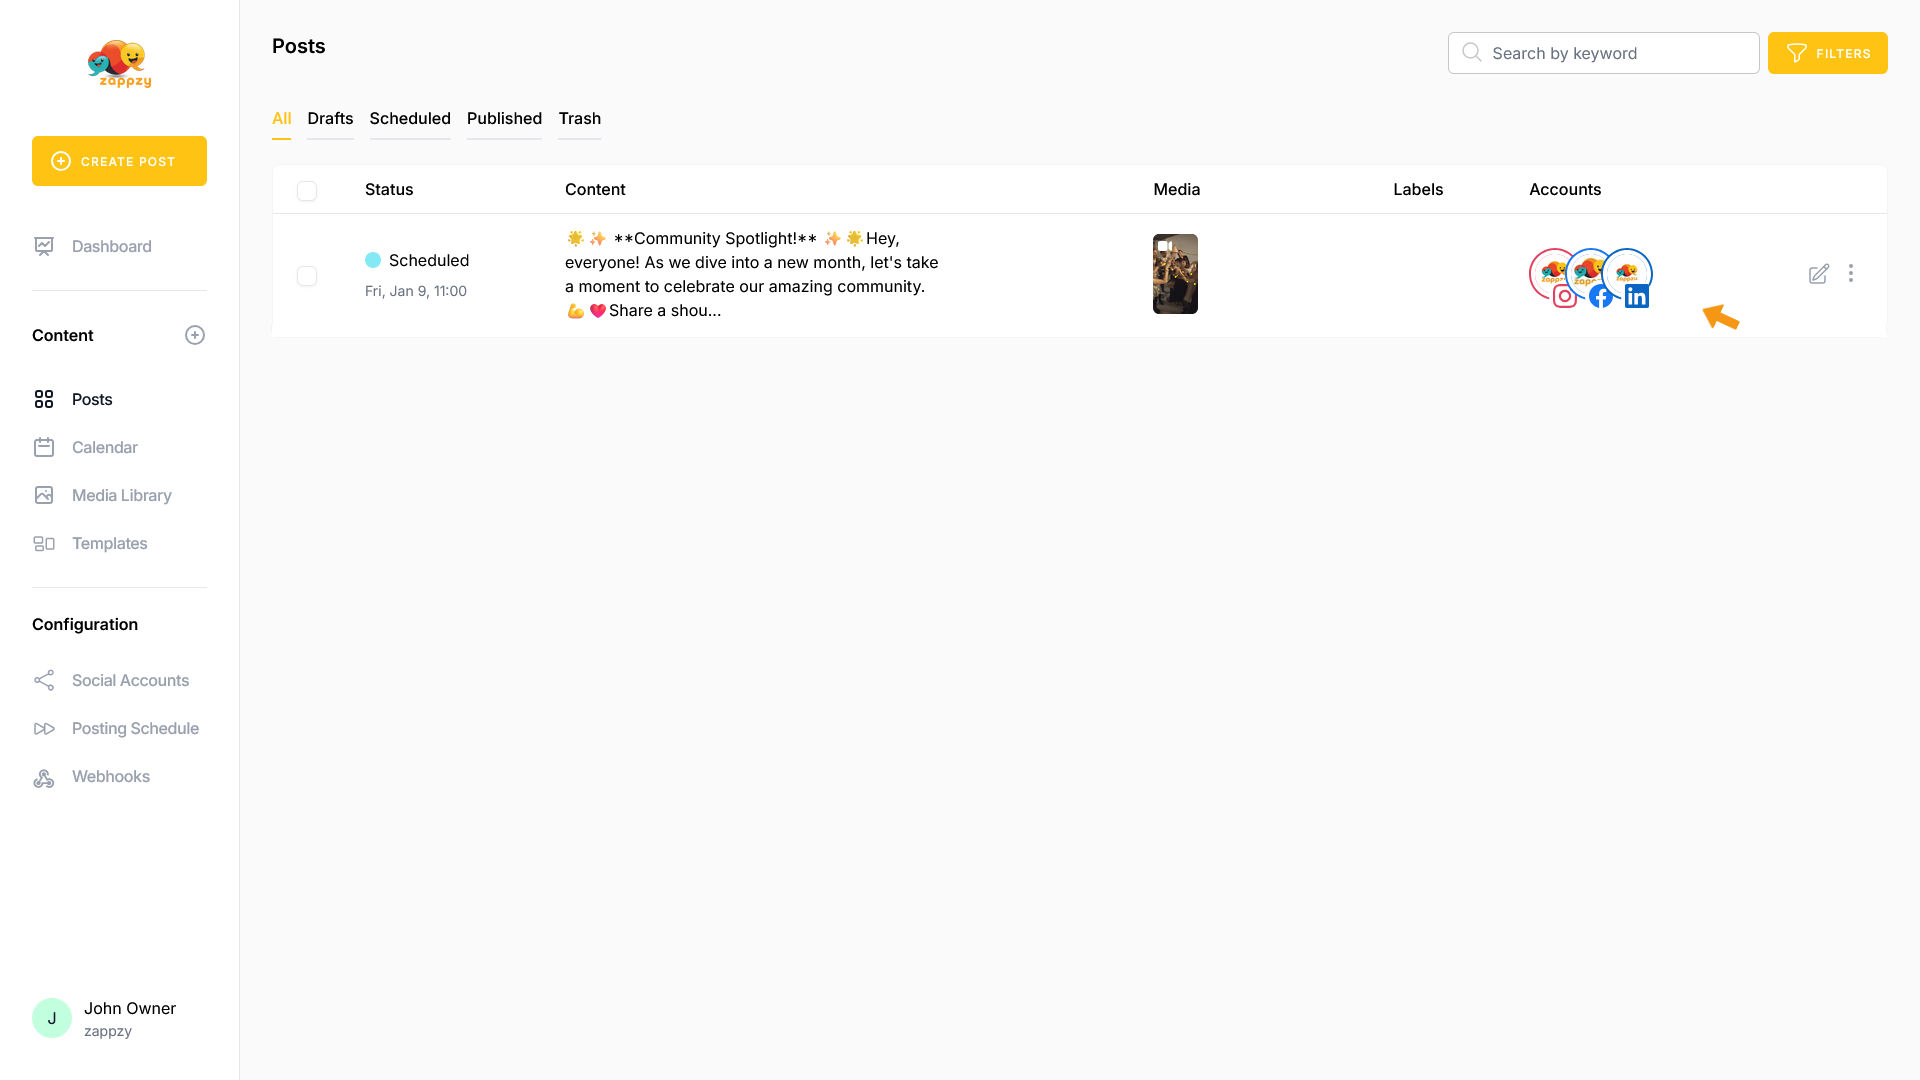
Note: We're focusing on creating multiple posts here, not post creation. For step-by-step guidance on creating a post, see the Create a post articles.
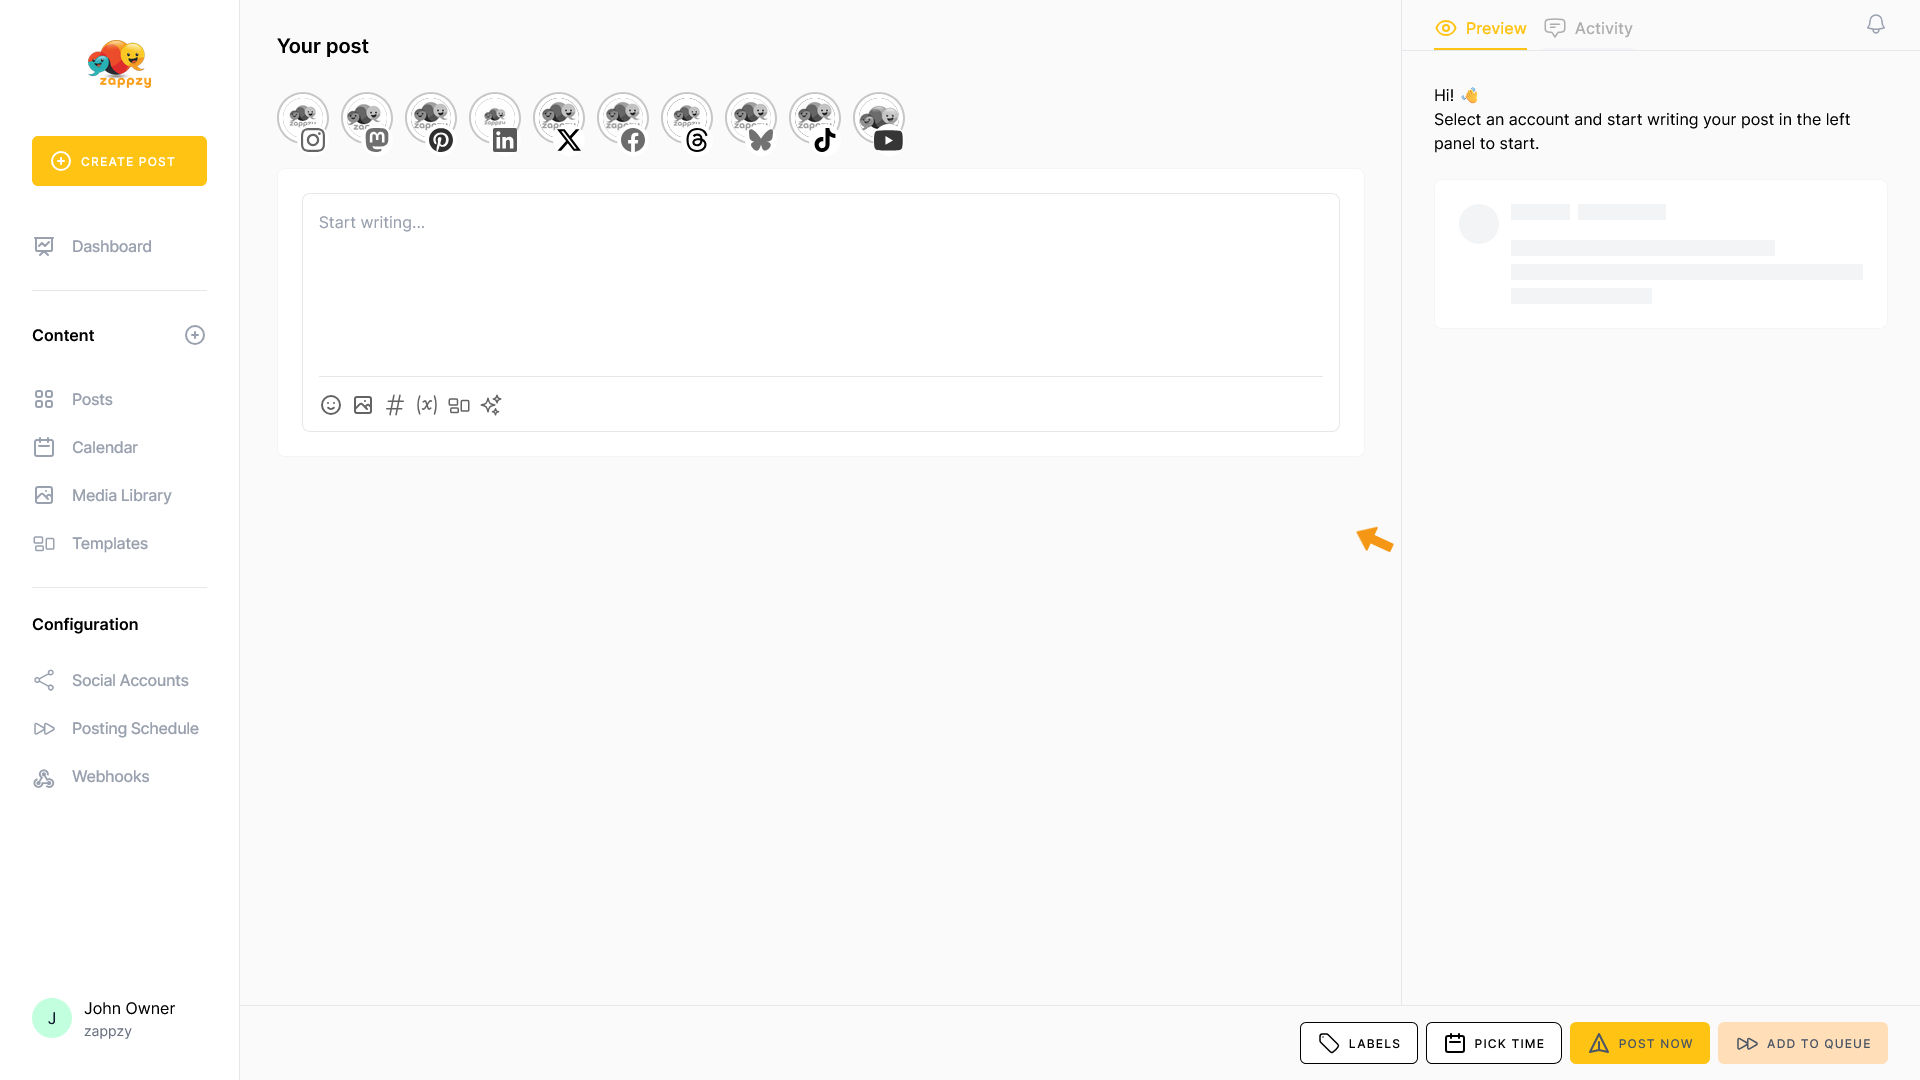
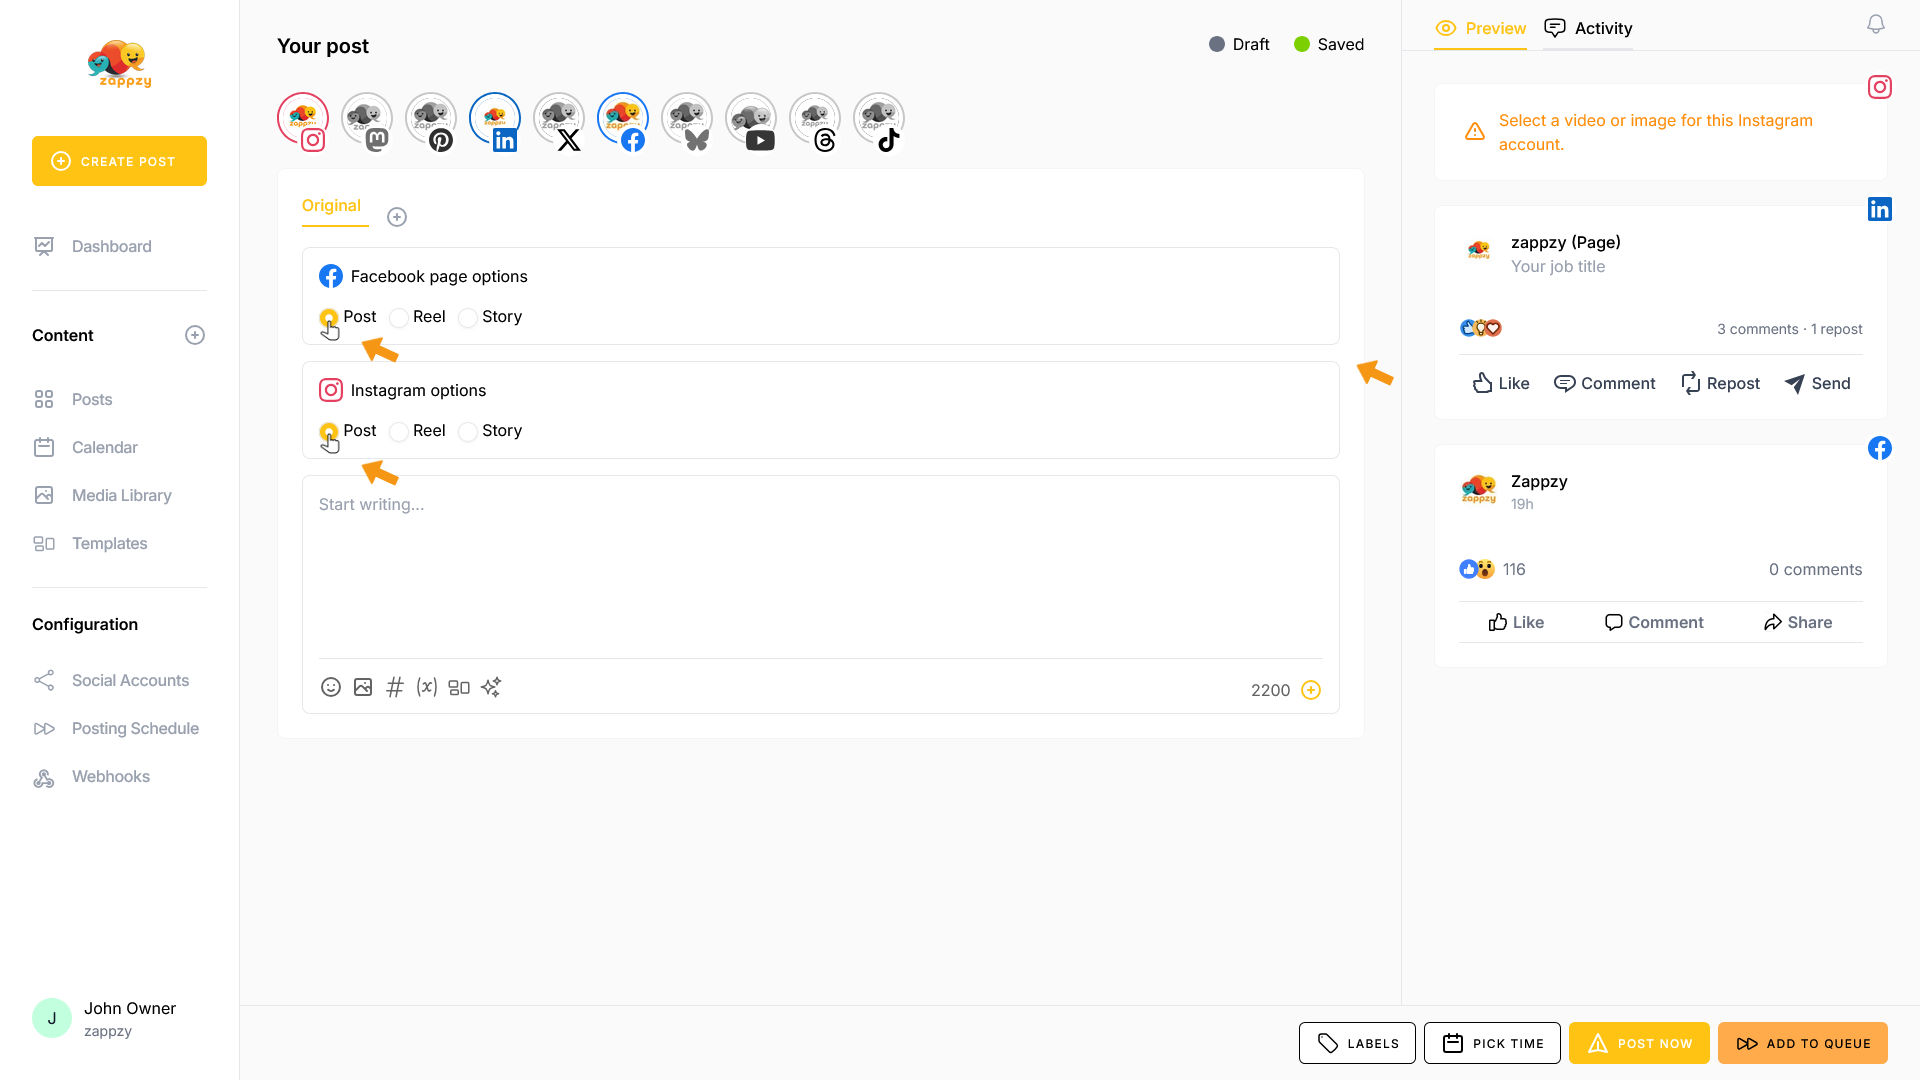
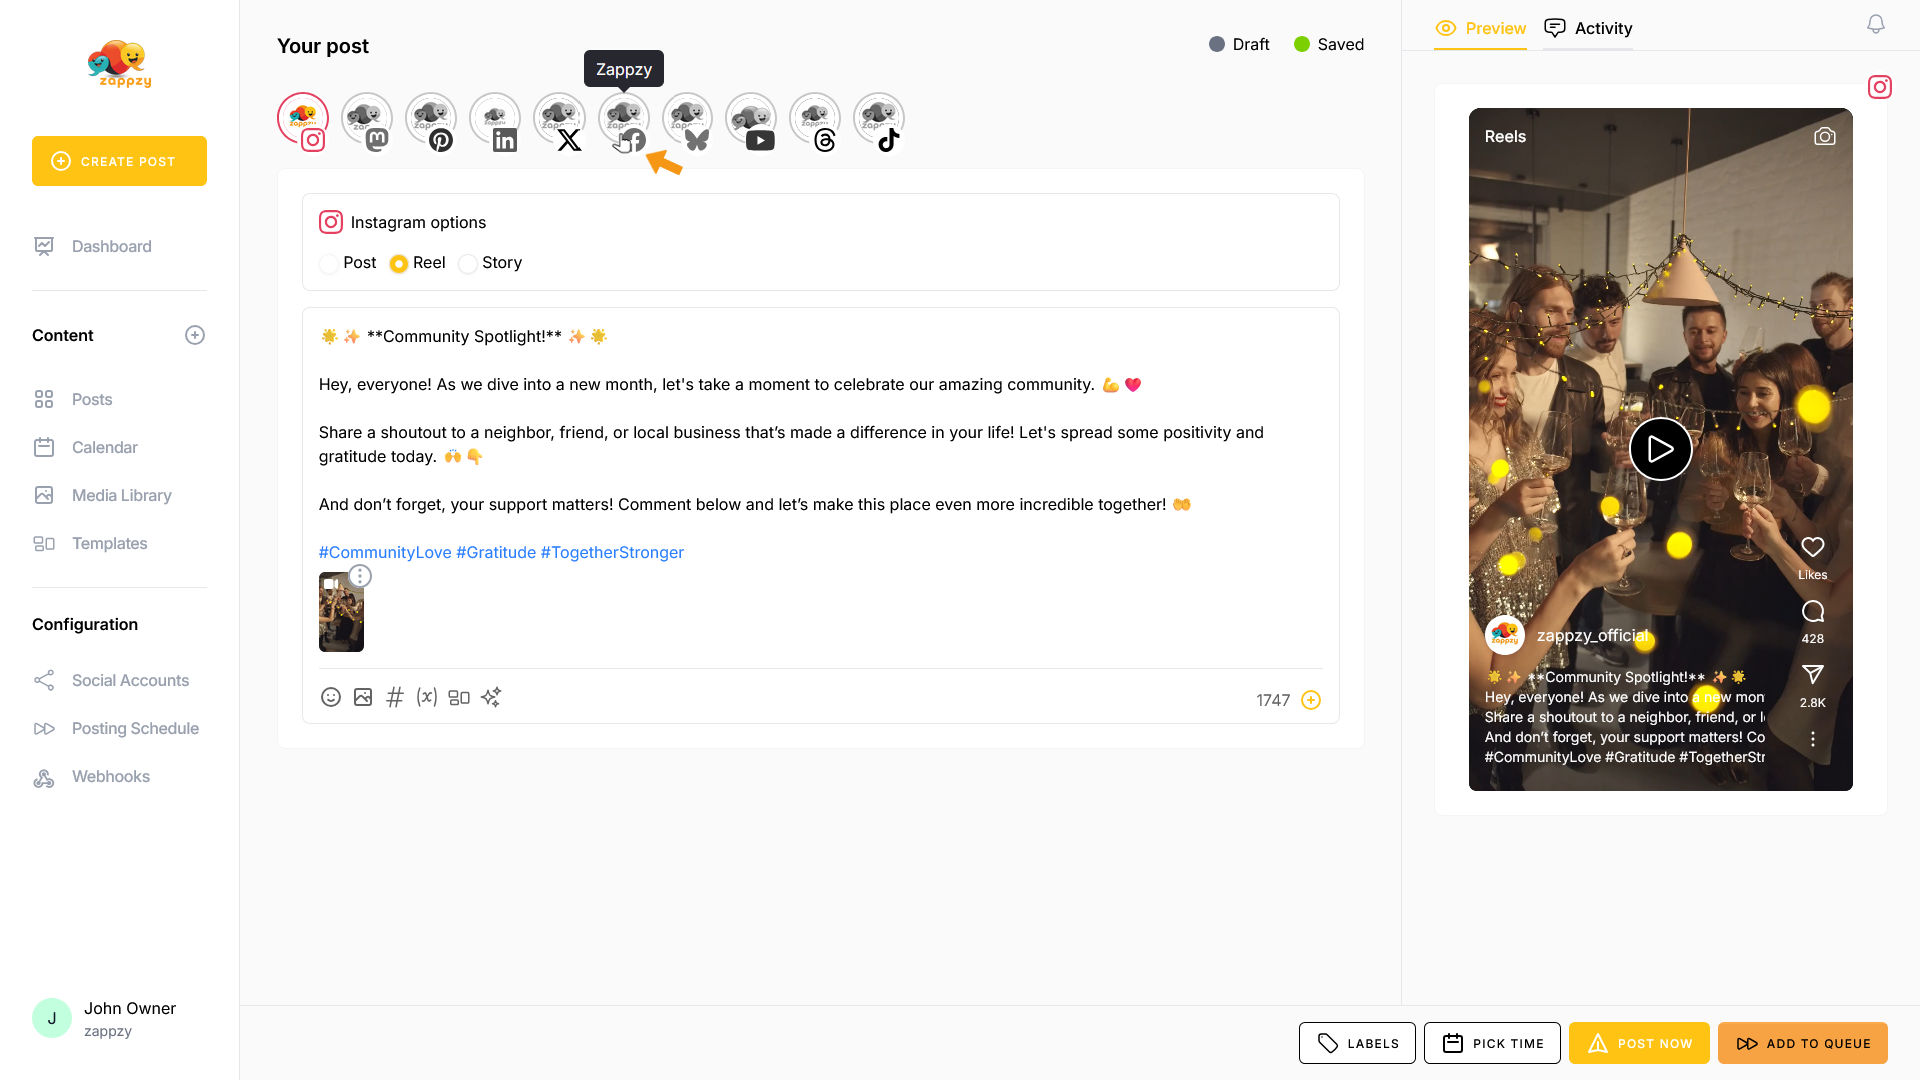
The first option is to post the same content to all your channels: select all (or just the ones you want) connected platform icons.
Our recommendation: Use this option only for content that needs to be identical everywhere—like press releases or announcements. For regular posts, it's better to tailor your content to each platform, as every social network has its own style and best practices. More on this second option below.
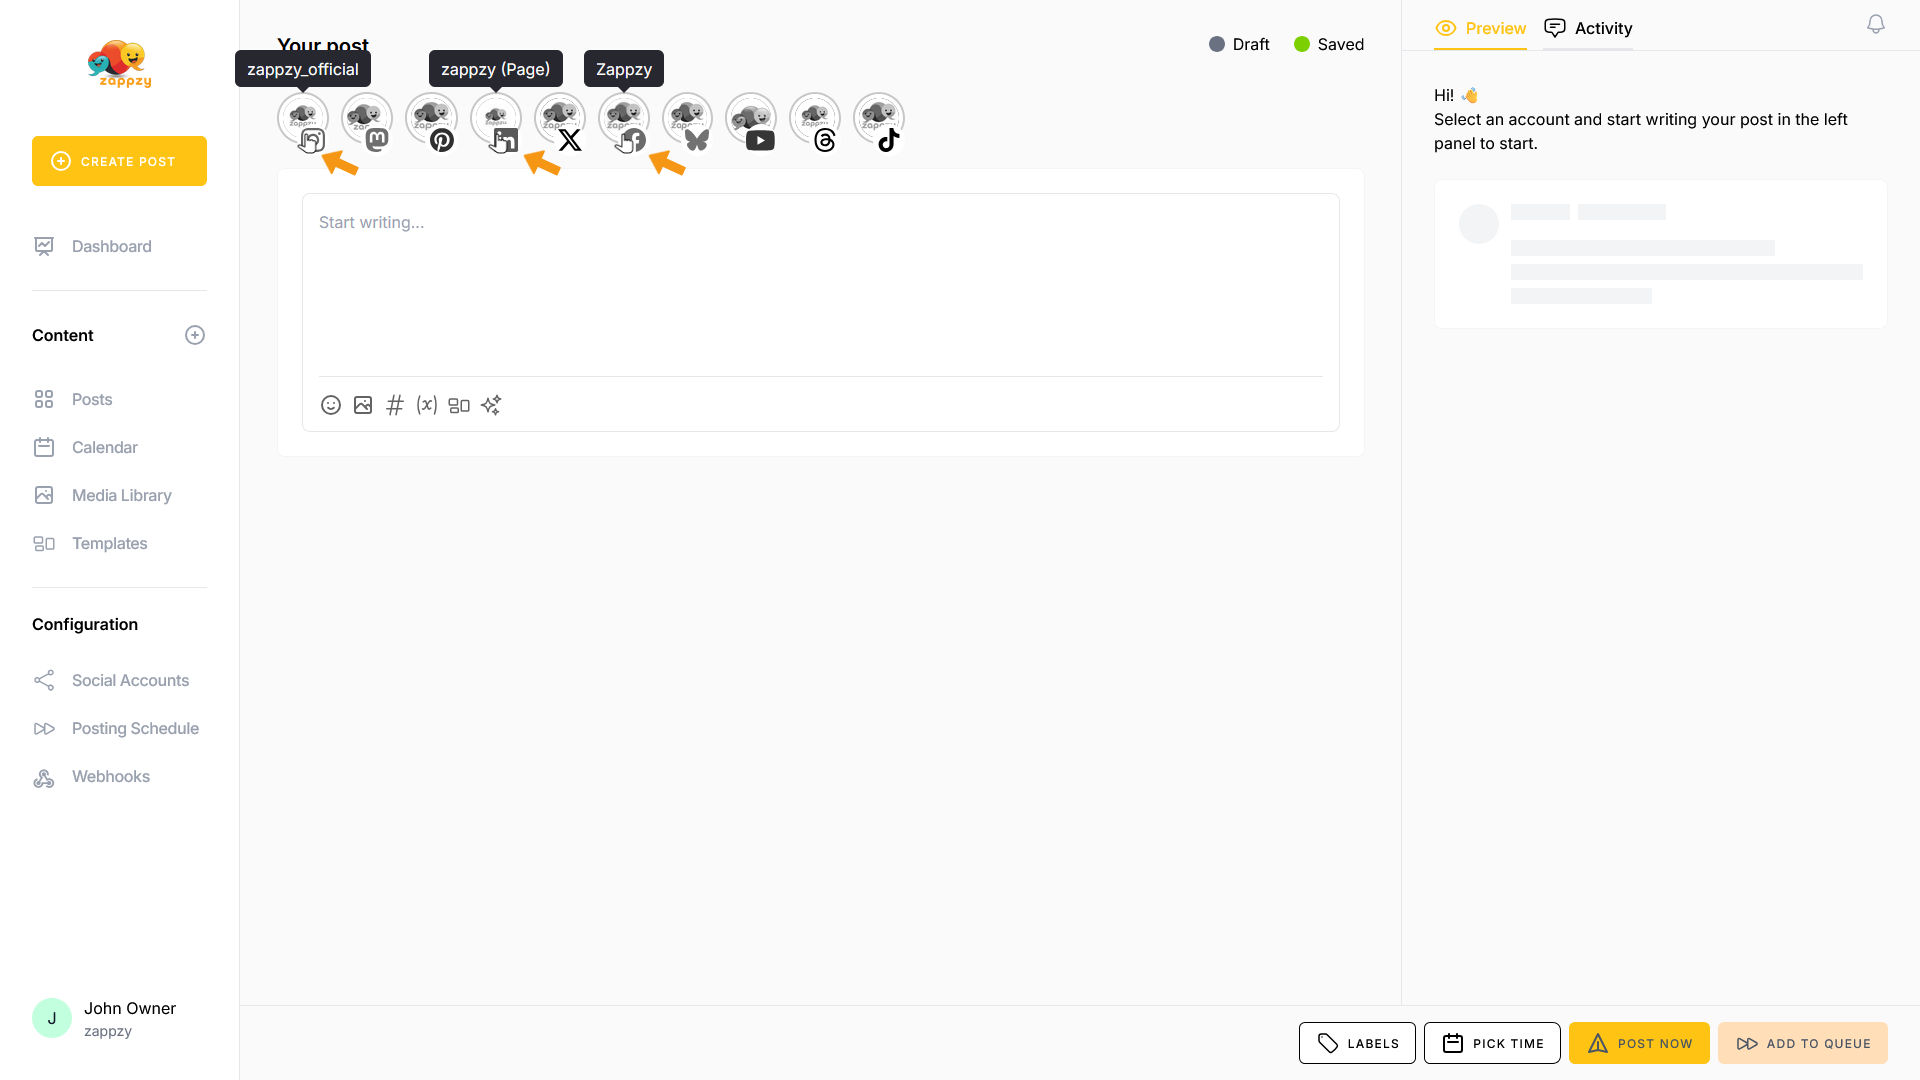
Once you've selected your platform icons, their specific posting options will appear. Choose the settings you need for each platform.
Type now your post in the post editor (where it says "Start writing…"). We'll use example text for this guide.
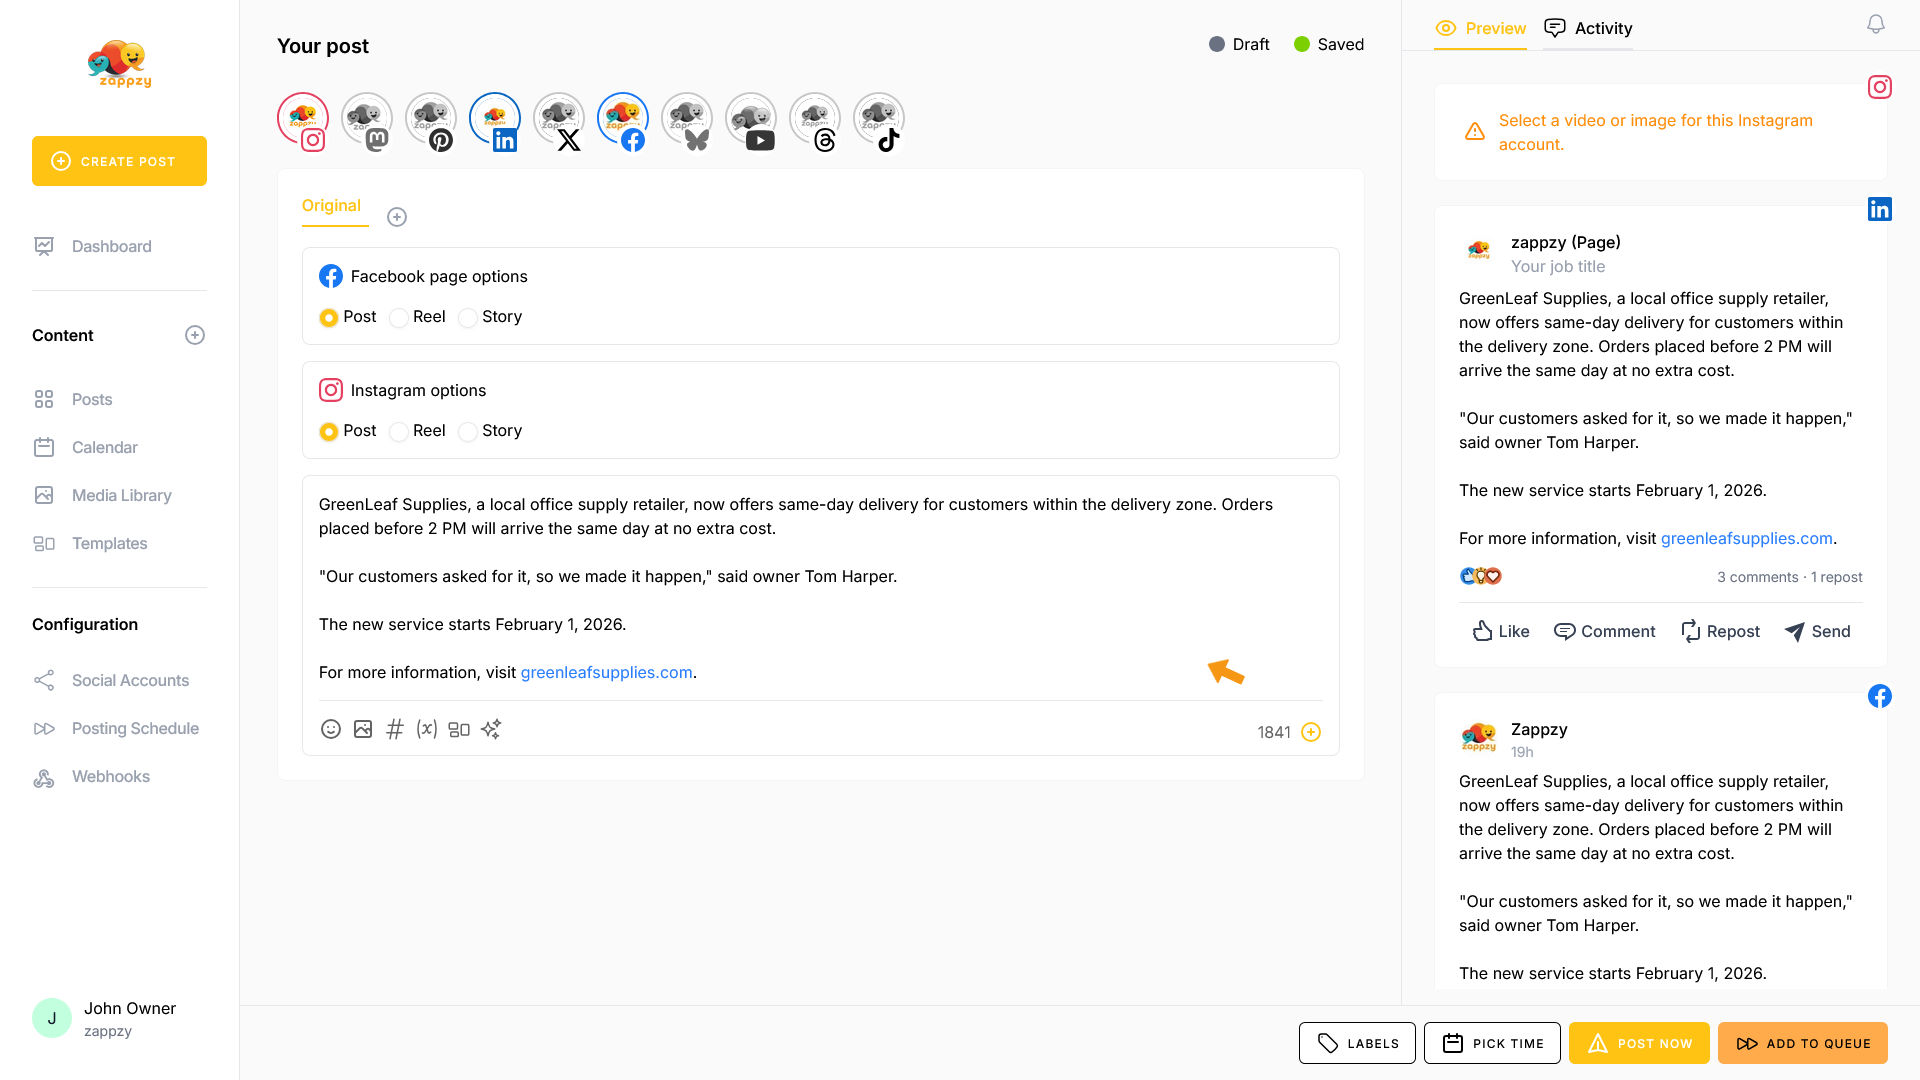
Select your media—video or image.
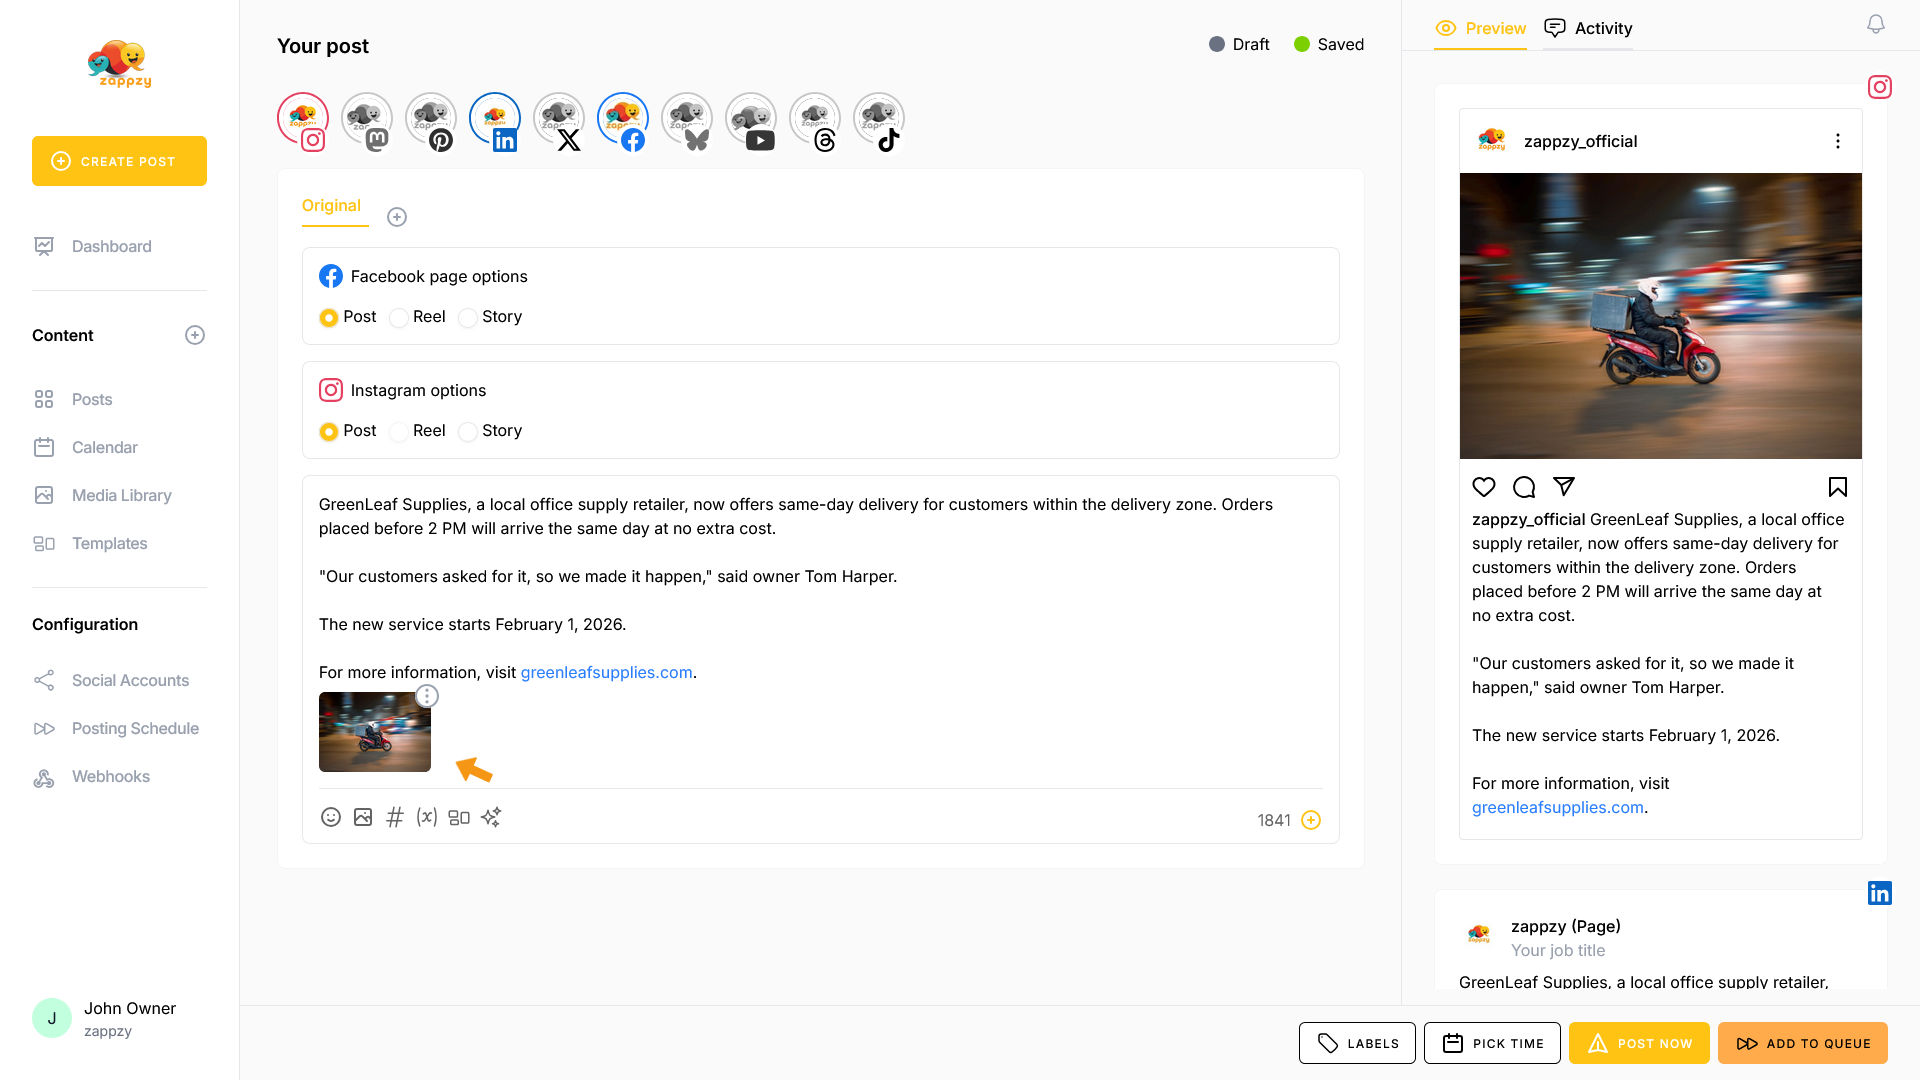
In the Preview tab, you can see how each individual post will appear.

You can now either post immediately or schedule your post for later. The post will be published at the same time with identical content across all selected platforms.
The second option is to use the same content but customized for each platform.
Our recommendation: Use this option for regular posting.
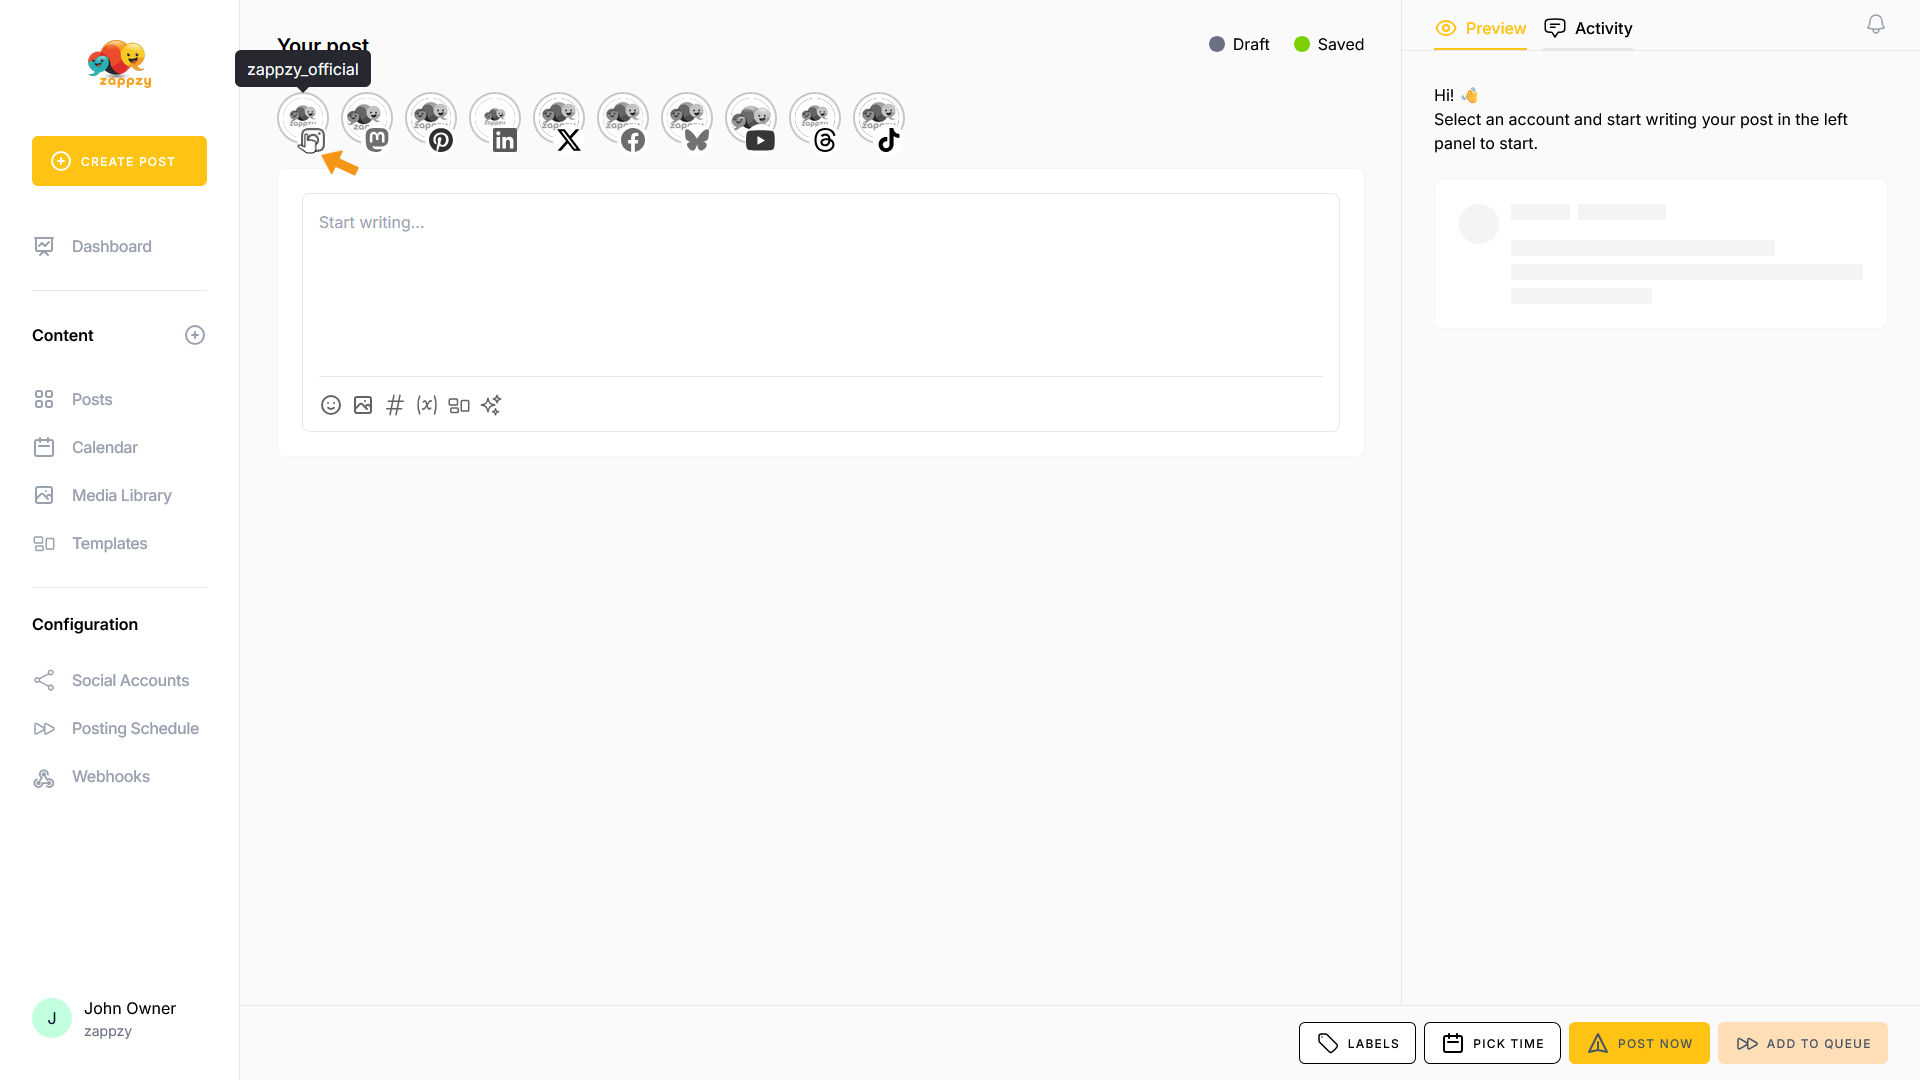
Start by selecting your first social media platform.
Choose your settings (if needed) and type your post in the post editor (where it says "Start writing…"). We'll use example text for this guide.

Select your media—video or image.

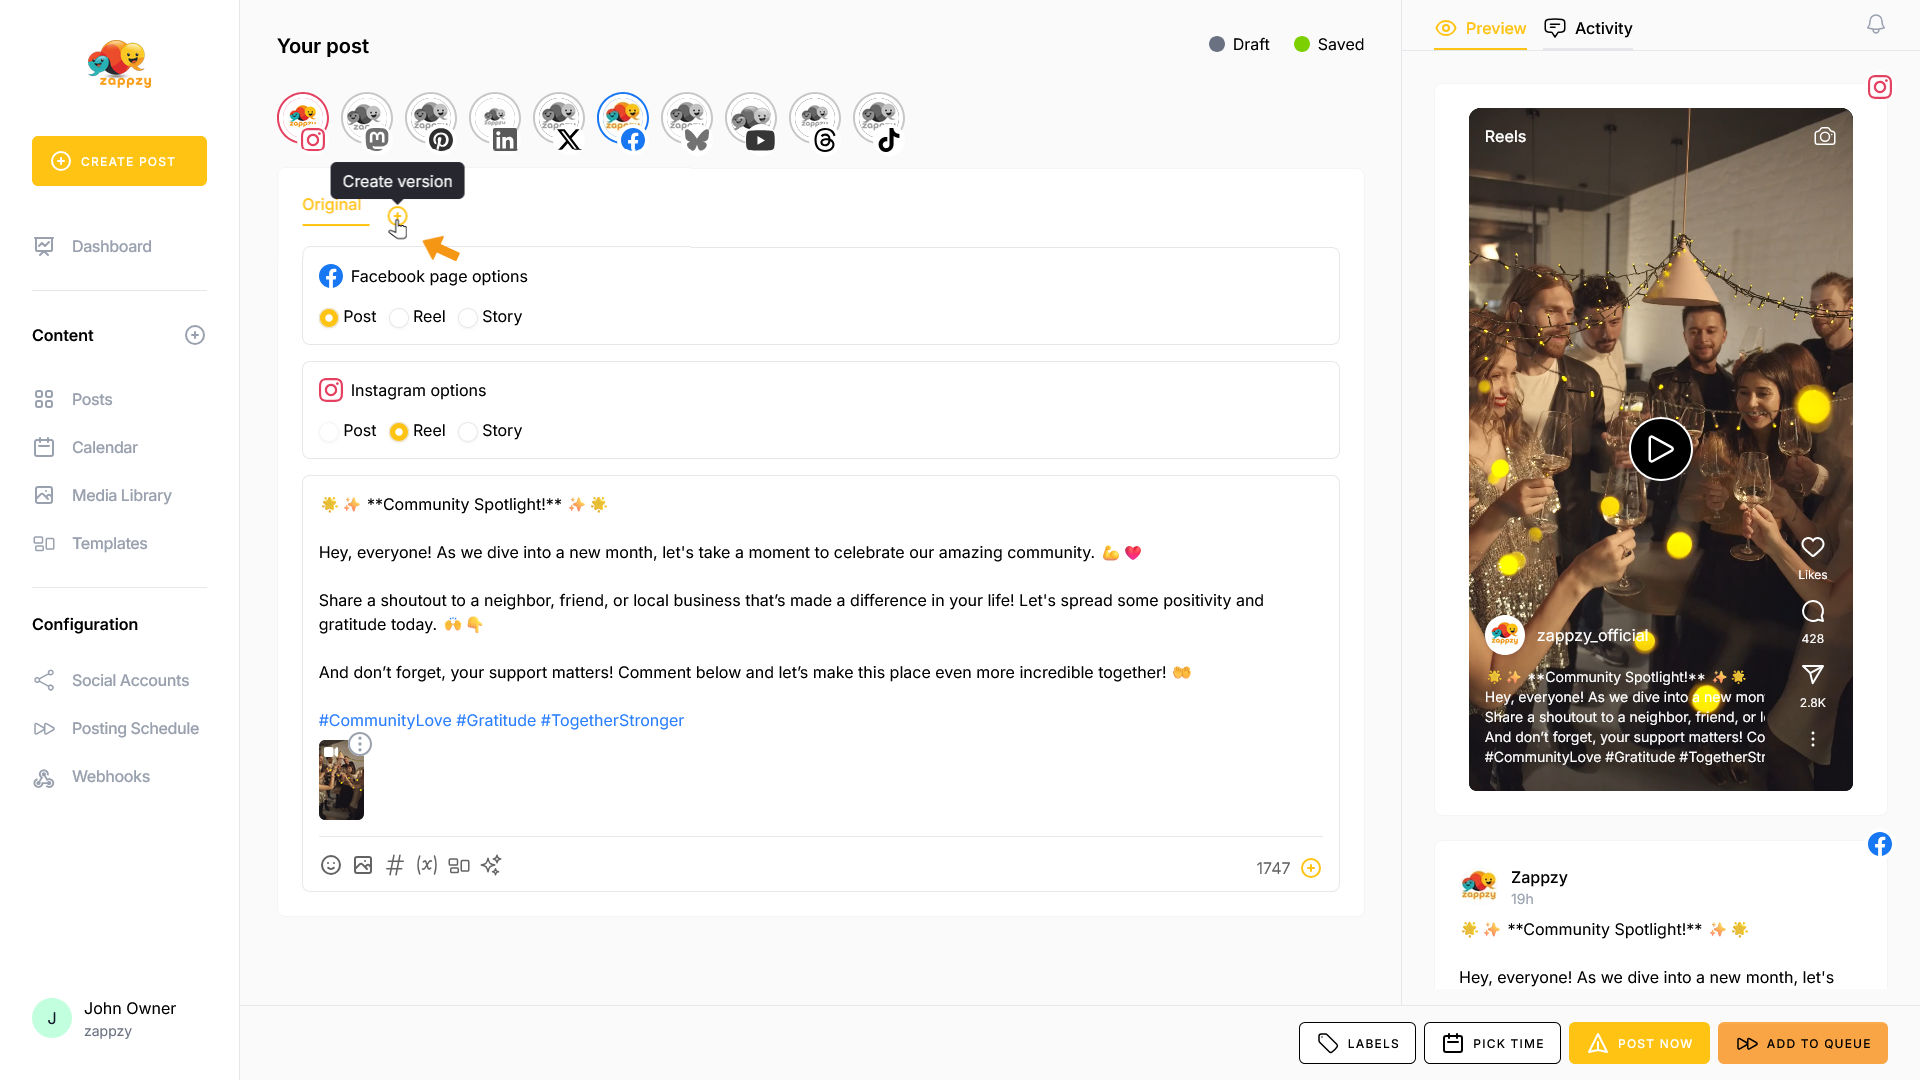
Next, select your second social media platform.
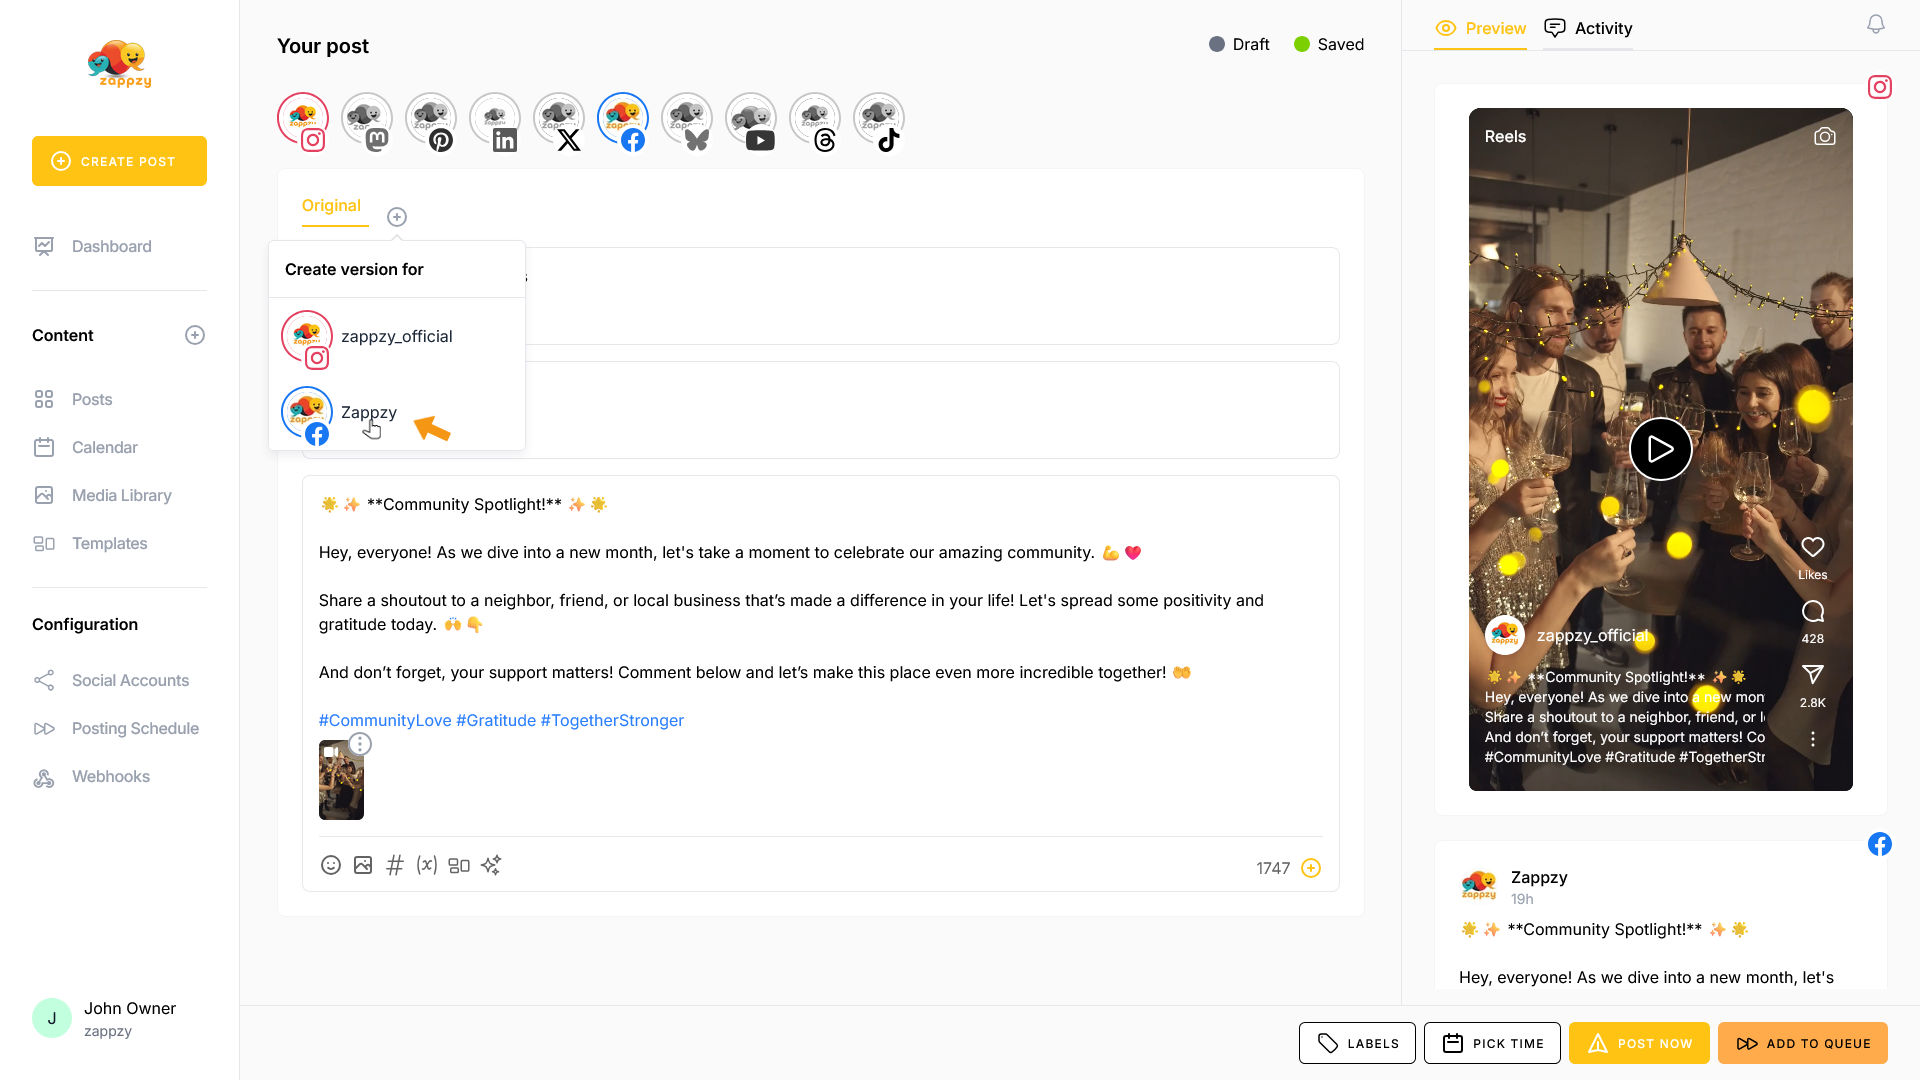
Below the platform icons, you'll see “Original” and beside a grey circle with a + (Create version). Click on that icon.
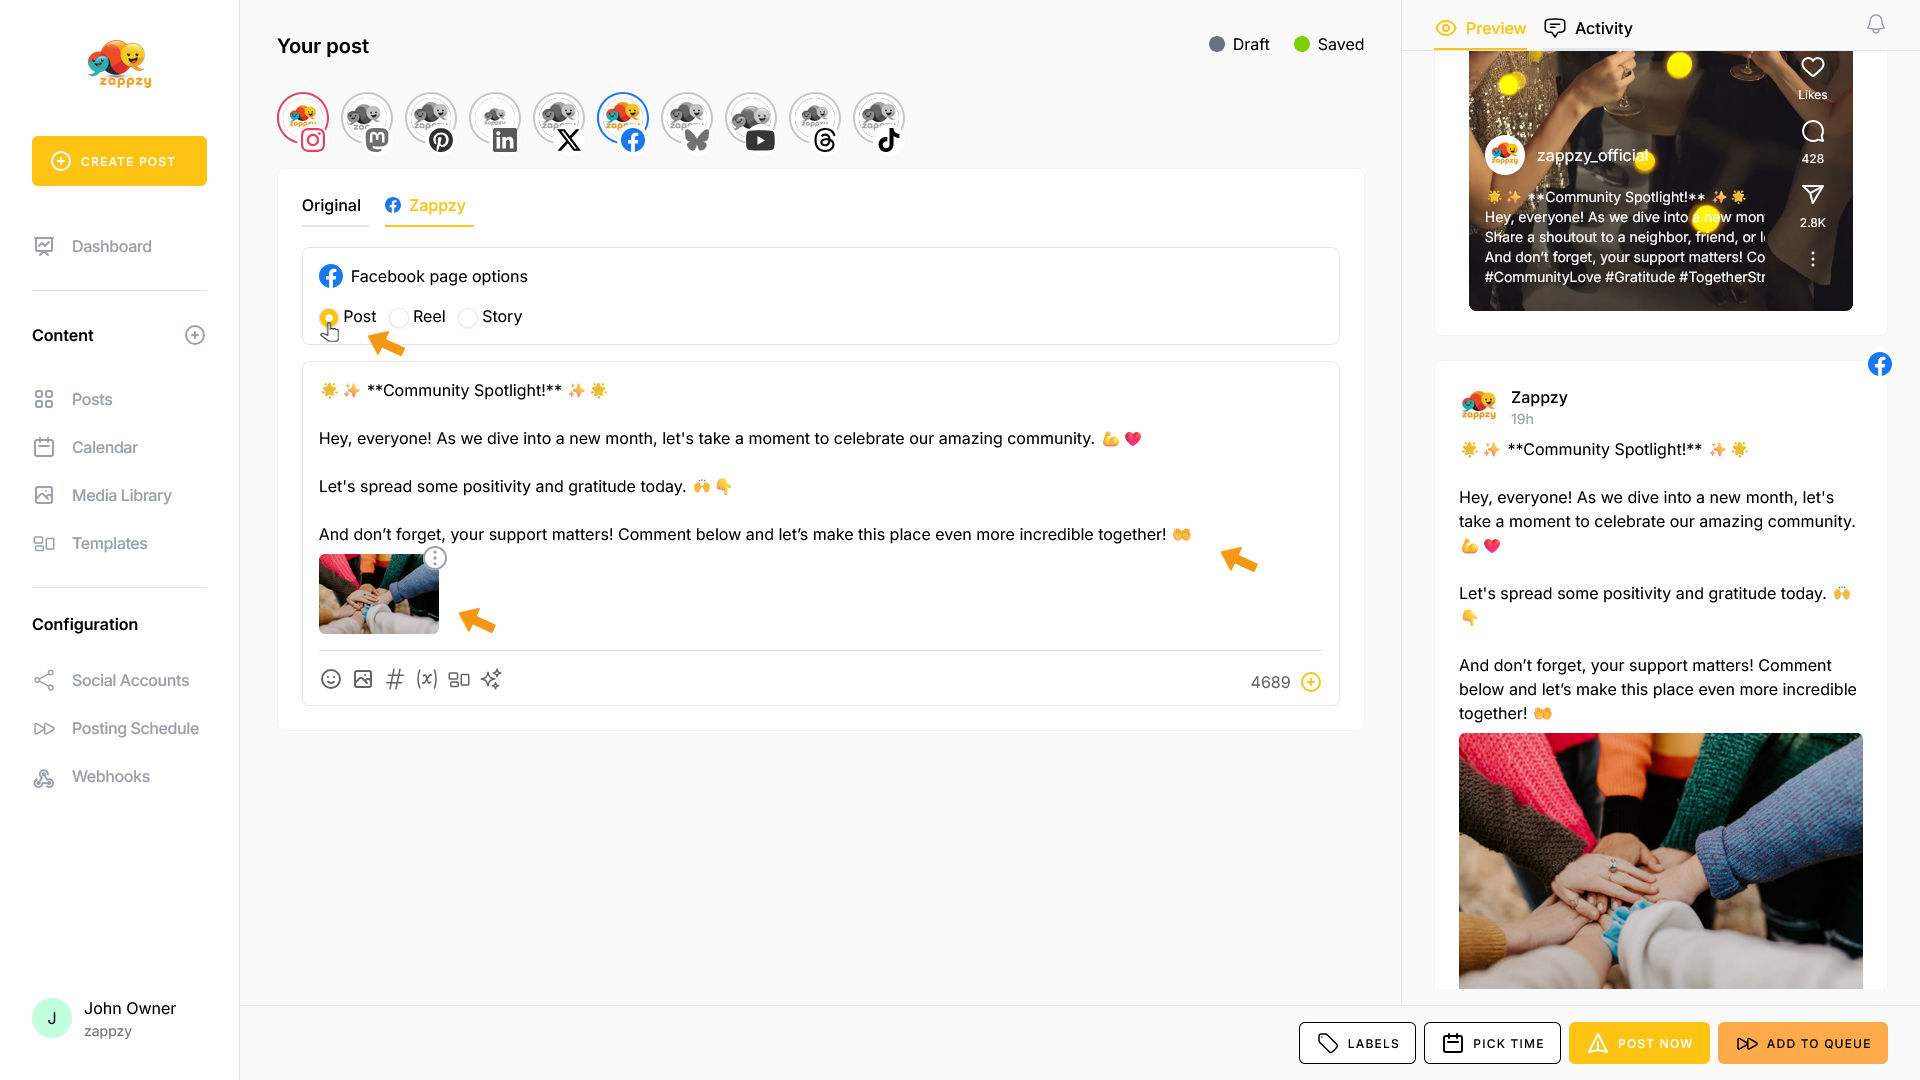
Choose the platform you previously selected as your second platform—in this example, Facebook.
A second version for Facebook is created. Now customize the settings, text, and media for Facebook.
Now we'll repeat the entire process again. In our case, for LinkedIn.
Note: You can add all your social media accounts this way—or just two or three.
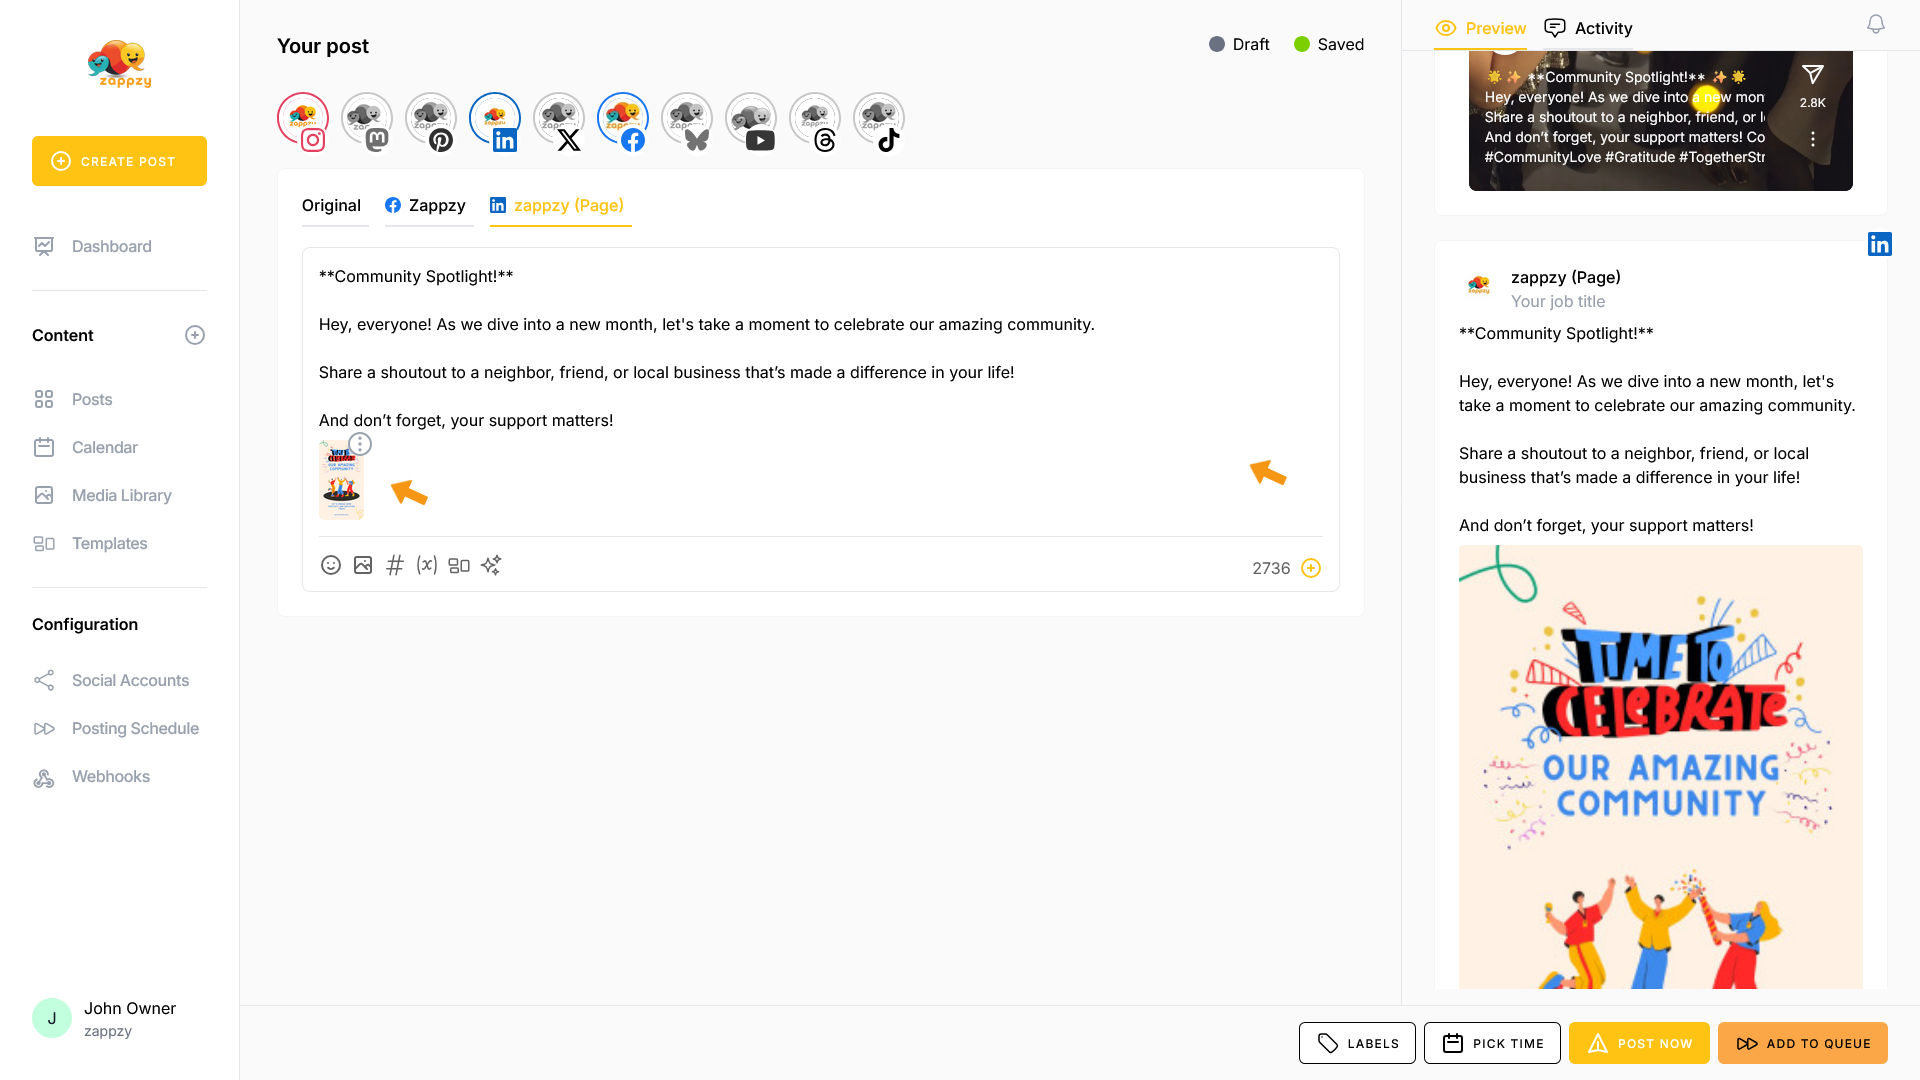
You can switch between tabs anytime.
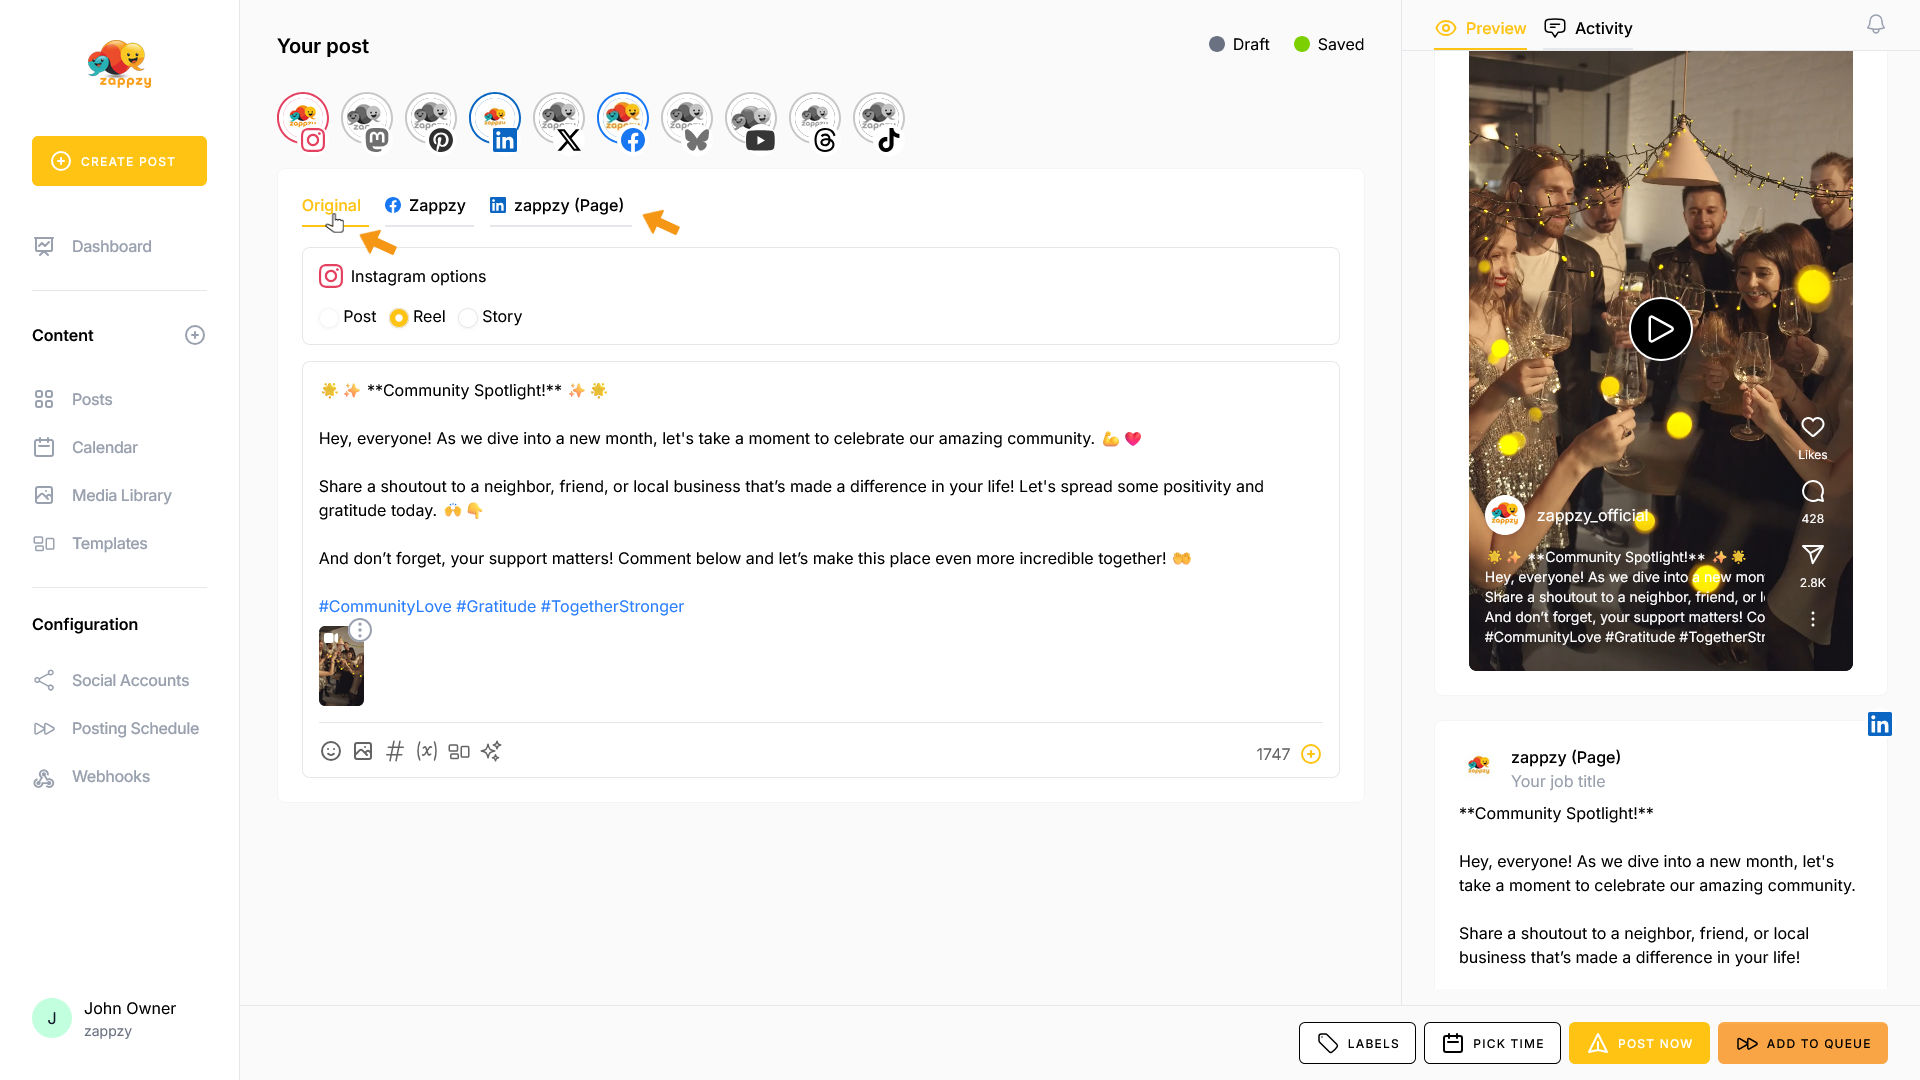
In the Preview tab, you can see how each individual post will appear.

You can now either post immediately or schedule your post for later.

The posts will be published at the same time with different content across all selected platforms.