zappzy Support Center > Account > Settings > Services> X (Twitter): Create your own API credentials

Video or step-by-step guide with screenshots. Your choice. Simple either way.
Step-by-step guide
X (Twitter) has implemented restrictions for heavy users of third-party social media tools like zappzy. When you hit certain volume limits (X doesn't specify exact numbers), they'll notify you that you need to create your own X API app and manage your credentials directly.
This isn't something we control - it's X's policy. This guide shows you exactly how to set that up.
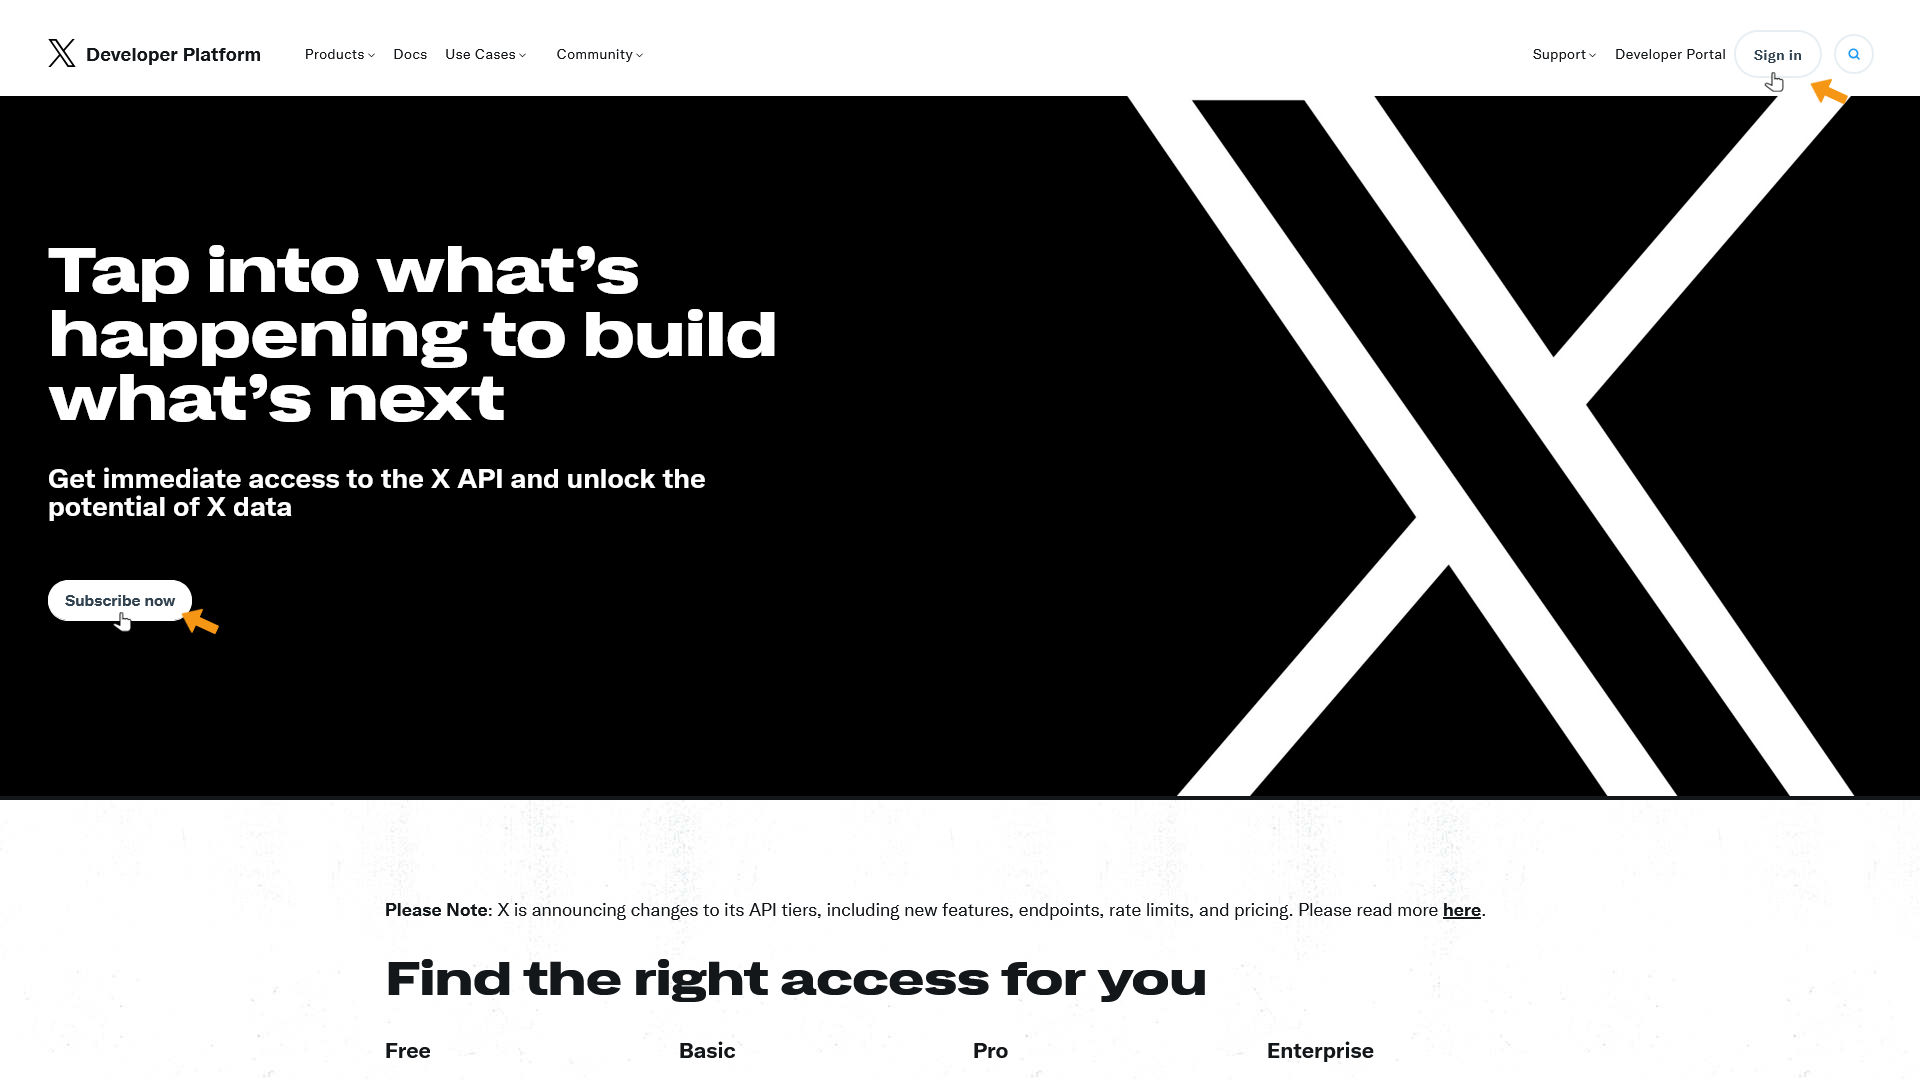
To create an X API app, you need an X Developer Account. If you don't have one, go to the X Developer Website to create it.
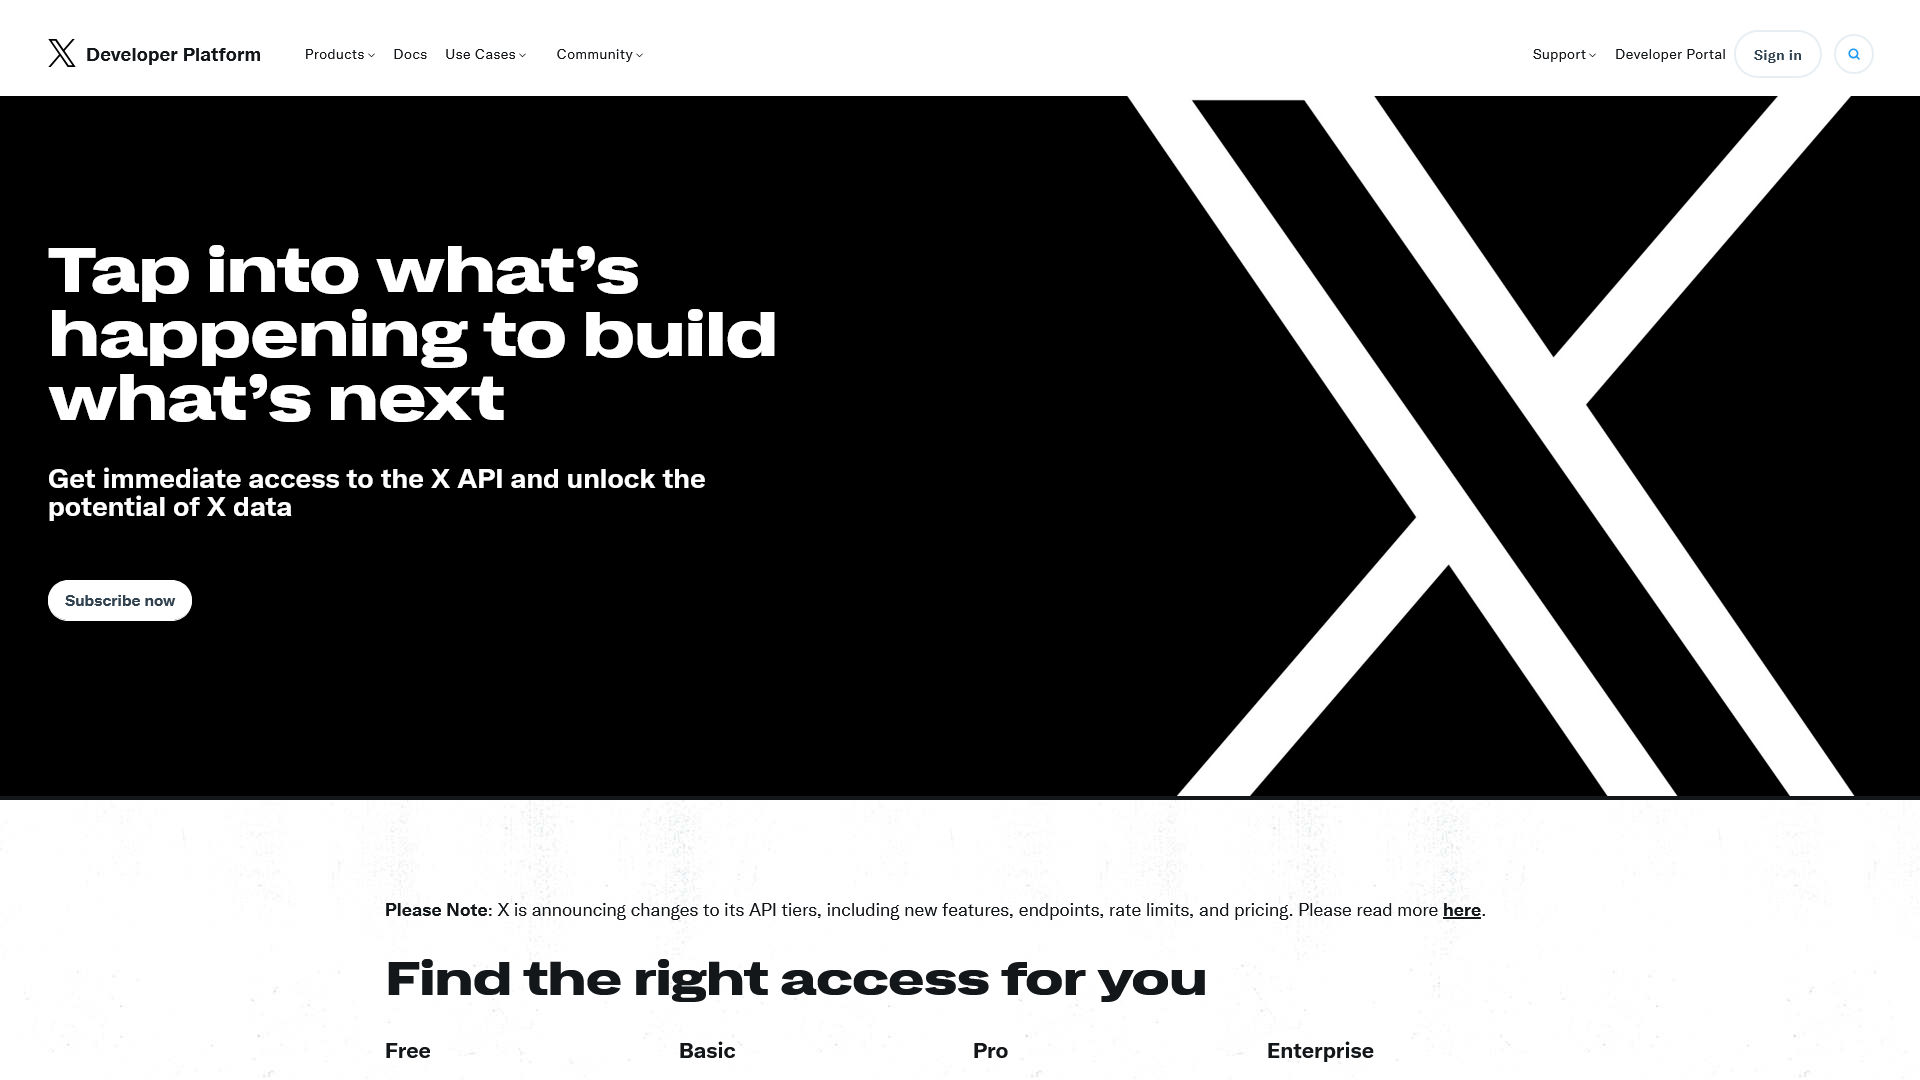
Click Subscribe now. If you already have one, click Sign in.
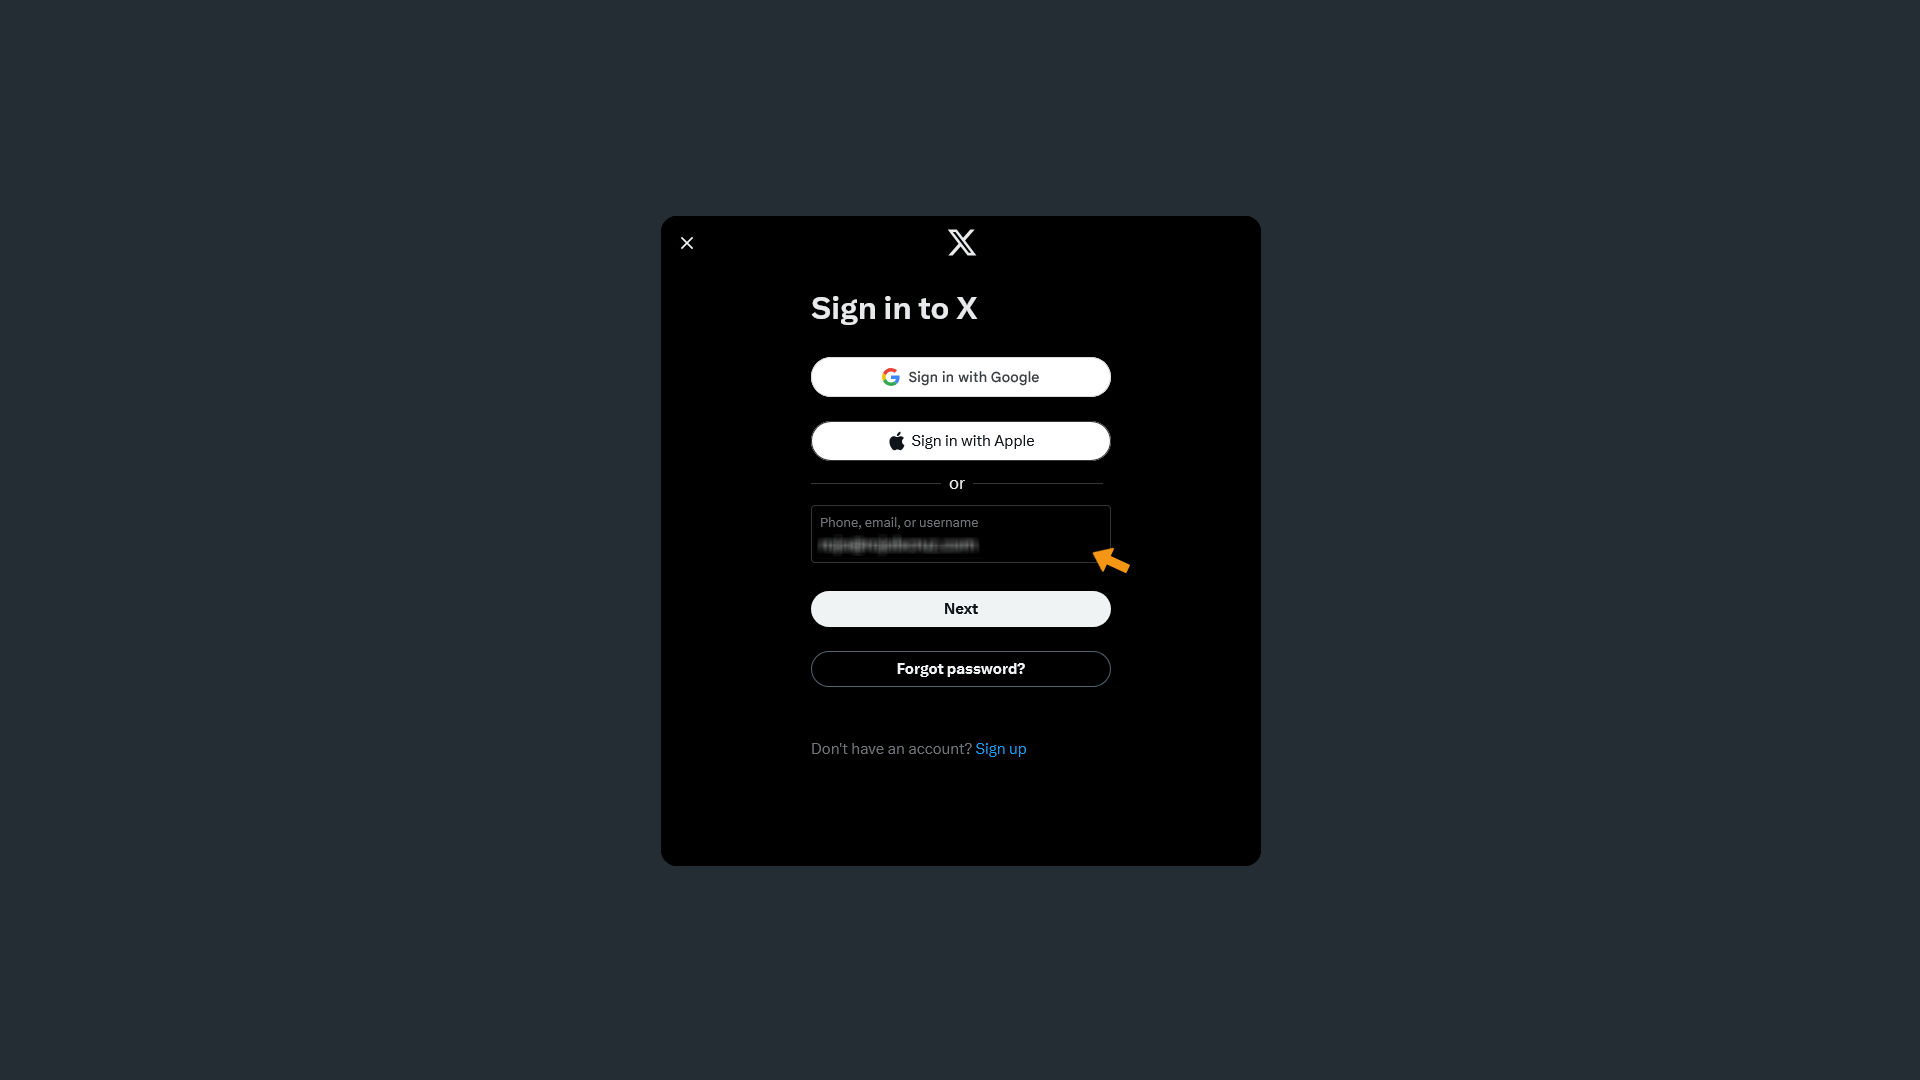
The X sign-in window appears. Enter your X username (phone, email, or username) and click Next.
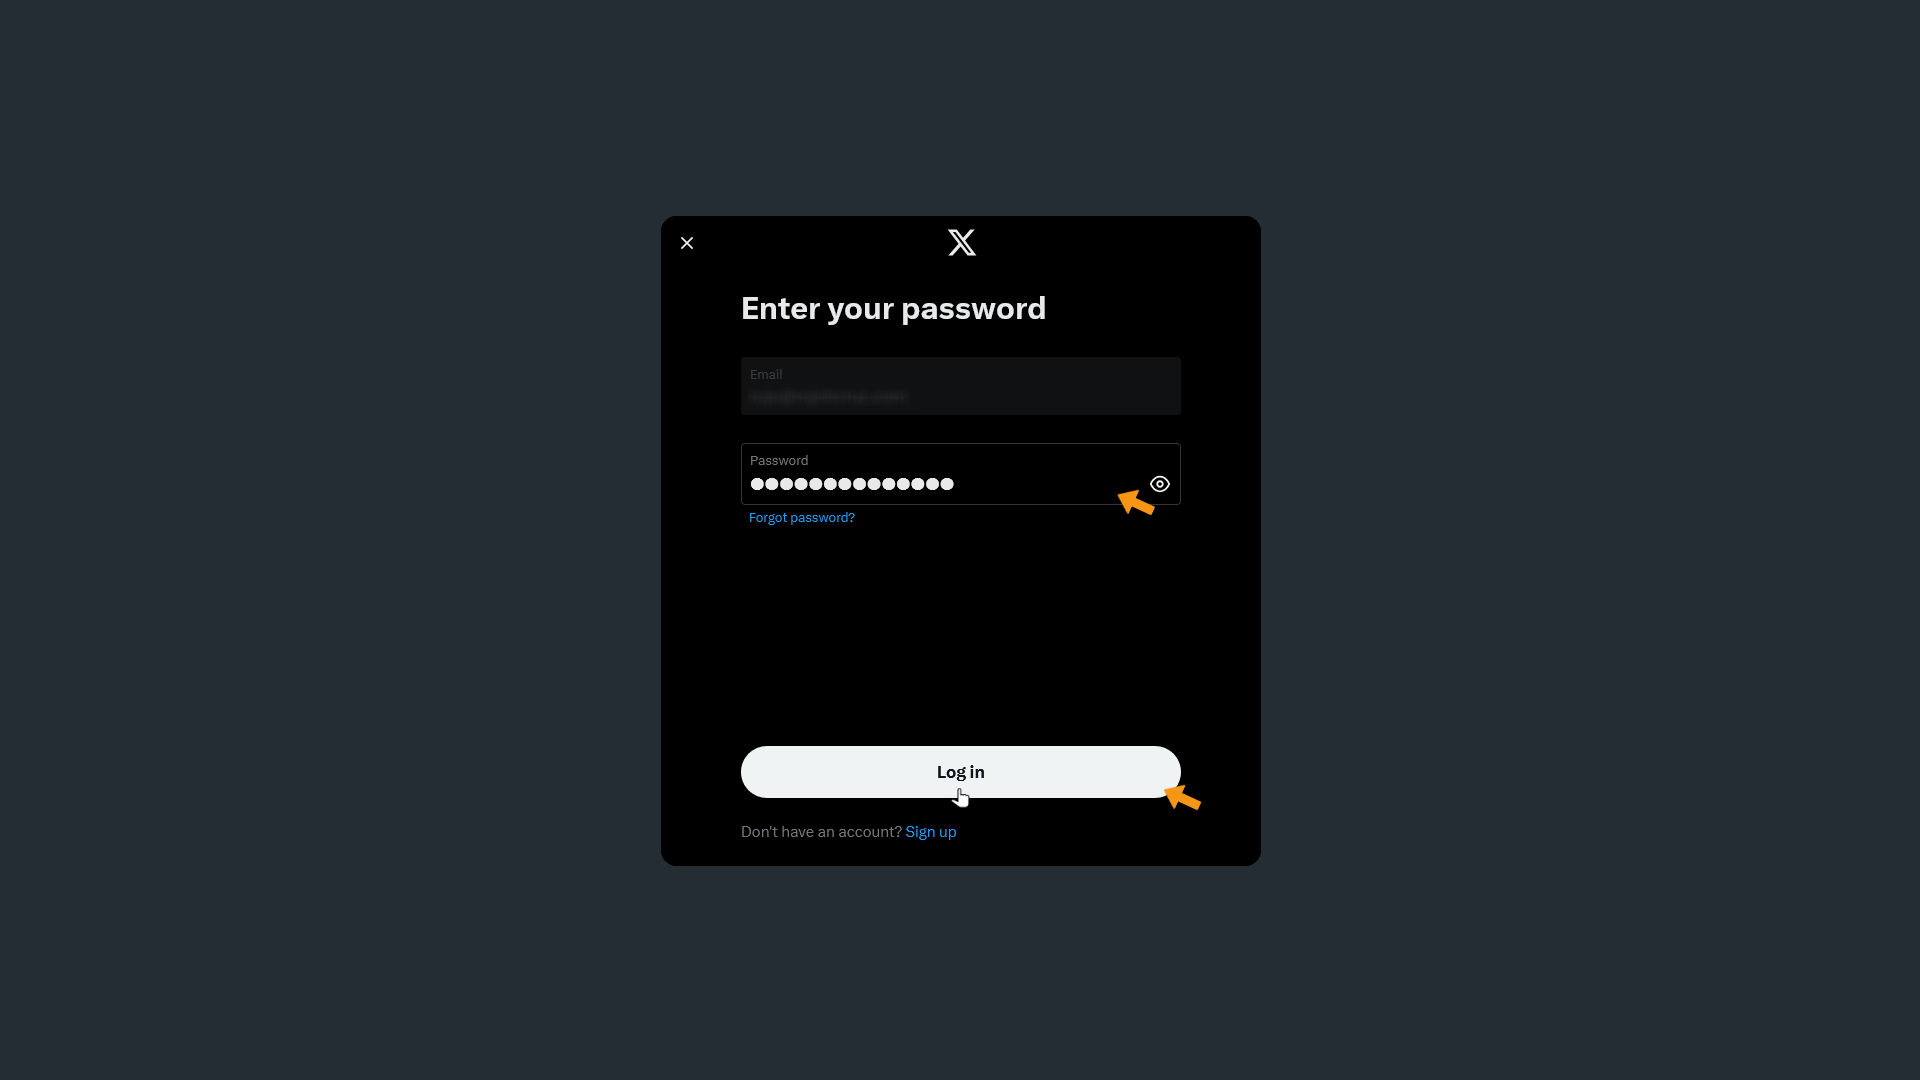
On the next page, enter your X password and click Log in.
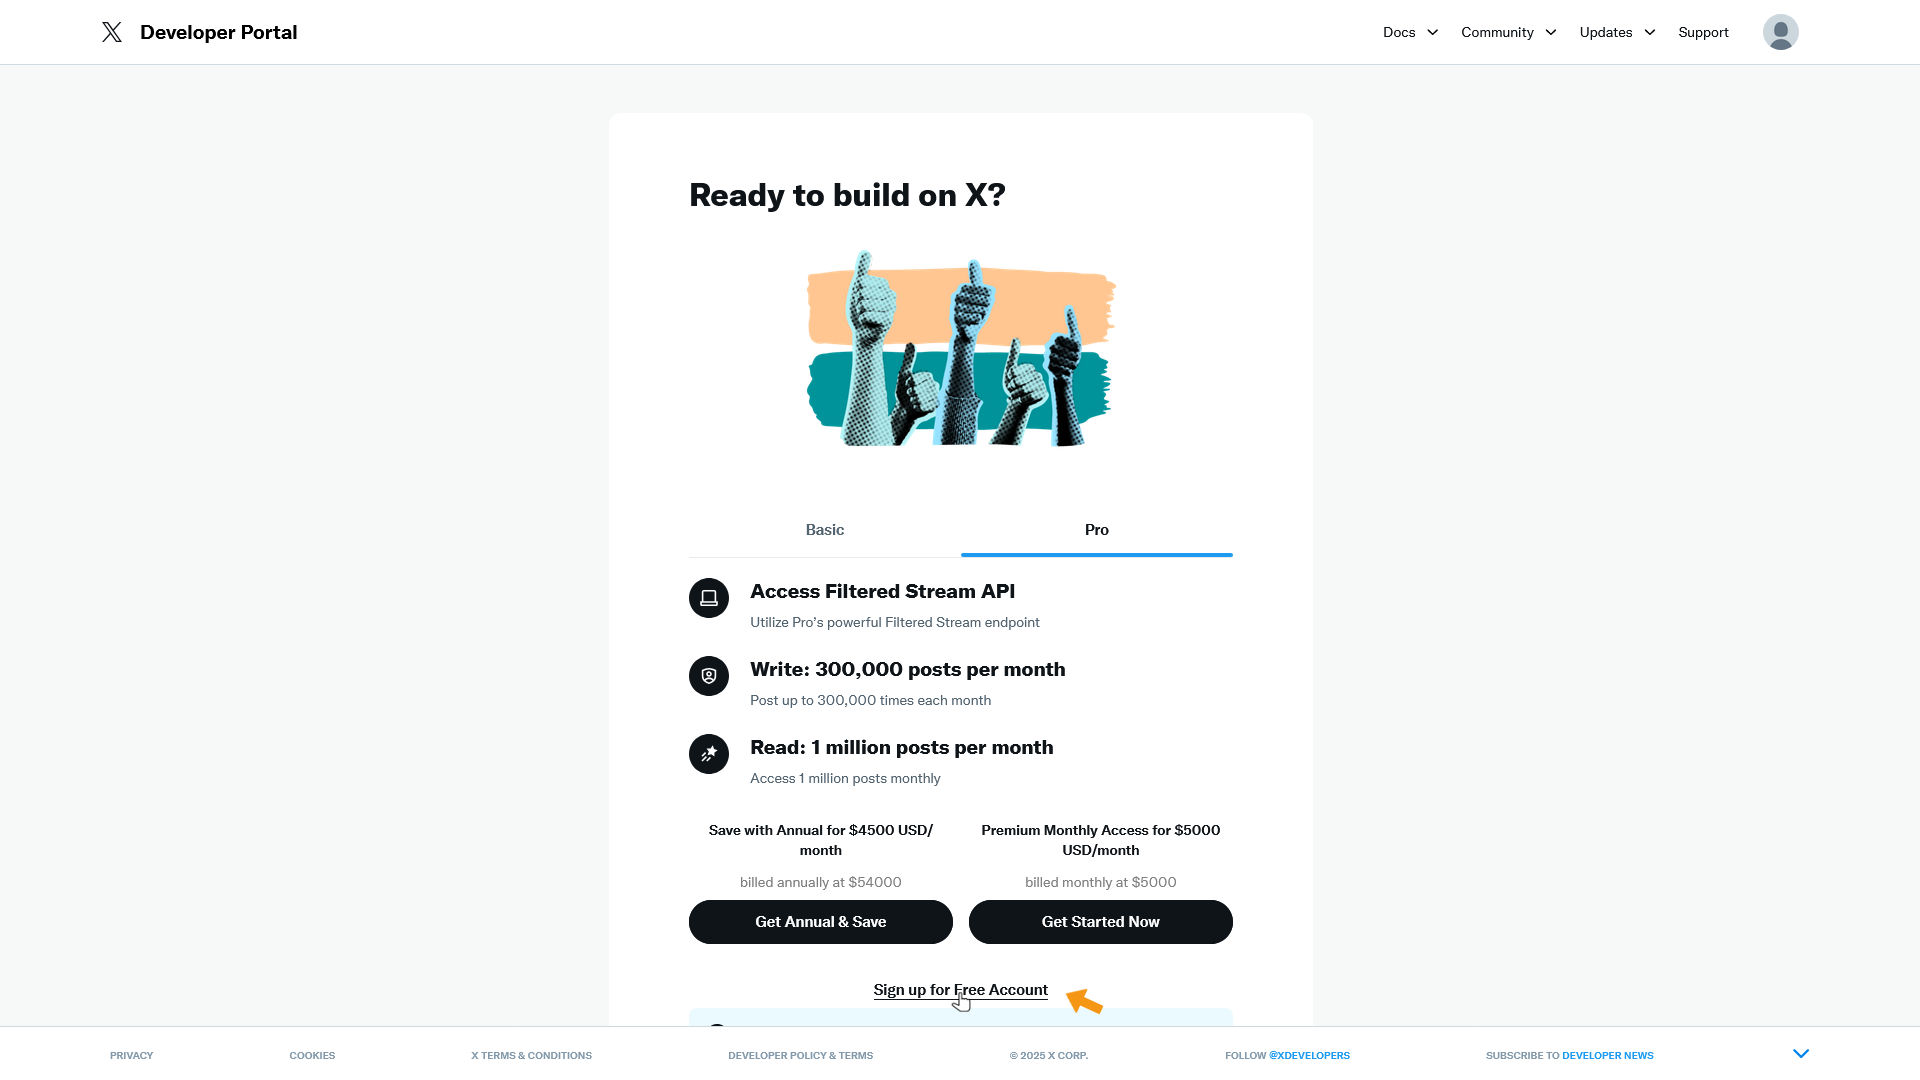
You'll reach the "Ready to build on X?" page. Click Sign up for Free Account at the bottom.
On the next page, enter the following in the Describe all of your use cases of Twitter's data and API field:
We plan to use the Twitter API for the following purposes:- Schedule tweets- Engagement with users (Reply, Like, Retweet + Quote)- Extract profile metrics from connected accounts- Extract posts with their metrics from connected accounts We will display graphics like:- Increasing the number of followers for each day of the last 3 months- The number of likes, retweets, comments, profile clicks, and link clicks for each day of the last 3 months- ..etc. The accounts that we are going to connect to the application (oAuth) with the Twitter API belong to us and are managed by our team. We got acquainted with "Automation rules" and "Twitter Rules".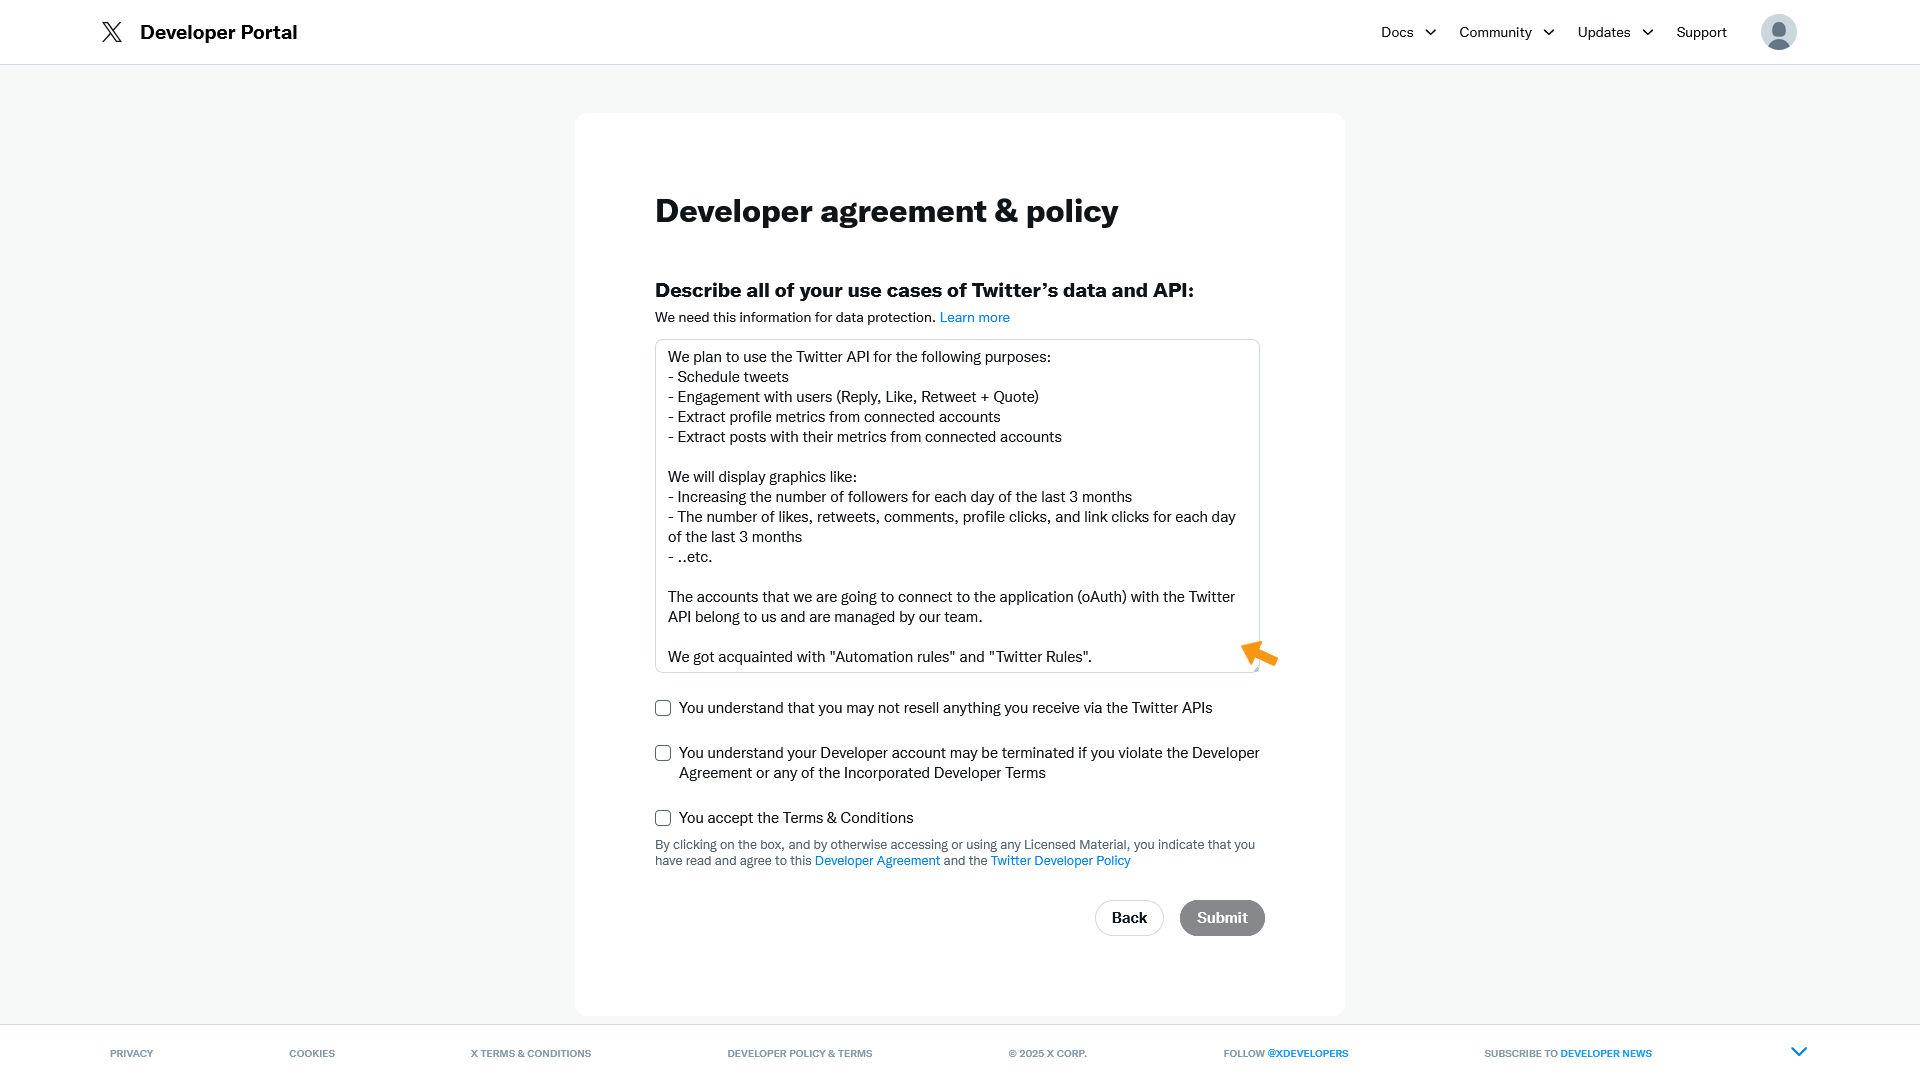
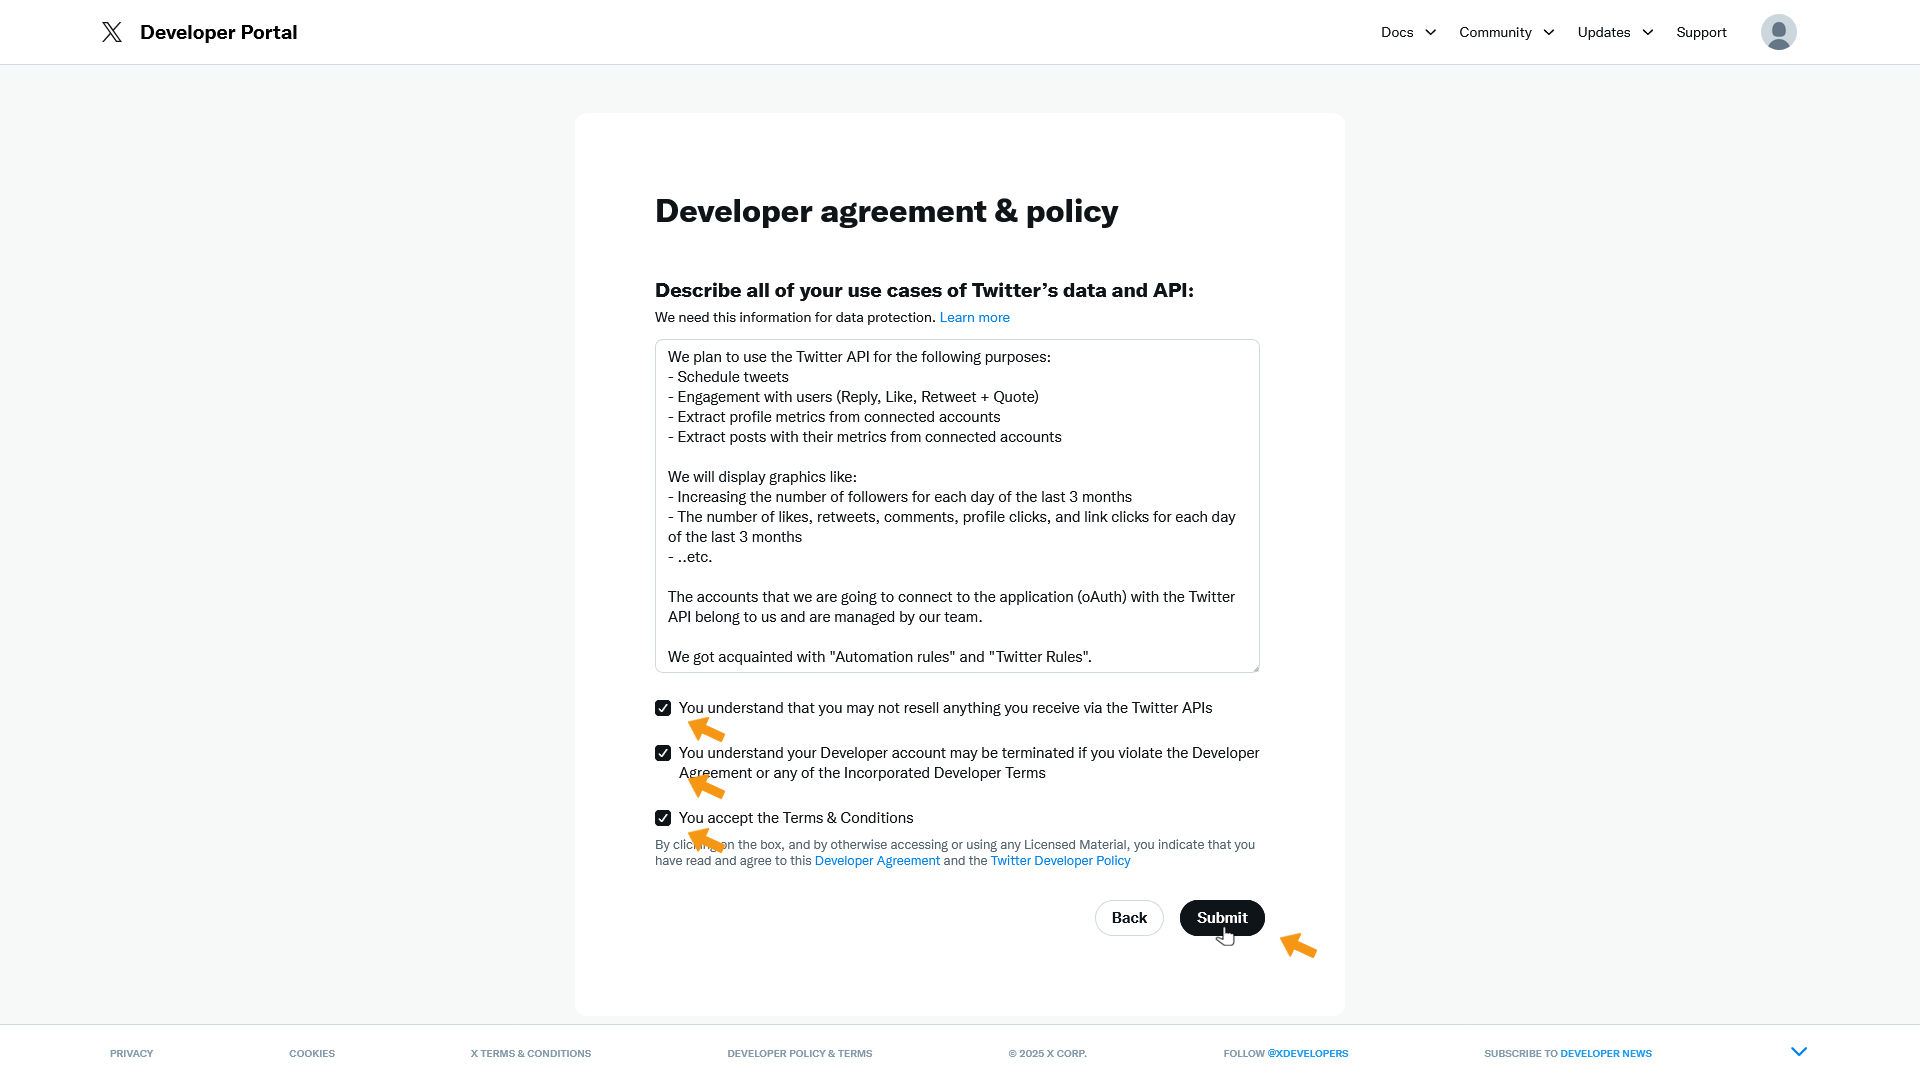
Also check all 3 checkboxes below, then click Submit.
You'll now reach the Developer Portal and see the dashboard.
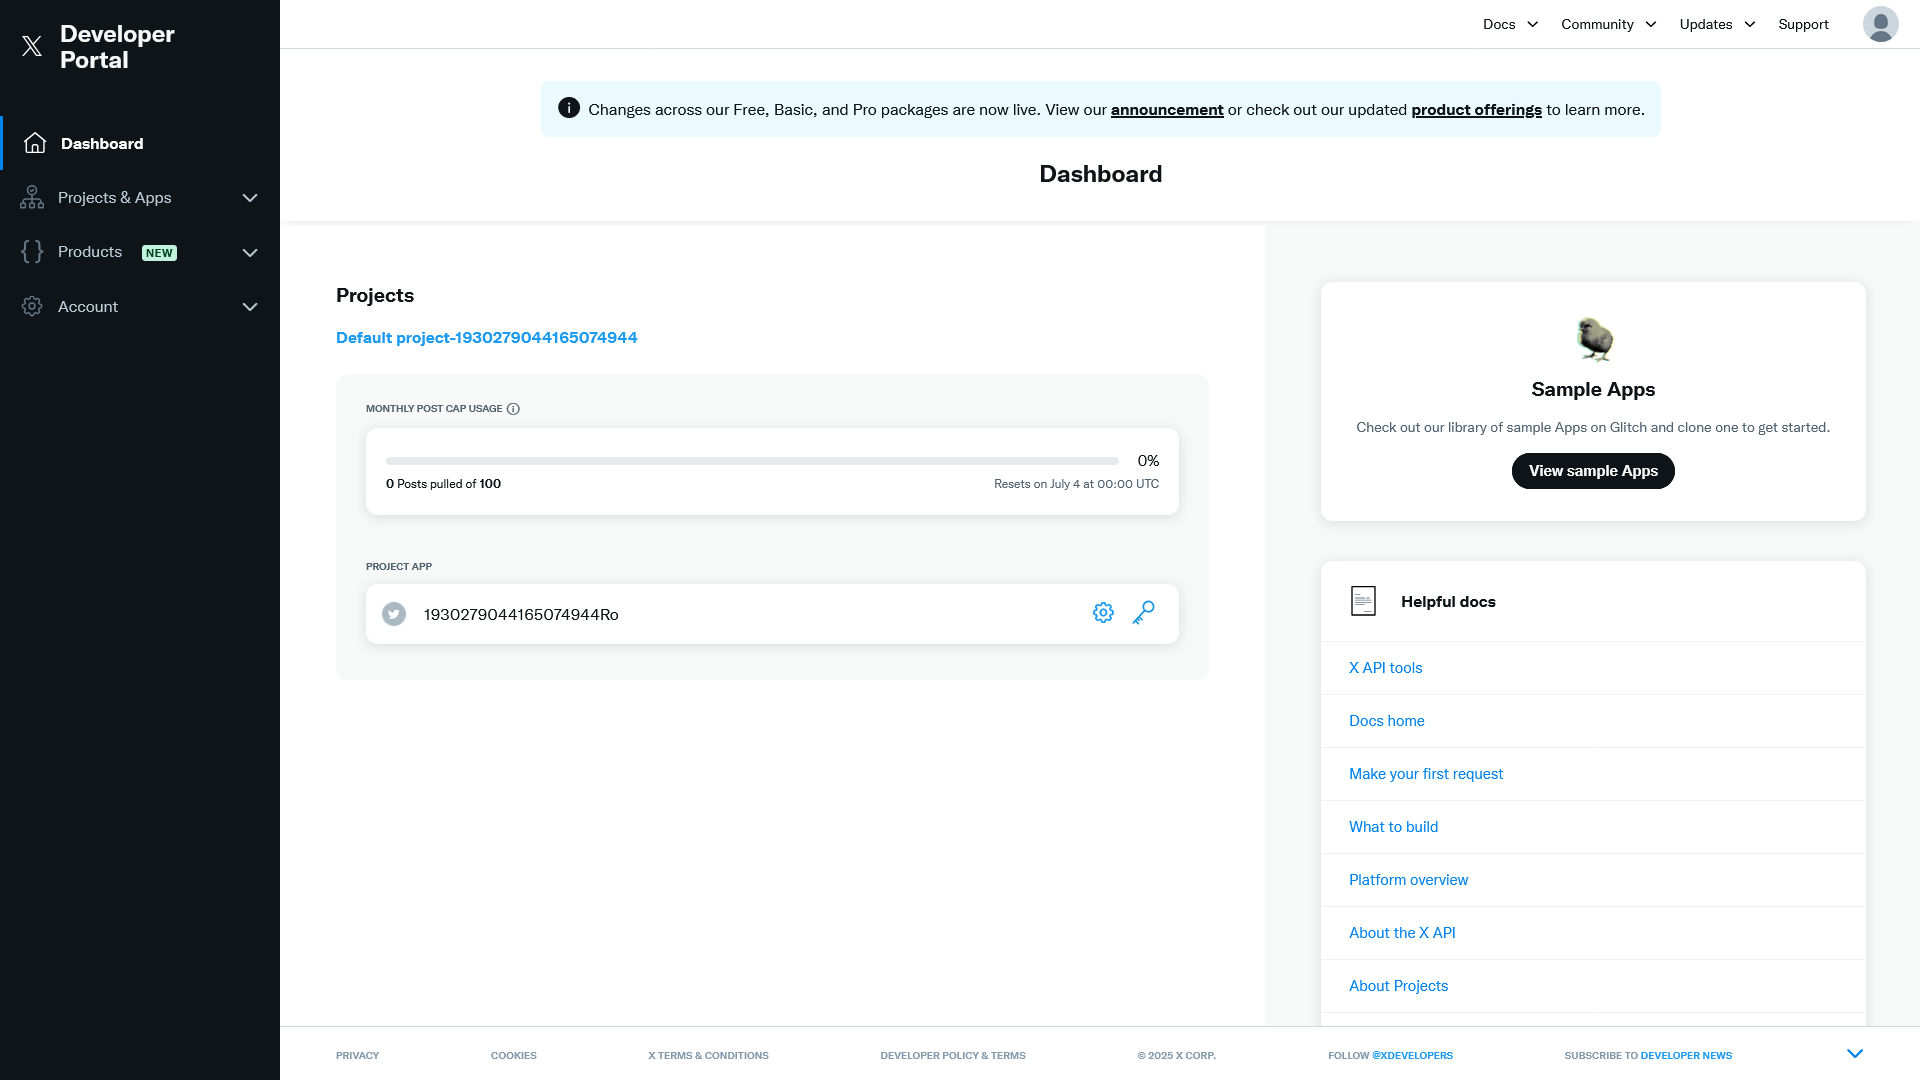
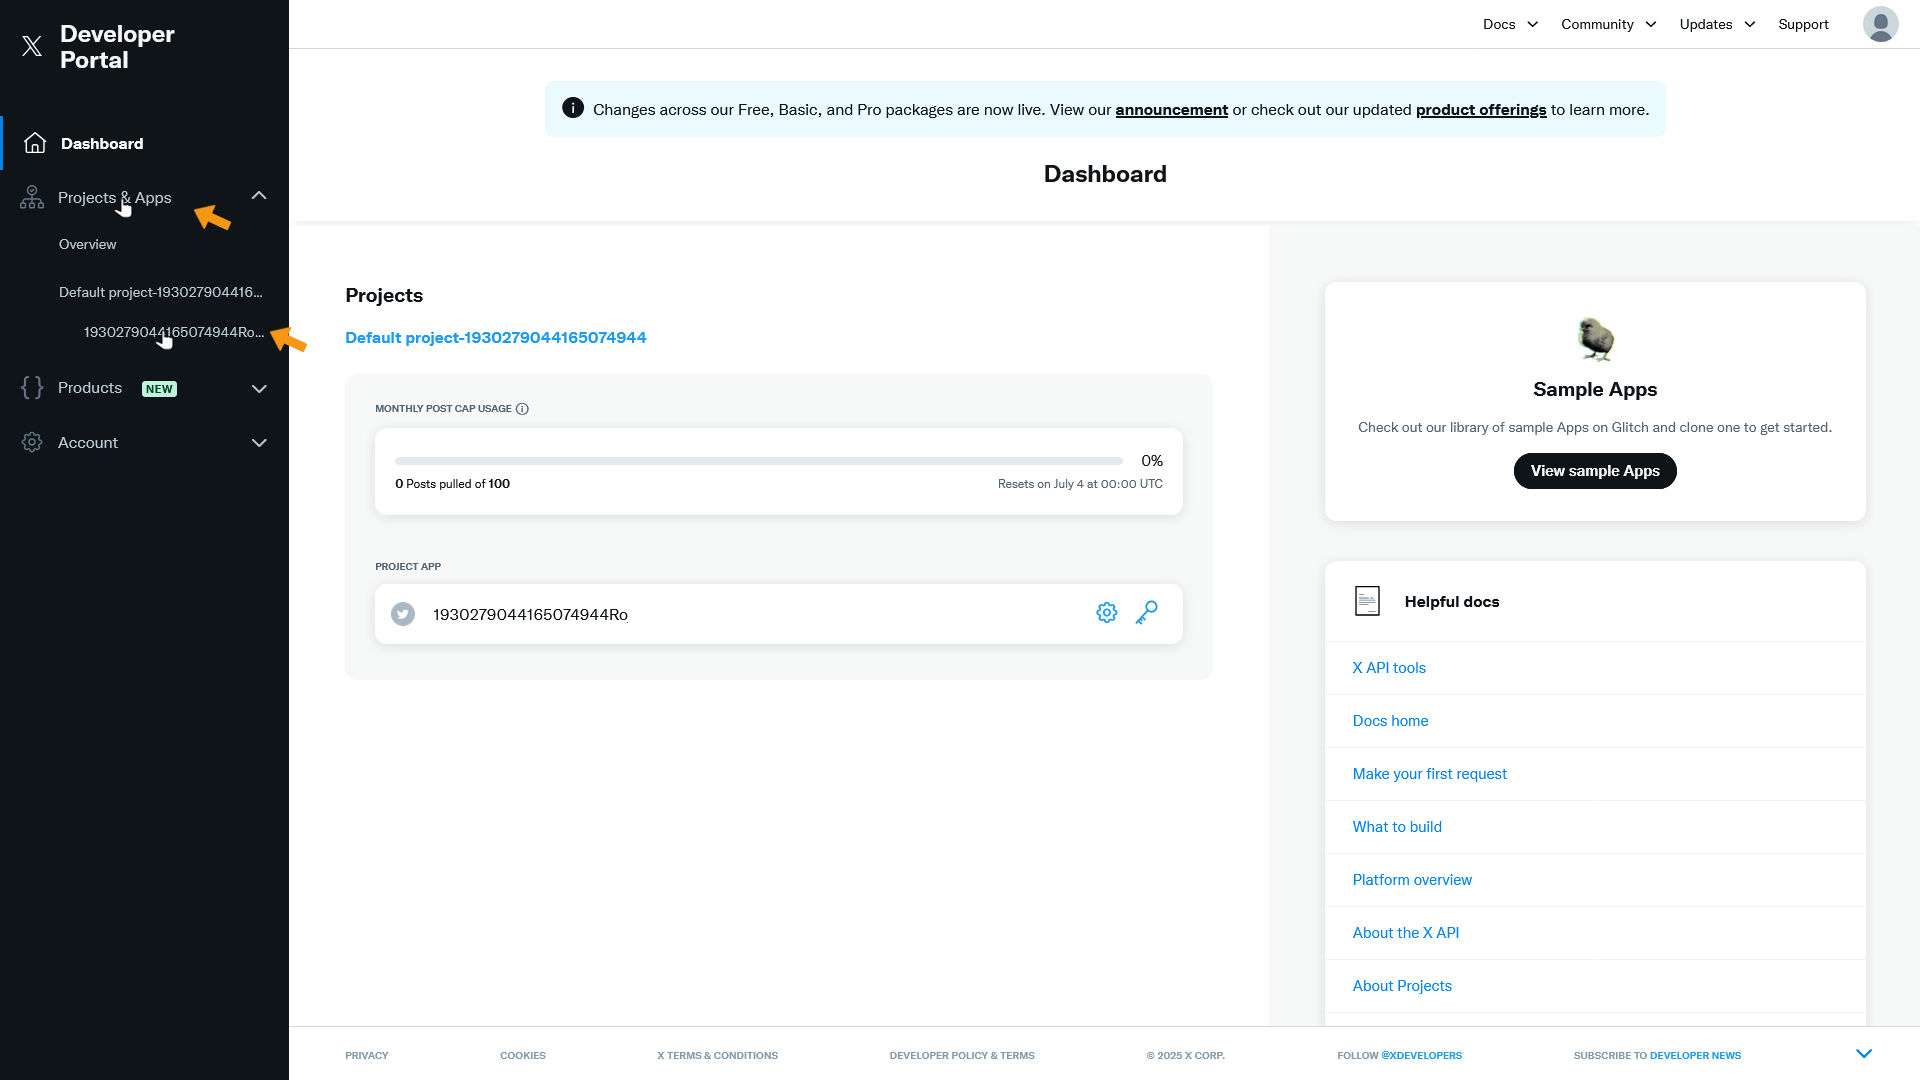
Click Projects & Apps in the left menu, then click the long number under Default project-... .
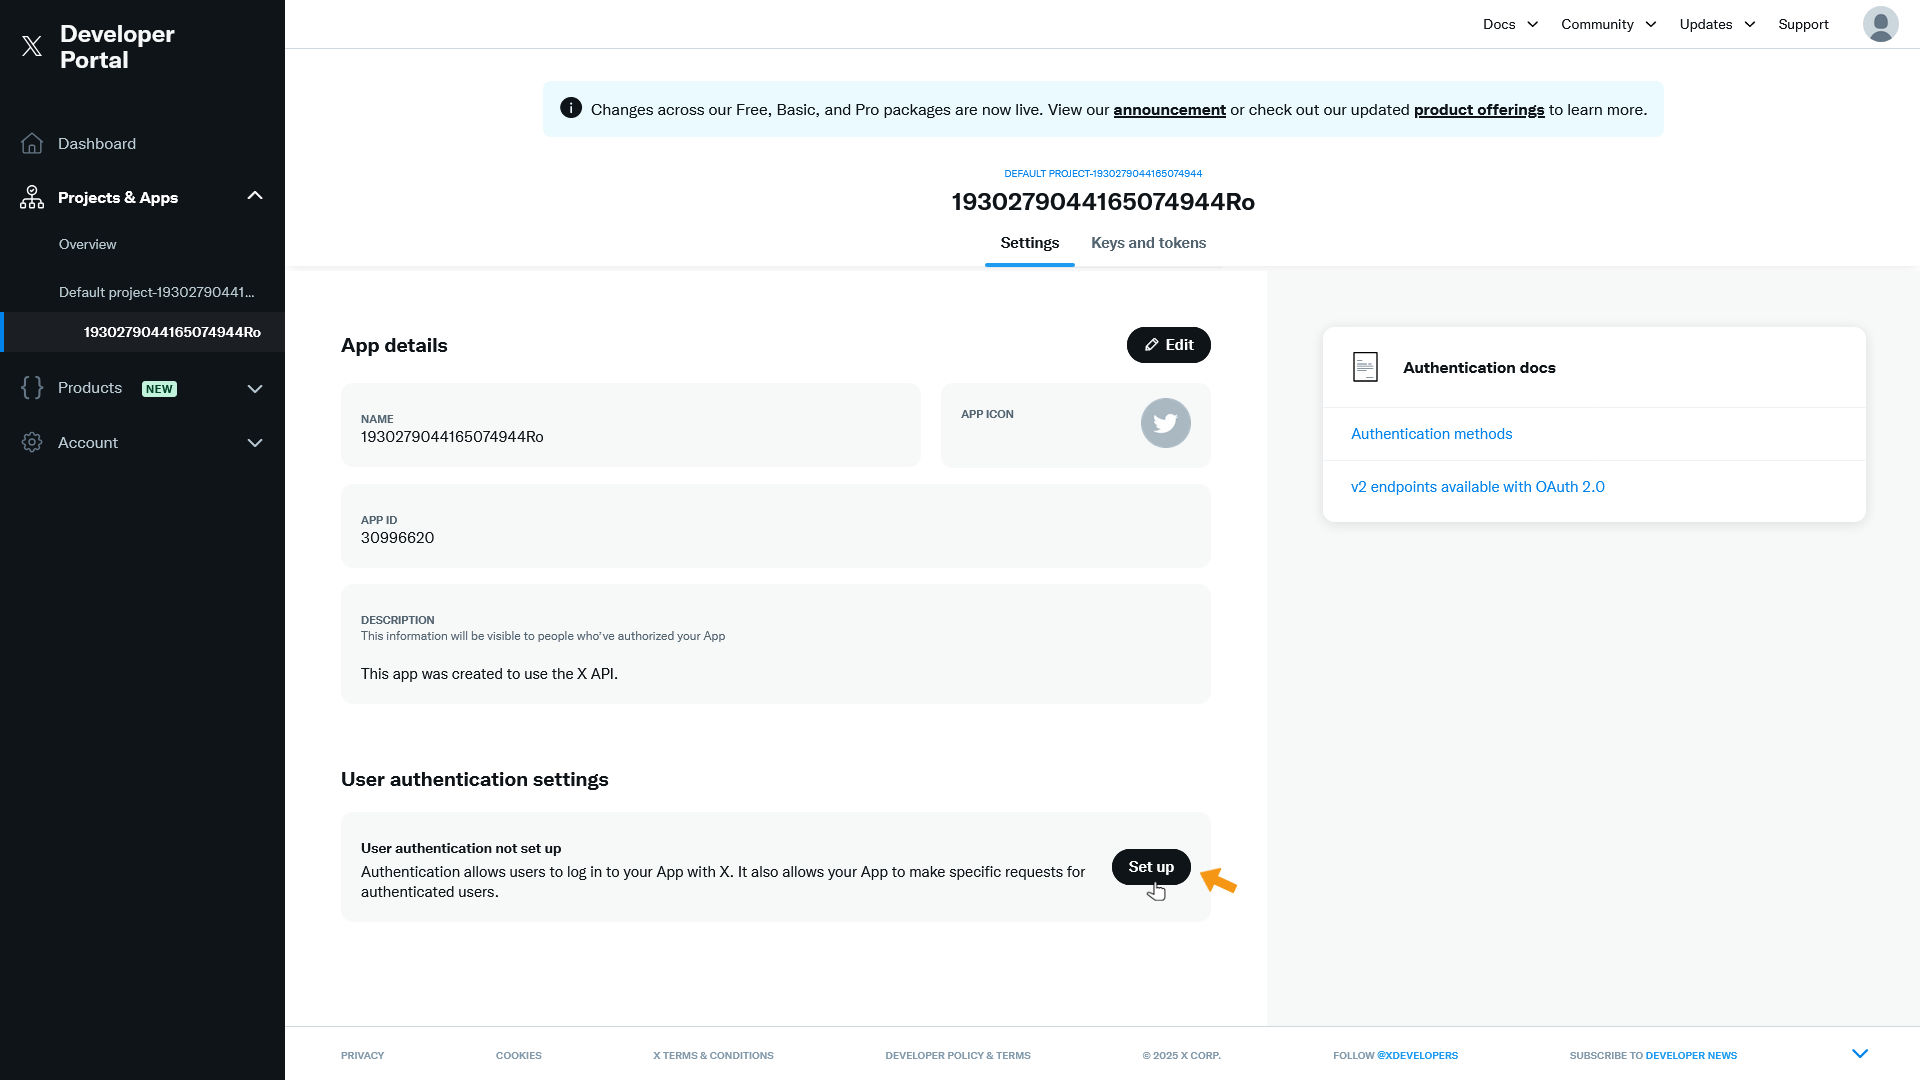
The App overview open in the main screen. Scroll down to the User authentication settings section and click Set up.
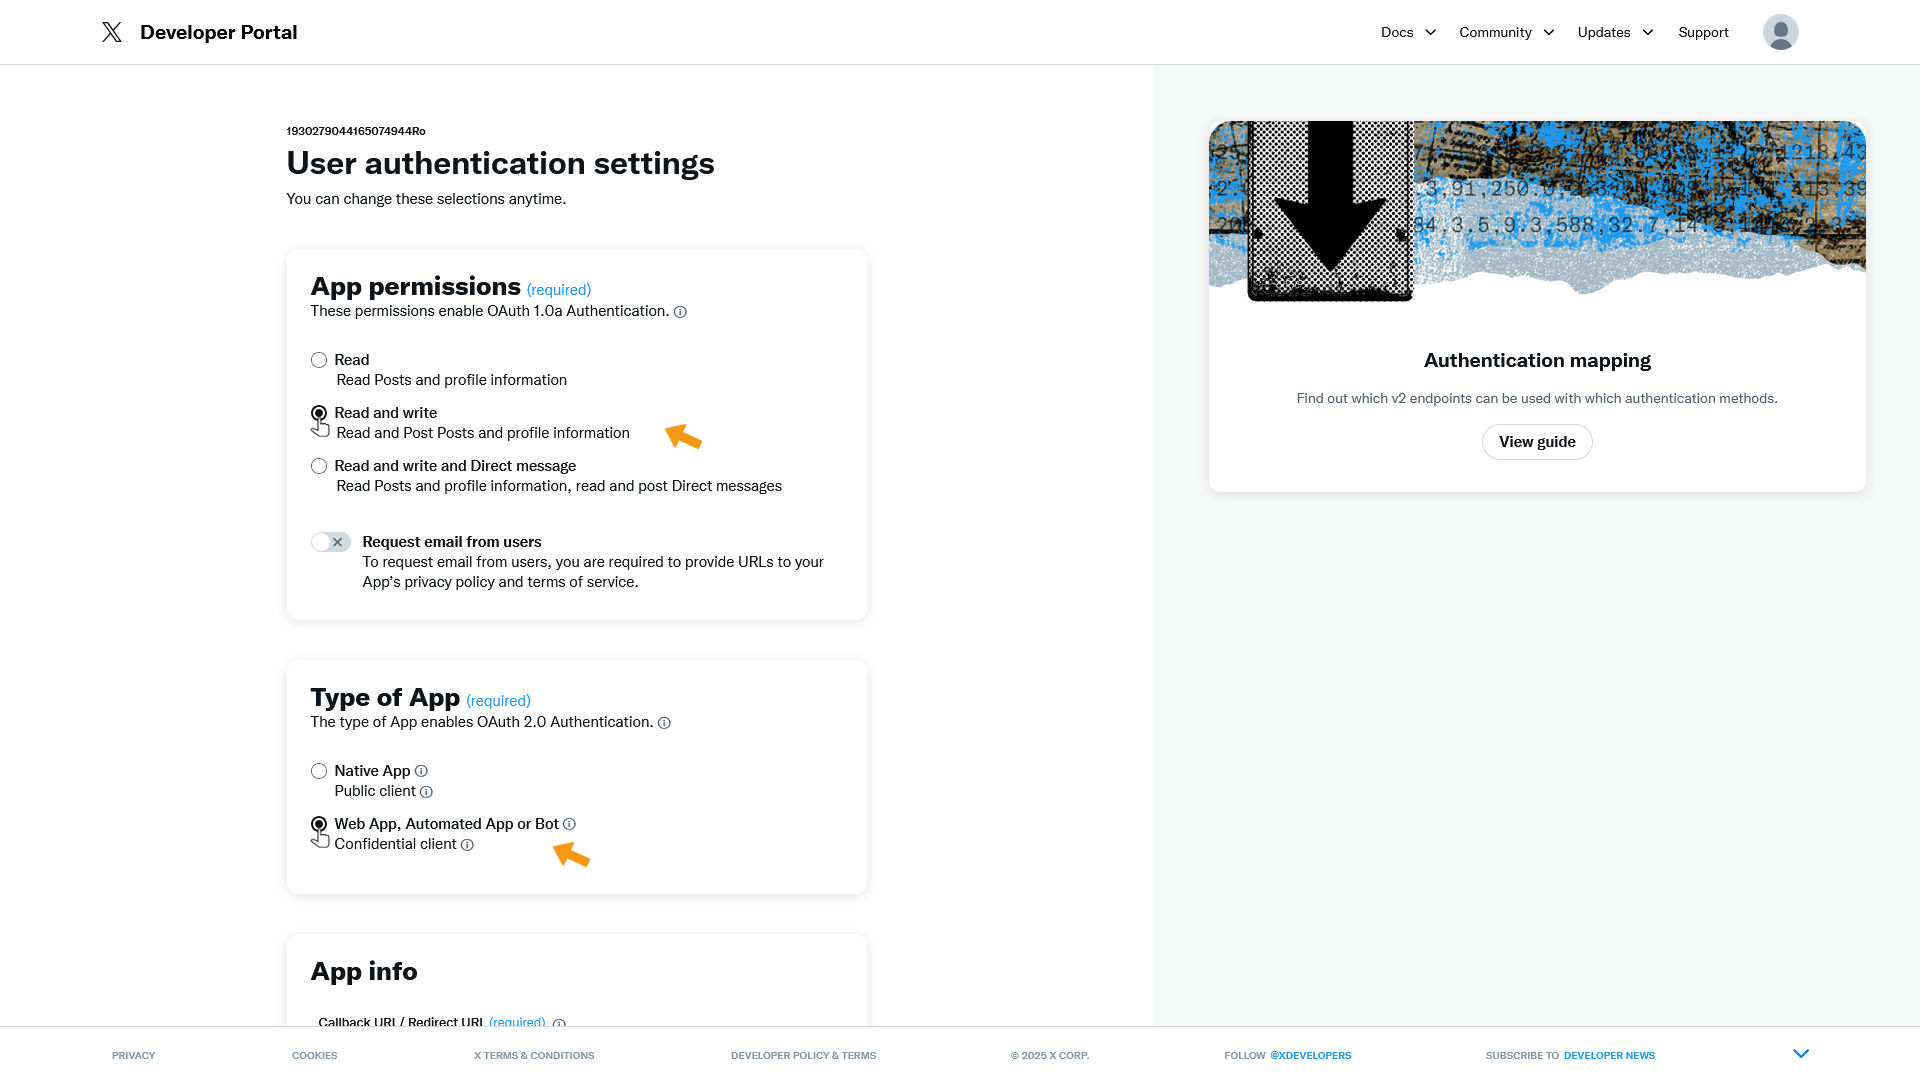
In the App permissions section, select Read and write.
In the Type of App section, choose Web App, Automated App or Bot.
In the App info section, enter the following in the Callback URI/Redirect URL field:
https://www.zappzy.com/app/callback/twitter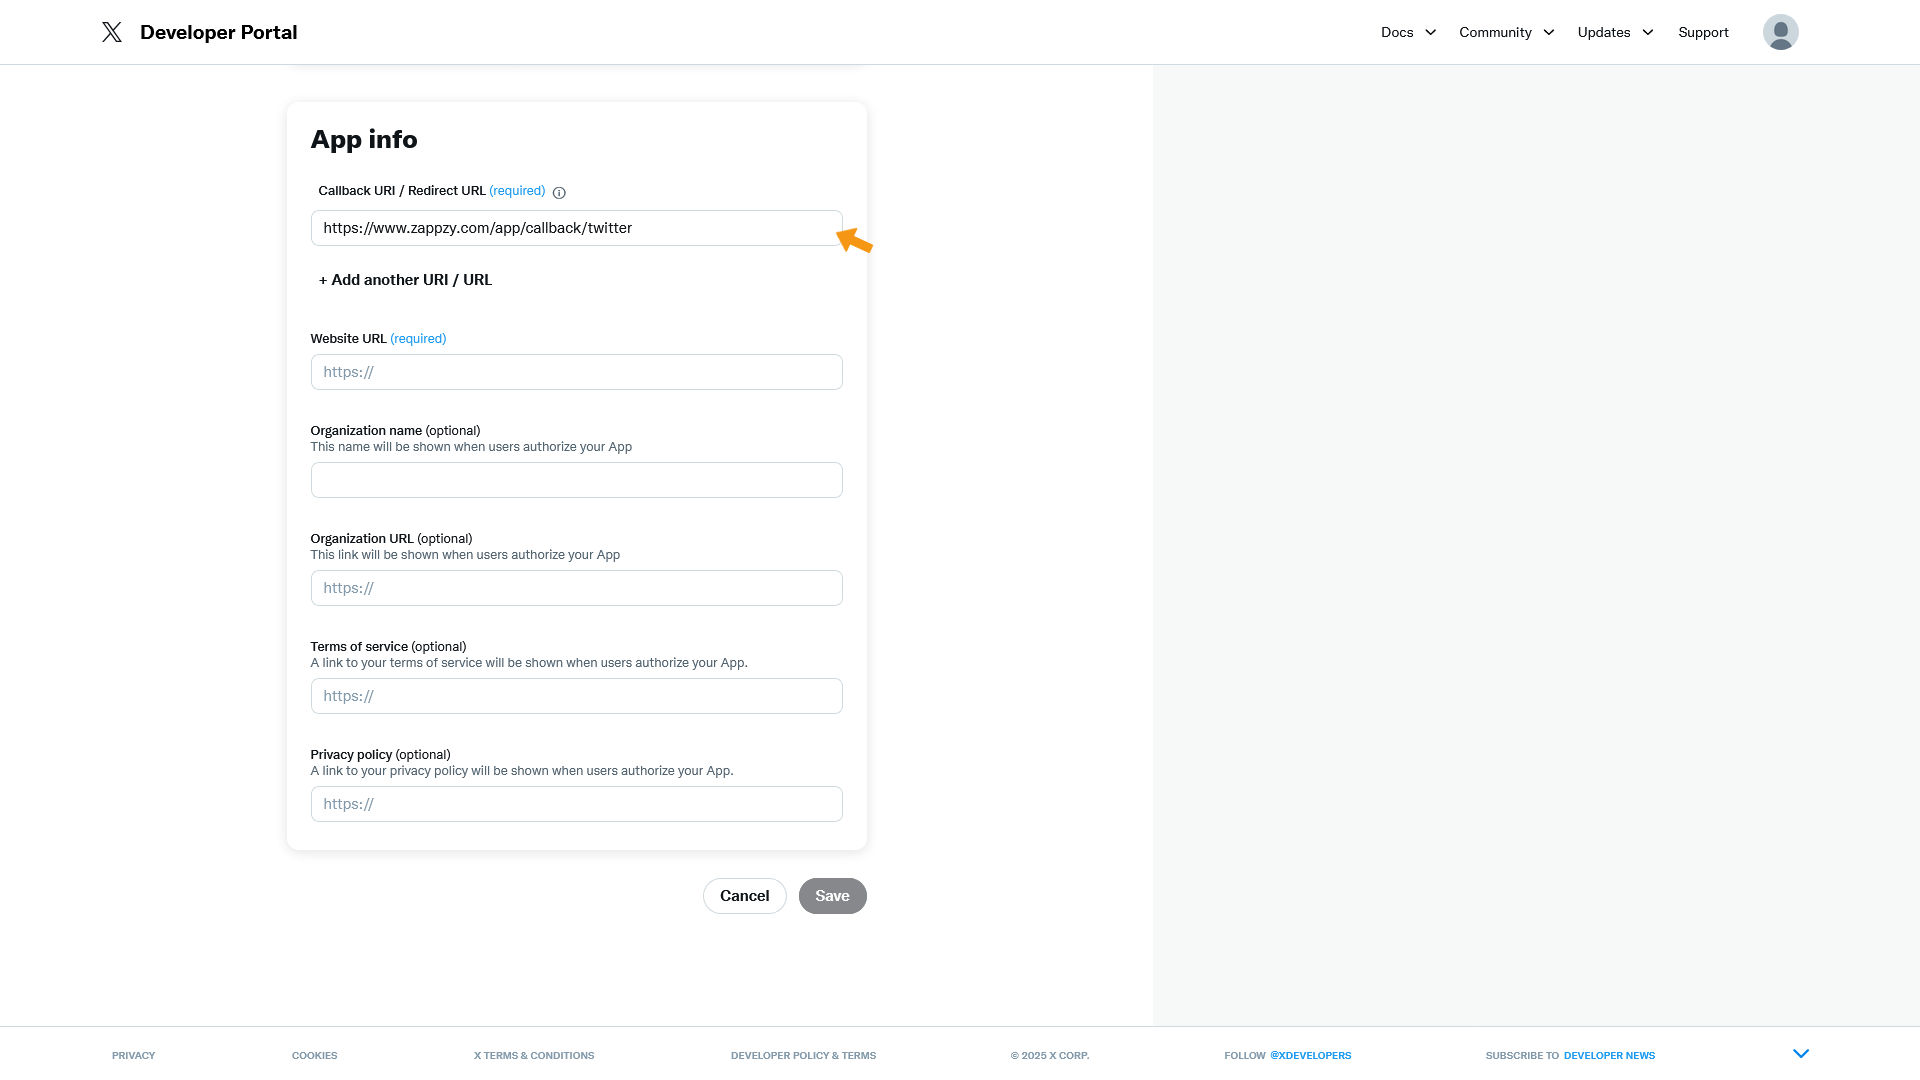
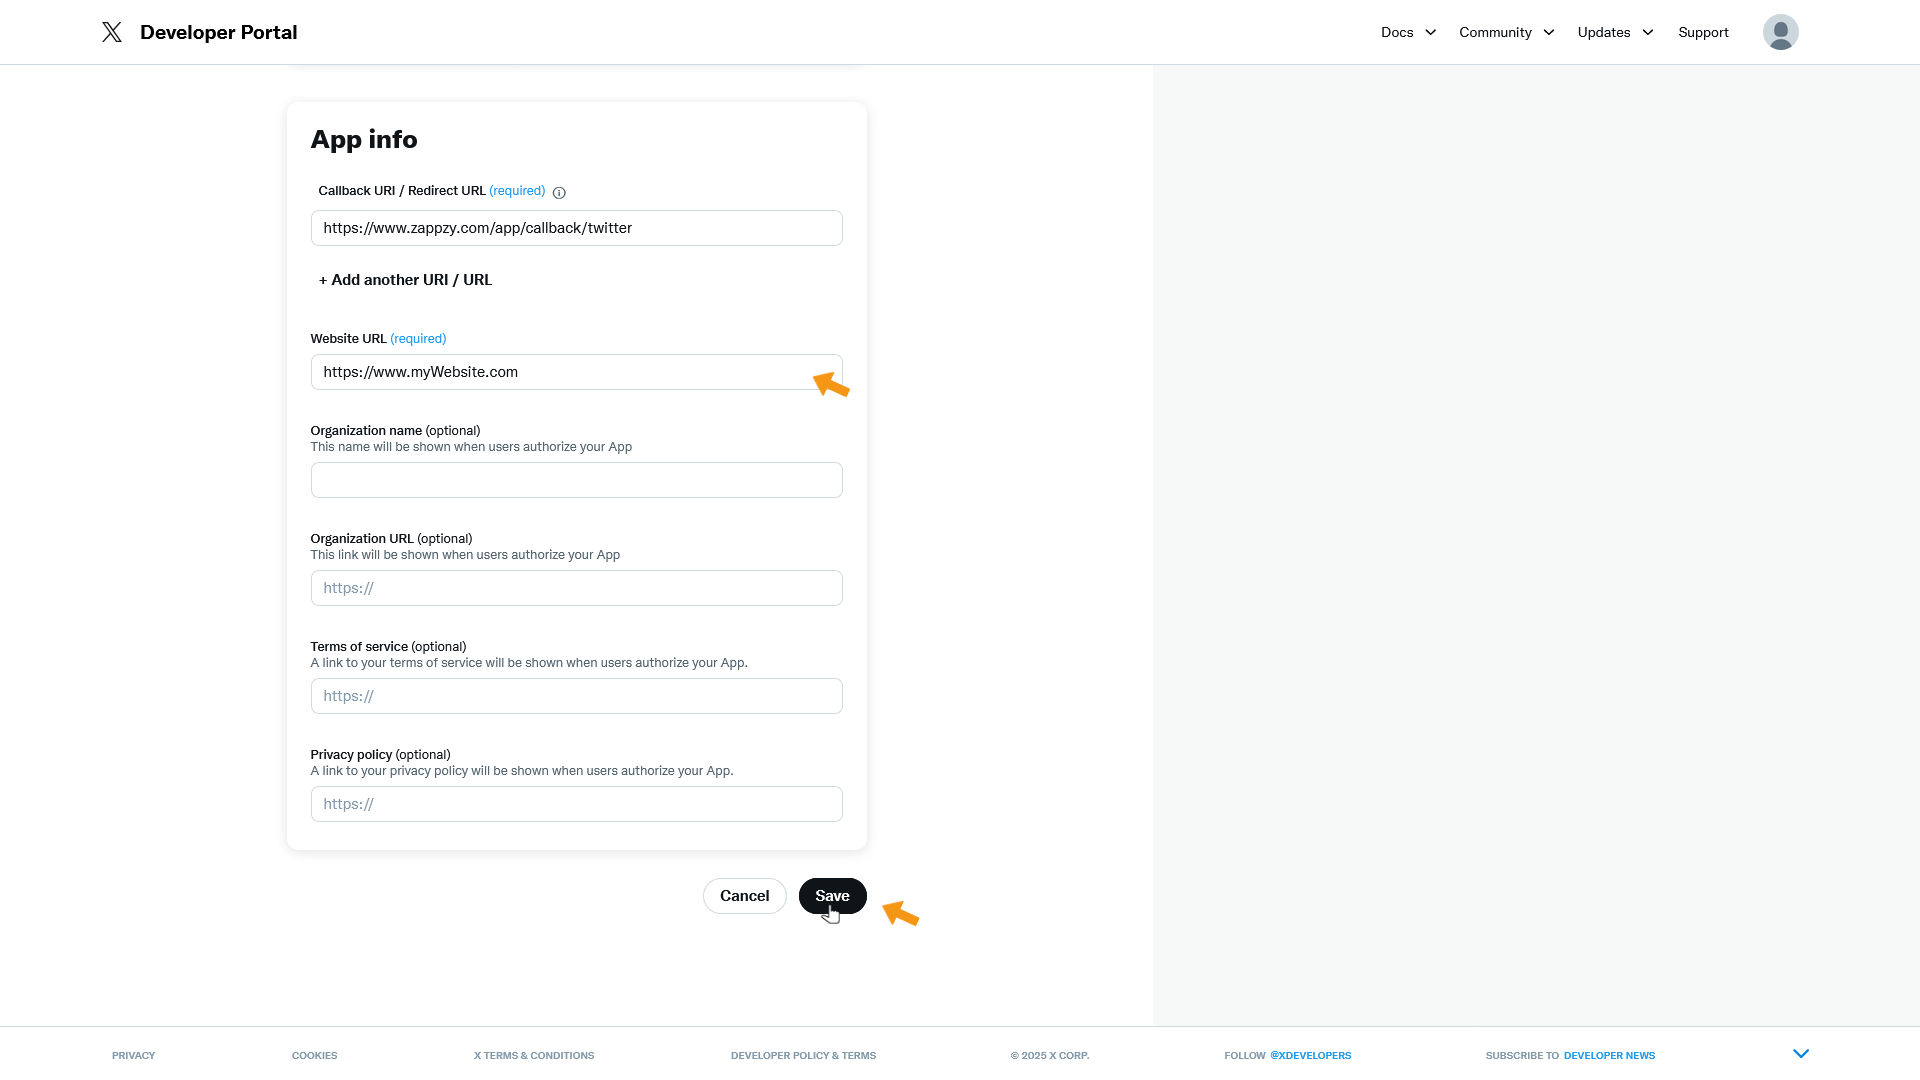
In the Website URL field, enter your website URL.
Then click Save.
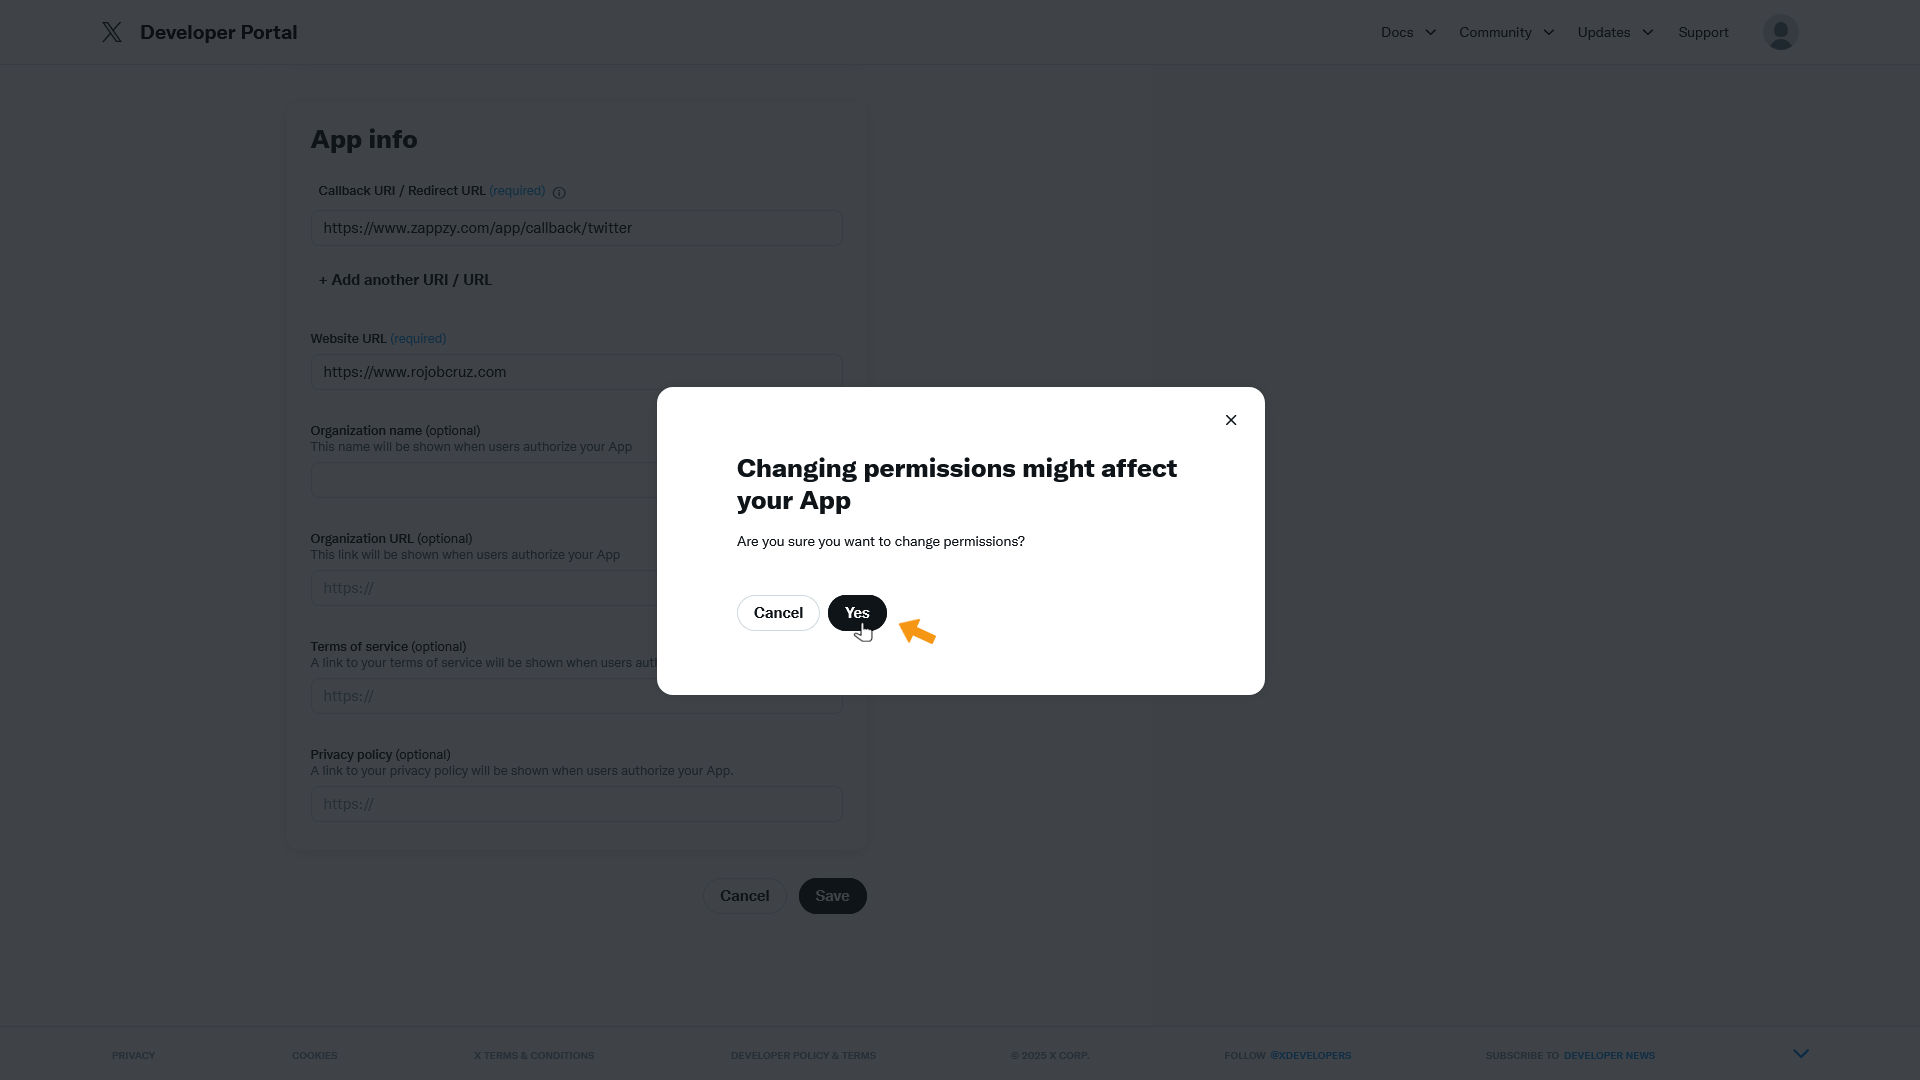
A permissions popup appears - click Yes.
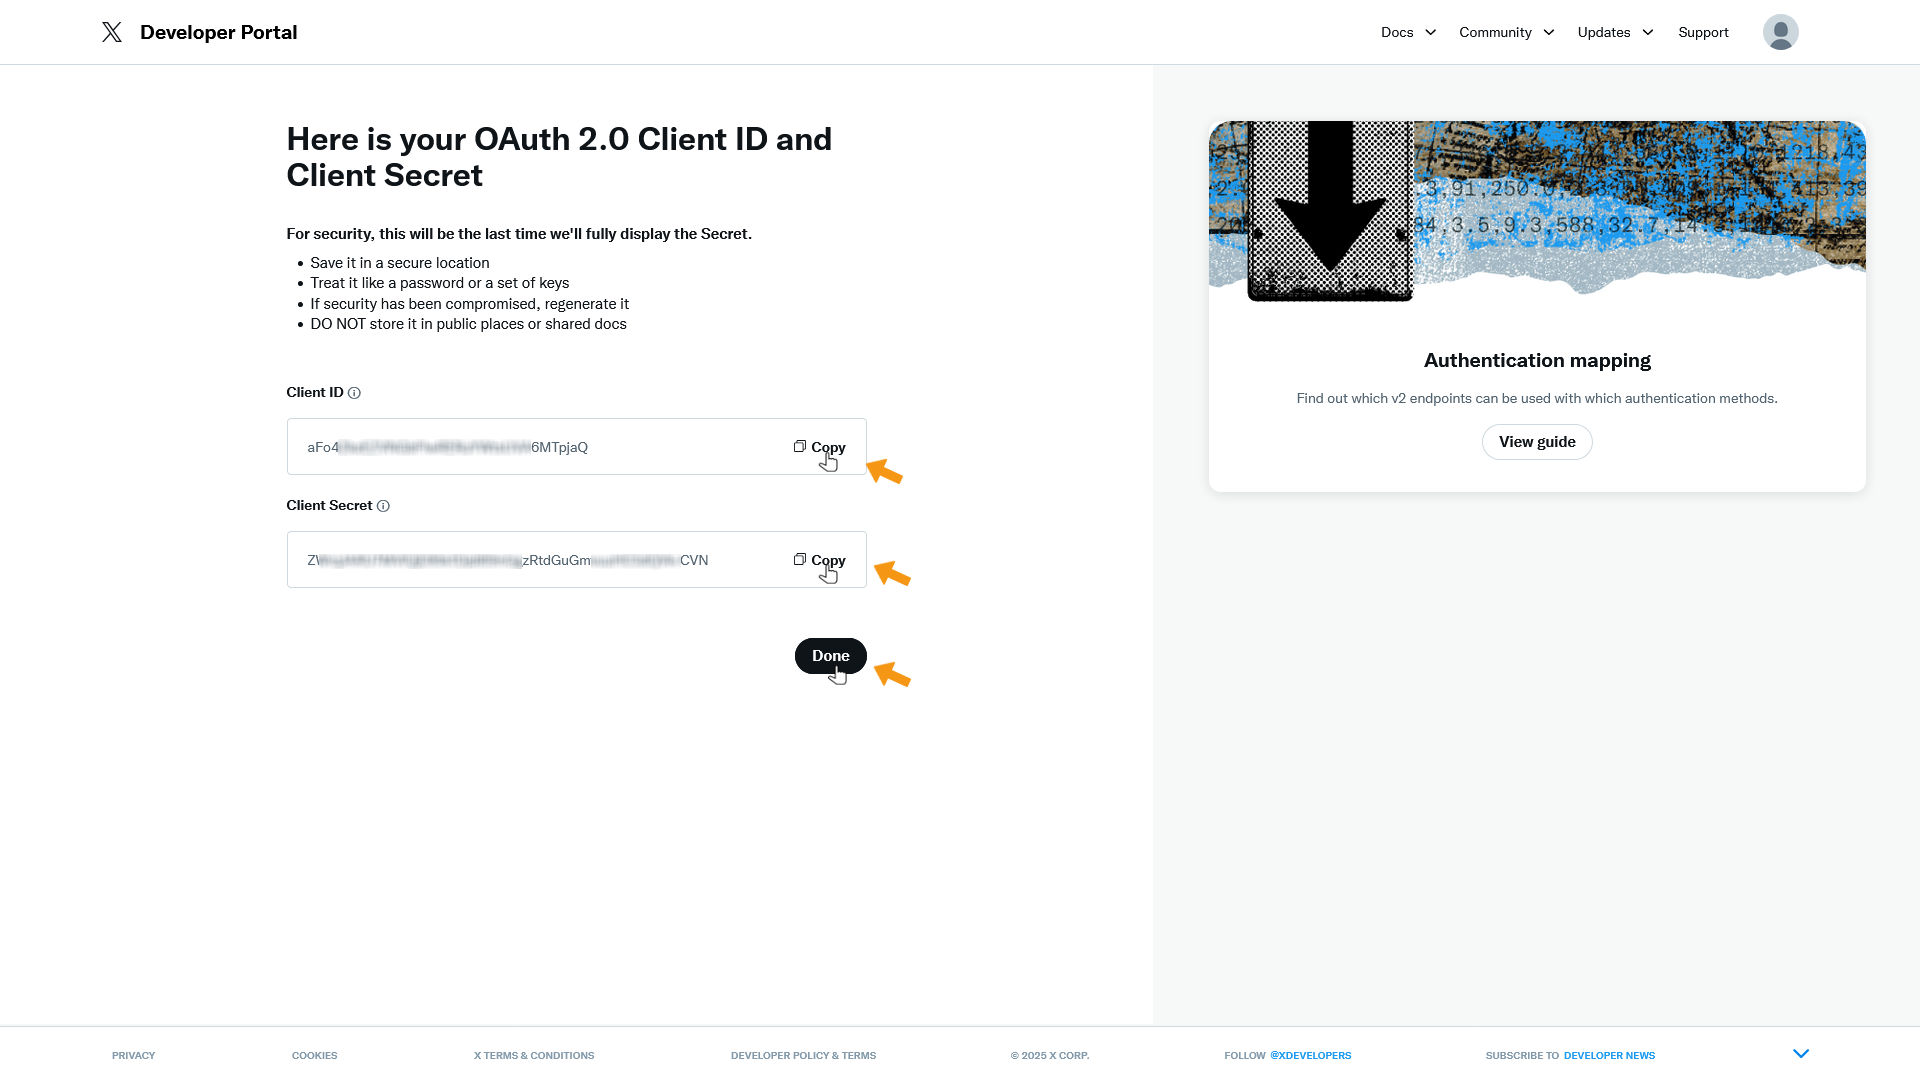
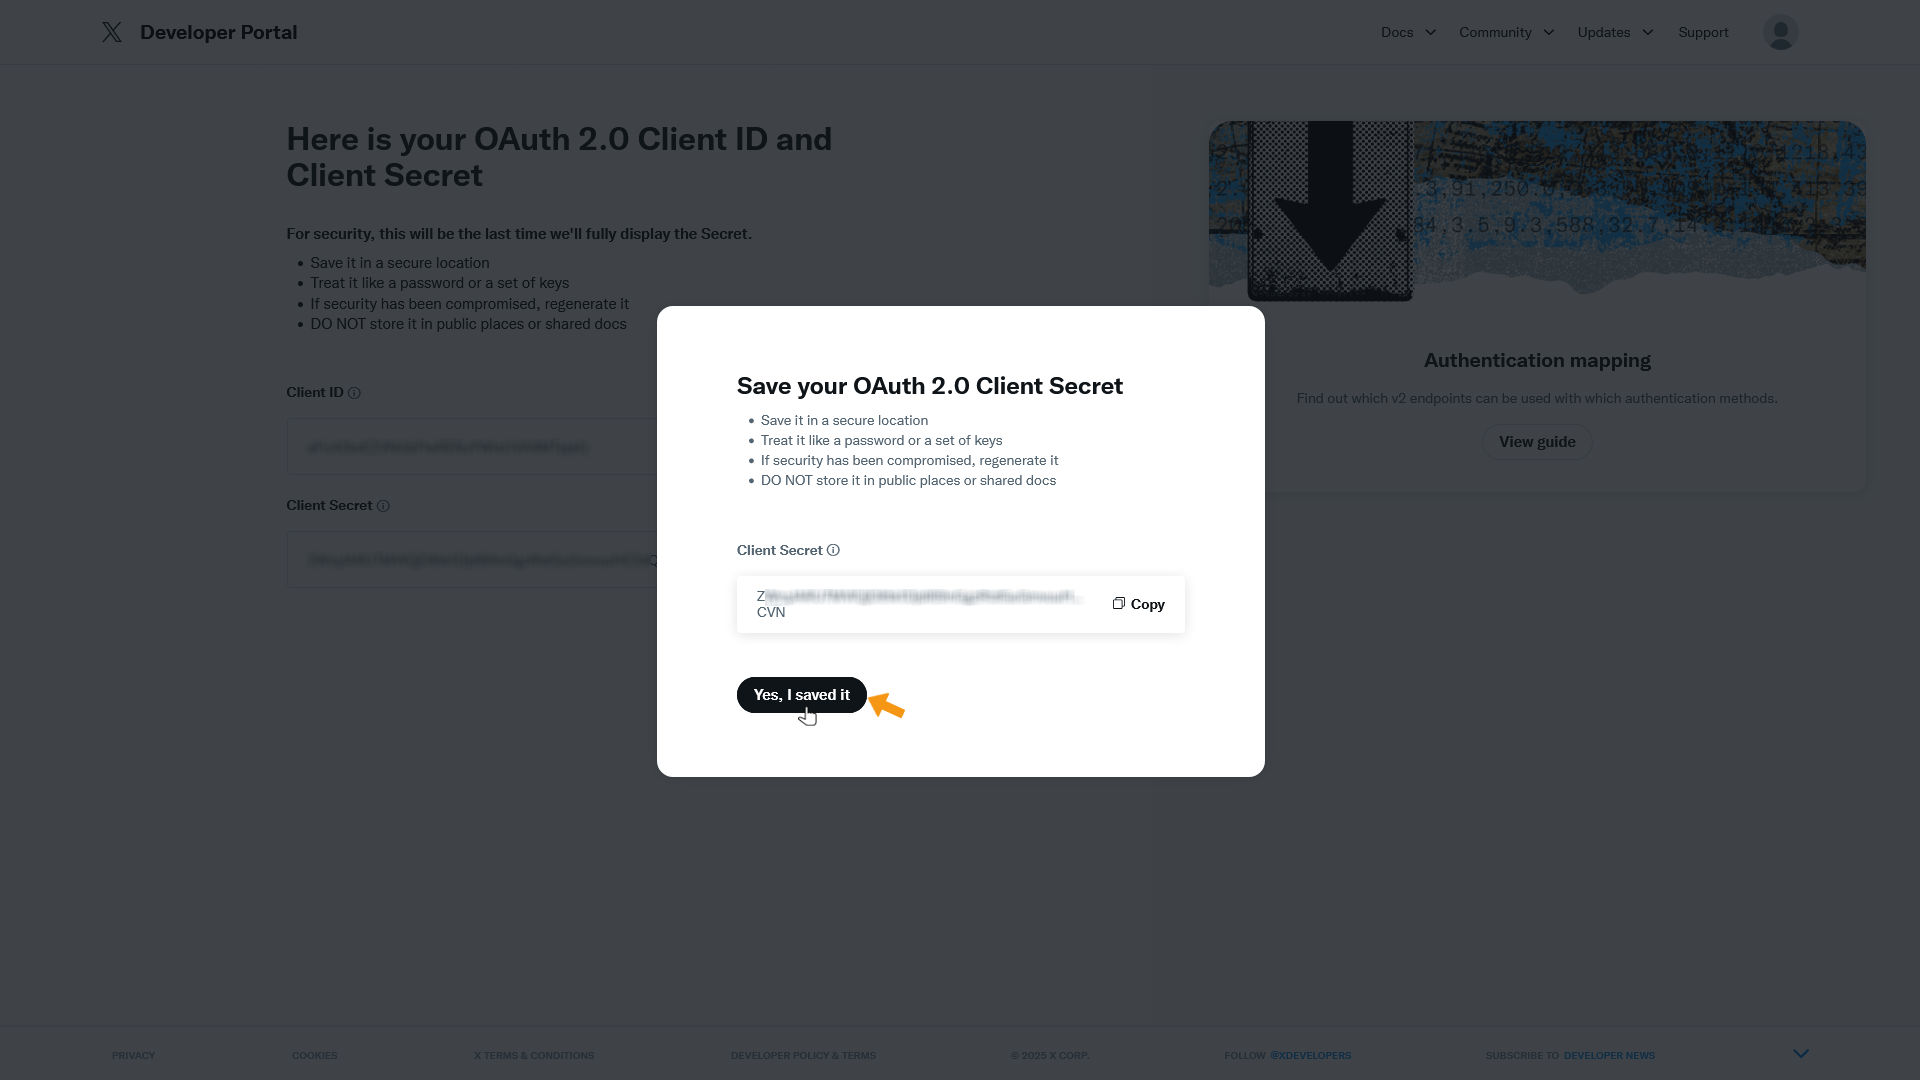
The next page shows your OAuth 2.0 Client ID and Client Secret. Copy both and keep them somewhere safe.
Important: These codes won't be shown again!
Click Done when you've saved them.
You'll be asked again if you've saved the codes. If you have, click Yes, I saved it.
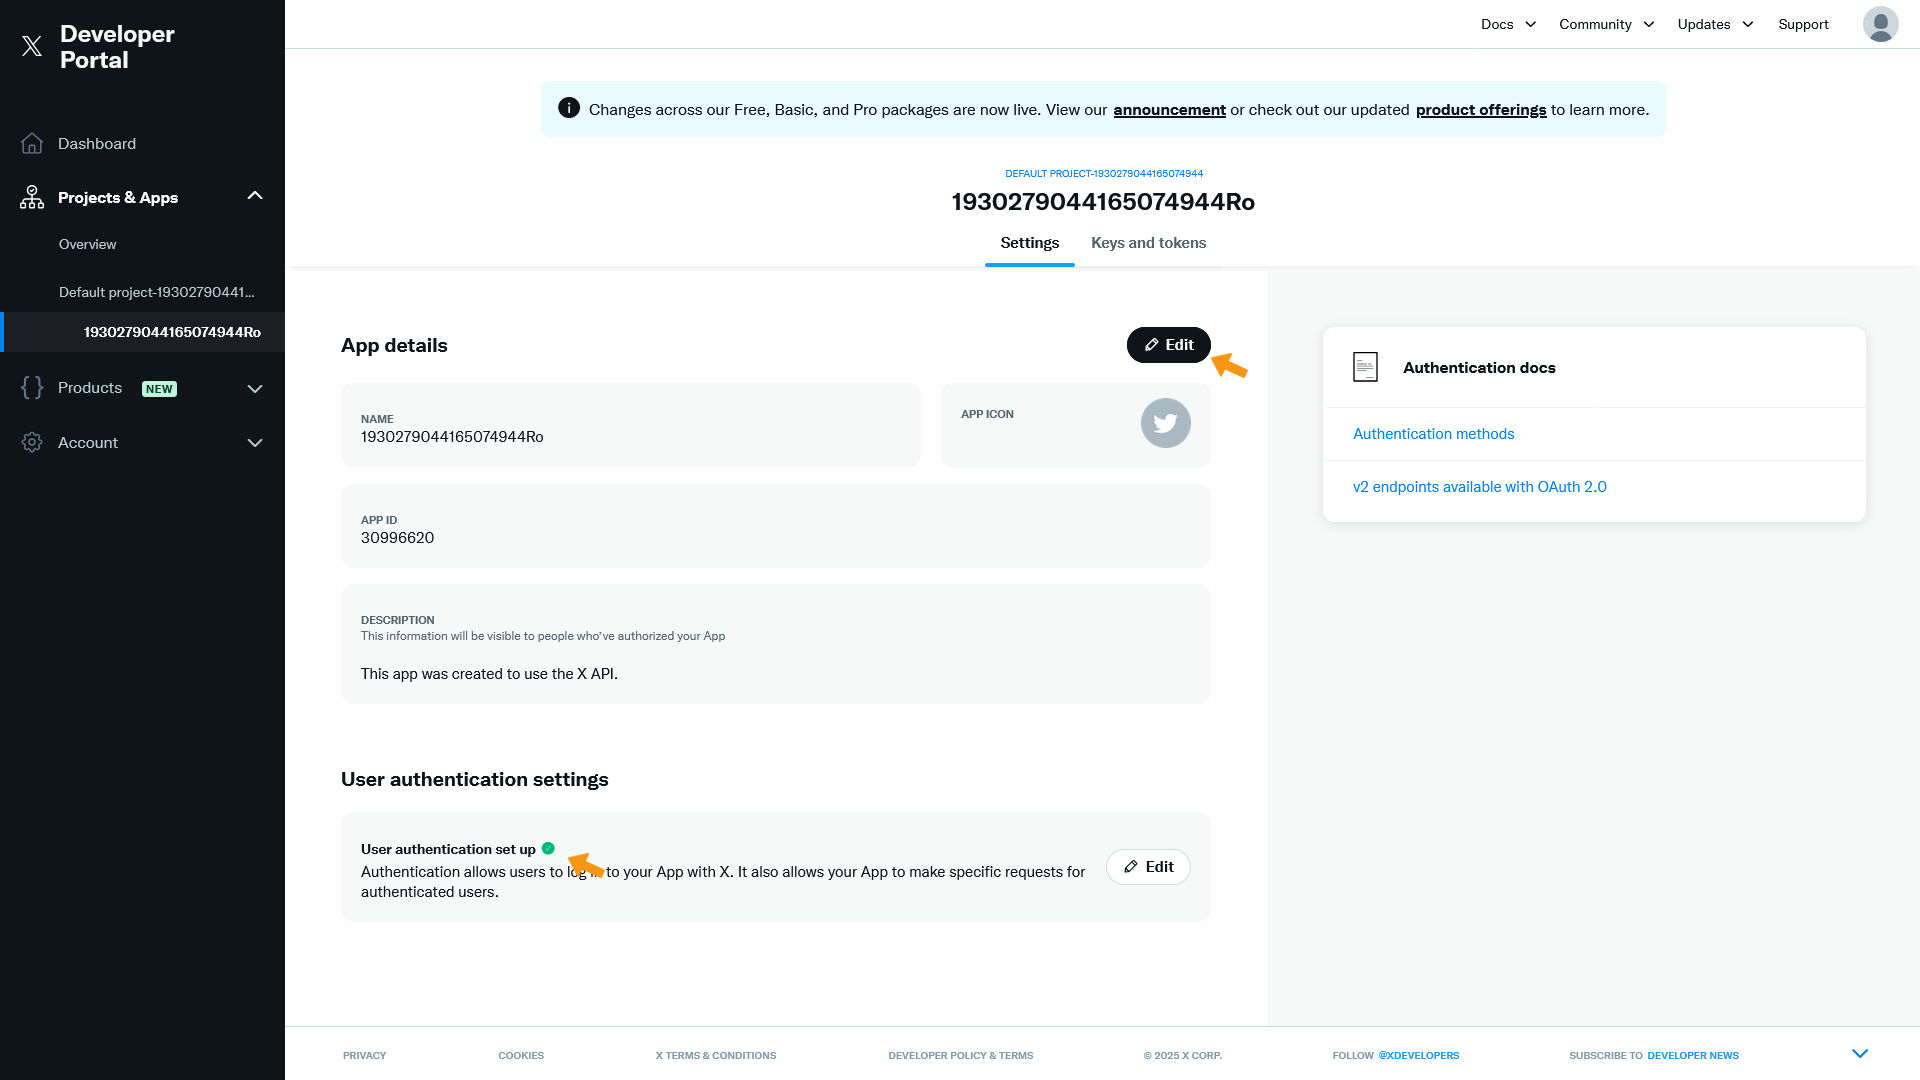
You'll see that the User authentication settings section is now set up. If you want, you can change the name and icon under App details.
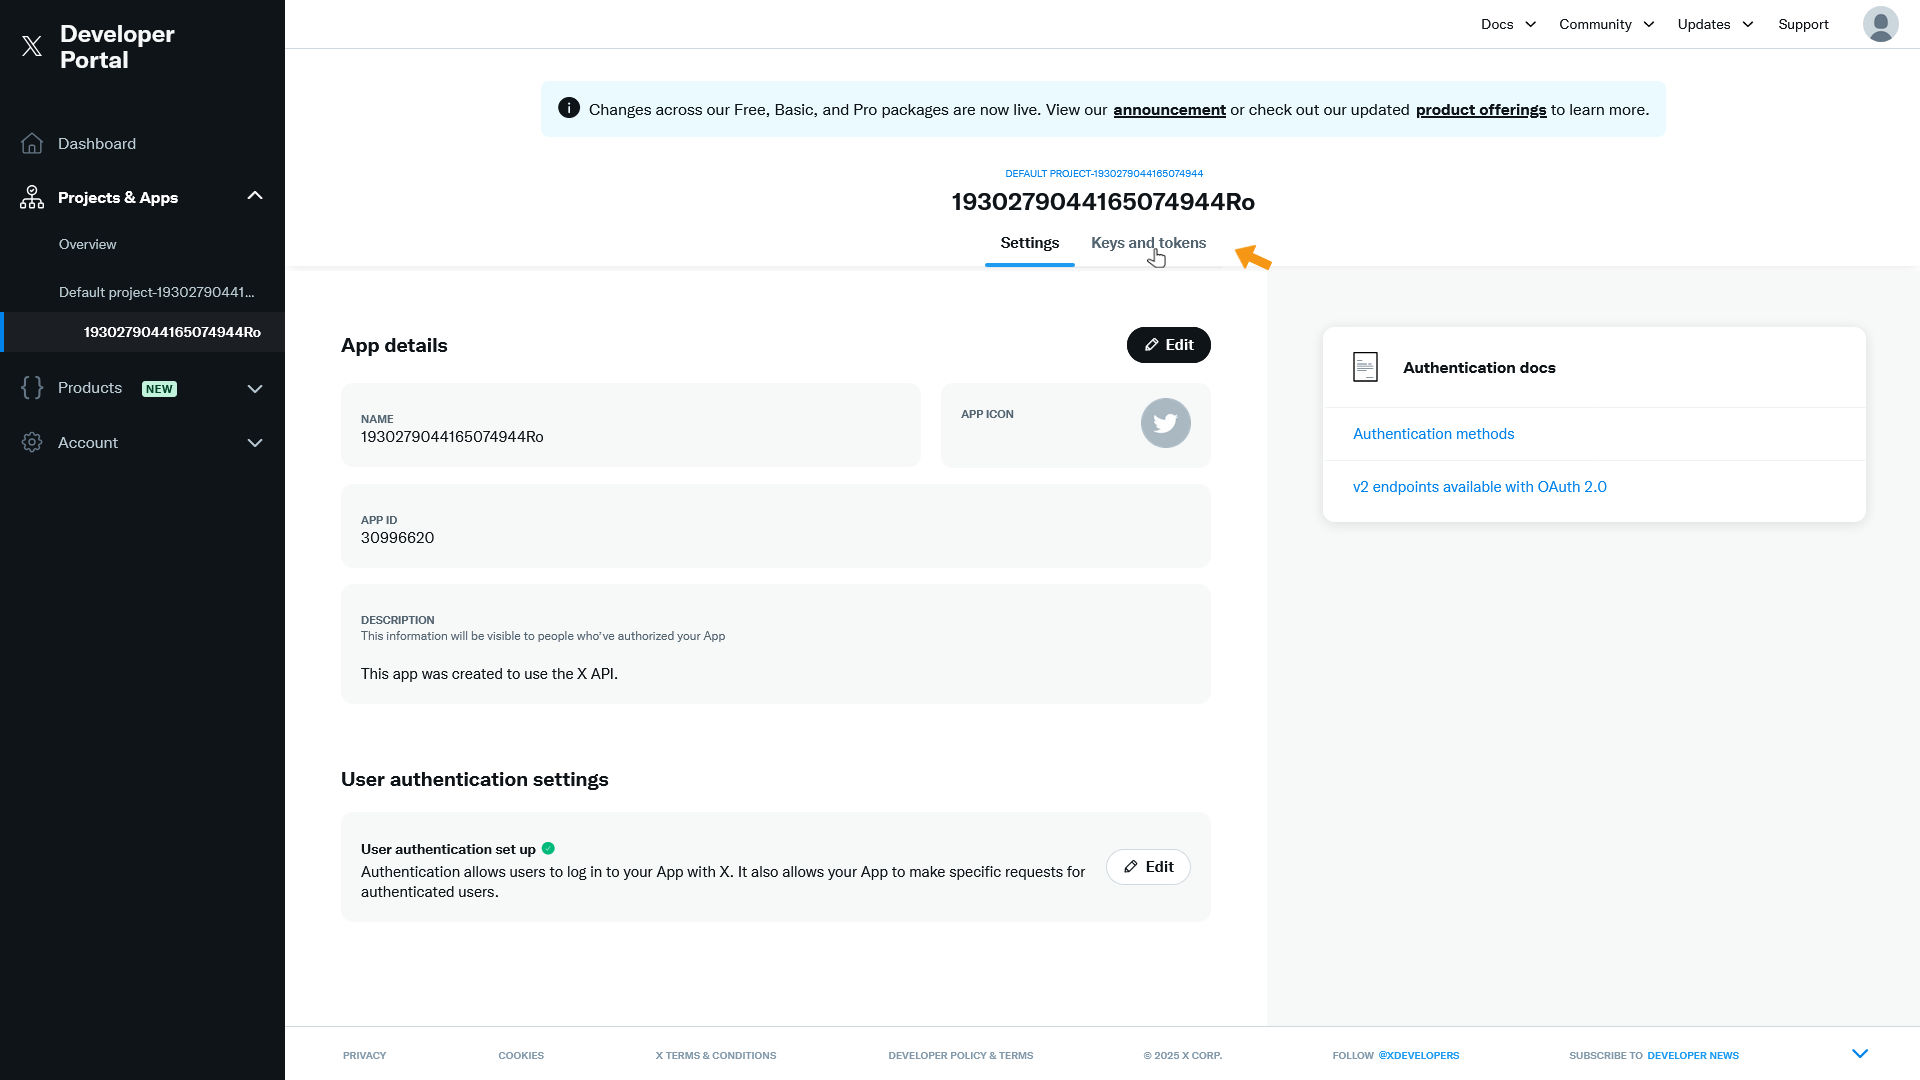
Now click Keys and Tokens.
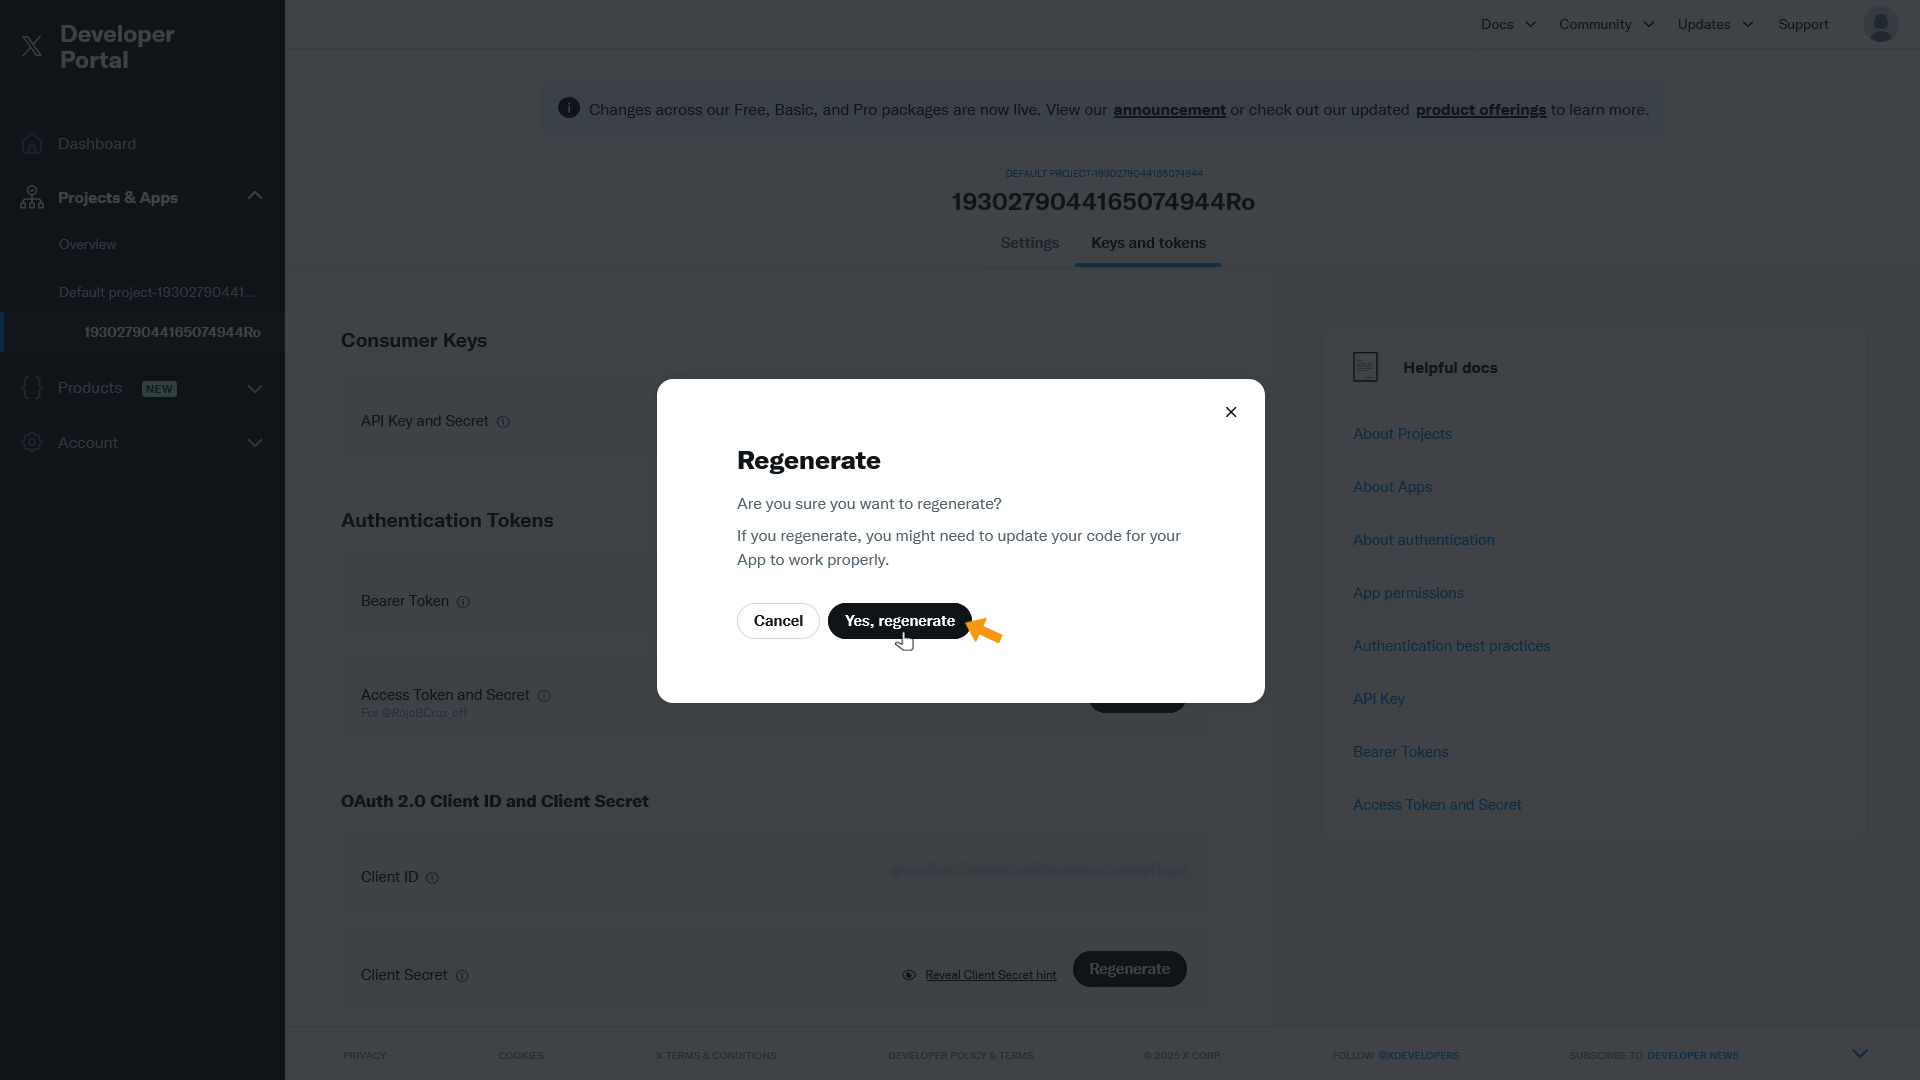
Under Consumer Keys, click Regenerate next to API Key and Secret.
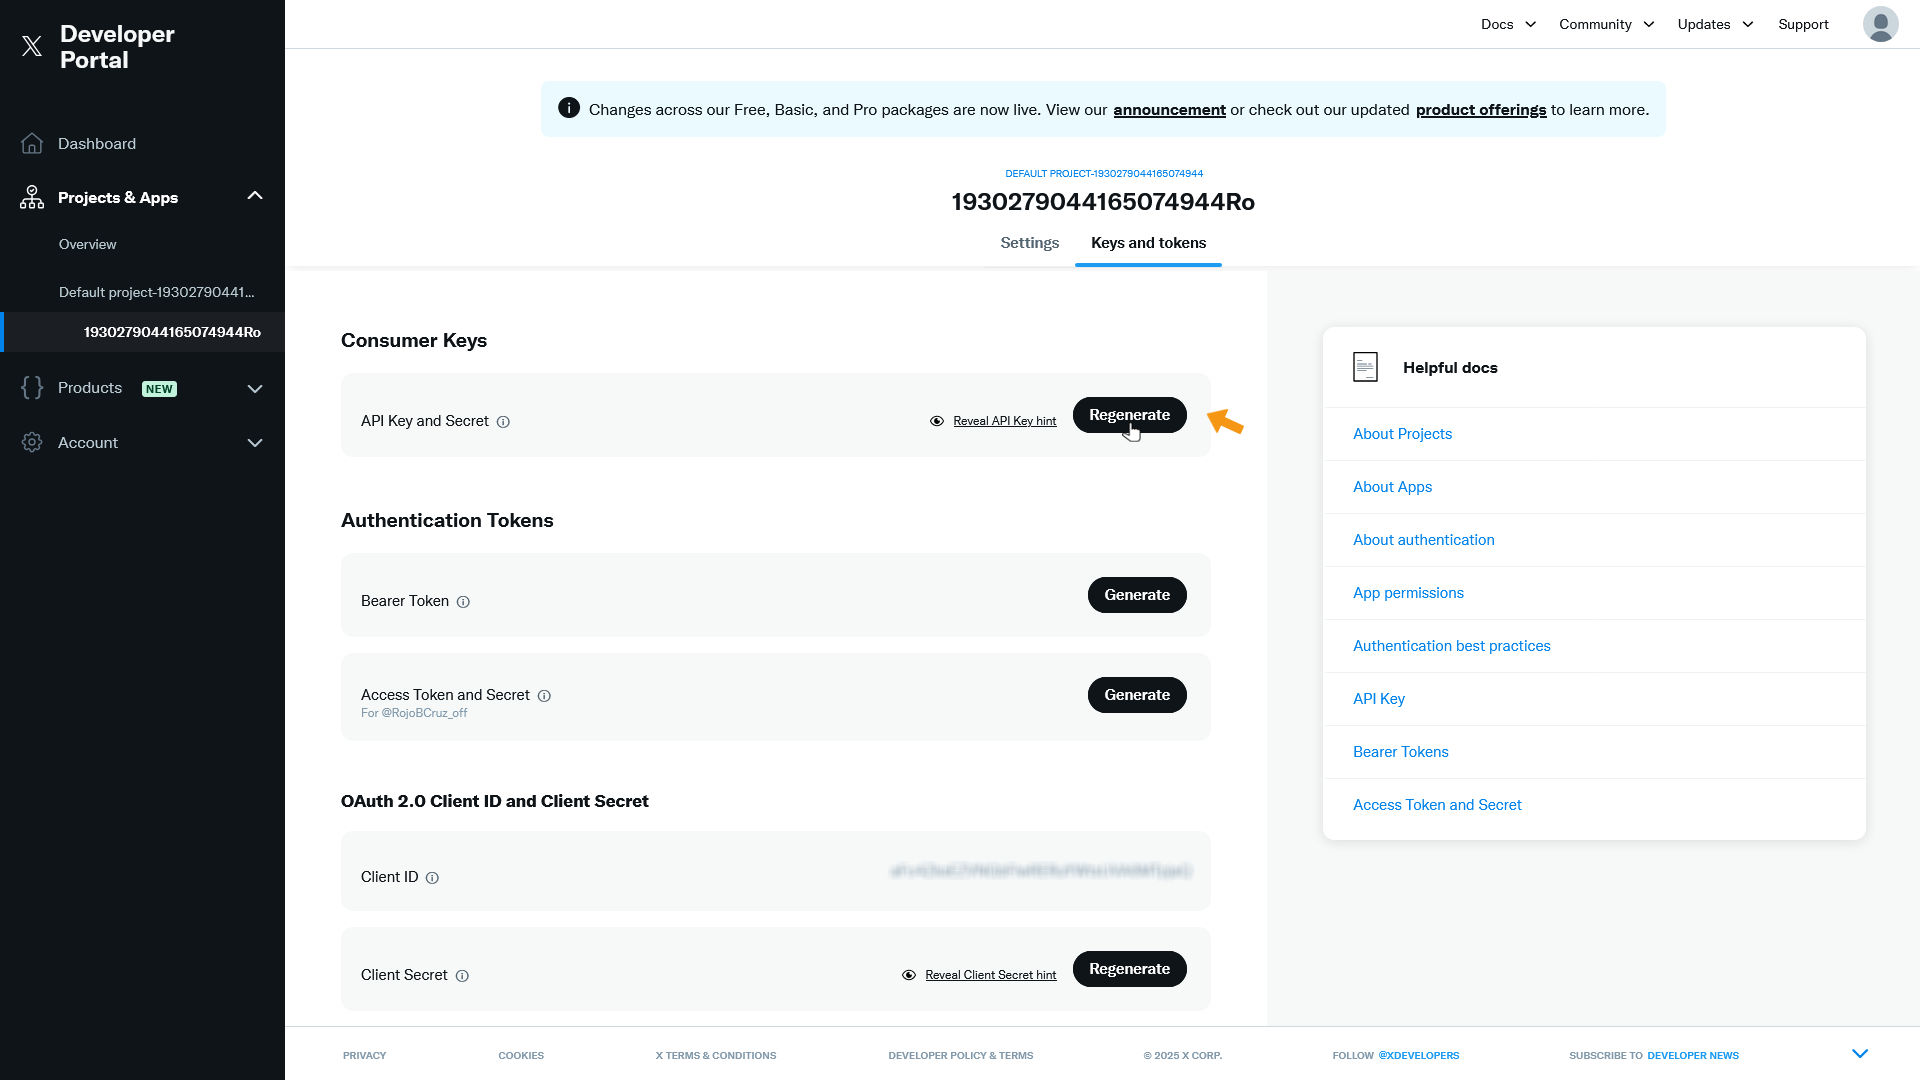
You'll be asked if you're sure. Click Yes, regenerate.
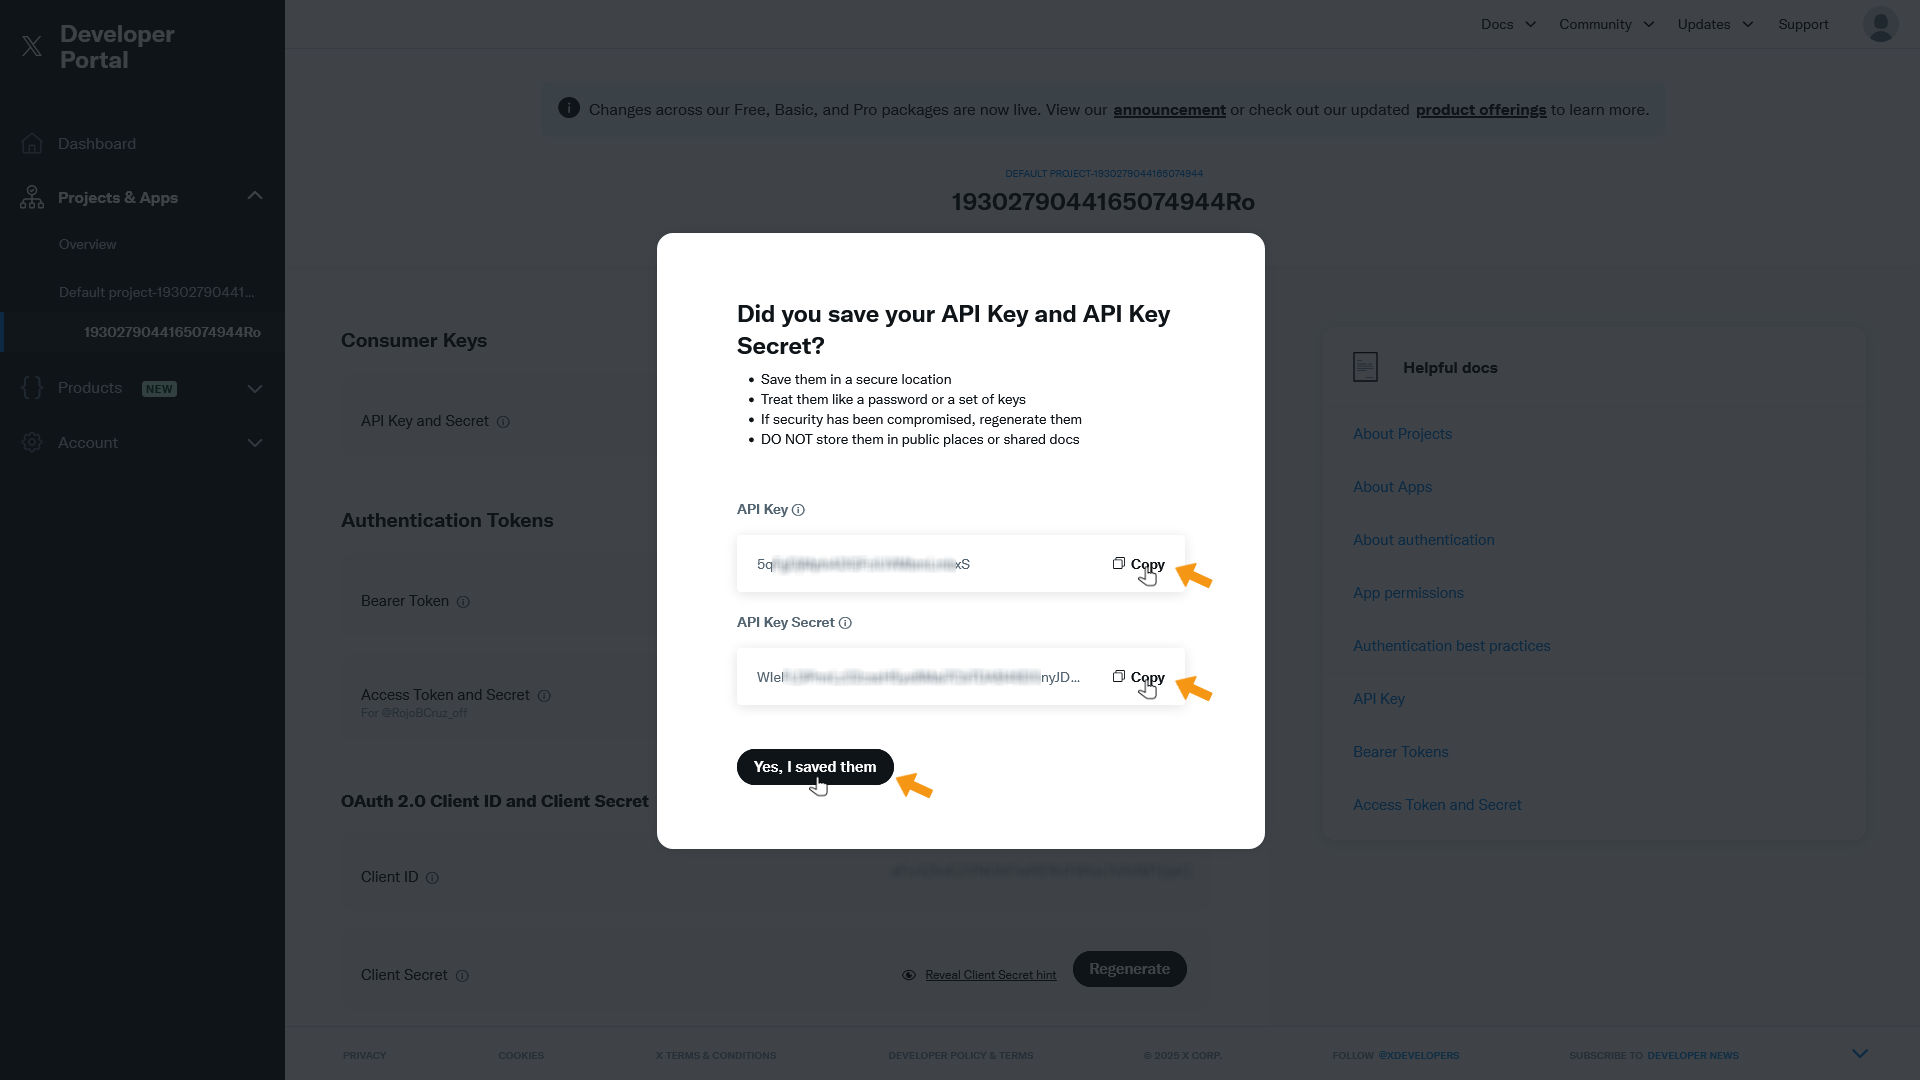
The API Key and API Key Secret are displayed. Copy both codes and click Yes, I saved them.
Important: These codes won't be shown again!
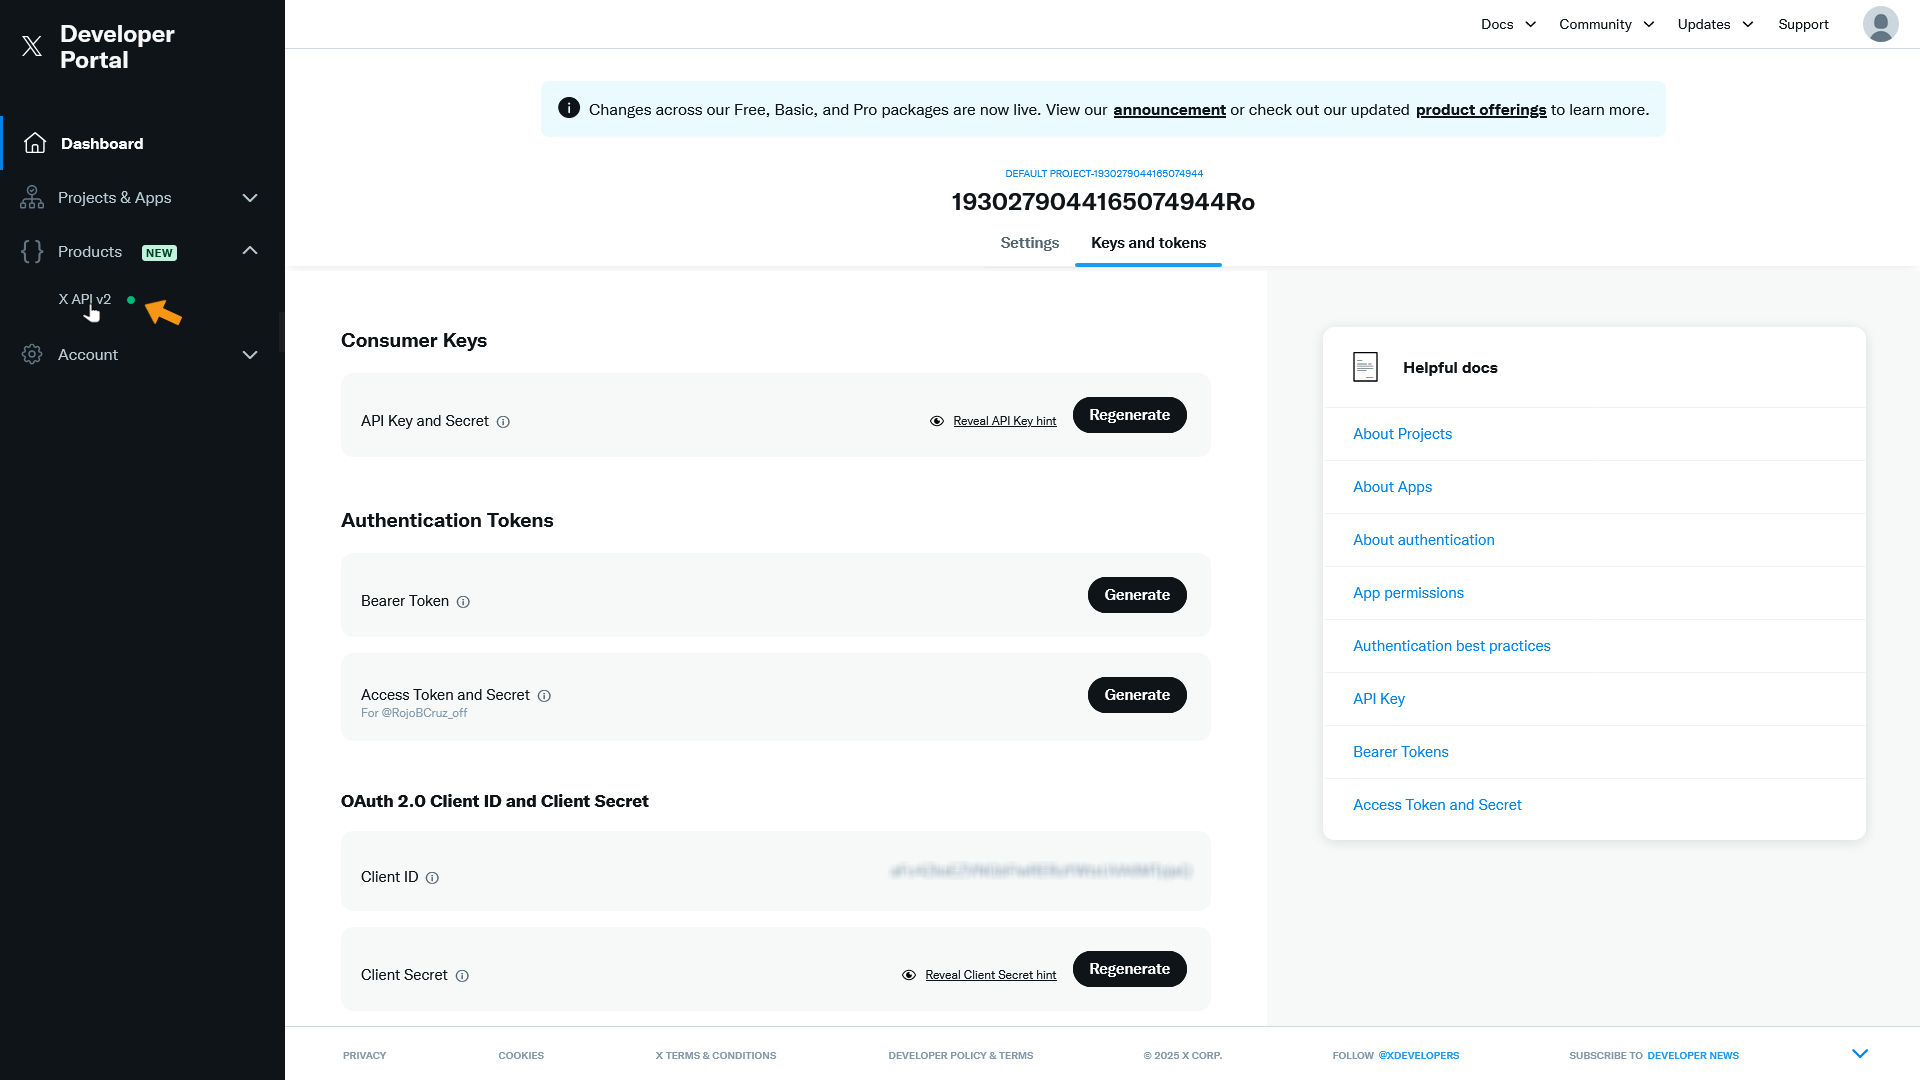
Depending on what X told you, you might need to upgrade your API. Your app is currently on Free, which is free. To change this, click Products in the left menu.

Then click X API v2.
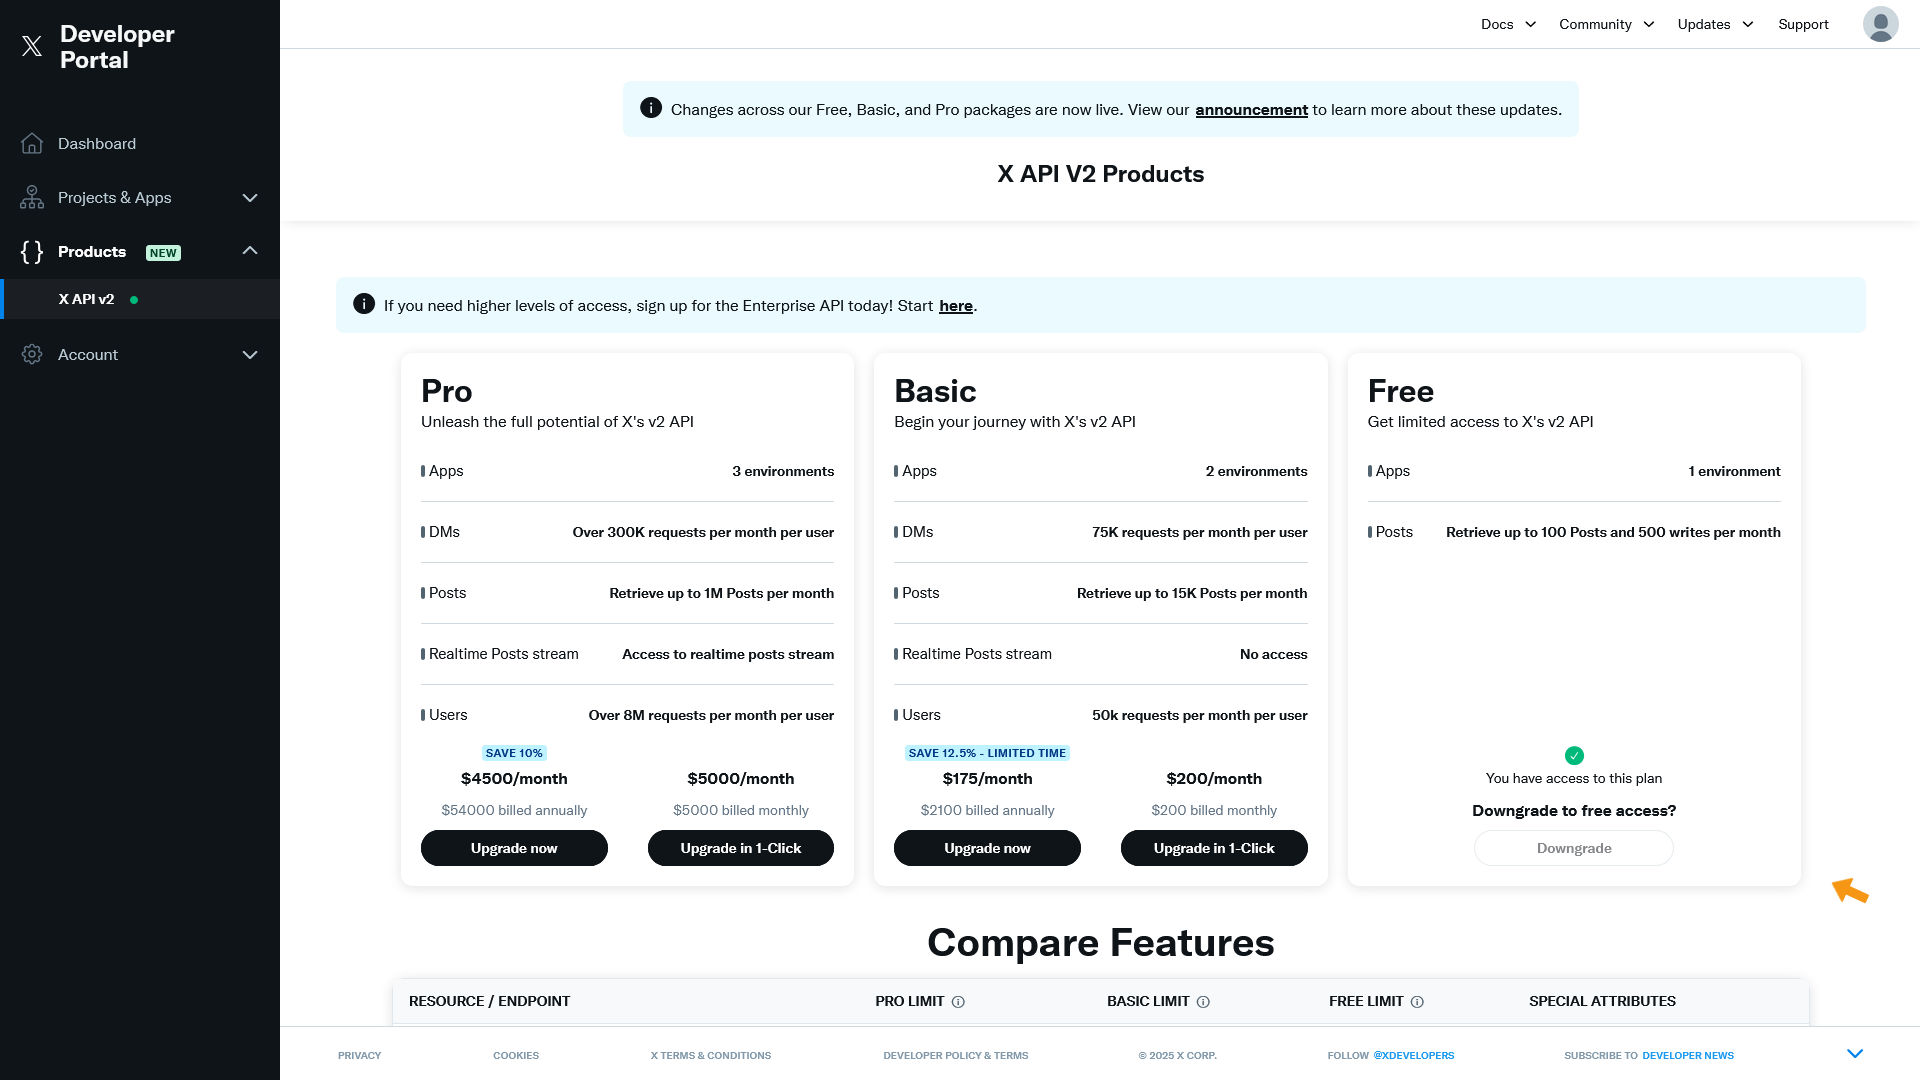
If X didn't give you specific requirements, keep it on Free. If X told you what you need, select the corresponding option.
You can now switch back to zappzy.
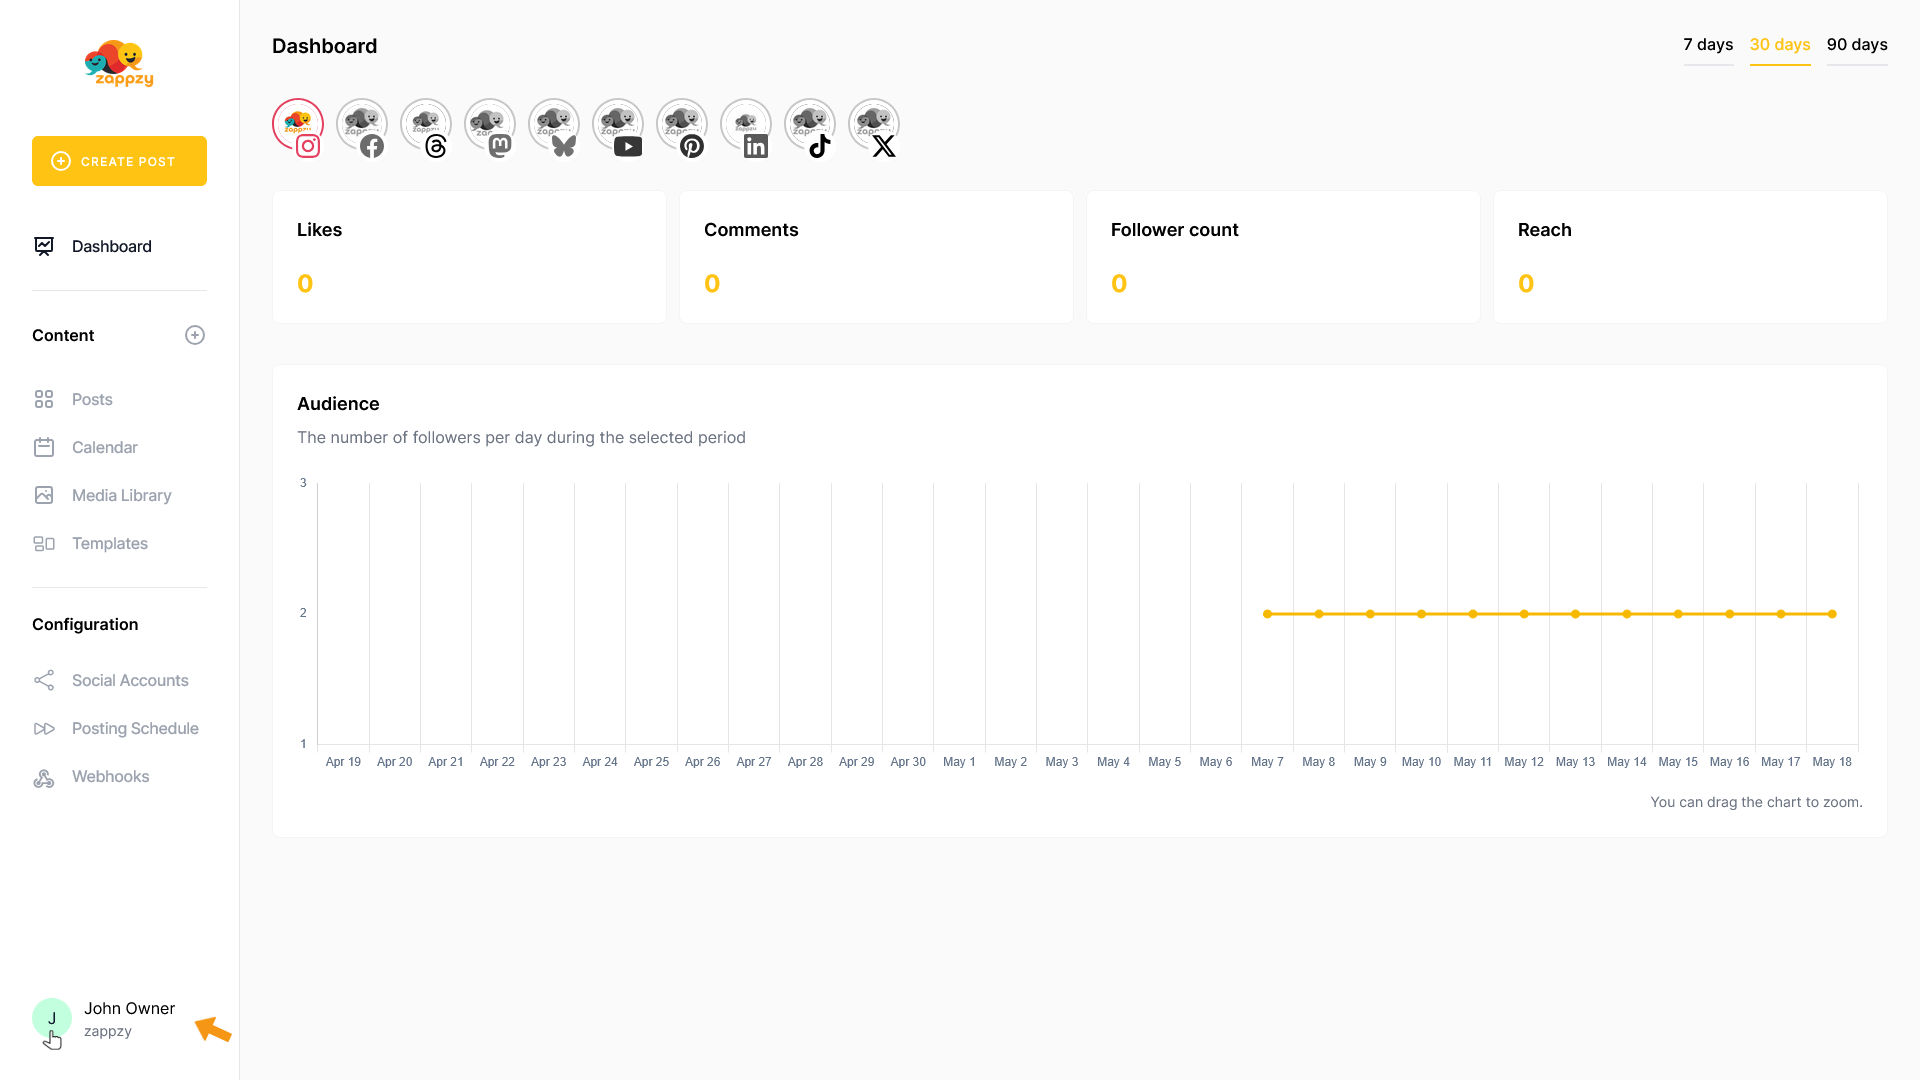
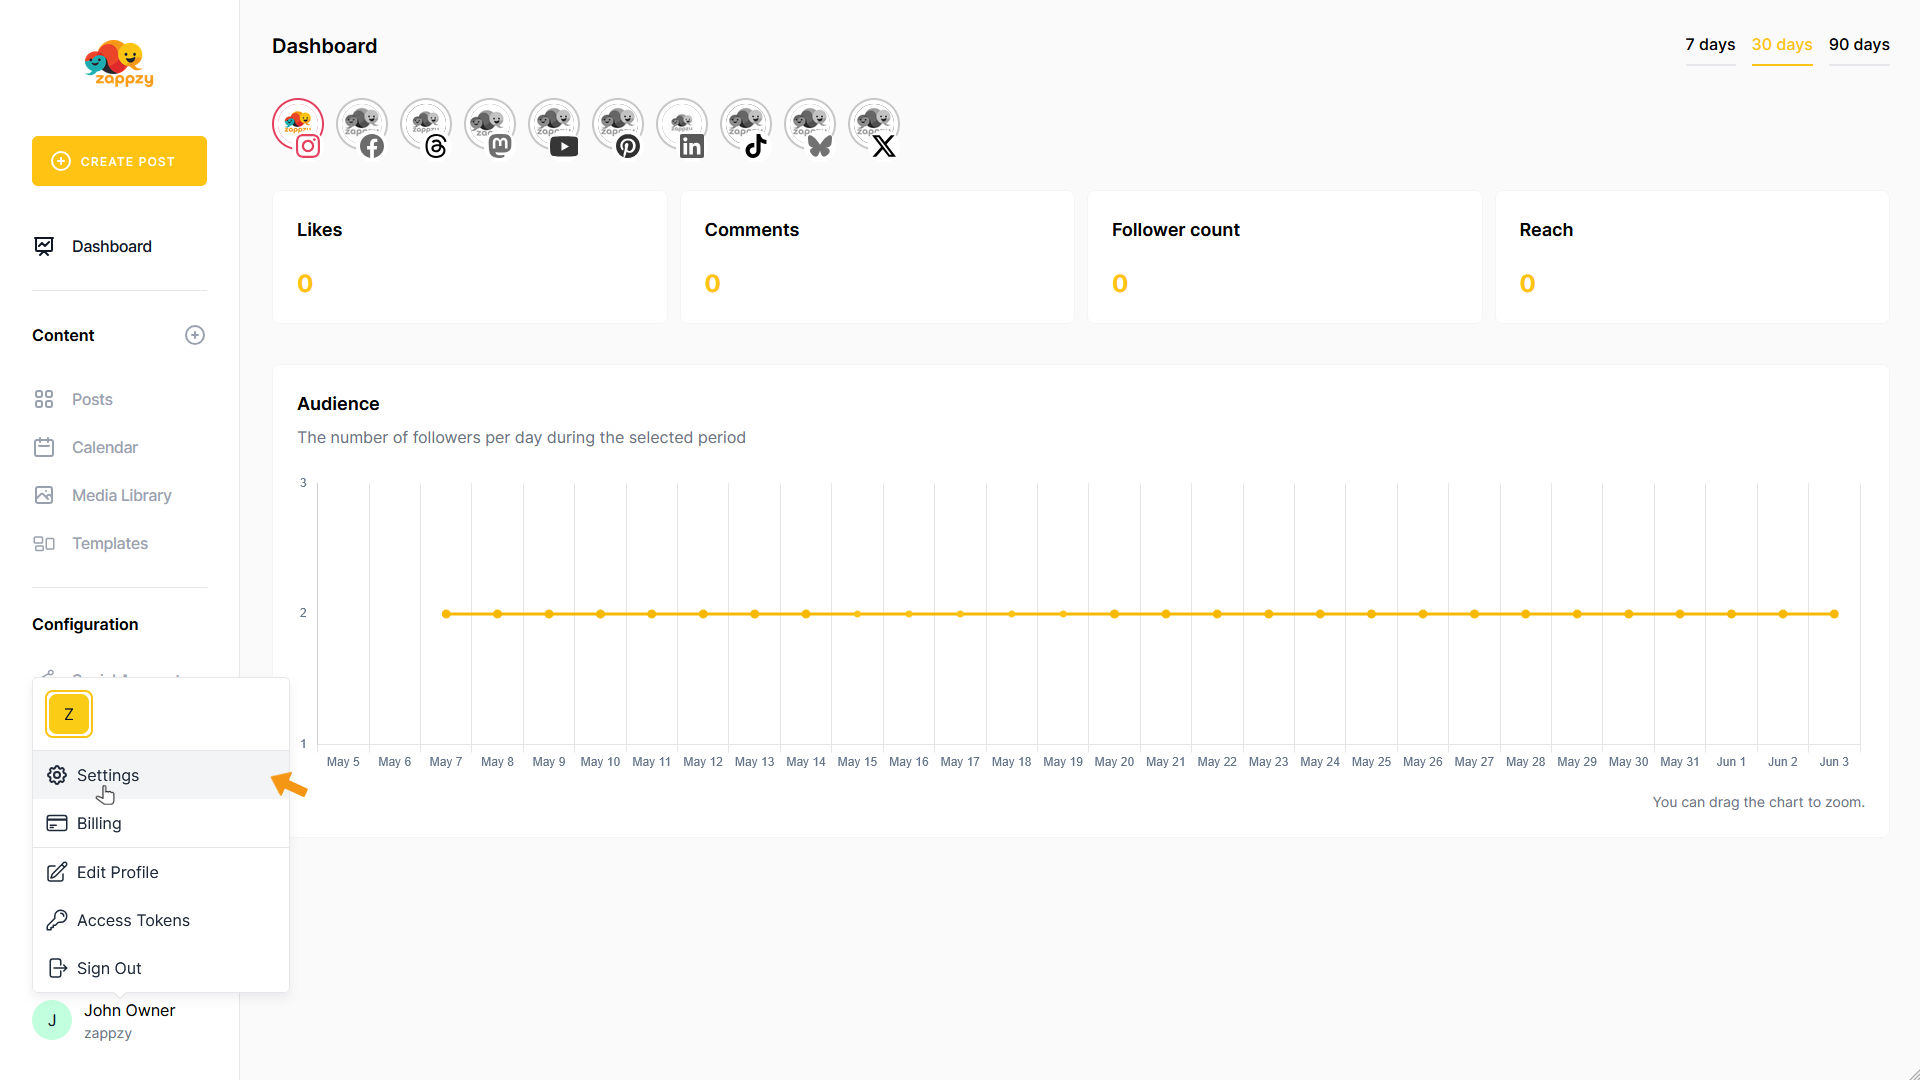
Once you’re logged in to zappzy, click your profile icon in the bottom-left corner.
This opens your Account menu. From there, click Settings (workspace owner or admin only).
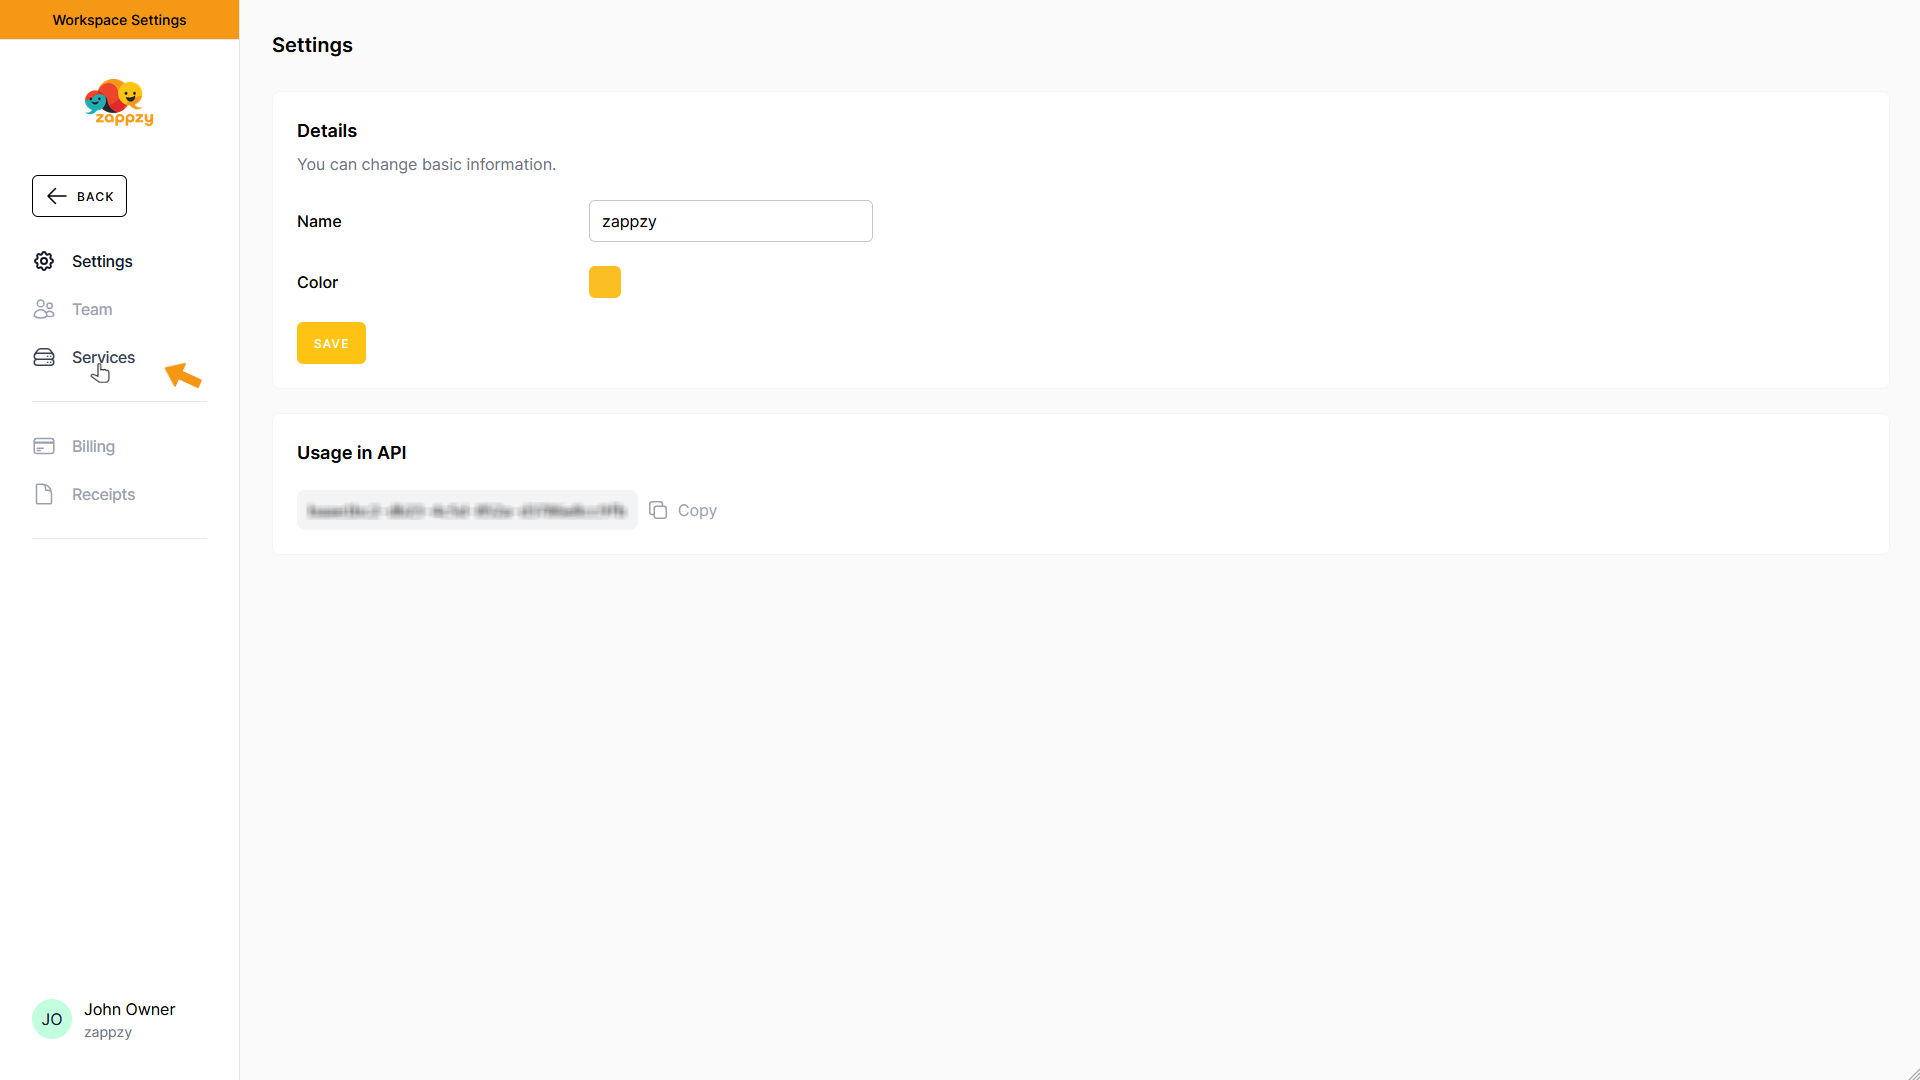
In the Workspace Settings menu, select Services.
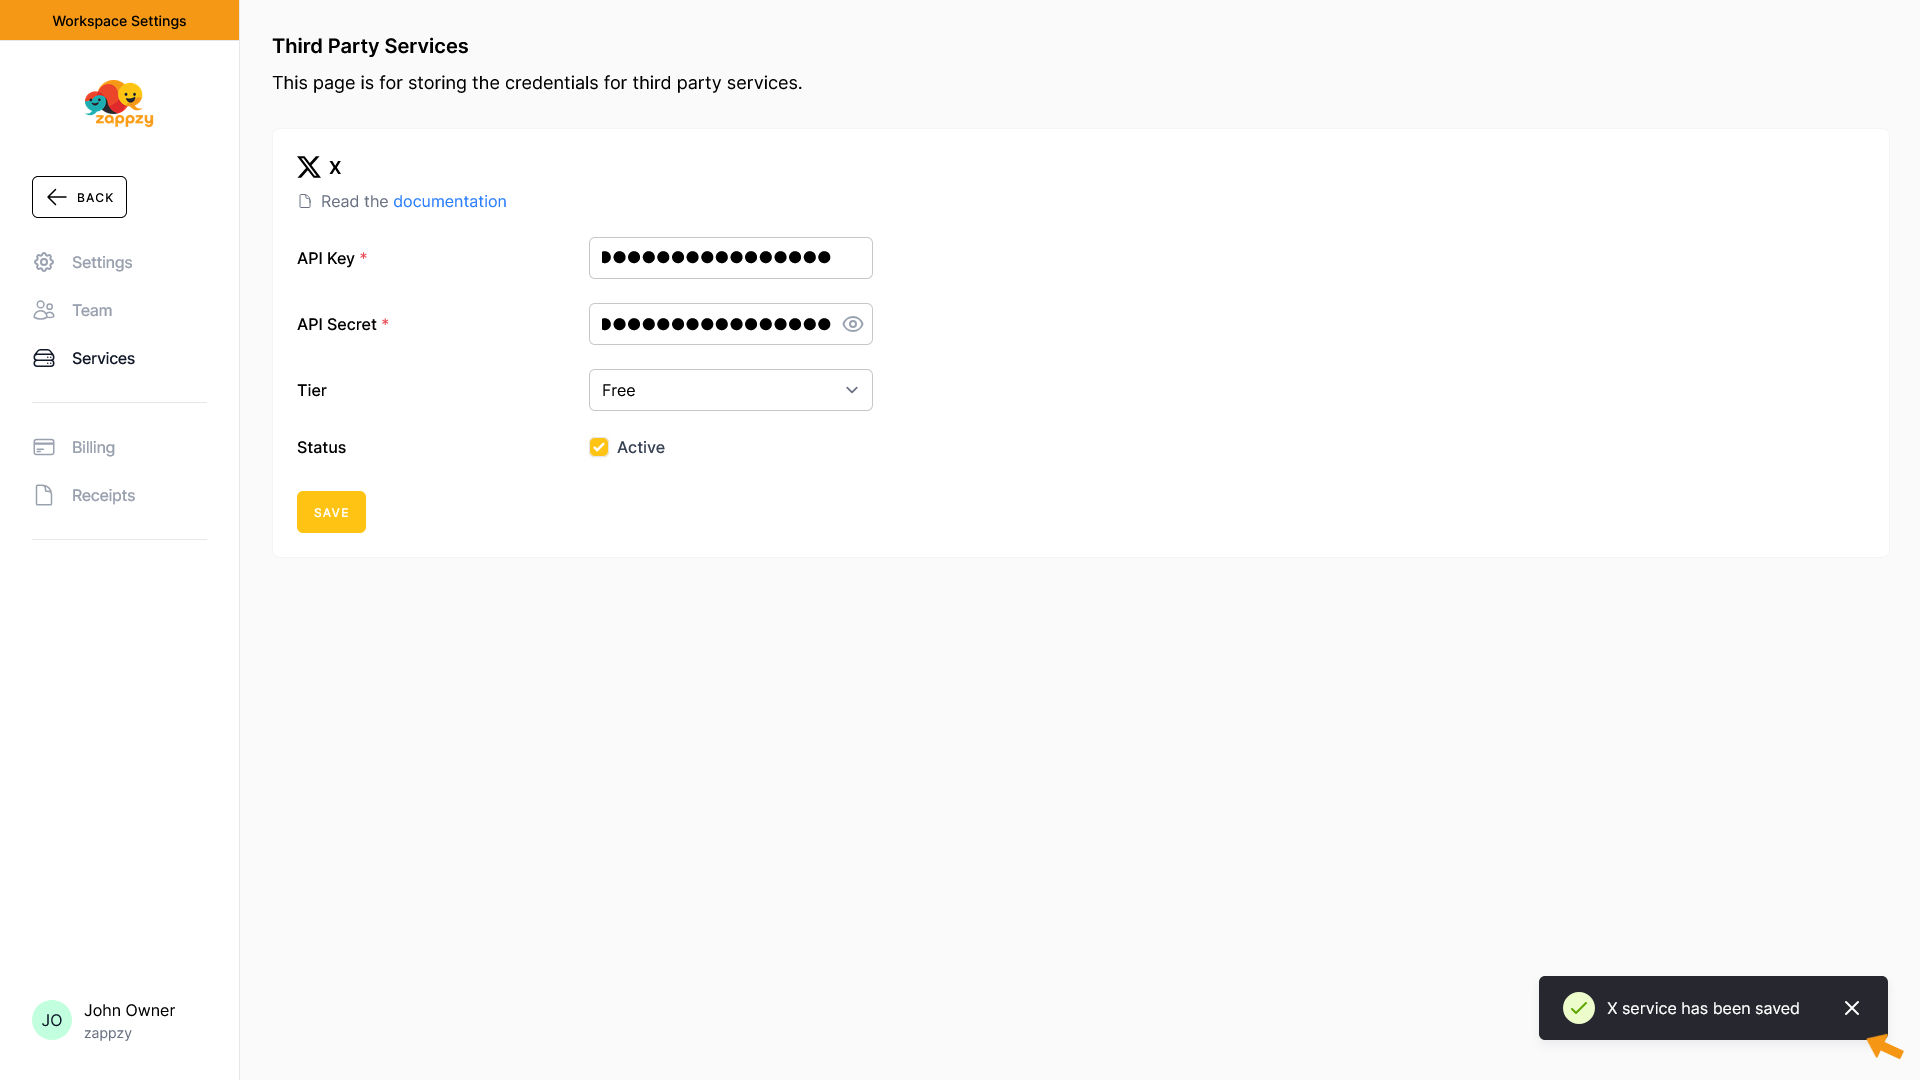
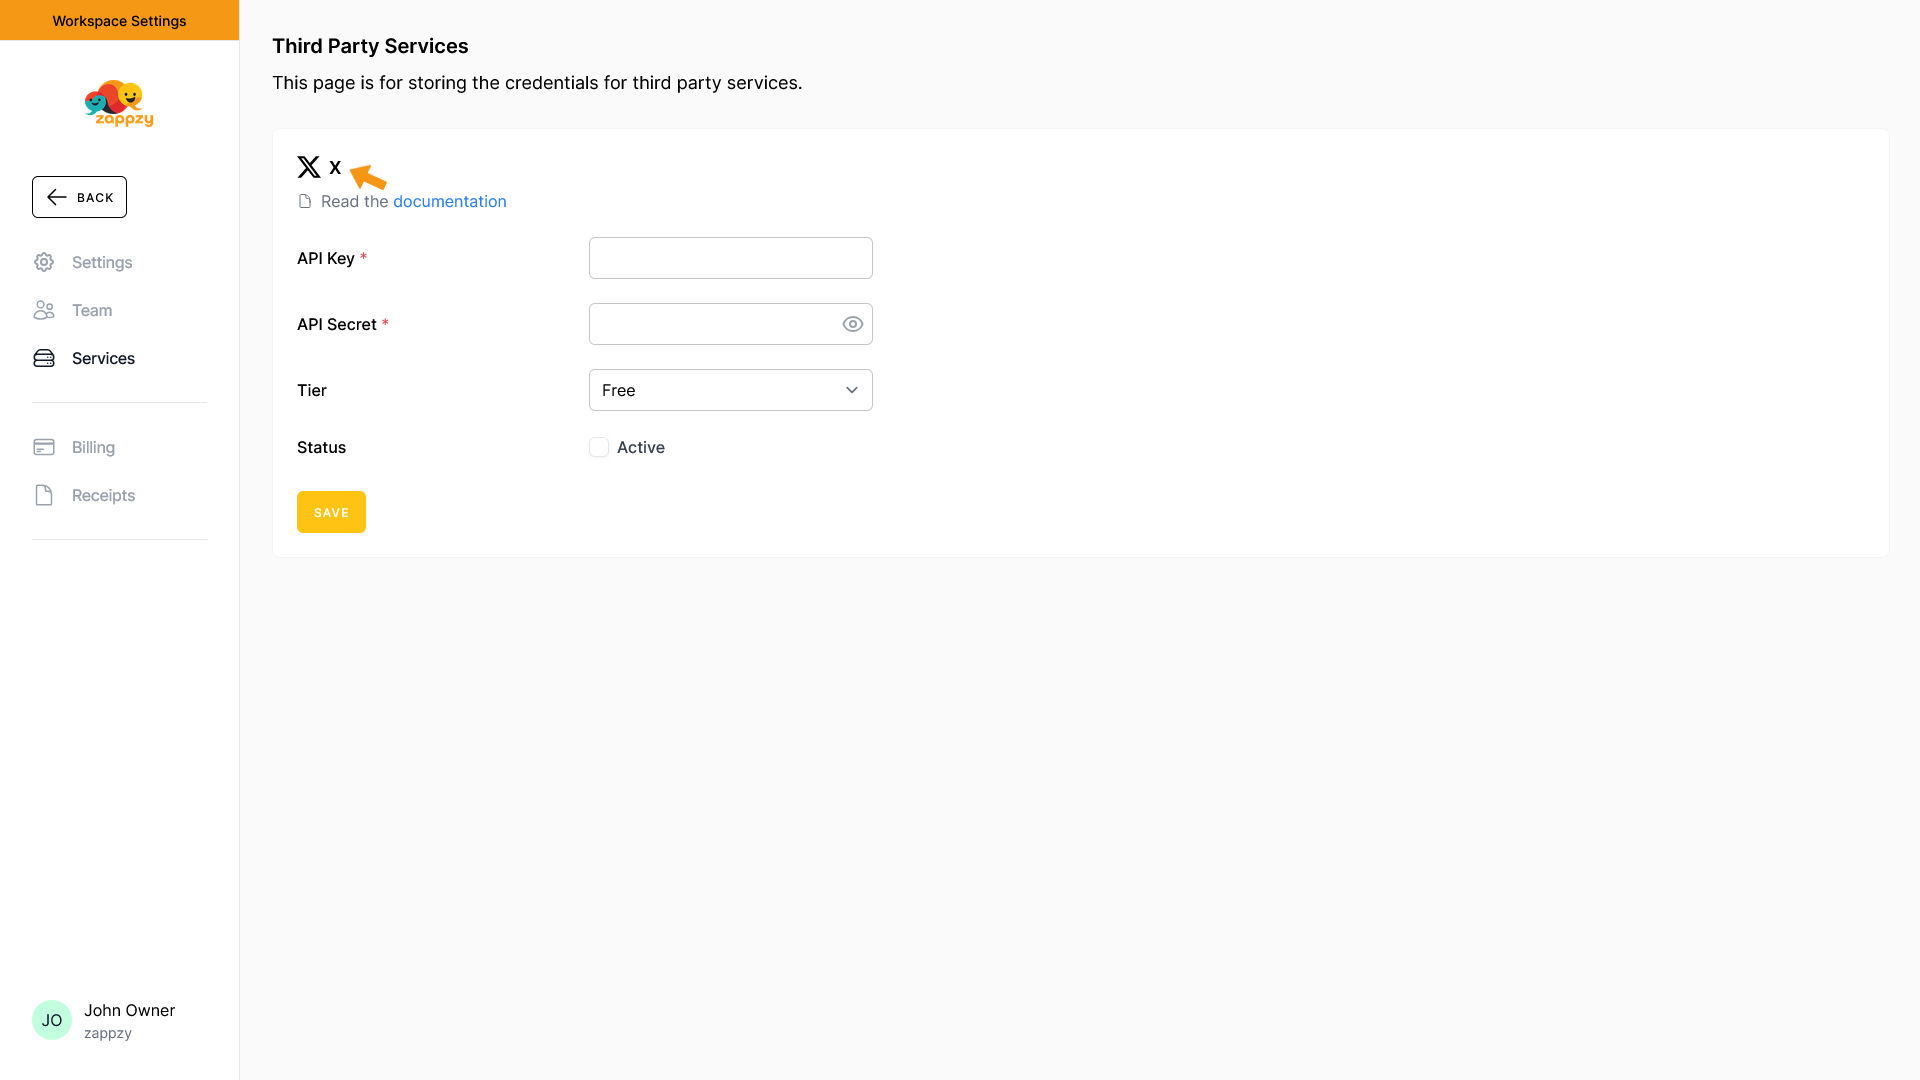
The Third Party Services overview will appear on your main screen.
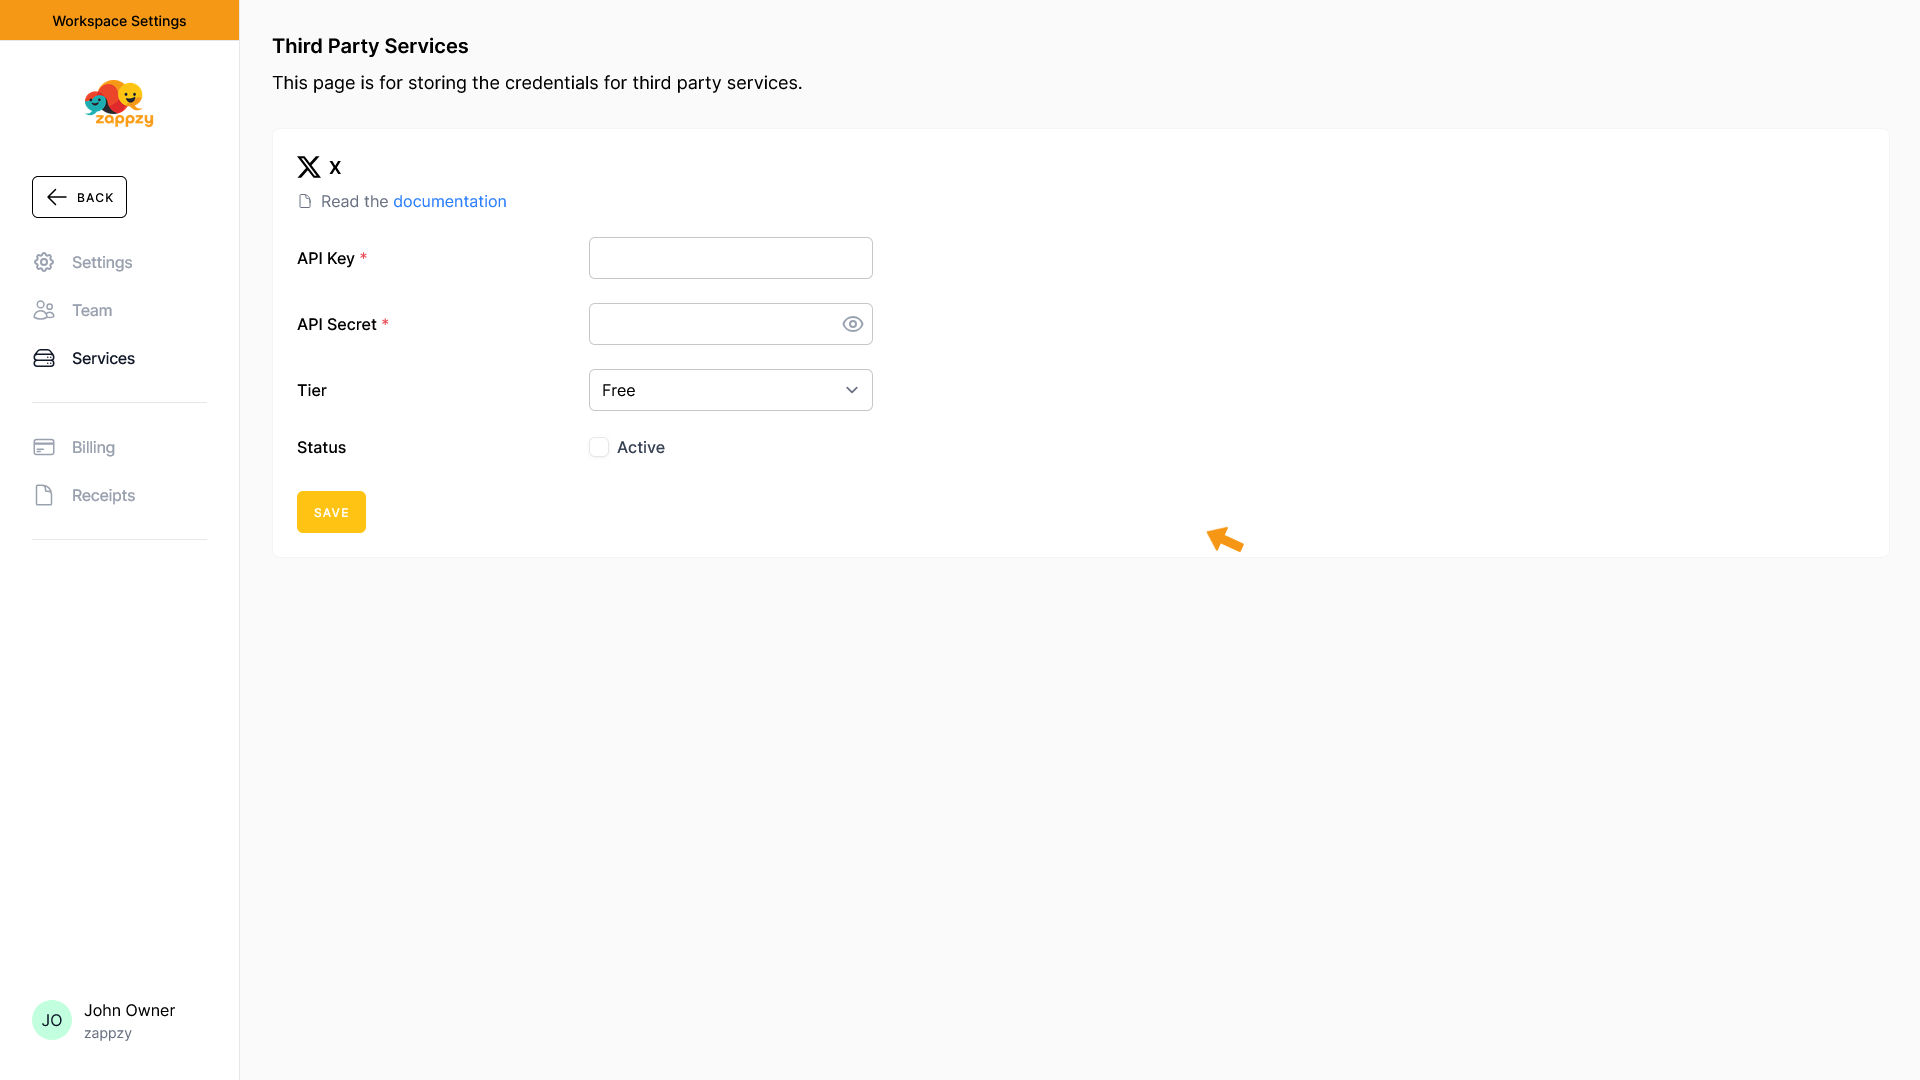
Select X from the services.
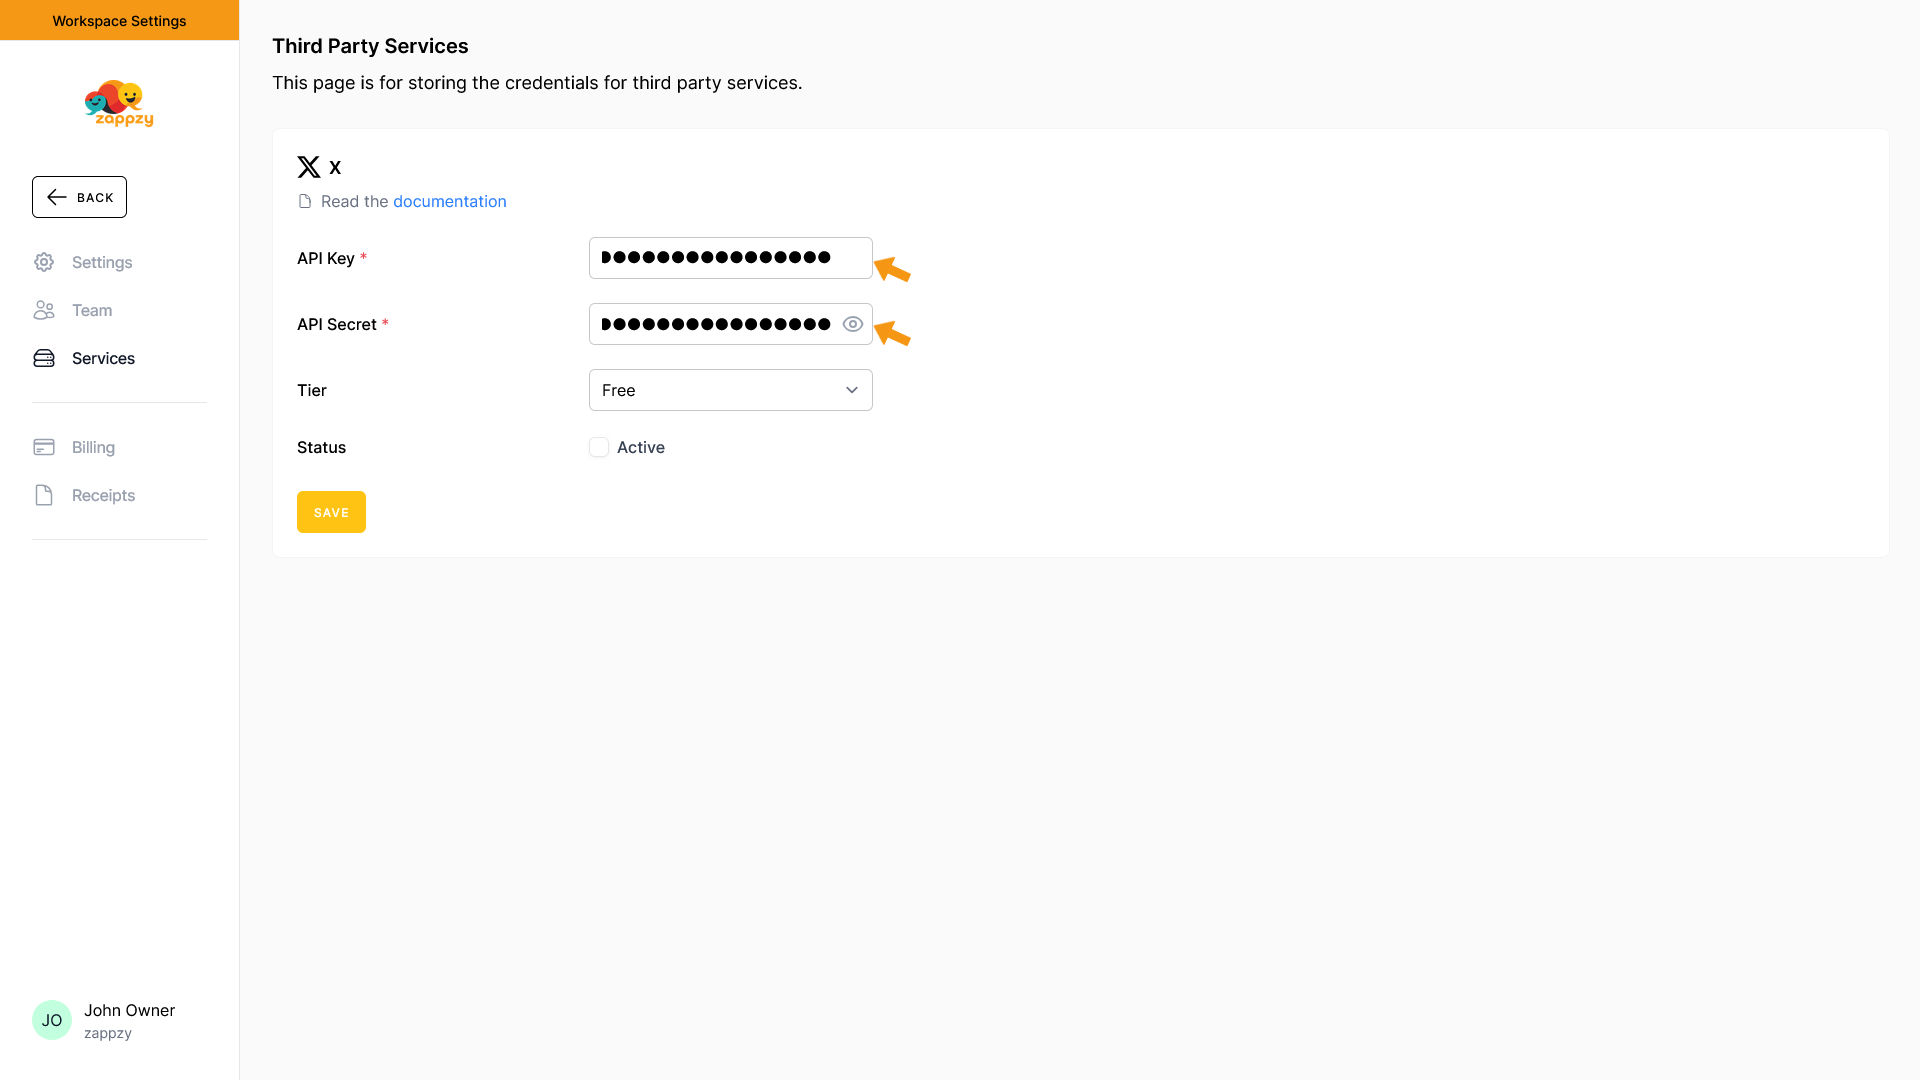
Enter your copied X API Key in the API Key field and your copied X API Key Secret in the API Secret field.
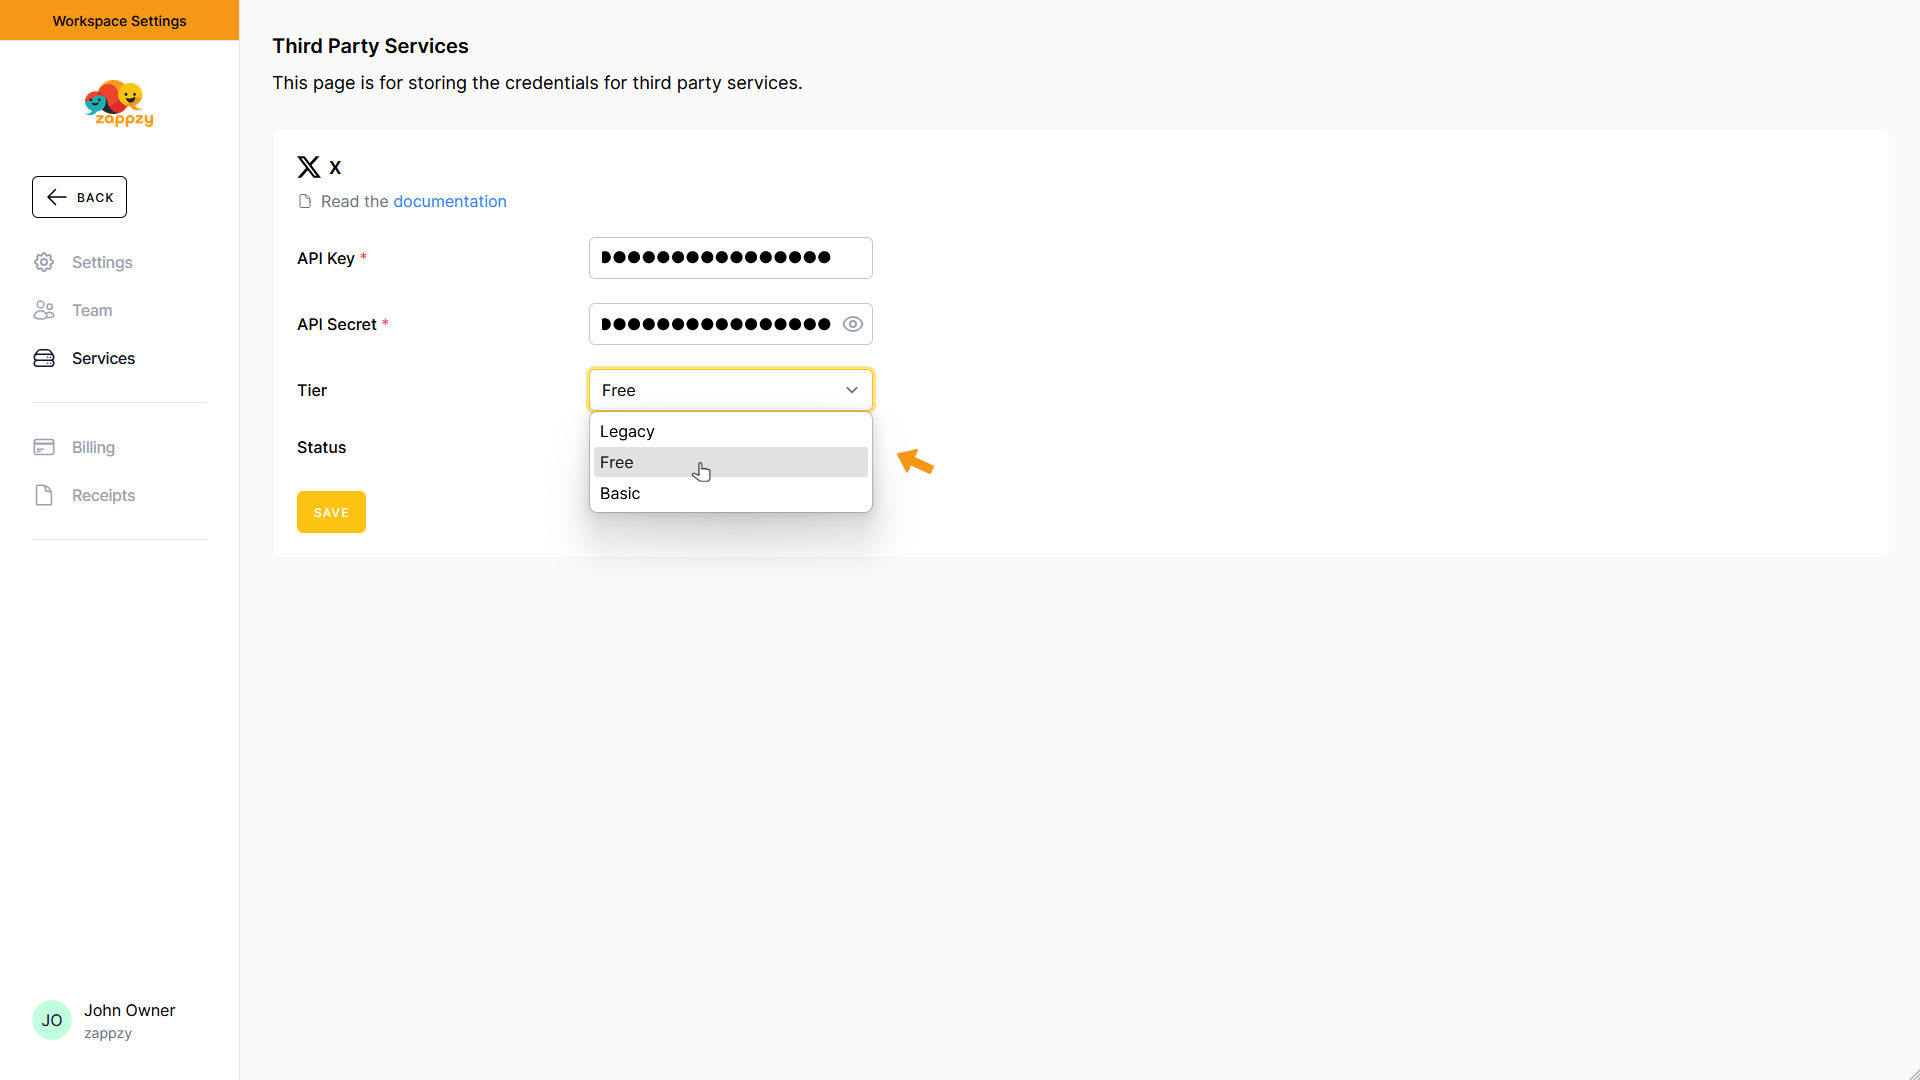
Then select the X API v2 product you chose on X (Free or Basic) in the Tier field.
Finally, check the Active box under Status and click SAVE.
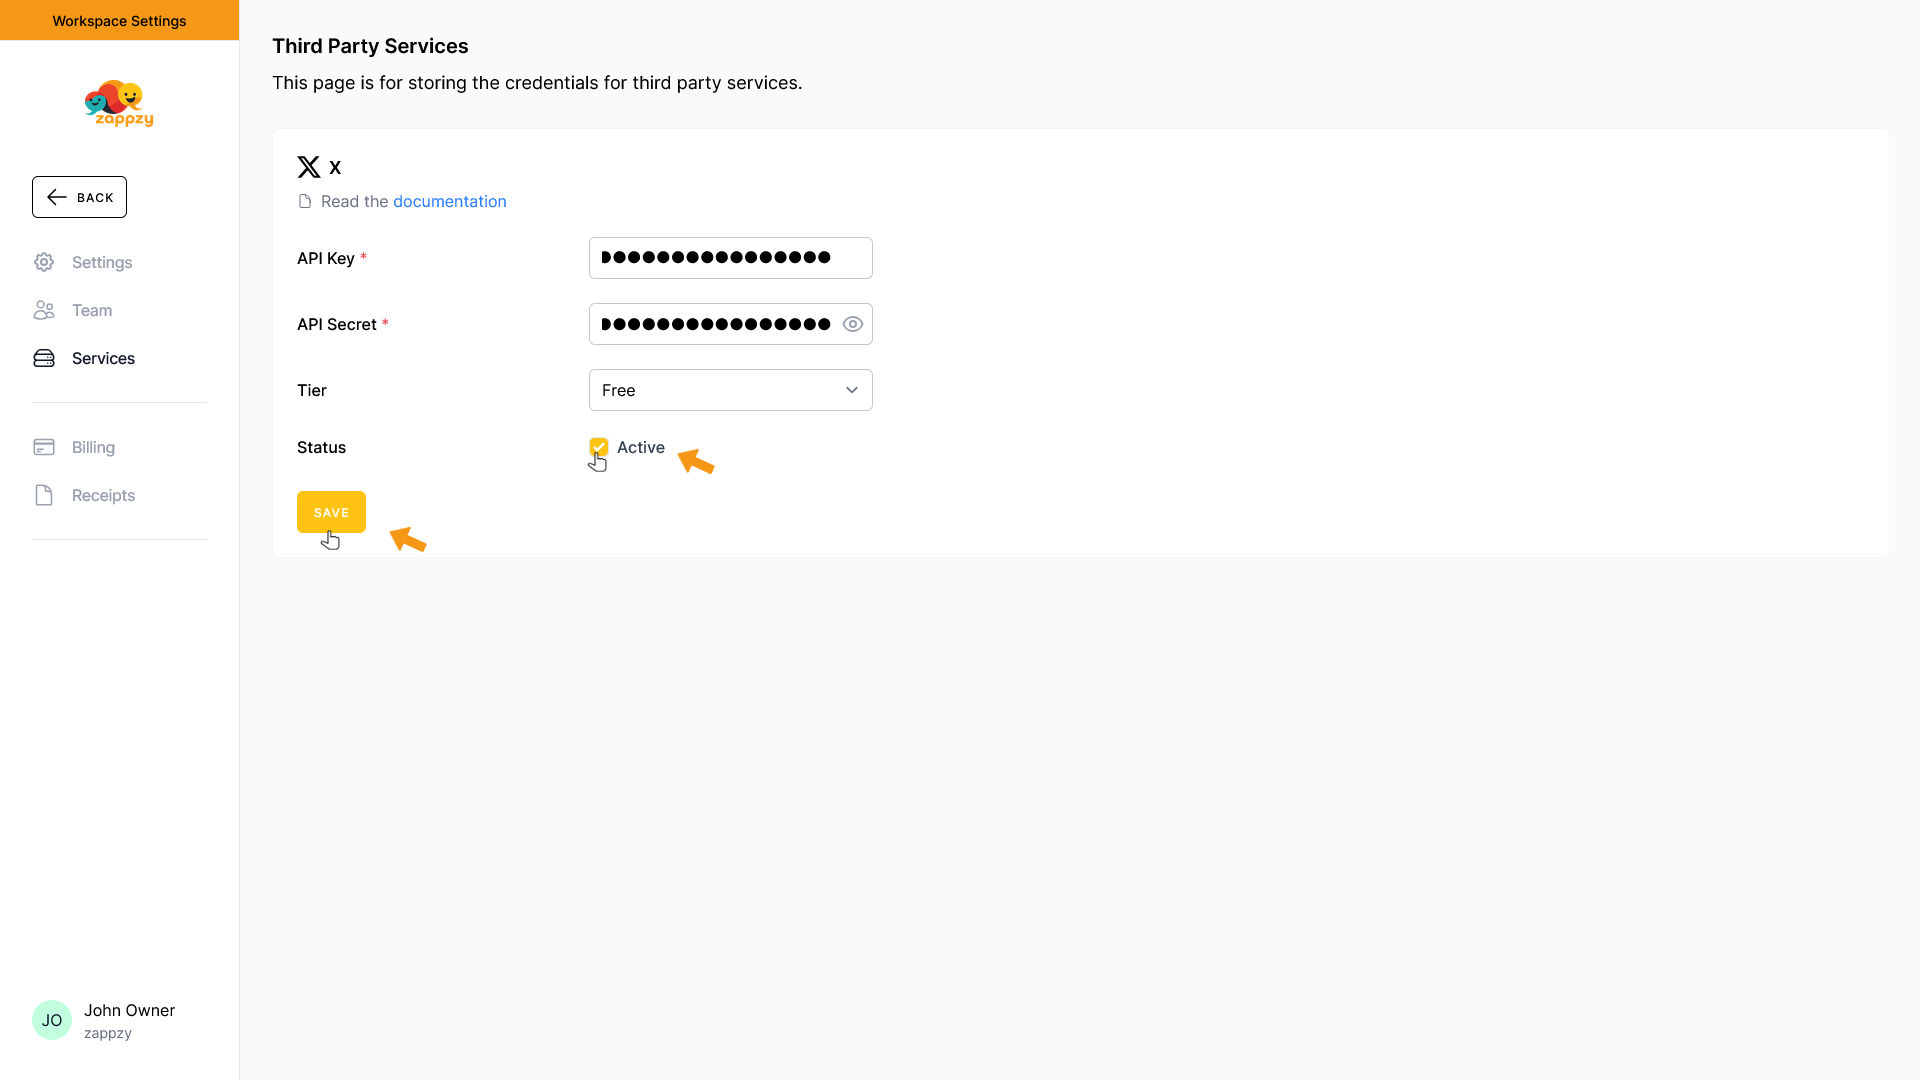
zappzy is now connected to your own X API app. You just need to reconnect your X account to zappzy (delete the X account in zappzy and connect it new).